
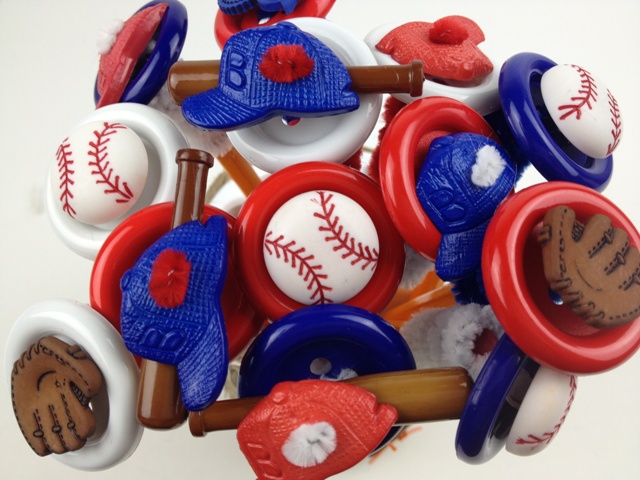
In my last blog I promised to post instructions on how to create these fun Baseball Button Pencil Toppers that we created at the JoAnns Crafting at the Ballpark Event that was held several weeks ago…
Materials:
- Assorted Favorite Findings Baseball Theme Buttons

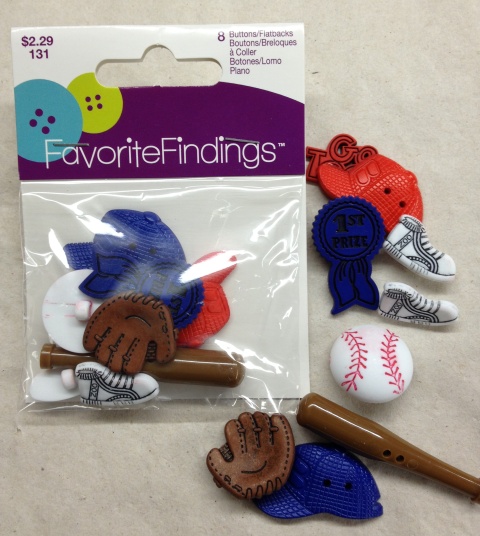
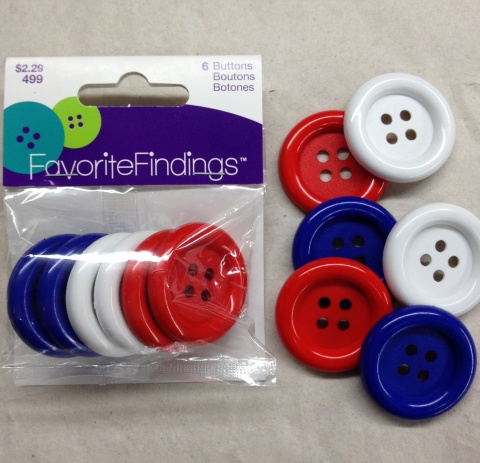
#131 Baseball #499 – Red, White, Blue Colors we Love
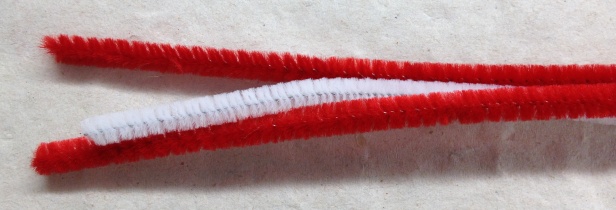 chenille – red, white and blue
Using your chenille – fold one end 1/4″ down forming a u-shape – as shown in photo below.
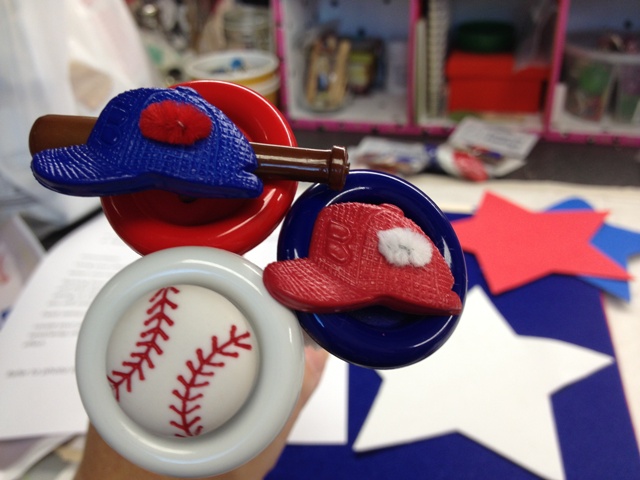
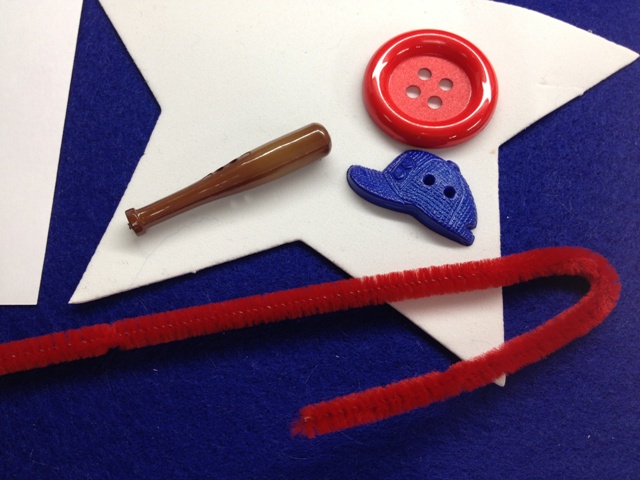 Select one novelty button (baseball cap, ball, bat…) & one large button (as shown above).
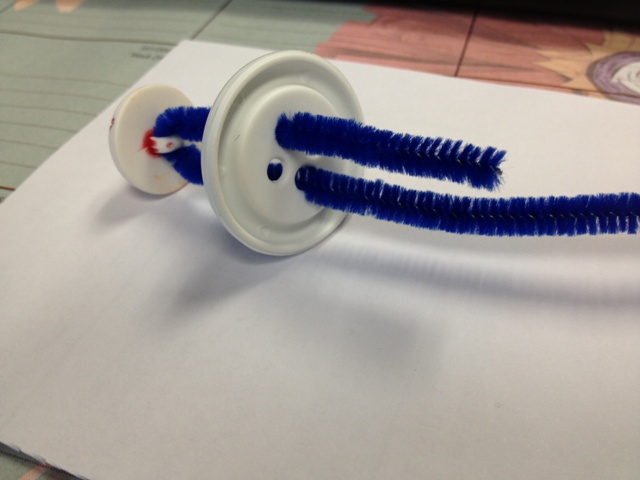
Starting from the bottom push/slide chenille through the button hole and slide up – your first will be your novelty buttons and then your big button – remember to slide the short chenille stem through the other button hole (if the button has 4 holes you will only be pushing it through 2). See photo below…
Slide all the way up so that your novelty button rests on top of the big button as shown below.
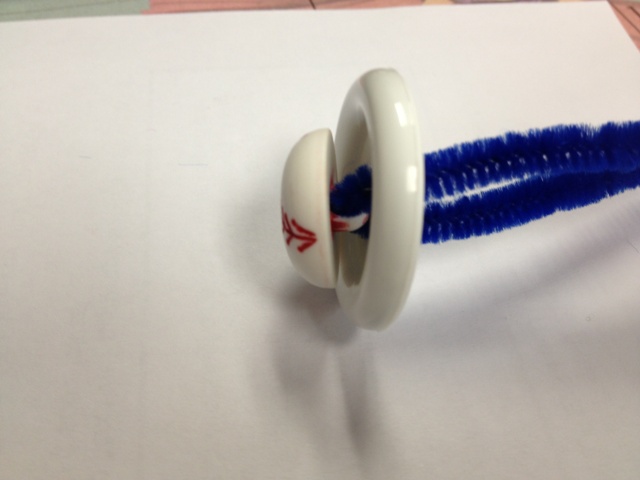
Twist stems together around the neck to secure buttons.
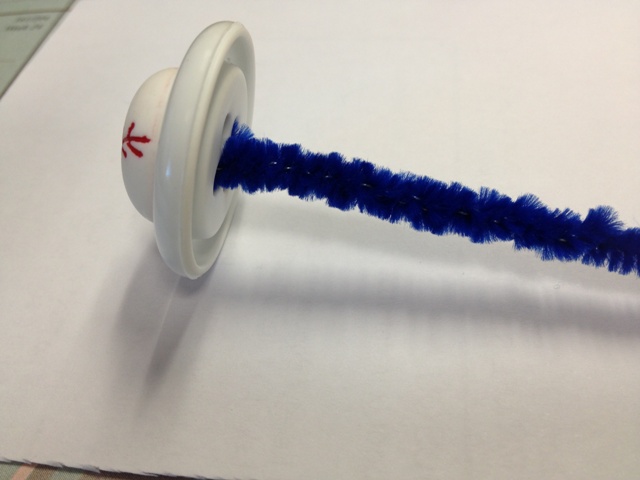
Locate your pencil – place flat side of button on top of eraser

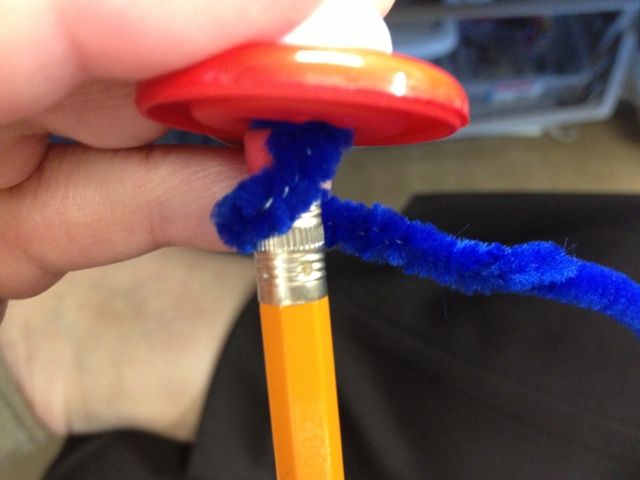

Holding the top of the pencil grab chenille and begin wrapping around pencil. Keep wrapping until all chenille is wrapped. Slide chenille up so you cover the eraser and metal portion of pencil.

Some may prefer the button portion to “bobble” a bit so leave about 1/4″ from the top!
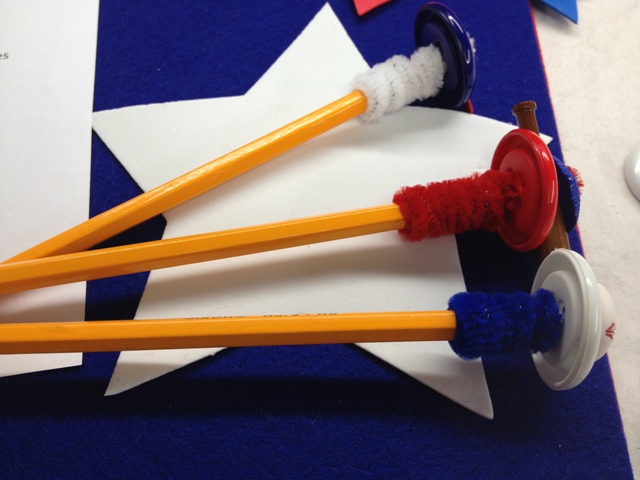
And there you go as easy as 1 -2 – 3!

Great project for anyone!
Happy Crafting!