
The flowers have wilted and chocolates have been consumed we’re now off to the next holiday. St. Patrick’s Day – I know it’s quick holiday and some rather just skip right over to Easter for those cute adorable bunnies and beautiful spring colors. But today, hopefully I’ll inspire you to get into a little bit of green and get the luck of the Irish!
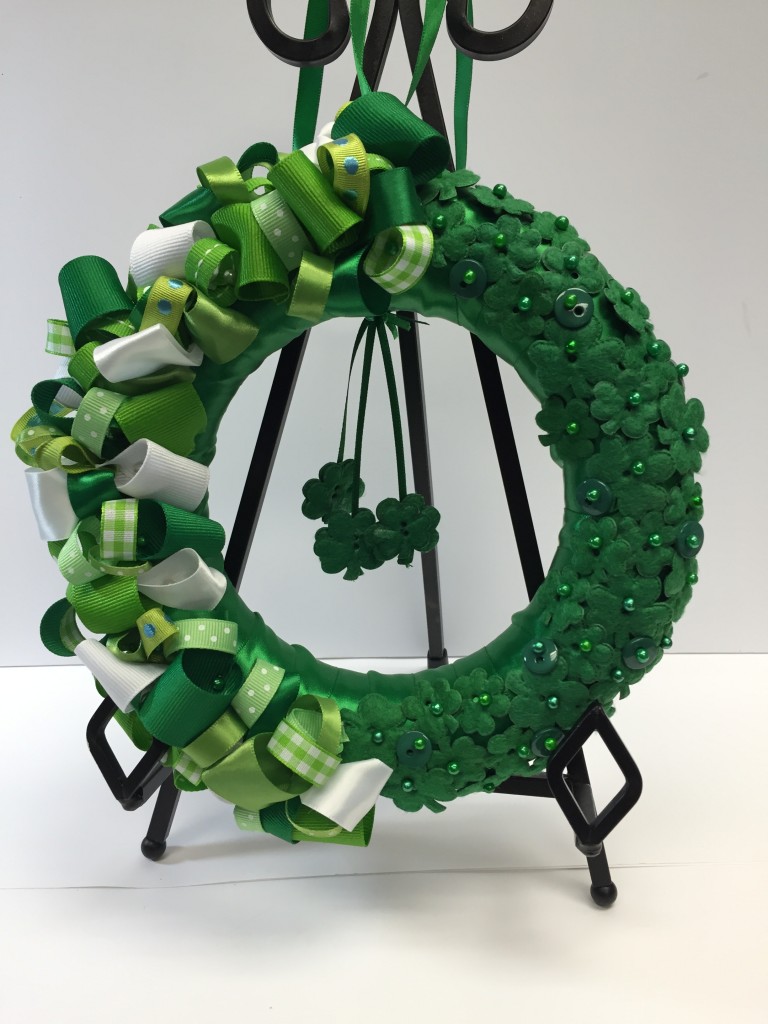
Today’s project a Button Shamrock and Ribbon Wreath…
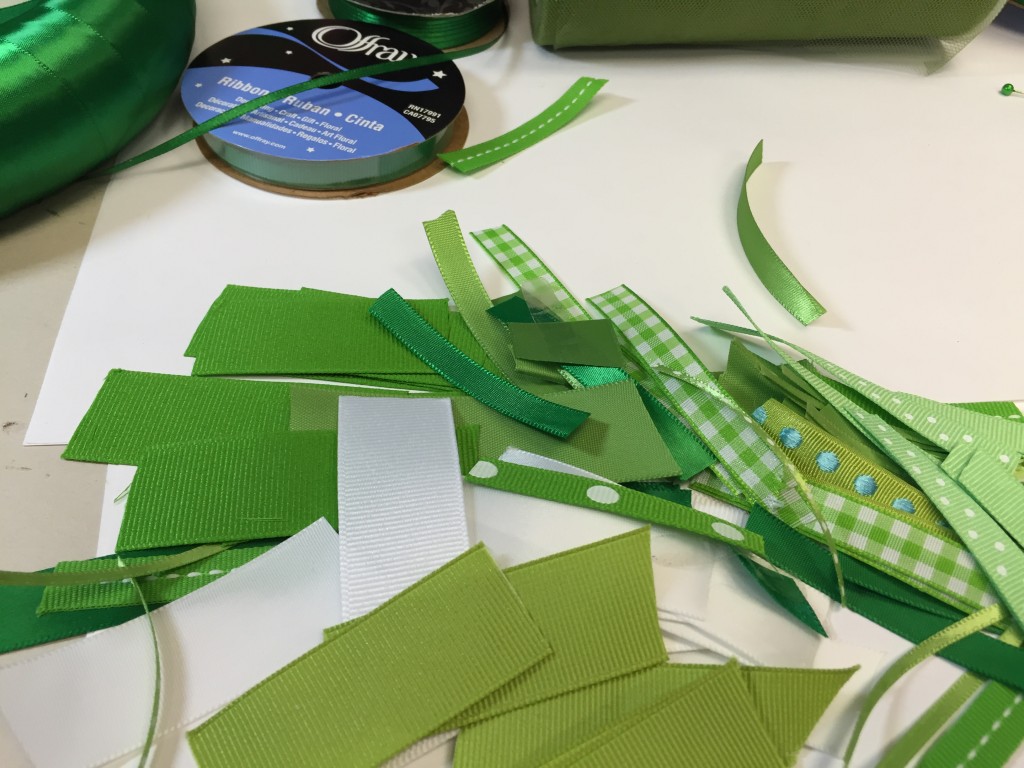
Materials needed:
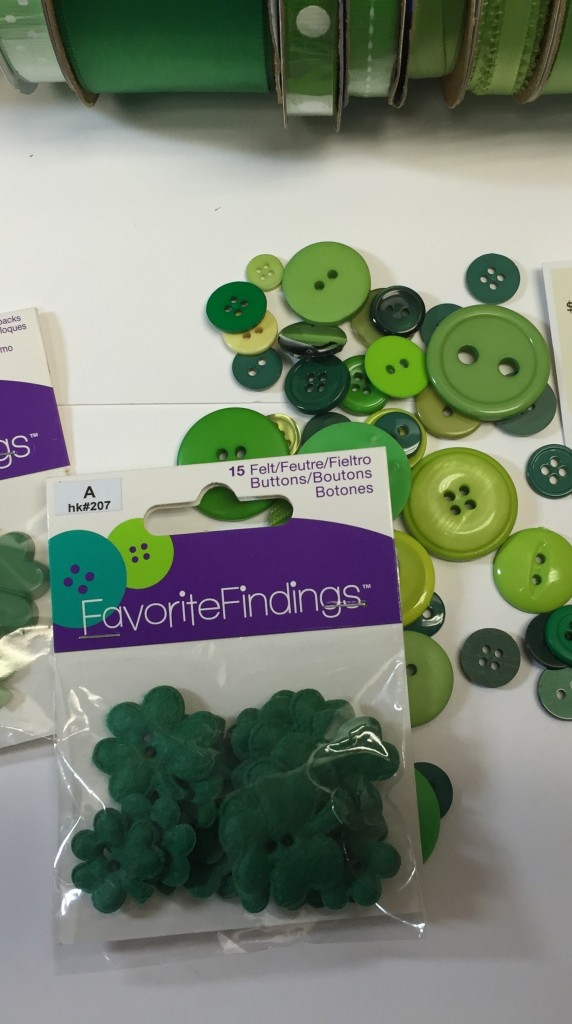
Buttons: Favorite Findings Shamrocks 550001524; Favorite Findings Colors we Love Green 55000407
Assorted color and sizes of Offray green & white ribbon (1/8″ – 1 1/2″)
Styrofoam wreath; Scissors; Glue Adhesive; Head pins (quilt) in white and green
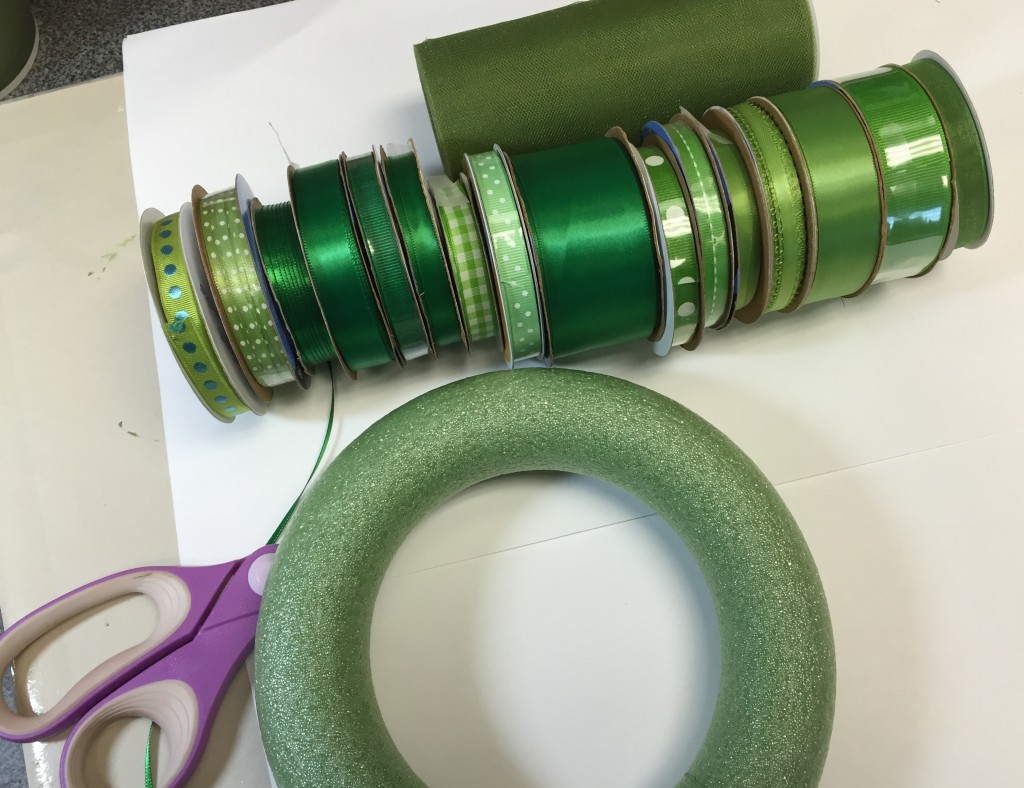
Not shown in the photo: white ribbon in satin and grosgrain 7/8″ (or your preference). The wreath can be in white it doesn’t matter since your covering the whole wreath in ribbon.
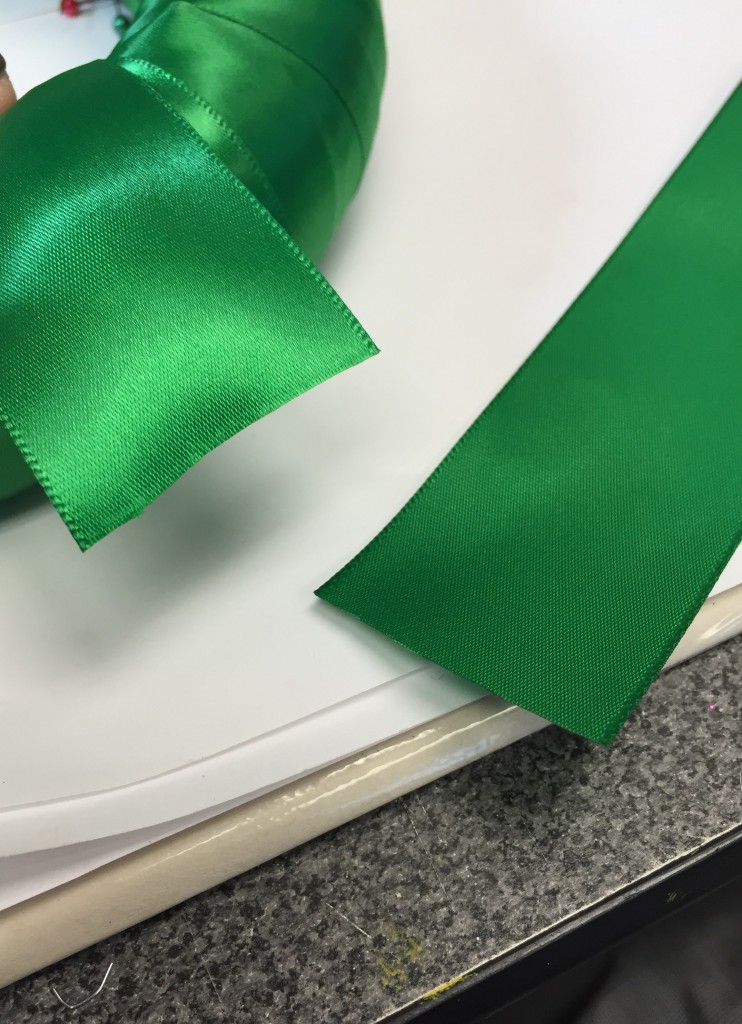
To begin – clear your work area. Locate your 1 1/2″ green satin ribbon (this is what I’m using to wrap my wreath. Secure ribbon to the back with 2 – 3 pins. Begin wrapping and overlap somewhat as you go as shown in the photo below.
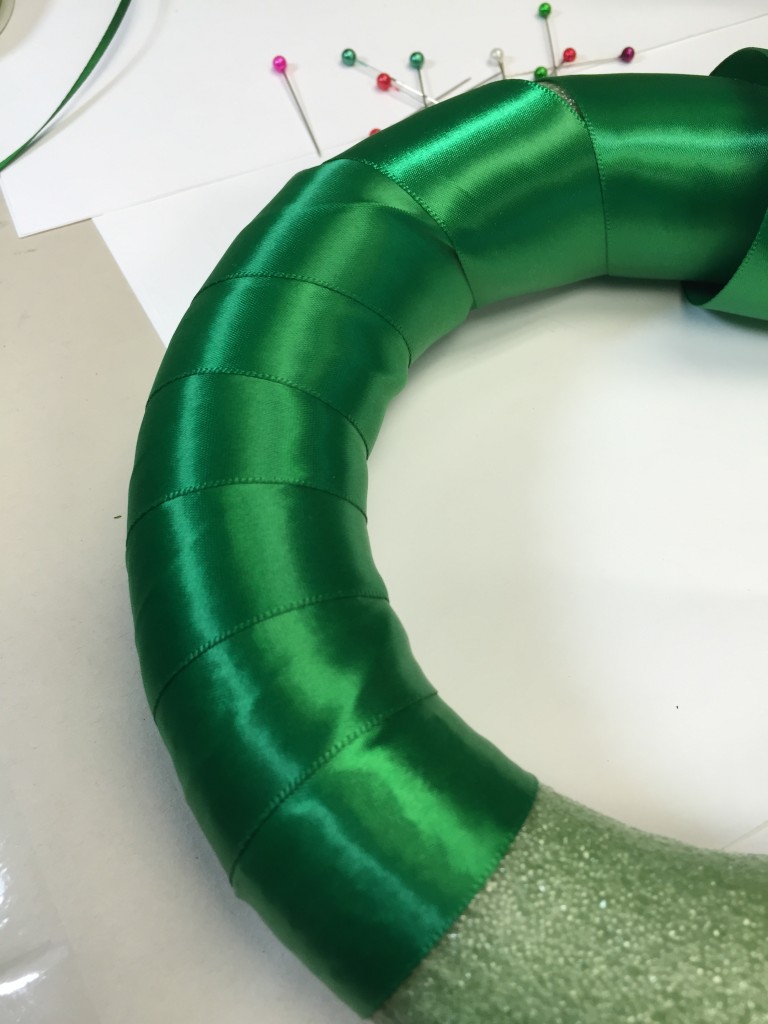
Go completely around and once you’ve reached the top, trim leaving approximately 1 inch as shown
you want to give it a finished look even though no one will be looking at the back atleast you know! Next you want to roll or fold over several times and secure to back with several pins as shown…
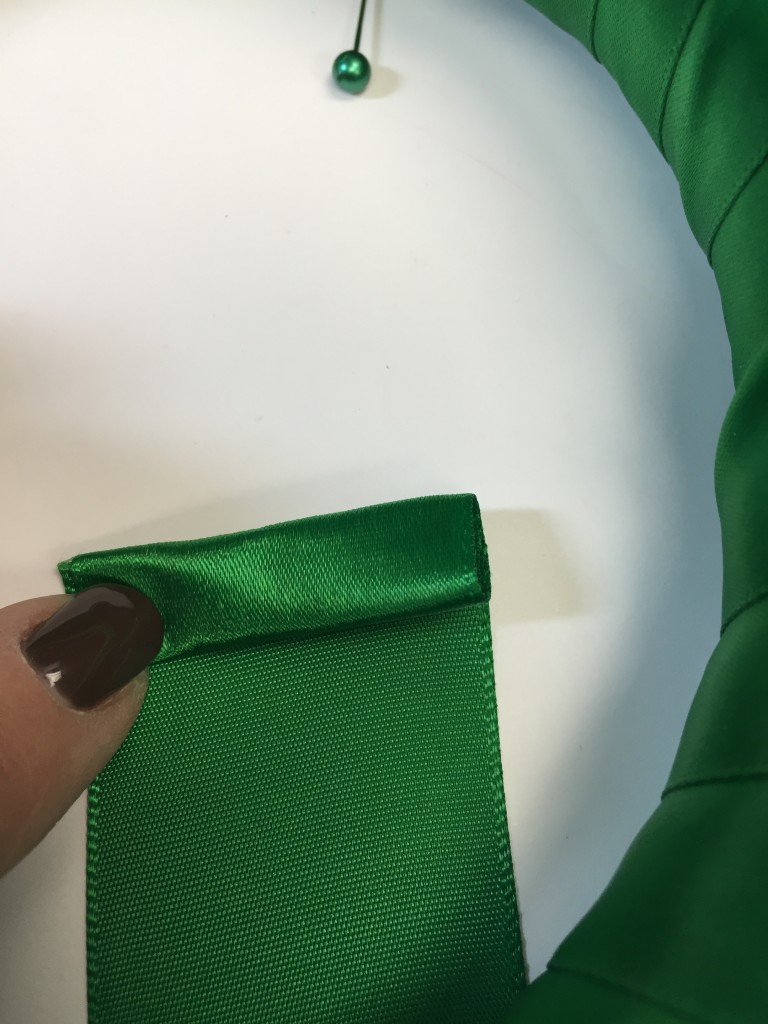
Roll several times…
doesn’t this look nicer than some frayed edges!
For this next part I was inspired by a wreath I saw on Pinterest and I give credit whenever possible. http://sarahfreed.blogspot.com/2012/02/diy-st-patricks-day-wreath.html I've attached a link showing you in detail how to create this wreath if you just want all ribbon…But let’s face it it’s about BUTTONS too! So I added my touch… So this is my first time attempting this project or technique – so I learn – you learn…
Okay next step. Using a ruler if it’s easier for you – cut 2″ strips from the assorted ribbon you have I used approximately 12 spools of assorted greens and sizes and white.
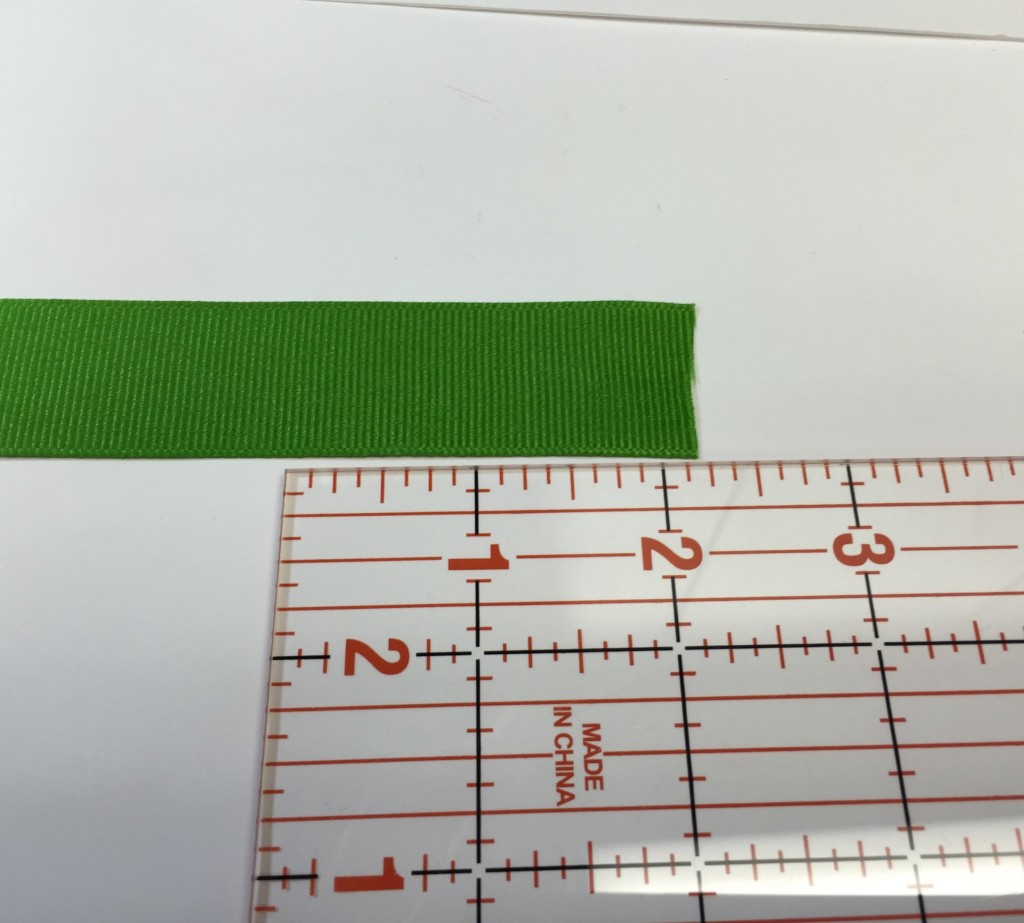
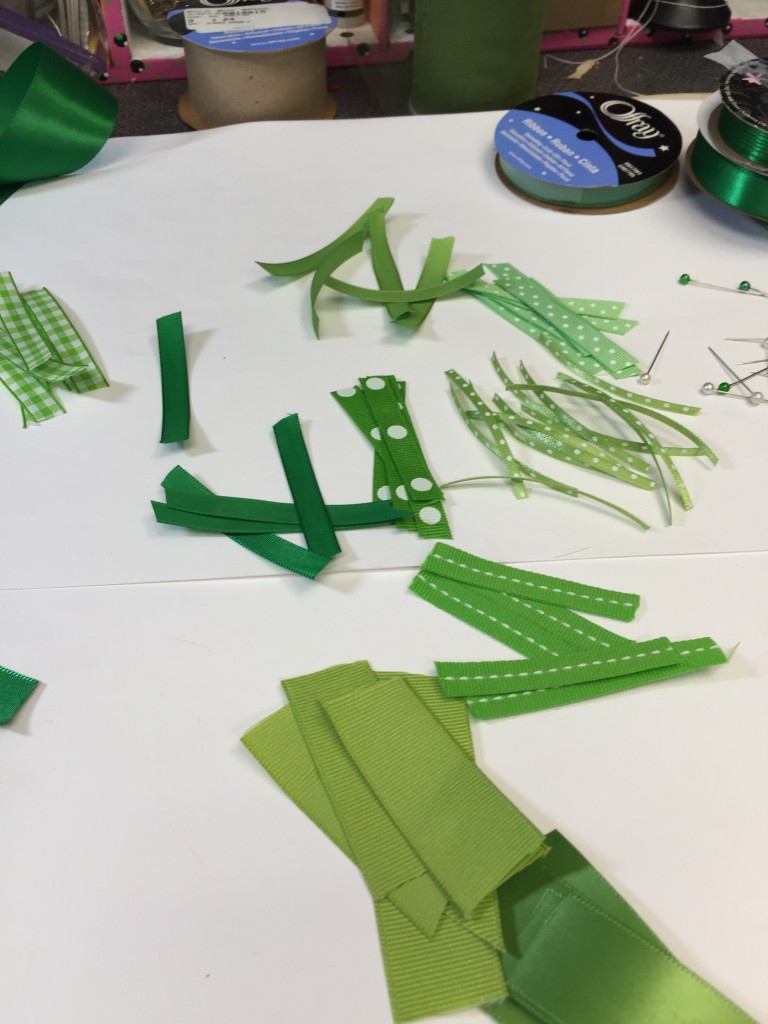
once you’ve cut all your strips – group your ribbon or if you like working like the other photo you’re ready to proceed. Before I go I should mention I had approximately 60 strips – I used smaller width ribbon – if you’re using 7/8″ then you’ll need less. You can always cut more if needed.
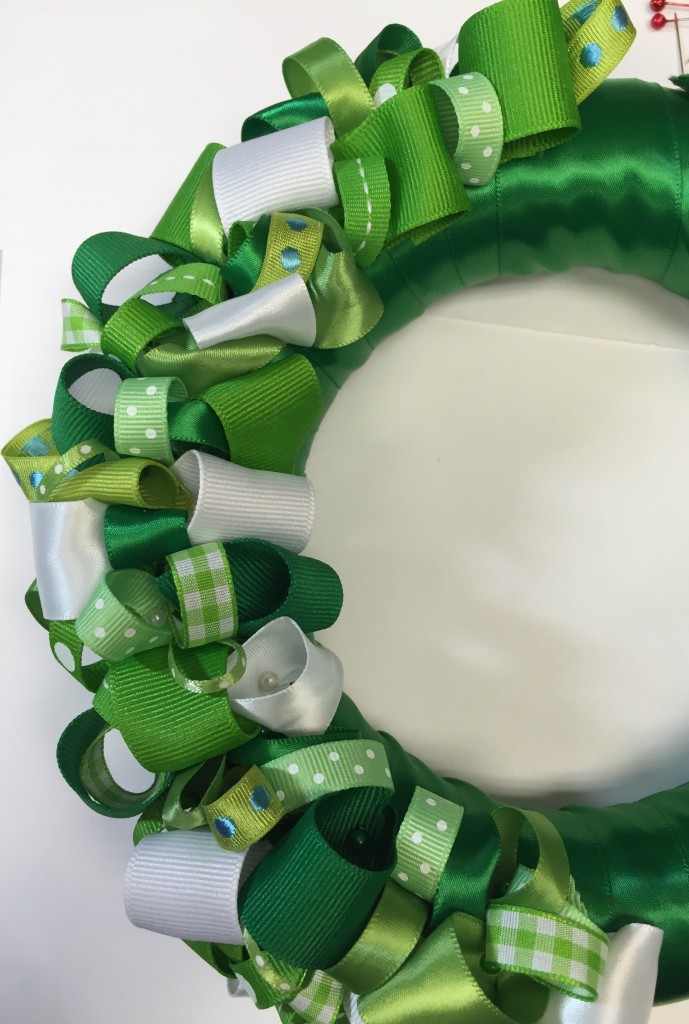
Here’s where the other blog comes in handy if I loose you… with your first piece what you want to do is roll your ribbon and insert pin inside your loop to secure into your wreath. Space your colors as you go along.
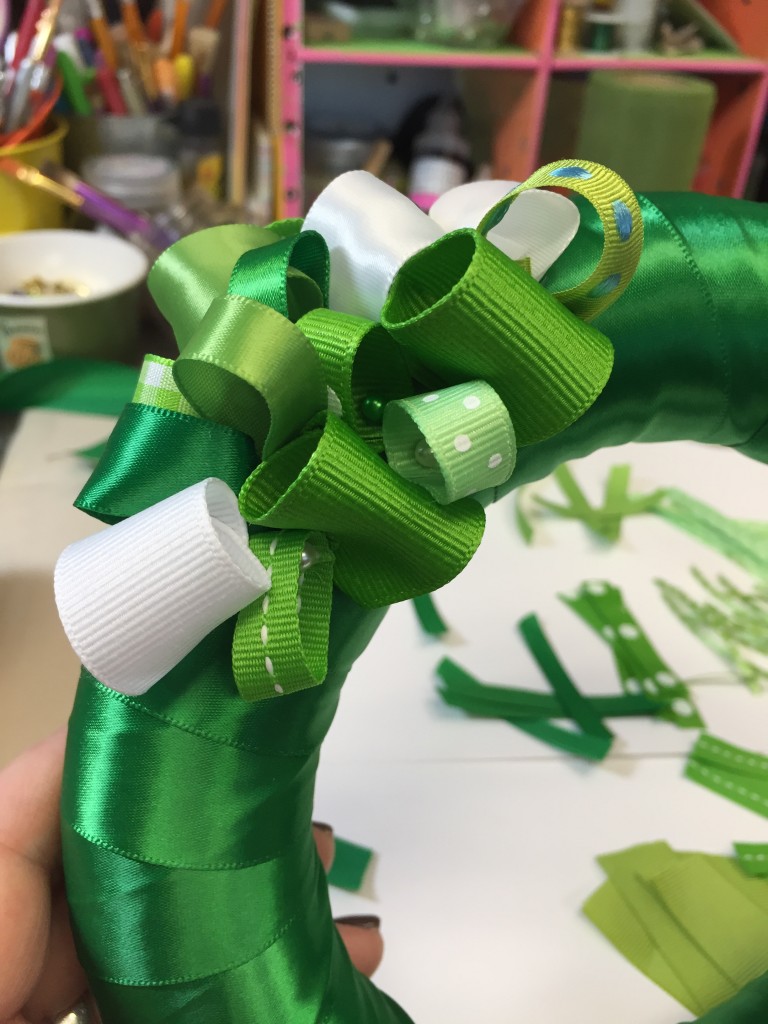 Once you get the hang of it does go quicker!
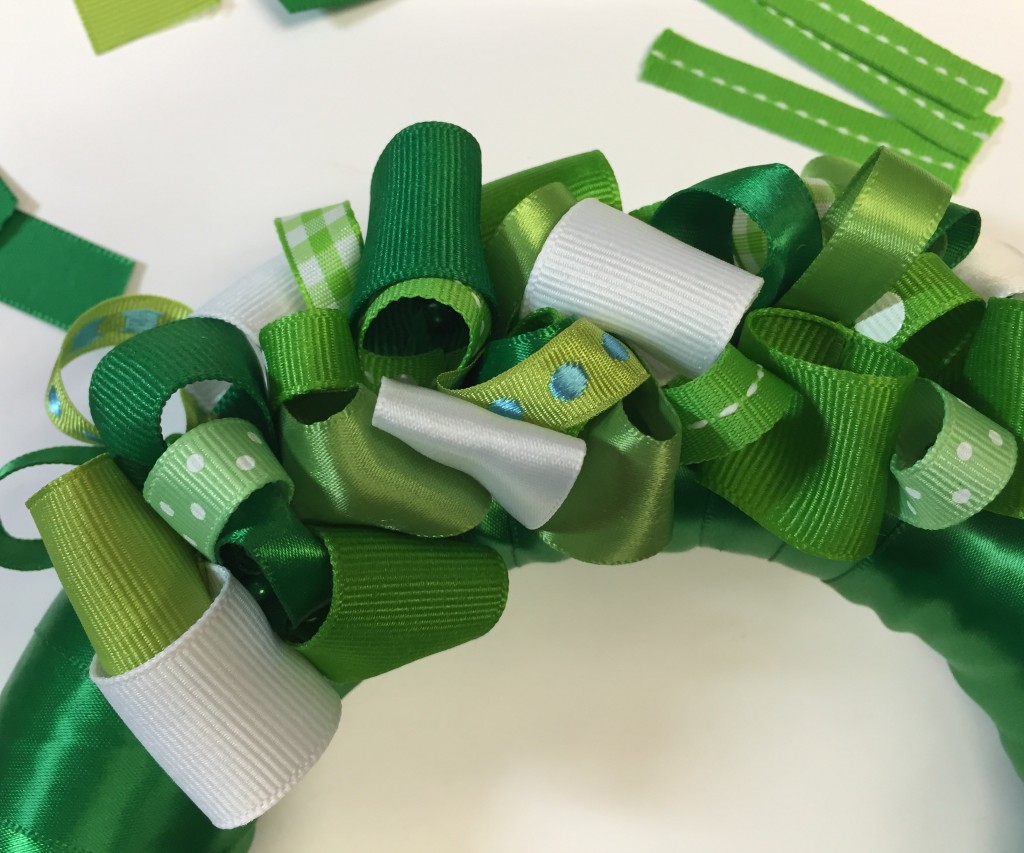
I’m loving this look! Keep going. I’m already thinking Spring but I need to focus! For this project we will only go half way.
At this point you can leave it BUT…it’s a BUTTON BLOG!
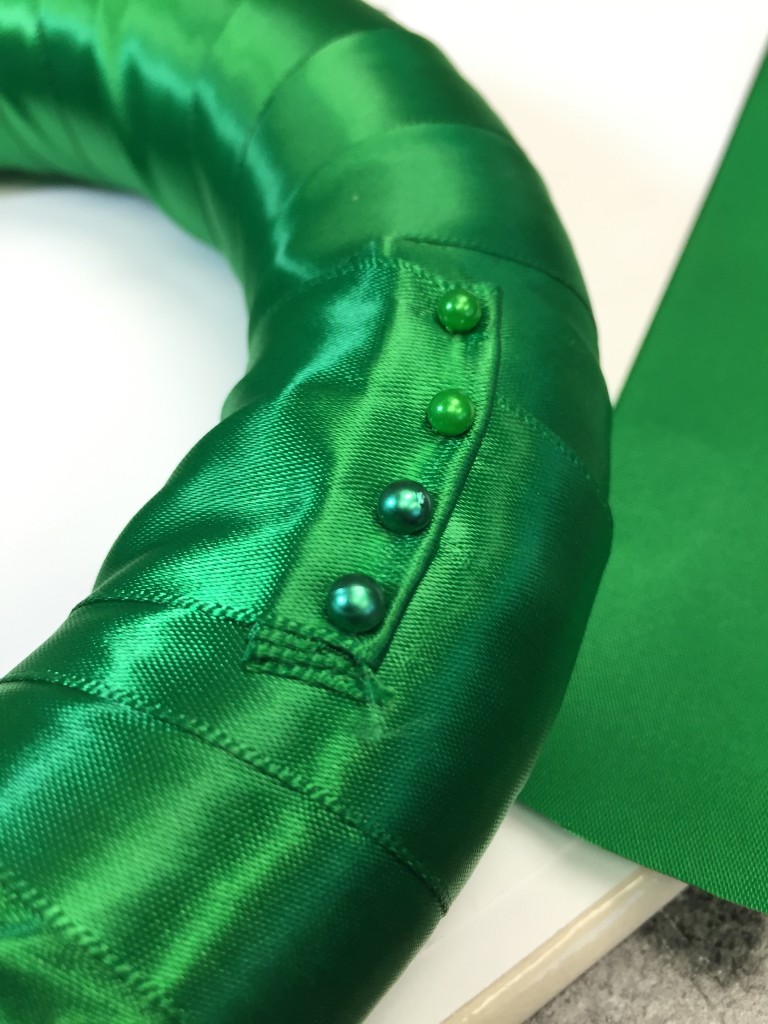
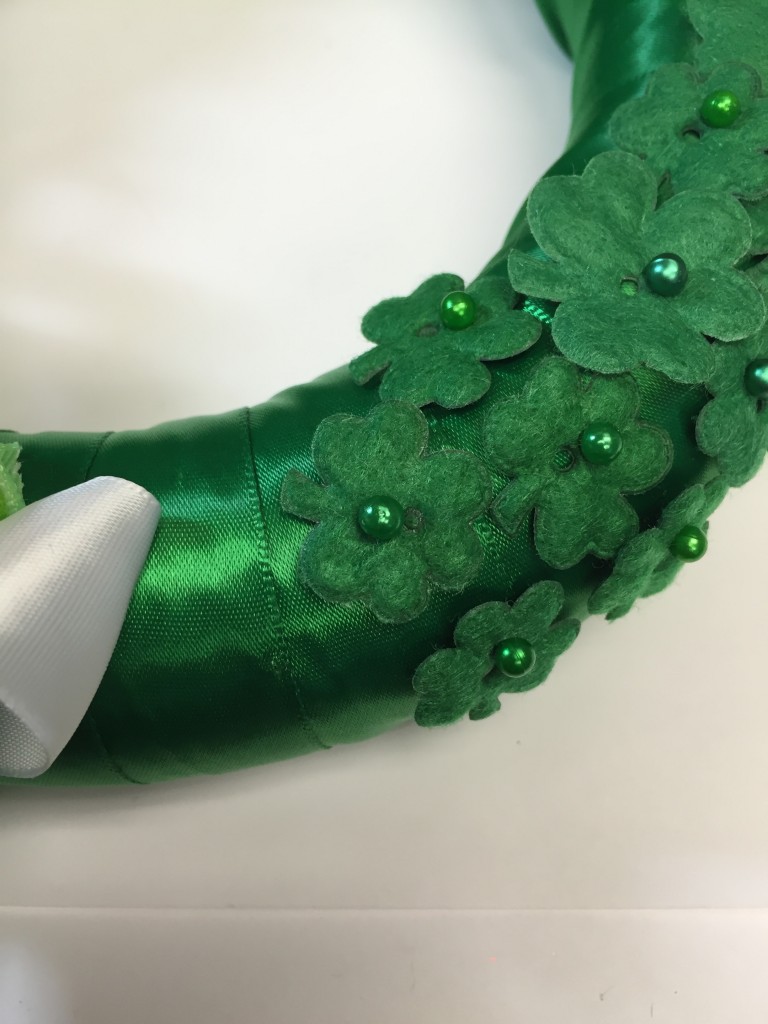
Moving onto the next step – Favorite Findings Shamrock Felt Buttons! You will need about 3 packs of these cards. Using your head pins begin inserting them into the Styrofoam – refer to photo.
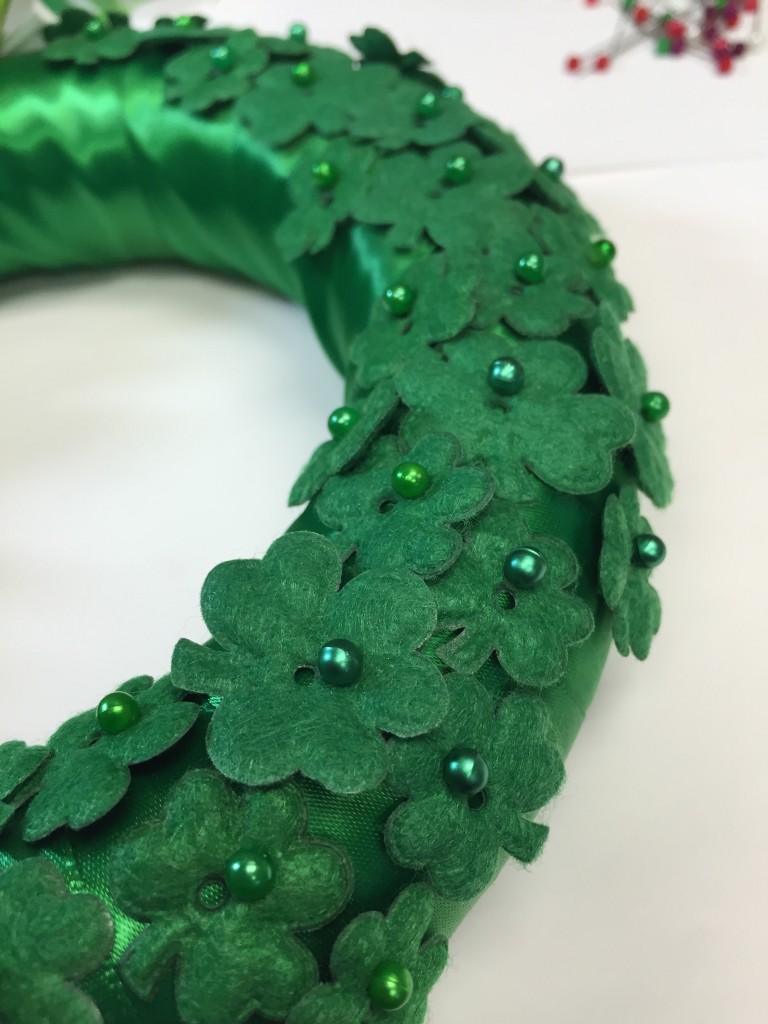
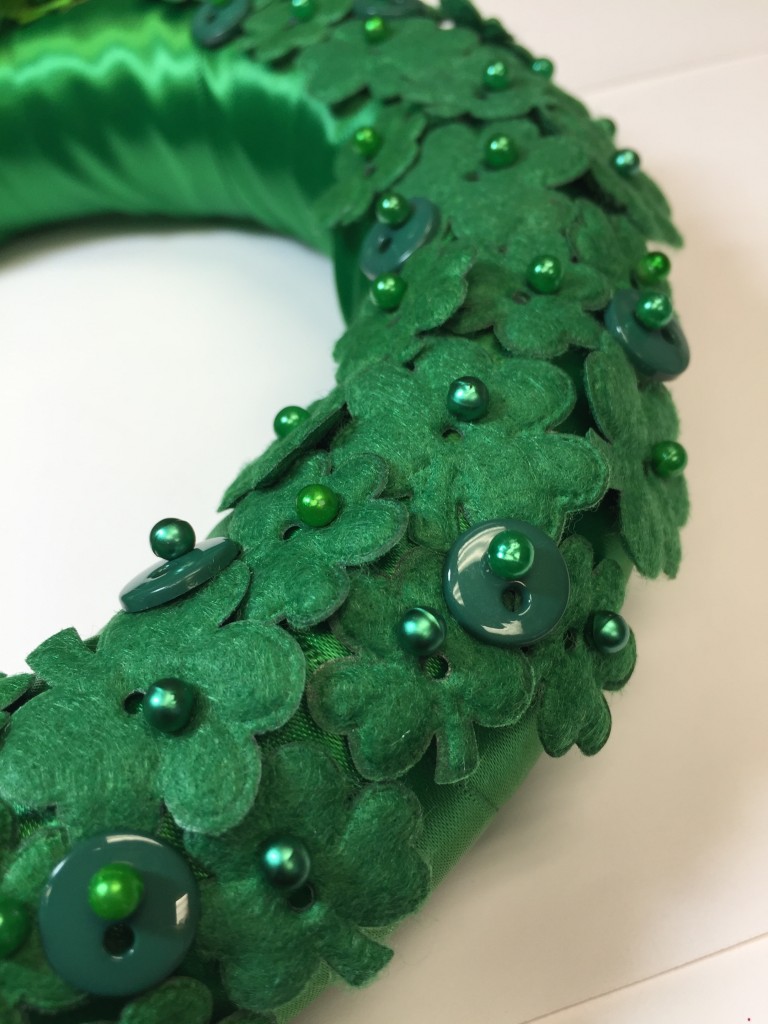
keep filling the other half of your wreath. As you can see from the next photo I went back and added buttons as fillers.
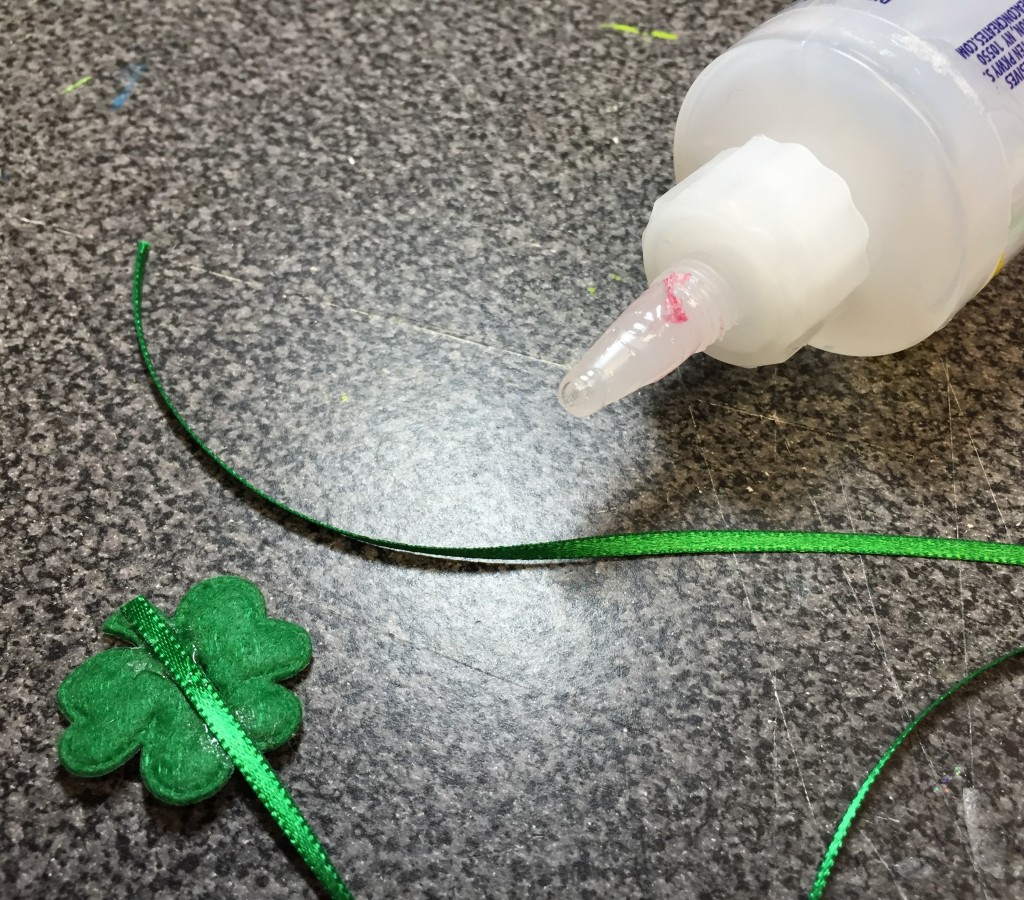
Final steps. Hanging shamrocks: cut approximately 3 – 4″ pieces of ribbon. Glue shamrocks back to back adding smaller ones (shamrocks) on top. With a pin secure to the under part of the wreath. Cut excess.
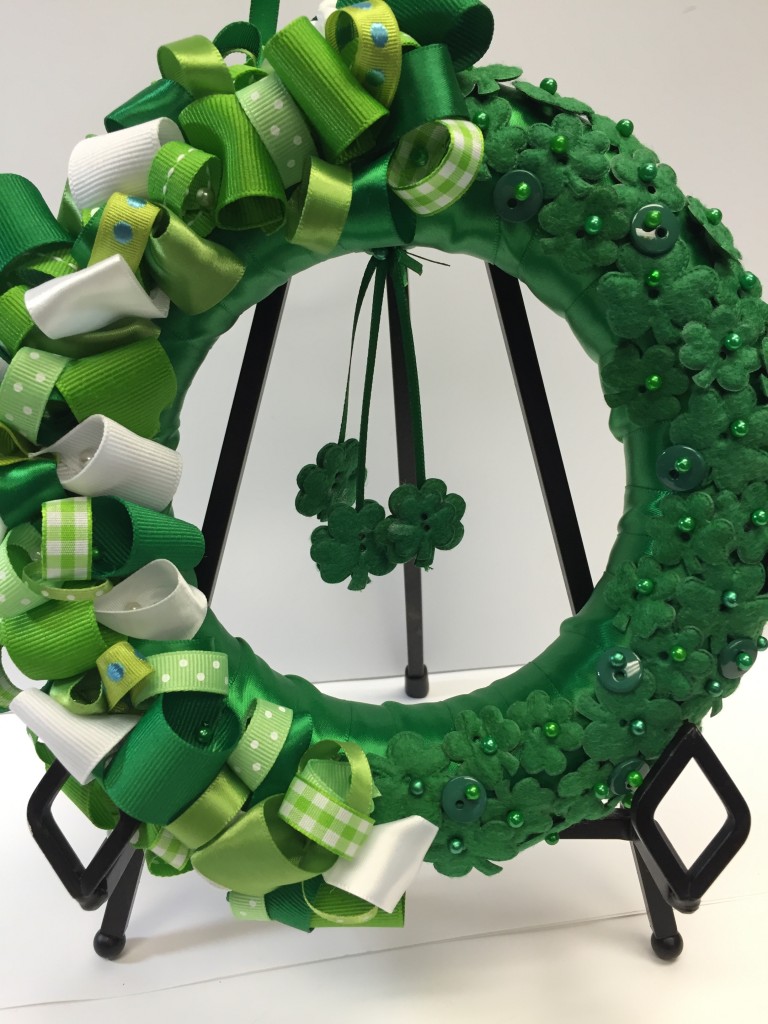
Add ribbon for hanging. Although it may not be the pot of gold at the end your rainbow – but at least you’ve created a really cute Button and Ribbon Wreath that you should be happy with!
Happy St. Patrick’s Day!
Happy Crafting
Happy Creating