
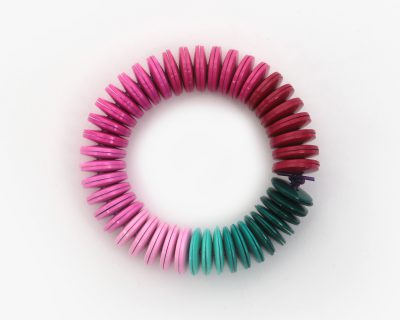
Celebrate the arrival of spring with this colorful button stretch bracelet. Our ombre buttons make it easy to create this simple DIY fashion accessory. Our ombre buttons are available in a wide variety of color families so pick your favorite combinations. In honor of spring, I chose pink and some mint green buttons for this project.
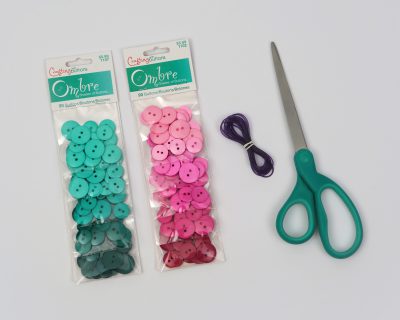
Gather the following materials to make your button stretch bracelet:
Ombre Mint Green Buttons 470001106
Stretch Cord
Scissors
Measuring Tape
Glue
The ombre buttons come in two sizes. For this bracelet, you will only need the smaller size buttons. Measure your wrist, double that measurement and add 6 to 8 inches. Pre-stretch the cord.
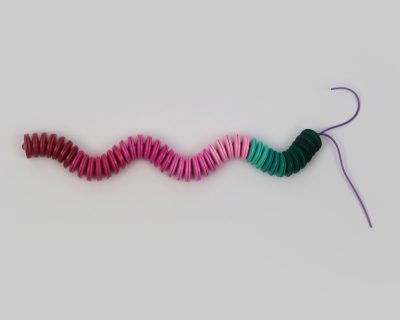
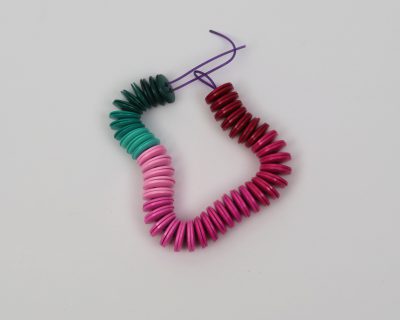
Next, lay out the buttons in an ombre pattern using an even number of buttons in each color.
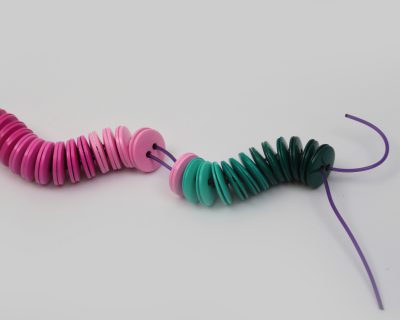
Fold the stretch cord in half. Select the first two buttons, place them flat sides together and align the holes. Thread the stretch cord ends through the button holes and slide to the end of the cord. Continue adding the buttons until you reach about 2 inches from the ends of the cords. Wrap around your wrist to check for fit and add or remove buttons as necessary.
Slide the buttons towards the open end to expose the loop and the starting end. Feed one open end through the loop. Pull tightly to form a circle. Tie the ends into 3 or 4 knots. Add a drop of glue to secure and trim the ends of the stretch cord.
You can create so many versions of this button stretch bracelet. Try mixing wood and metal buttons. Or add beads or charms. This project is great for older kids, especially when they are looking for something to do over spring break or summer vacation! This bracelet also makes a great gift. With such a wide variety of buttons available, your options are endless!
HAPPY CRAFTING!