
Looking for another way to update your Christmas decorations? This cute Christmas Banner with button accents works well with rustic or traditional decorations. You can customize this banner by using a different word and different fabrics or use shaped buttons.
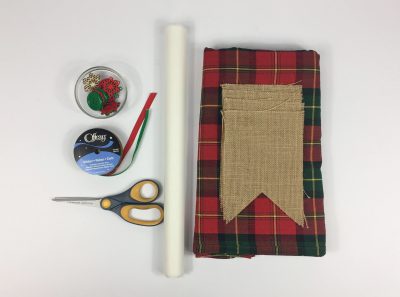
You will need the following materials for this project:
- Favorite Findings Big Christmas Buttons 550000501 and Mini Christmas Buttons 550000440
- Offray Burlap
- Offray Satin Ribbon
- Patterned Fabric (I used a traditional plaid)
- Iron-on Adhesive
- Scissors
- Letter Stencils
- Ruler
Once you have gathered all your materials, follow these steps:
Measure the size of your letters and cut flag shapes from the burlap to accommodate the letters with space on all sides. Add an extra inch at the top so you can fold over the ribbon to string the flags together. Iron the fabric to remove the wrinkles. Apply the iron-on adhesive to the back of your fabric (make sure to read instructions if you’re using this product for first time). Trace the letters onto the fabric and cut them out. Iron the letters on to the burlap flags.
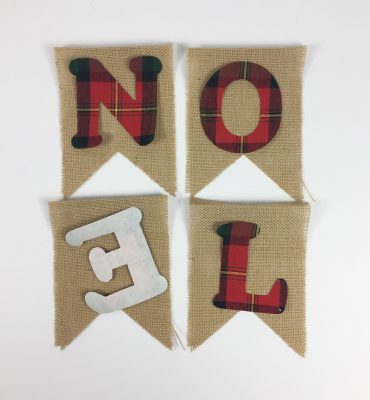
Fold the top of the flag over to the back. Using a small strip of the iron-on adhesive (or fabric glue), attach the burlap to itself in the back. Leave a small loop to feed the ribbon through.
Cut the ribbon to the length you desire for the length of the banner, leaving ribbon at the ends to hang. Feed the ribbon through the tops of the flags. Cut shorter pieces of ribbon and in between each letter, feed ribbon through the button holes and tie onto the ribbon running through the banner.
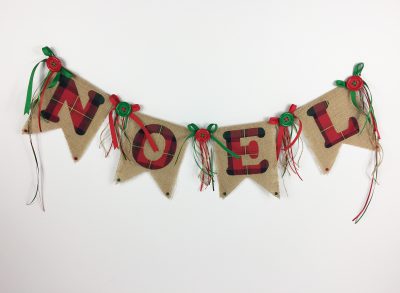
Tie additional pieces of ribbon behind the buttons and let hang between each letter. Glue the Mini Buttons to the bottom corner of each flag.
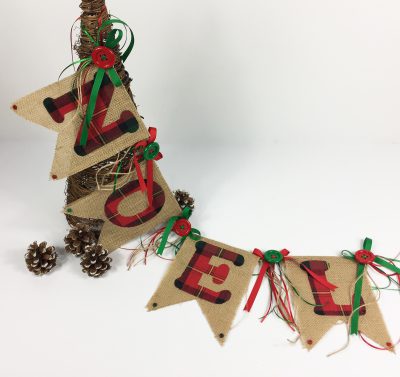
Now your Christmas Banner is ready to hang on a mantel, a bookshelf, or across a door frame.
HAPPY CRAFTING!