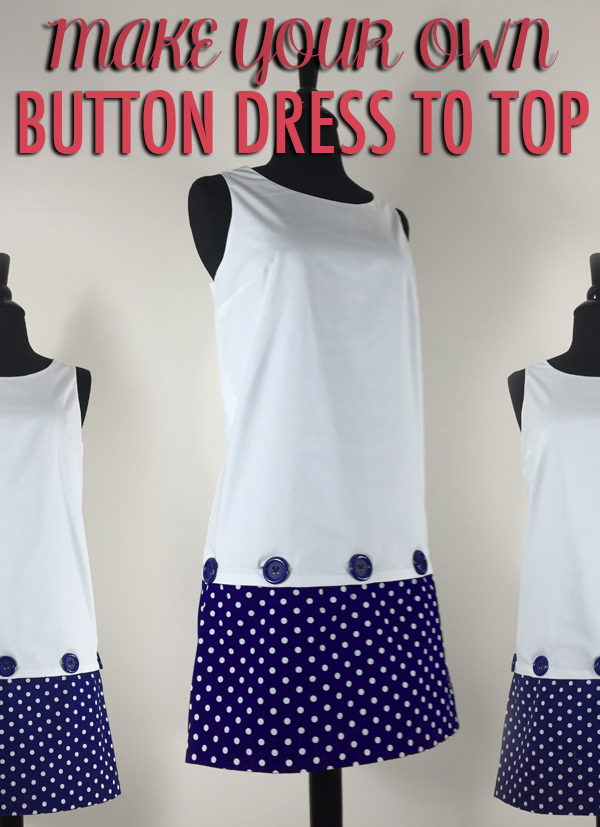
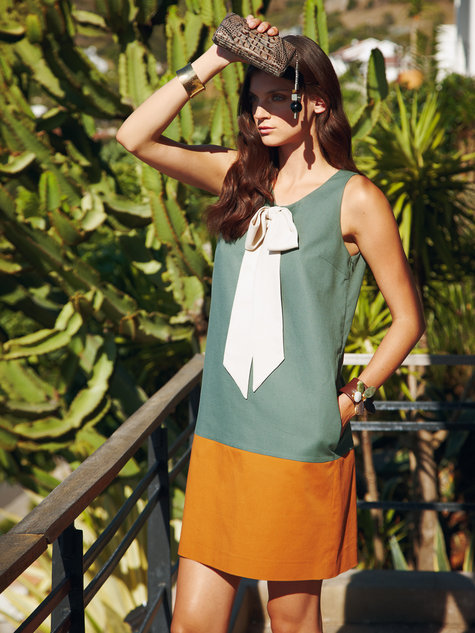
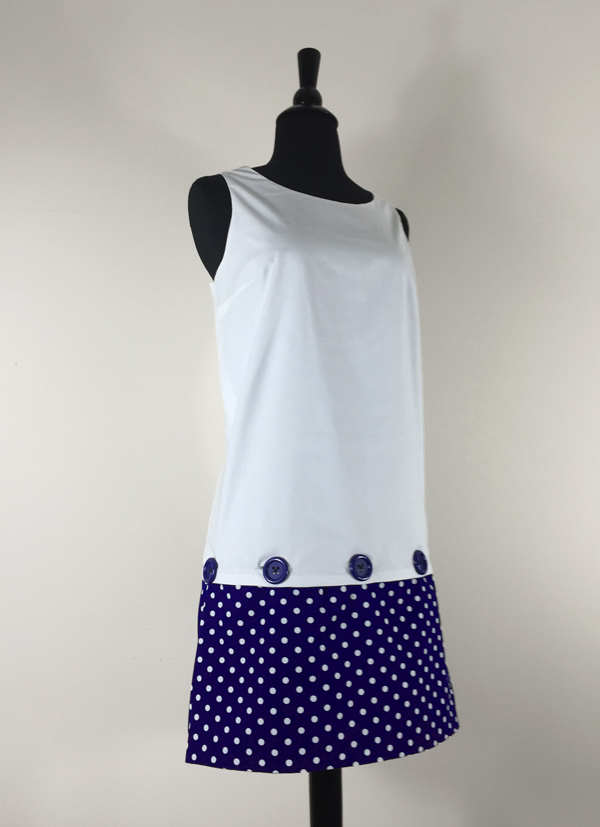
Today I’m making a project that transforms a top into a dress! it’s a really fun idea that you can alter a million ways. The pattern for the original project can be found on Burda style’s website, and printed directly from your computer at home…how convenient is that?
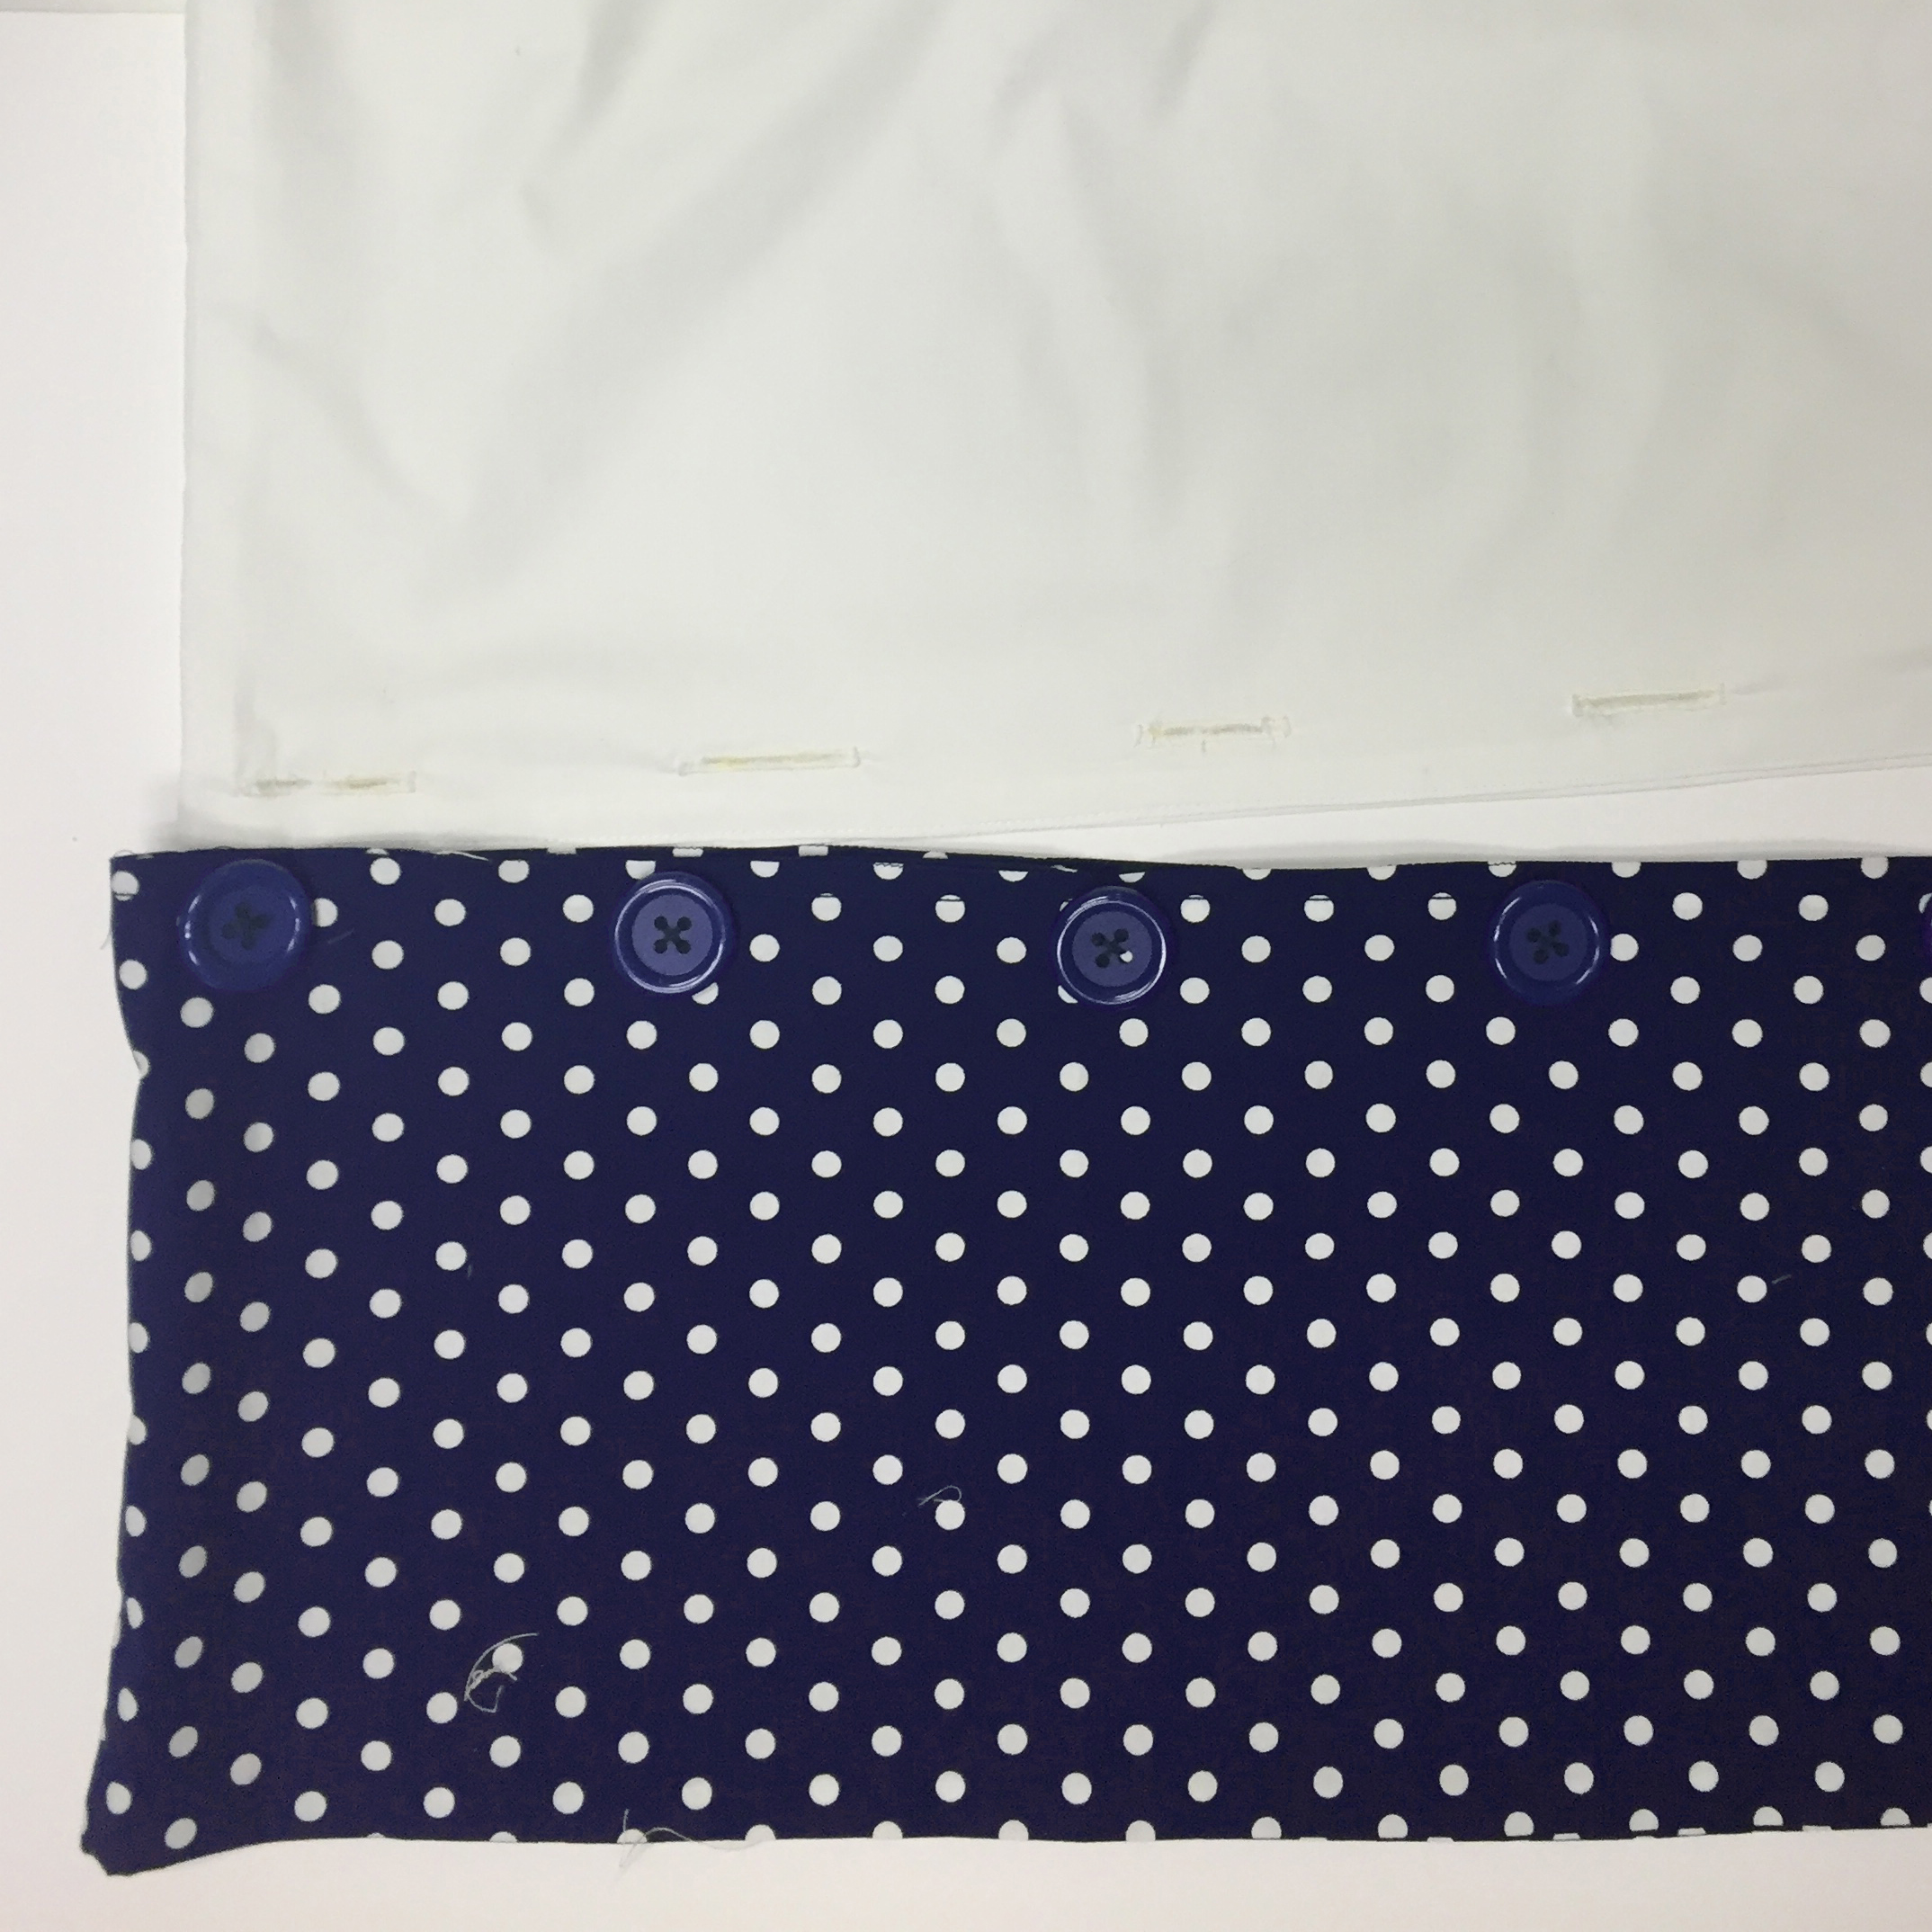
This is a basic A-line dress with a pattern-block hem. I’m going to show you how to transform the hem into a detachable piece so that you can use the garment as top!
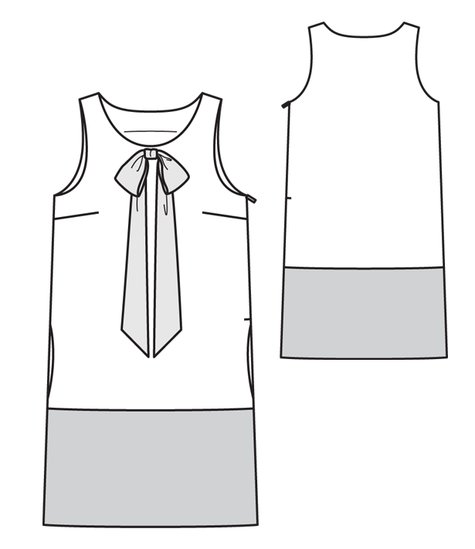
Be sure to remember to add seam allowance to your pattern after it is printed. Move the position of your pockets up two inches on your pattern to ensure that it doesn’t hang below the shirt hemline. Follow the instructions given by Burda to construct your garment- but hem your top and bottom pieces separately, without attaching them together.

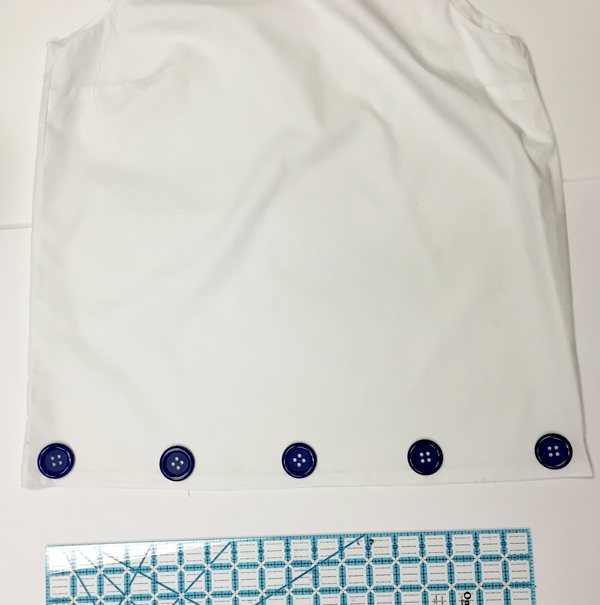
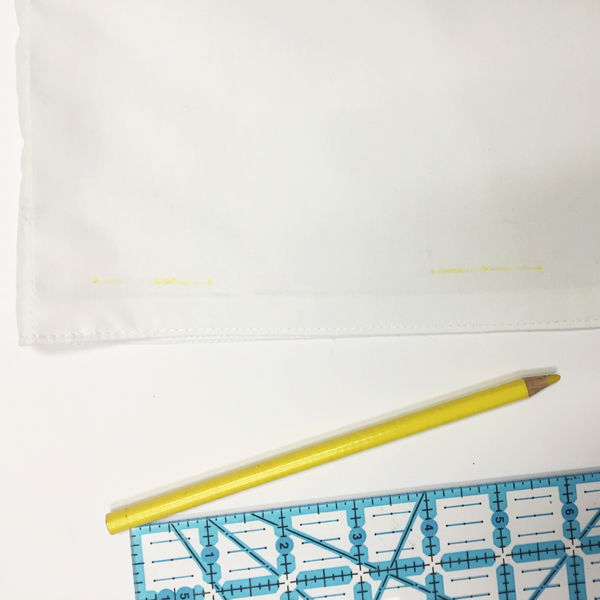
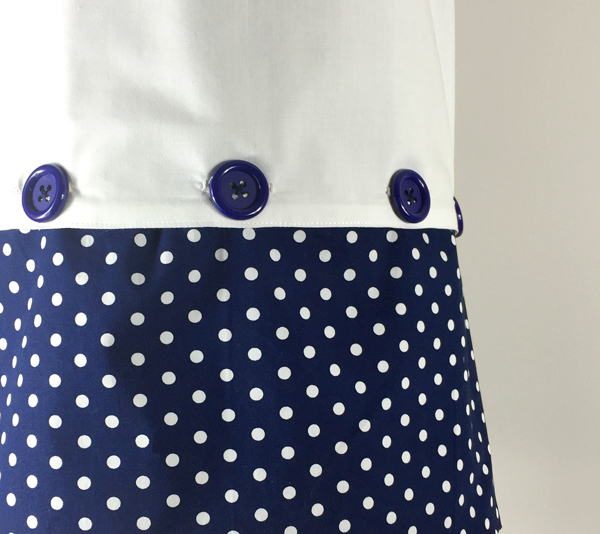
Once your pieces are constructed, use a removable fabric marker or chalk to mark the desired position for your buttons along the top hem line.

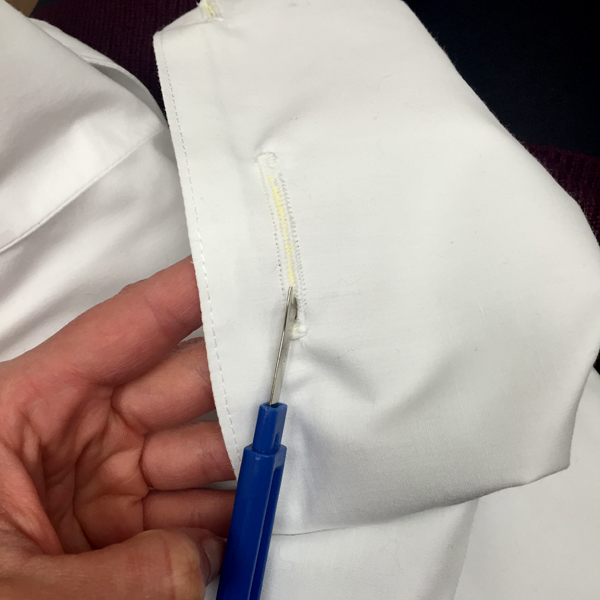
Create button holes that are about 1/8″- 1/4″ wider than your desired button. Mark the same position on your skirt, where your buttons will be sewn.
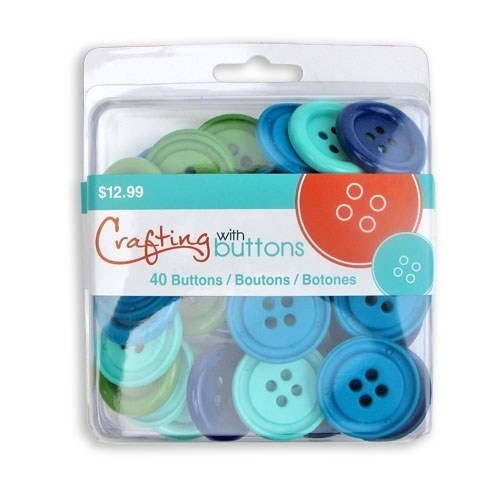
After creating your button holes, stitch your buttons to the marked positions. I used our large blue four hole buttons from the Ocean Big Buttons Clamshell pack. You can purchase these on our website or find them in Joann Fabrics! You may also find them in your local sewing or fabric store so ask if they are available!
But for this project you can use any button you want just make sure it is sturdy enough to hold the skirt in place. We recommend using a 2 hole or 4 hole button. A shank button may need some backer buttons to keep them from flopping down.

Have fun creating and please share with us what you make on Instagram and Twitter – @buttonlovers.