IT’S SUMMER!!! It came a little later for us here on the East Coast…but it’s finally here!
Time to bust out the sewing machine and frozen cocktails because you’ve got a ton of fashion projects coming your way! – Just…take it easy on the cocktails until you’re done playing with needles and scissors. Trust me on this one!
I have some super cute and super easy summer DIY projects to die for that I can’t wait to share! Let’s start with and DIY Summer Outfit – a super simple Maxi skirt and cropped top.
I absolutely love this project because it’s SO easy…it’s super quick, requires NO closures, and the concept can be applied to a ton of different styles. For instance, the maxi skirt can be a mini or midi skirt, the cropped top can be decorated with lace at the edges…it’s a really easy project with tons of potential…and the best part — it only takes about 90 minutes max to make! You get a whole outfit made in under 90 minutes! All by yourself! What’s better than that?

Here’s what you do for the skirt!
Grab a lightweight fabric that you love…make it fun! The more it stands out, the more people will notice it! …And the more you get to share how awesomely amazing you are for making it yourself in no time 😉
For a maxi skirt, I usually get about 1 1/2 -2 yards of fabric for the skirt- this amount may have to change depending on your height… I’m only 5’3″ so 2 yards is more than enough.
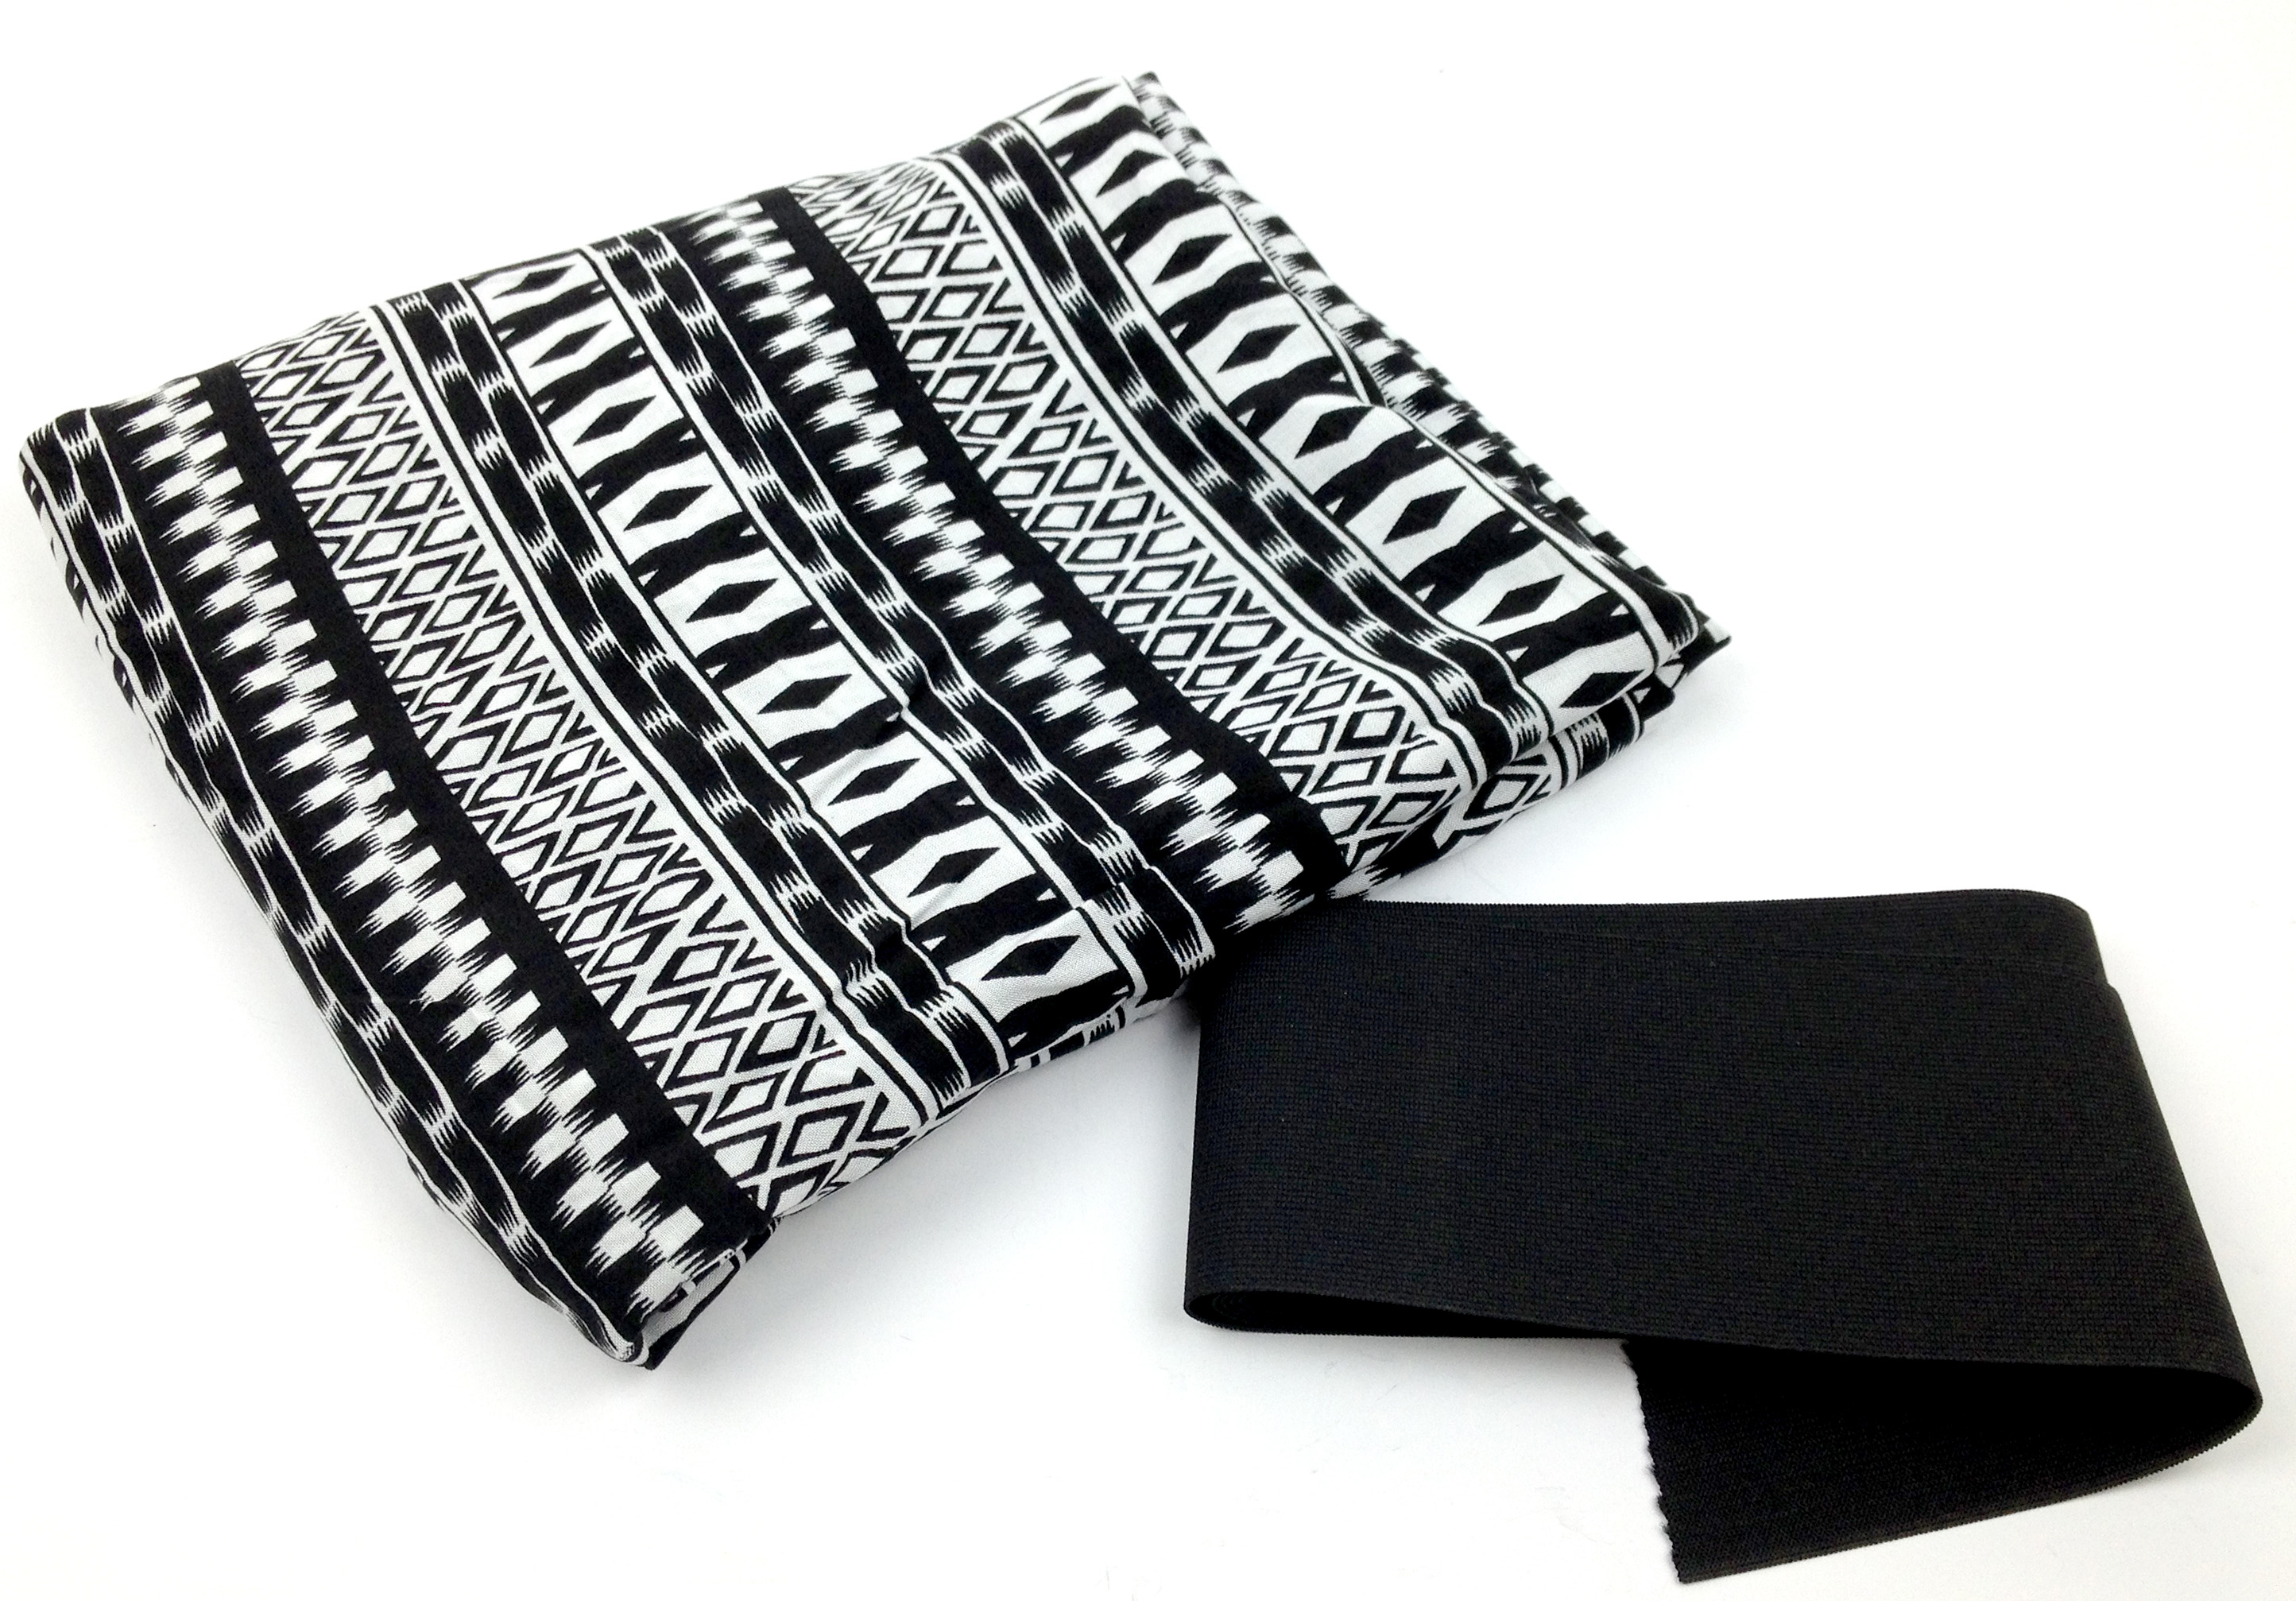
You’ll also need a wide elastic for the waistband. I get a width anywhere between 1 1/2″- 3″ wide. The fabric store should have either black or white…if you’re lucky, they may provide some other colors. I would just pick whatever matches your fabric best. You can also dye white elastic to better match the fabric if you wish.
I got my materials! I chose an inexpensive tribal print in black and white that I purchased at Joann Fabrics and one yard of black wide elastic band.
Now what you want to do is measure the distance from your waist to the floor…fold your fabric perfectly in half long ways and mark that measurement on your fabric to cut.
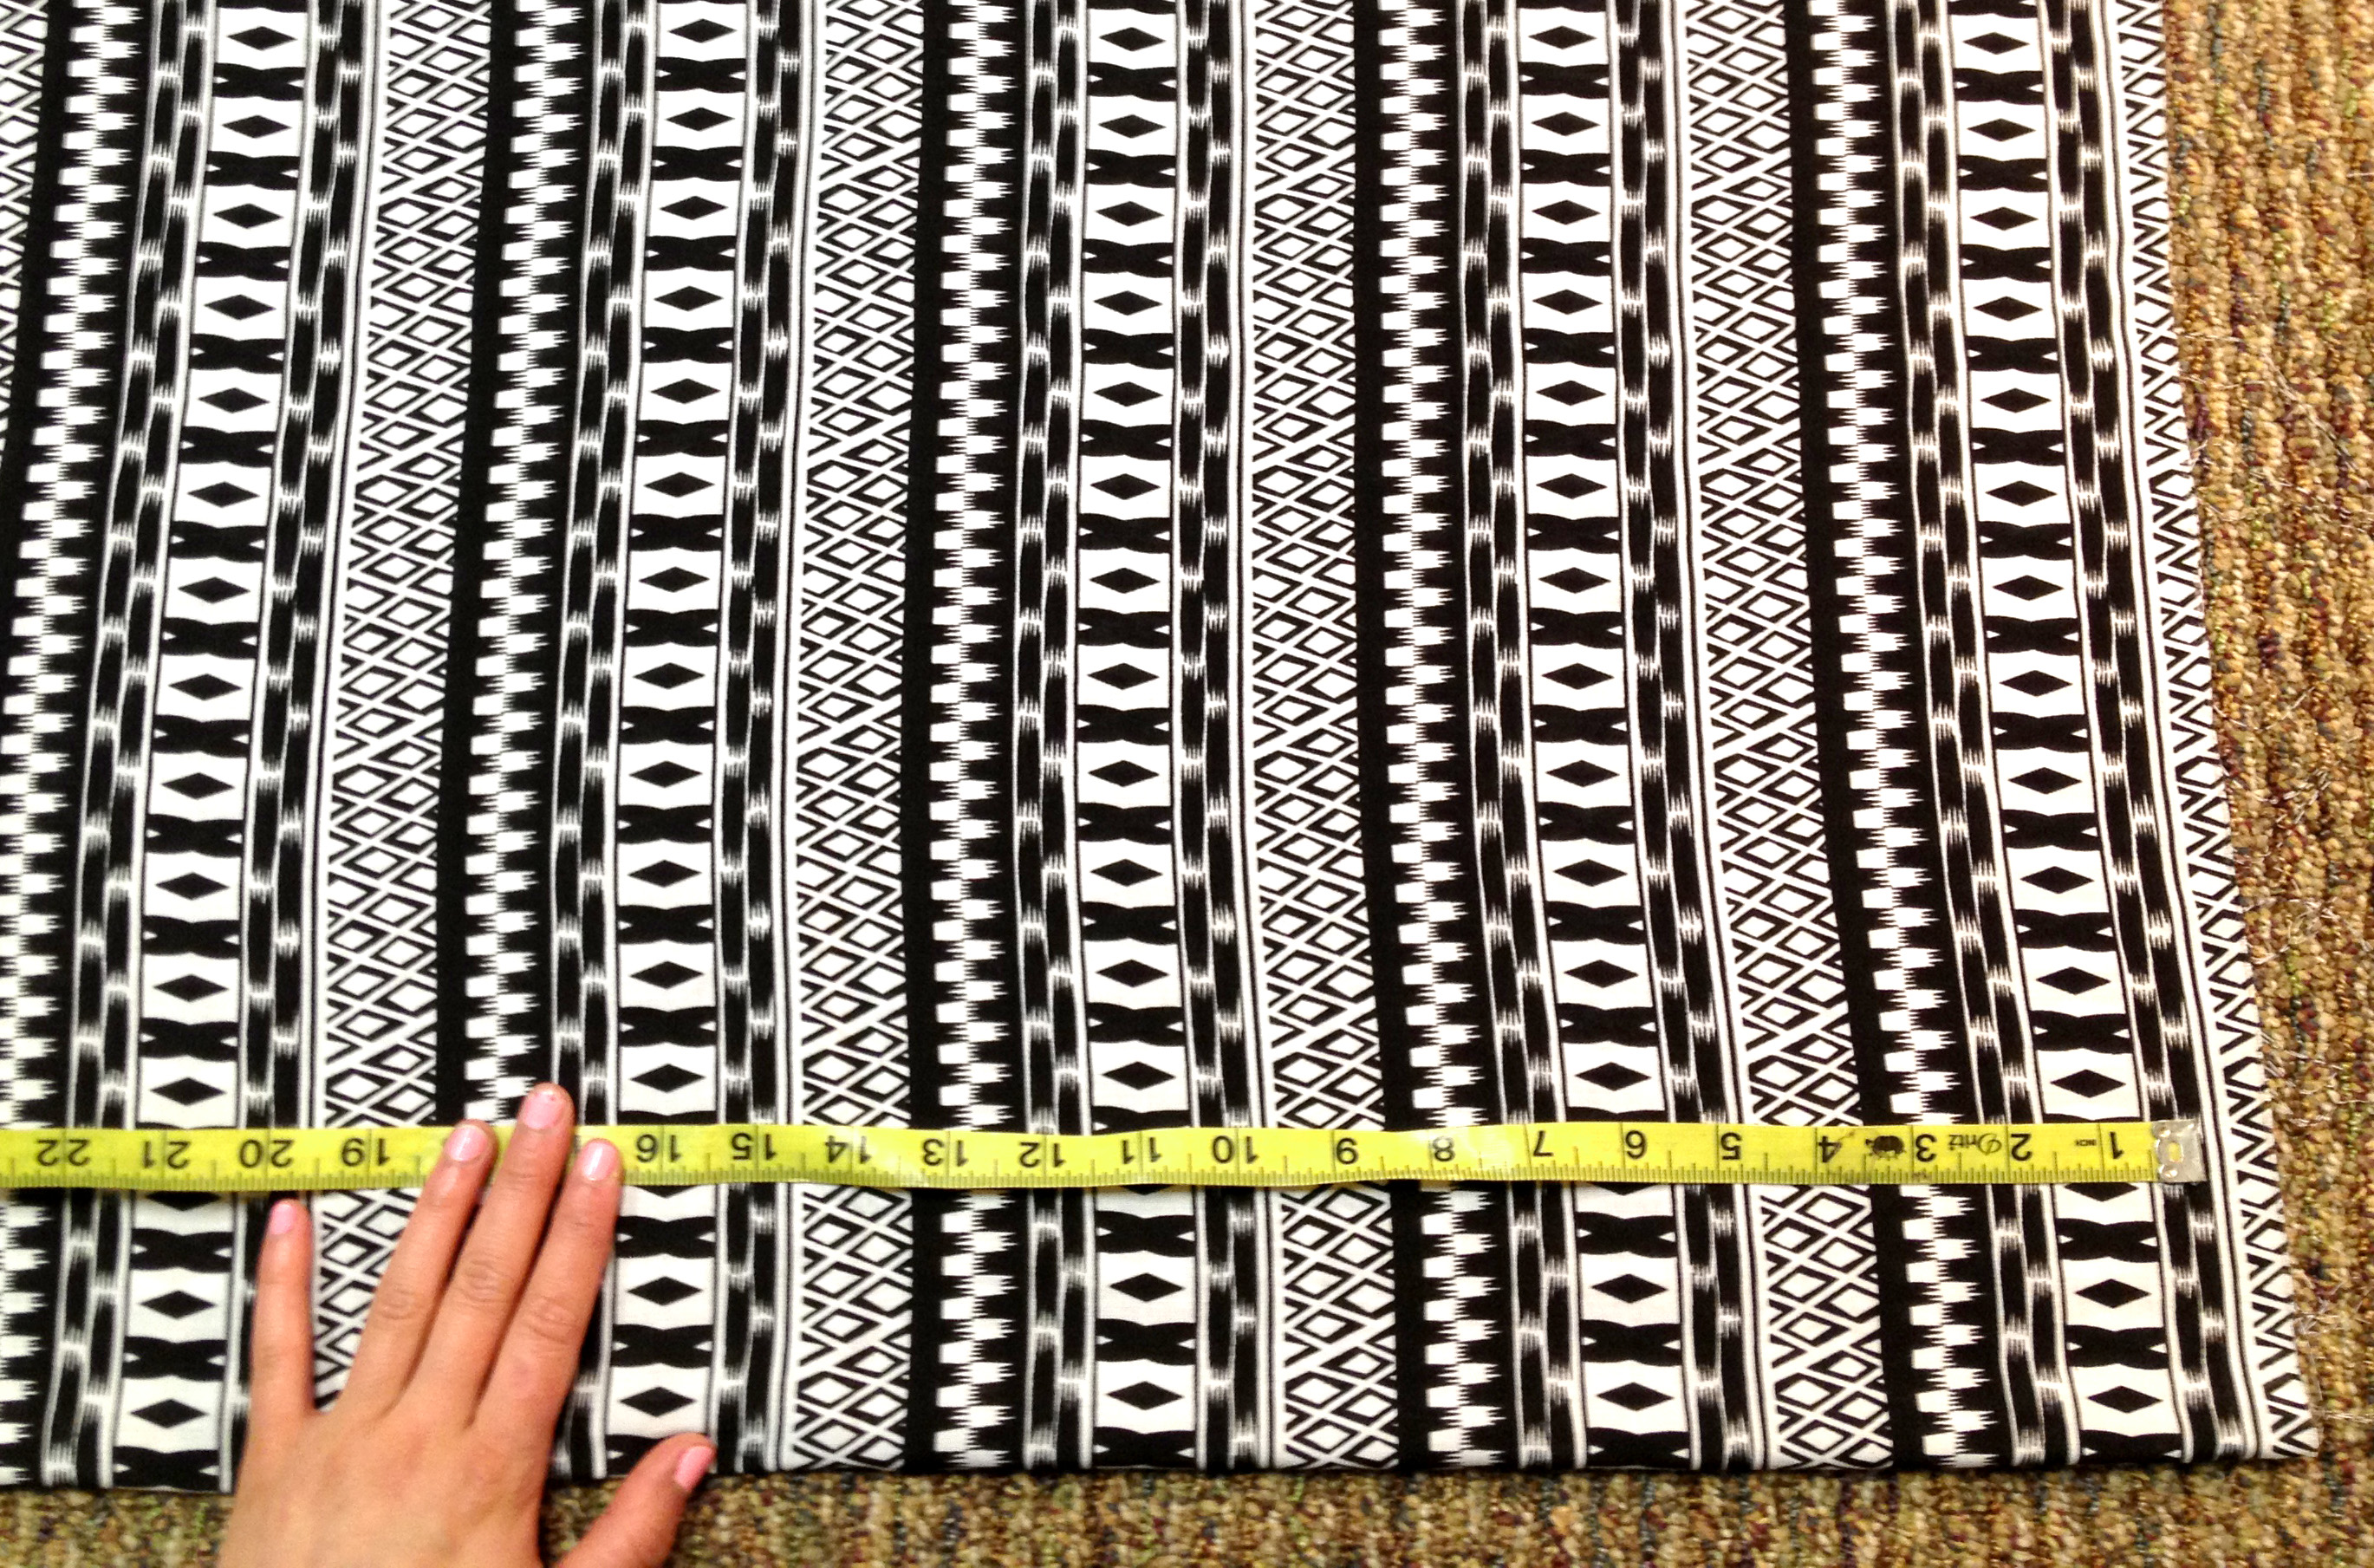
You should end up with a rectangular shape. The edges parallel to the fold will be your side seams and the edges perpendicular to the fold will be your waist and hem seams. It may be helpful to hem the bottom of the rectangle and finish the sides and waist edge with a zig zag stitch so you won’t have to worry about it later.
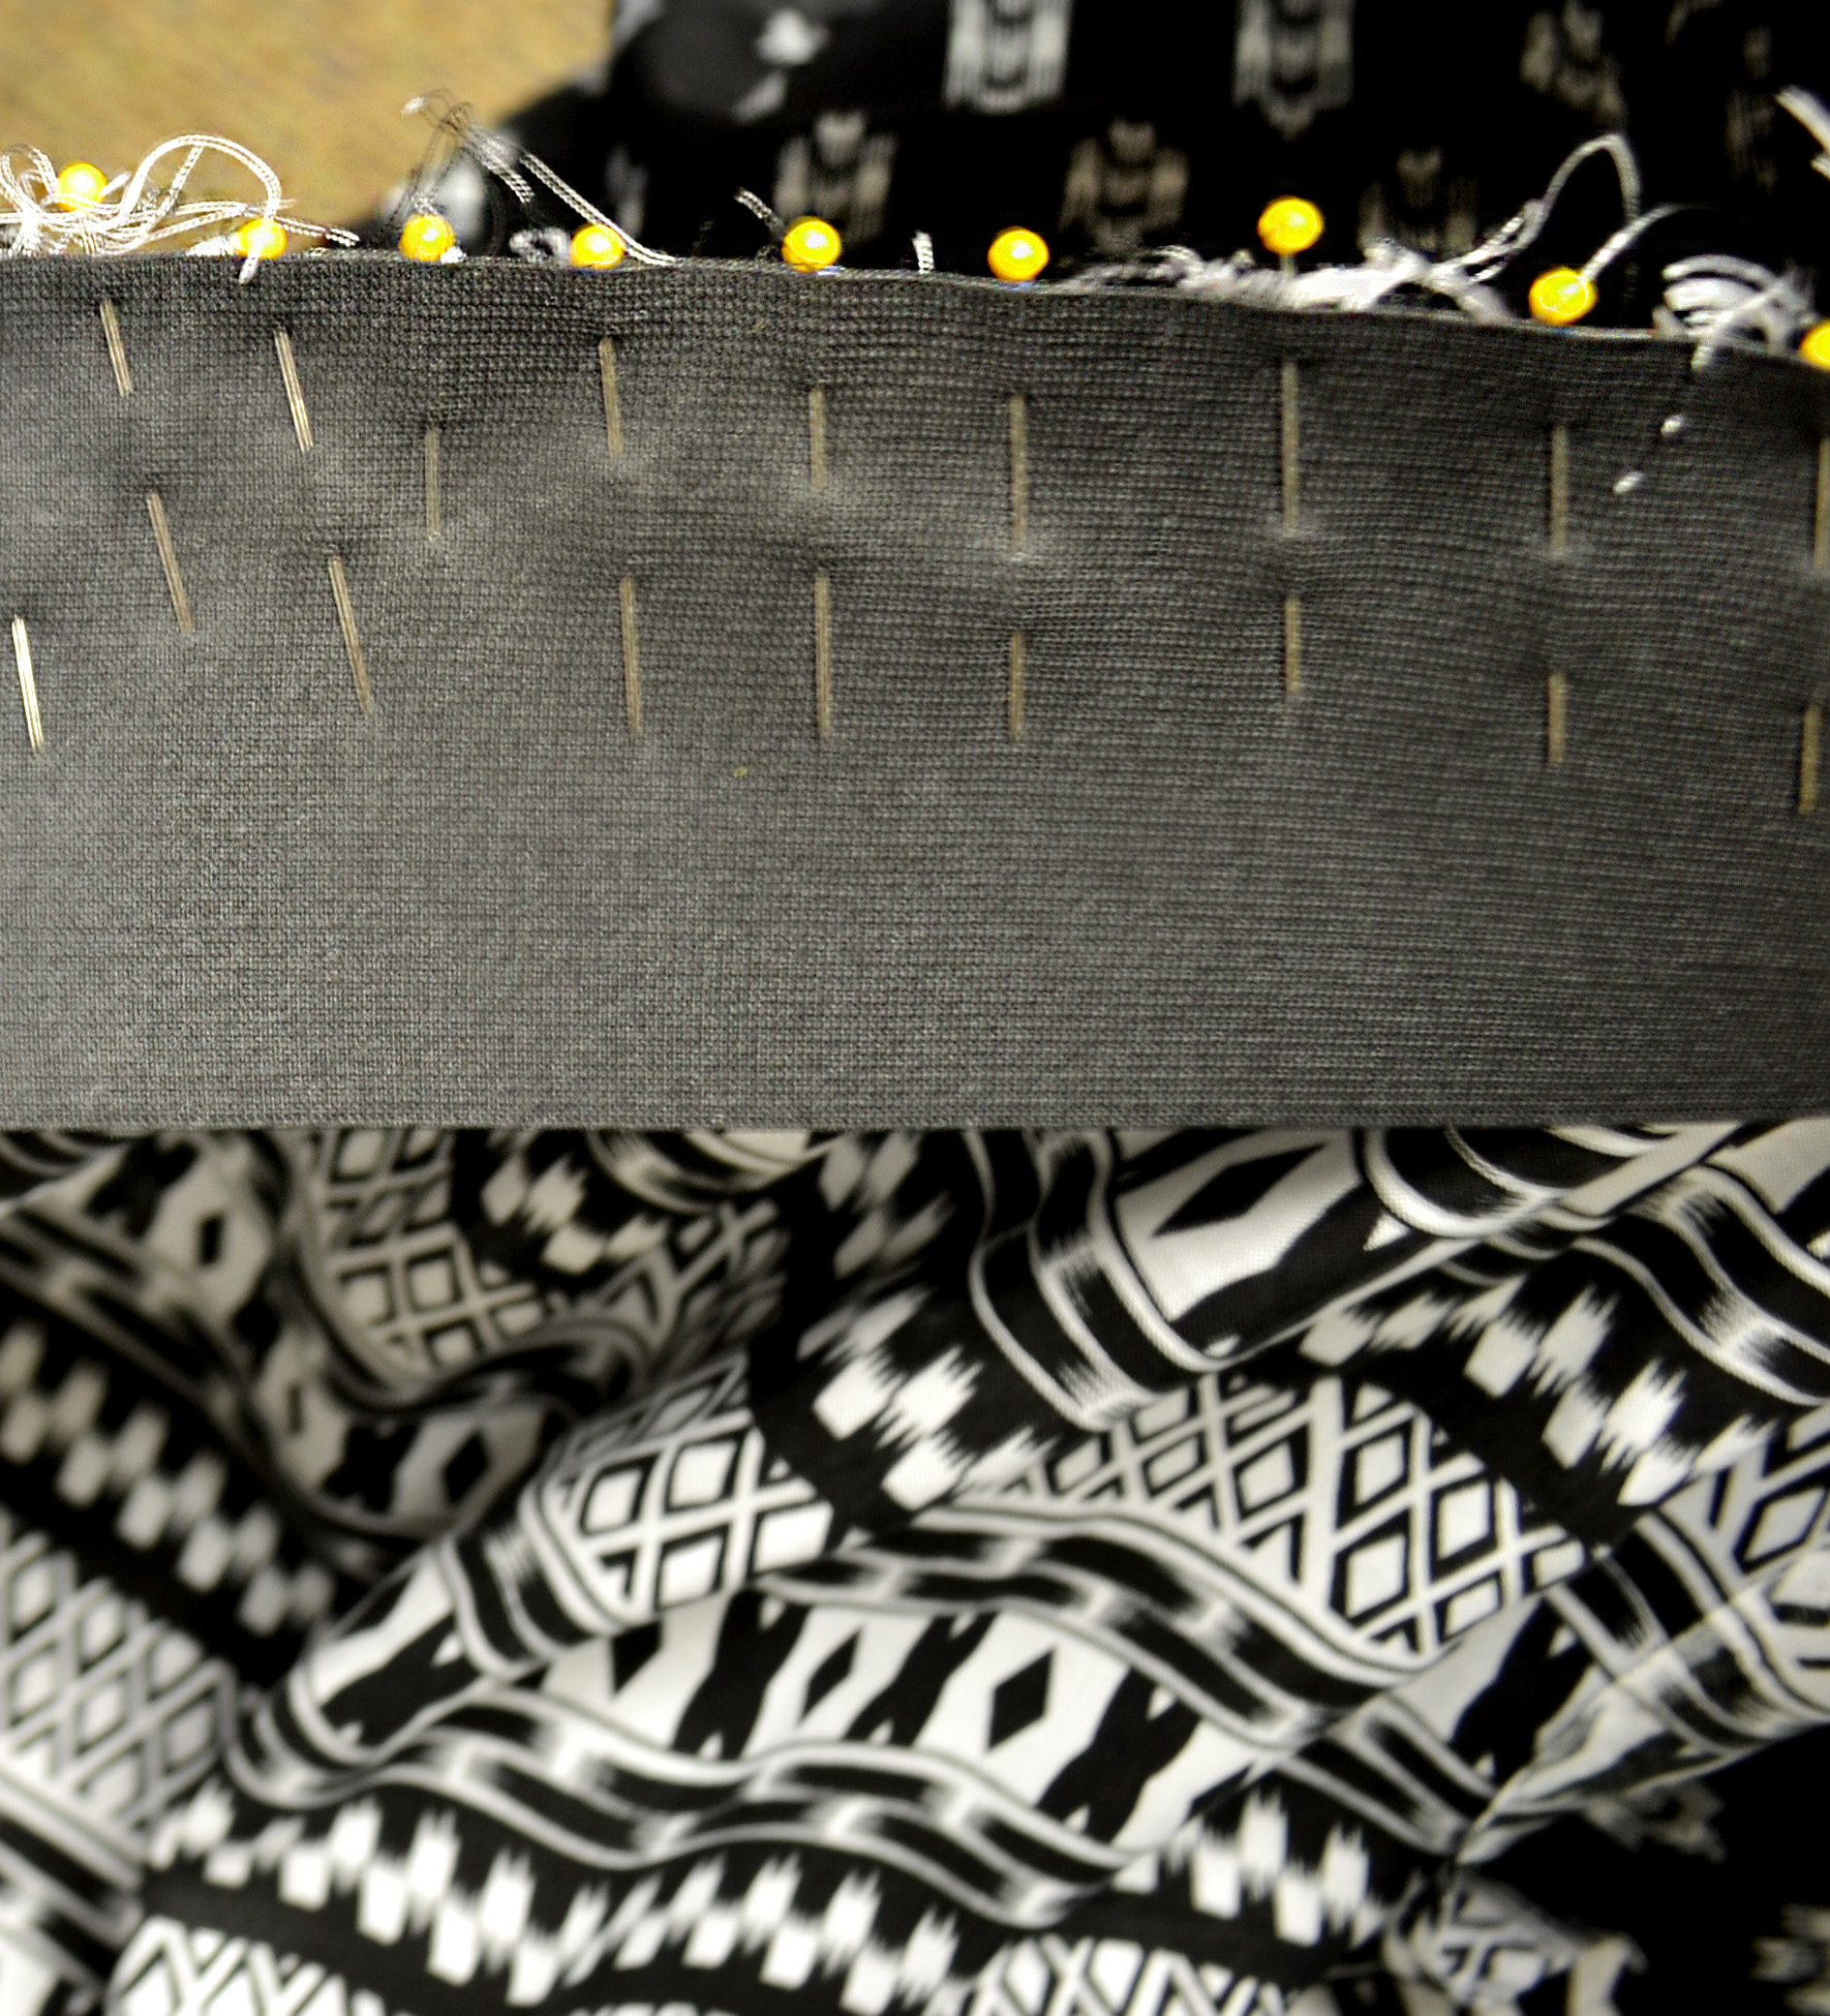
Next step! Grab your elastic…cut it to the measurement of your waist, adding a half inch for seam allowance. Find the exact center of the elastic and of your skirt fabric by folding them in half and marking the center point with a pin or with fabric chalk/marker. Pin one corner of your elastic to your fabric where the waist seam is, right sides together. Pin the centers of both your elastic and fabric together so they match up…then pin the final two corner points together. This will ensure that that the fabric gathers evenly when you sew it.
Now, stretch your elastic until it reaches the length of your fabric and pin them together while the elastic is stretched. Sometimes it helps to have an extra set of hands for this step, but it’s not necessary! The skirt should look something like this once it’s pinned.
Sew the fabric to the elastic with a straight stitch on your machine, making sure to stretch the elastic as far as possible while sewing. It should look something like this!

Almost done!! The last and final step is to fold the skirt in half longways and sew the back seam together…and you’re DONE! With the skirt at least! How simple was that? Try this with different lengths! I had some print fabric left over that could be used to make a mini version or a skirt for my niece!
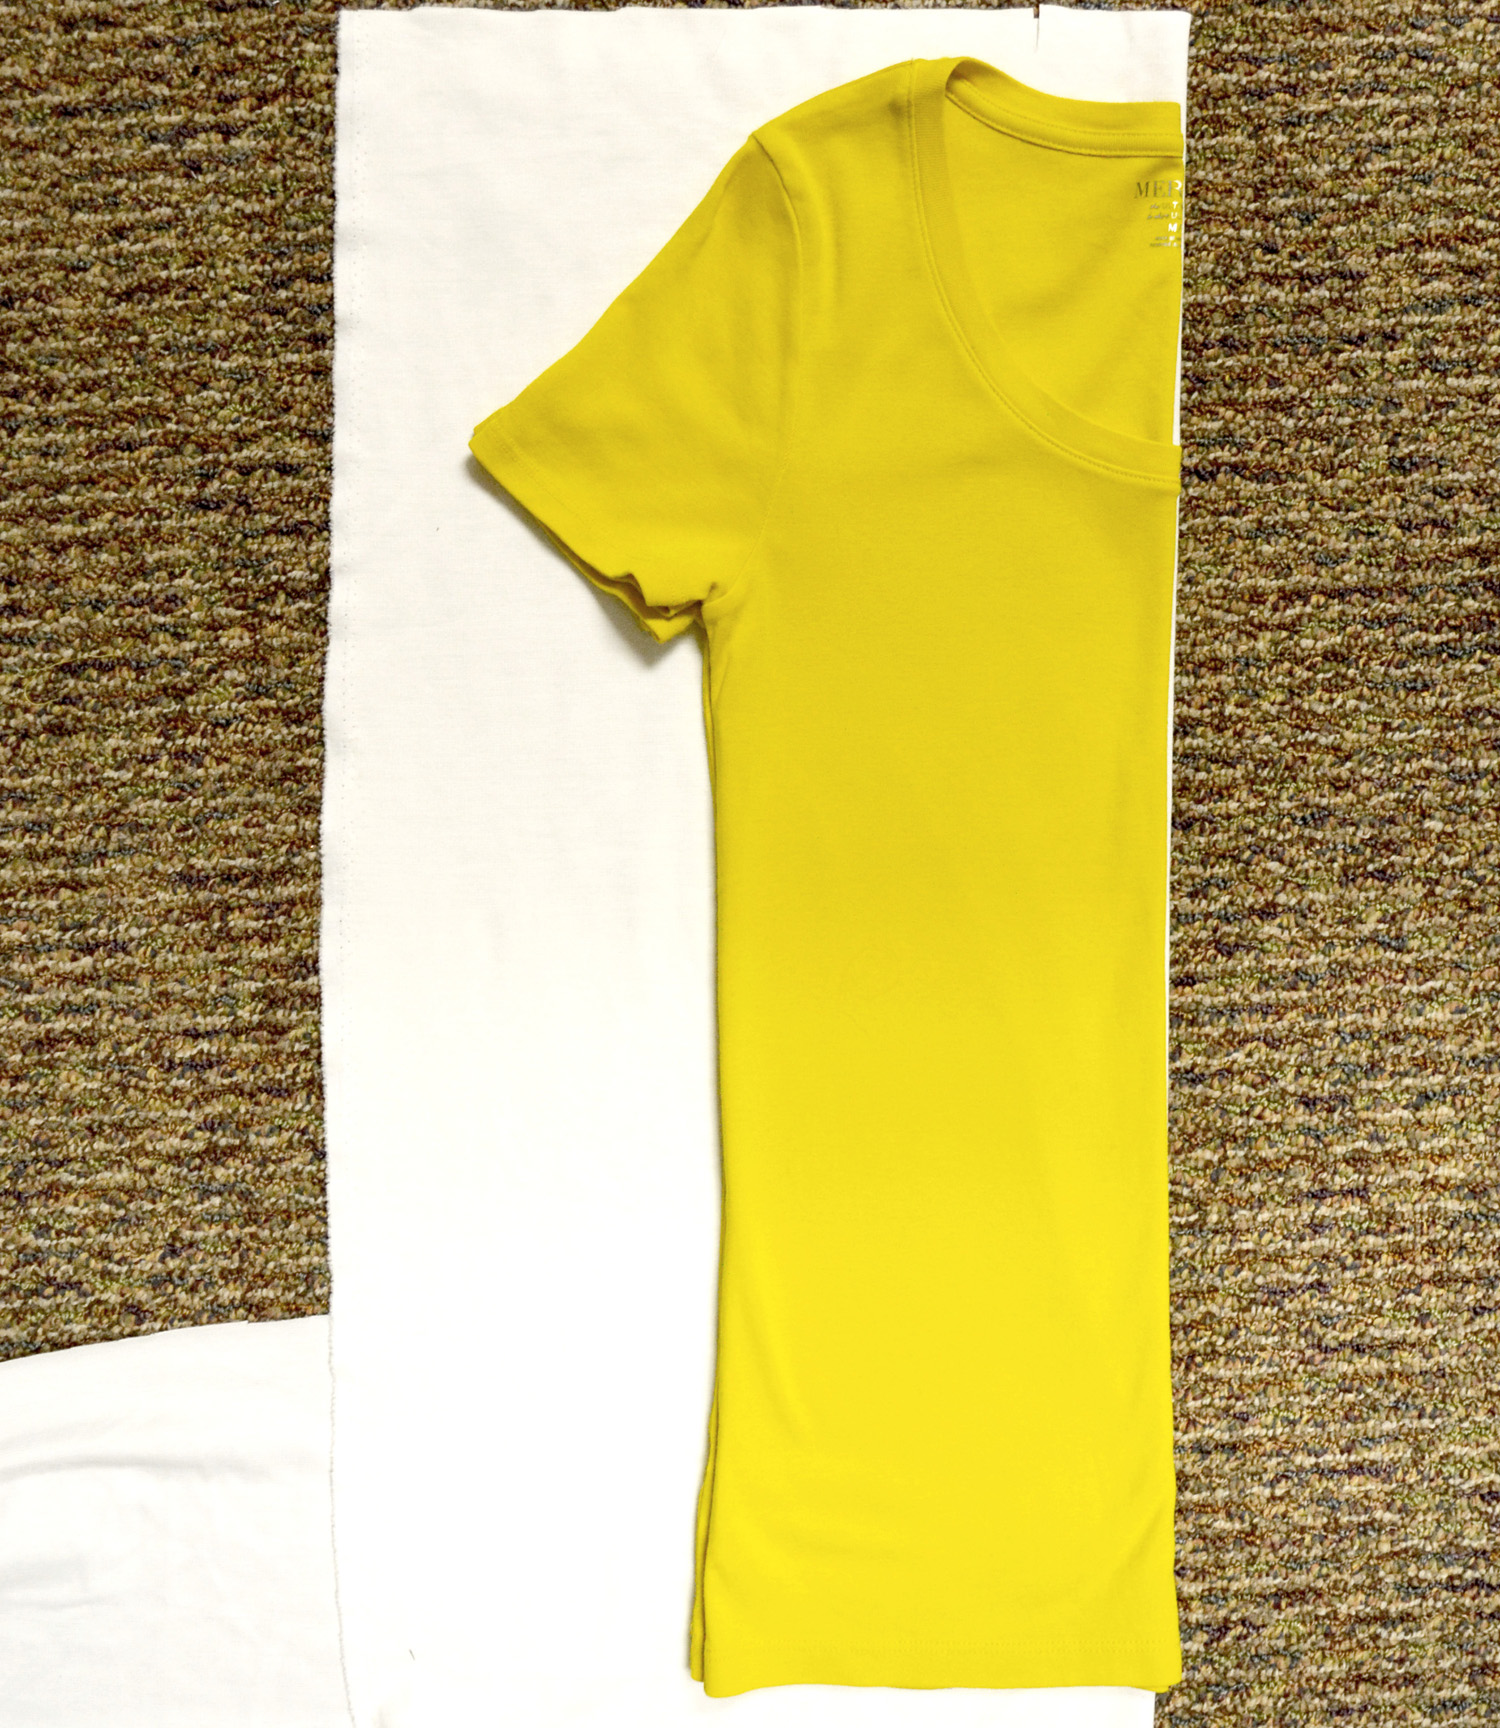
Now for the cropped top! For this project, you want to use a well fitted knit t-shirt as your pattern and a fabric with a similar stretch for your top. I’m using a scoop neck t-shirt that i like the fit of, and a white knit fabric that I found laying around in my fabric pile! You can also grab an oversized white t shirt if you don’t want to purchase a knit fabric.
I folded my fabric in half and folded the t-shirt in half longways. I then placed the shirt on top of the fabric and cut the shape out, making sure to leave an extra 1/2″ for seam allowance.
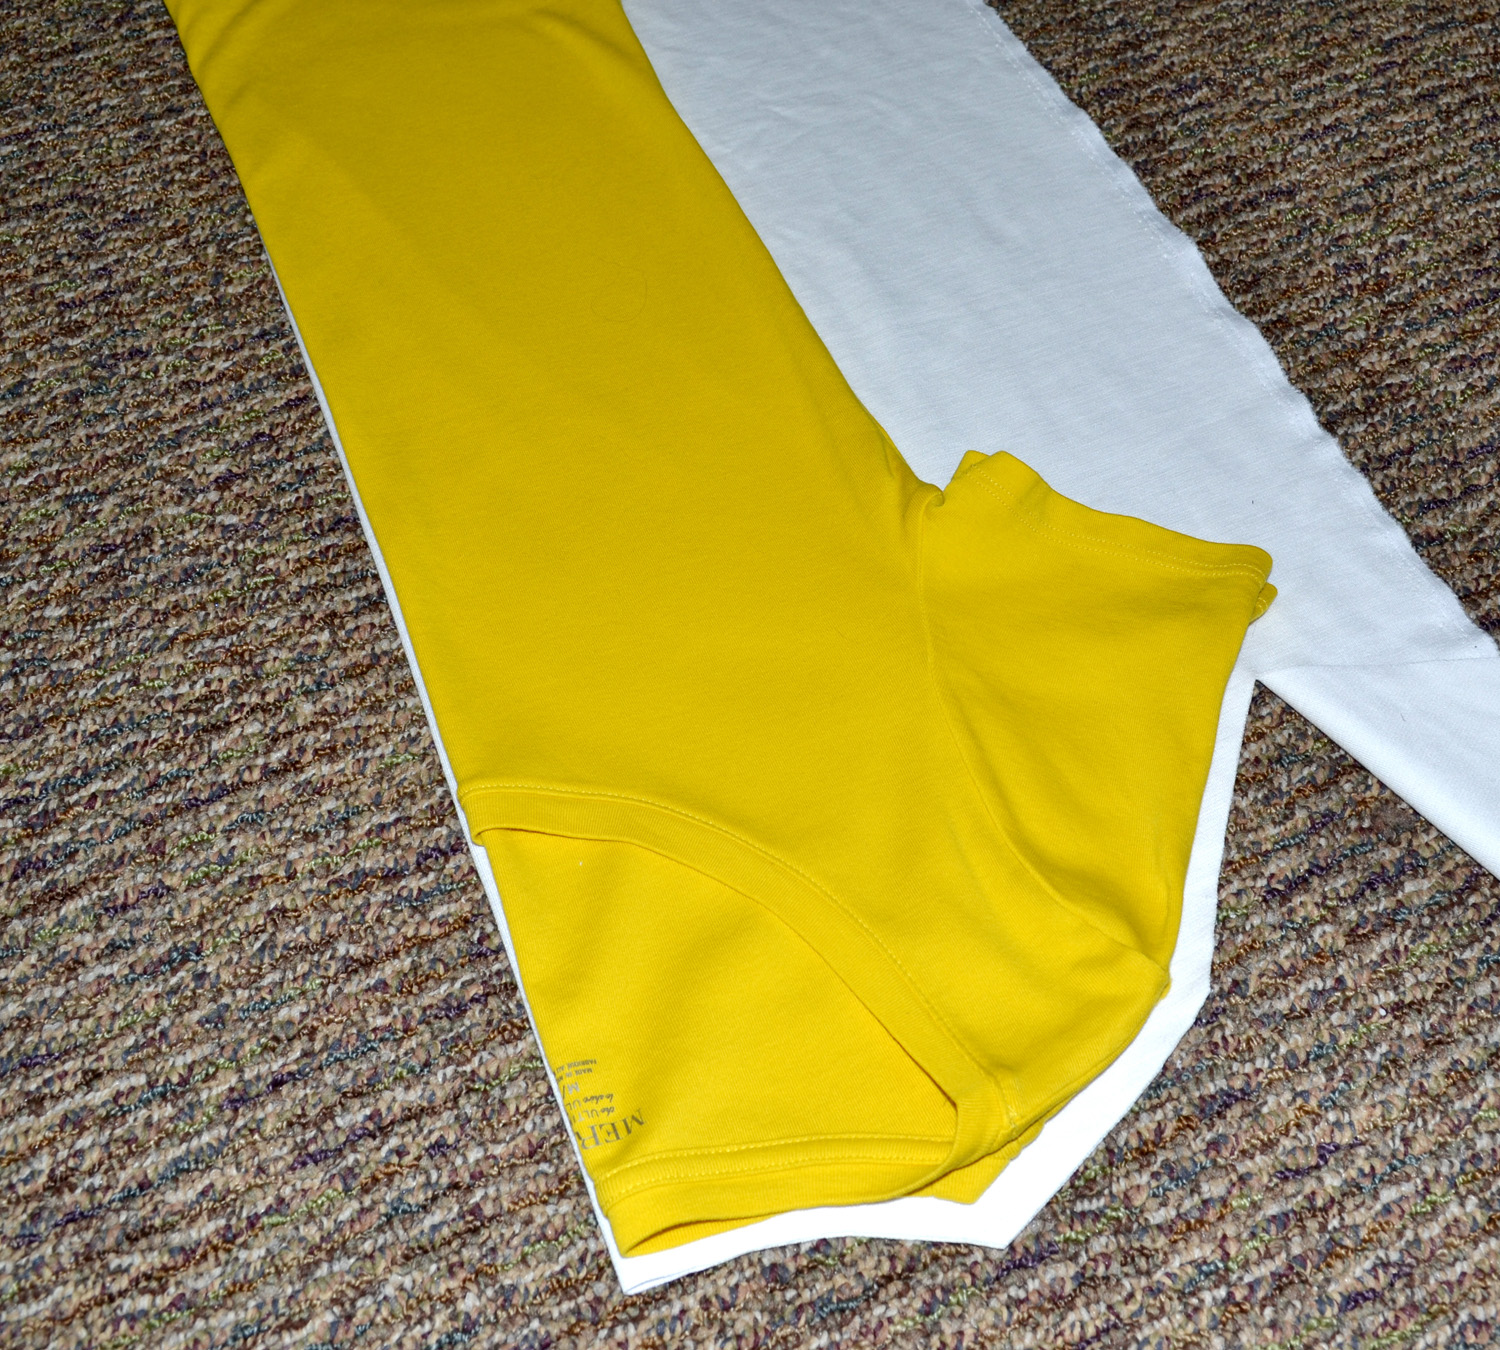
Next step is to determine how cropped you want your top to be. I measured from my neck to the small of my waist. After hemming the top, it usually sits right above my waist…but you can make it as long or short as you like! Then you want to cut the fabric to this measurement. Cut this piece out twice, to make a front and back.
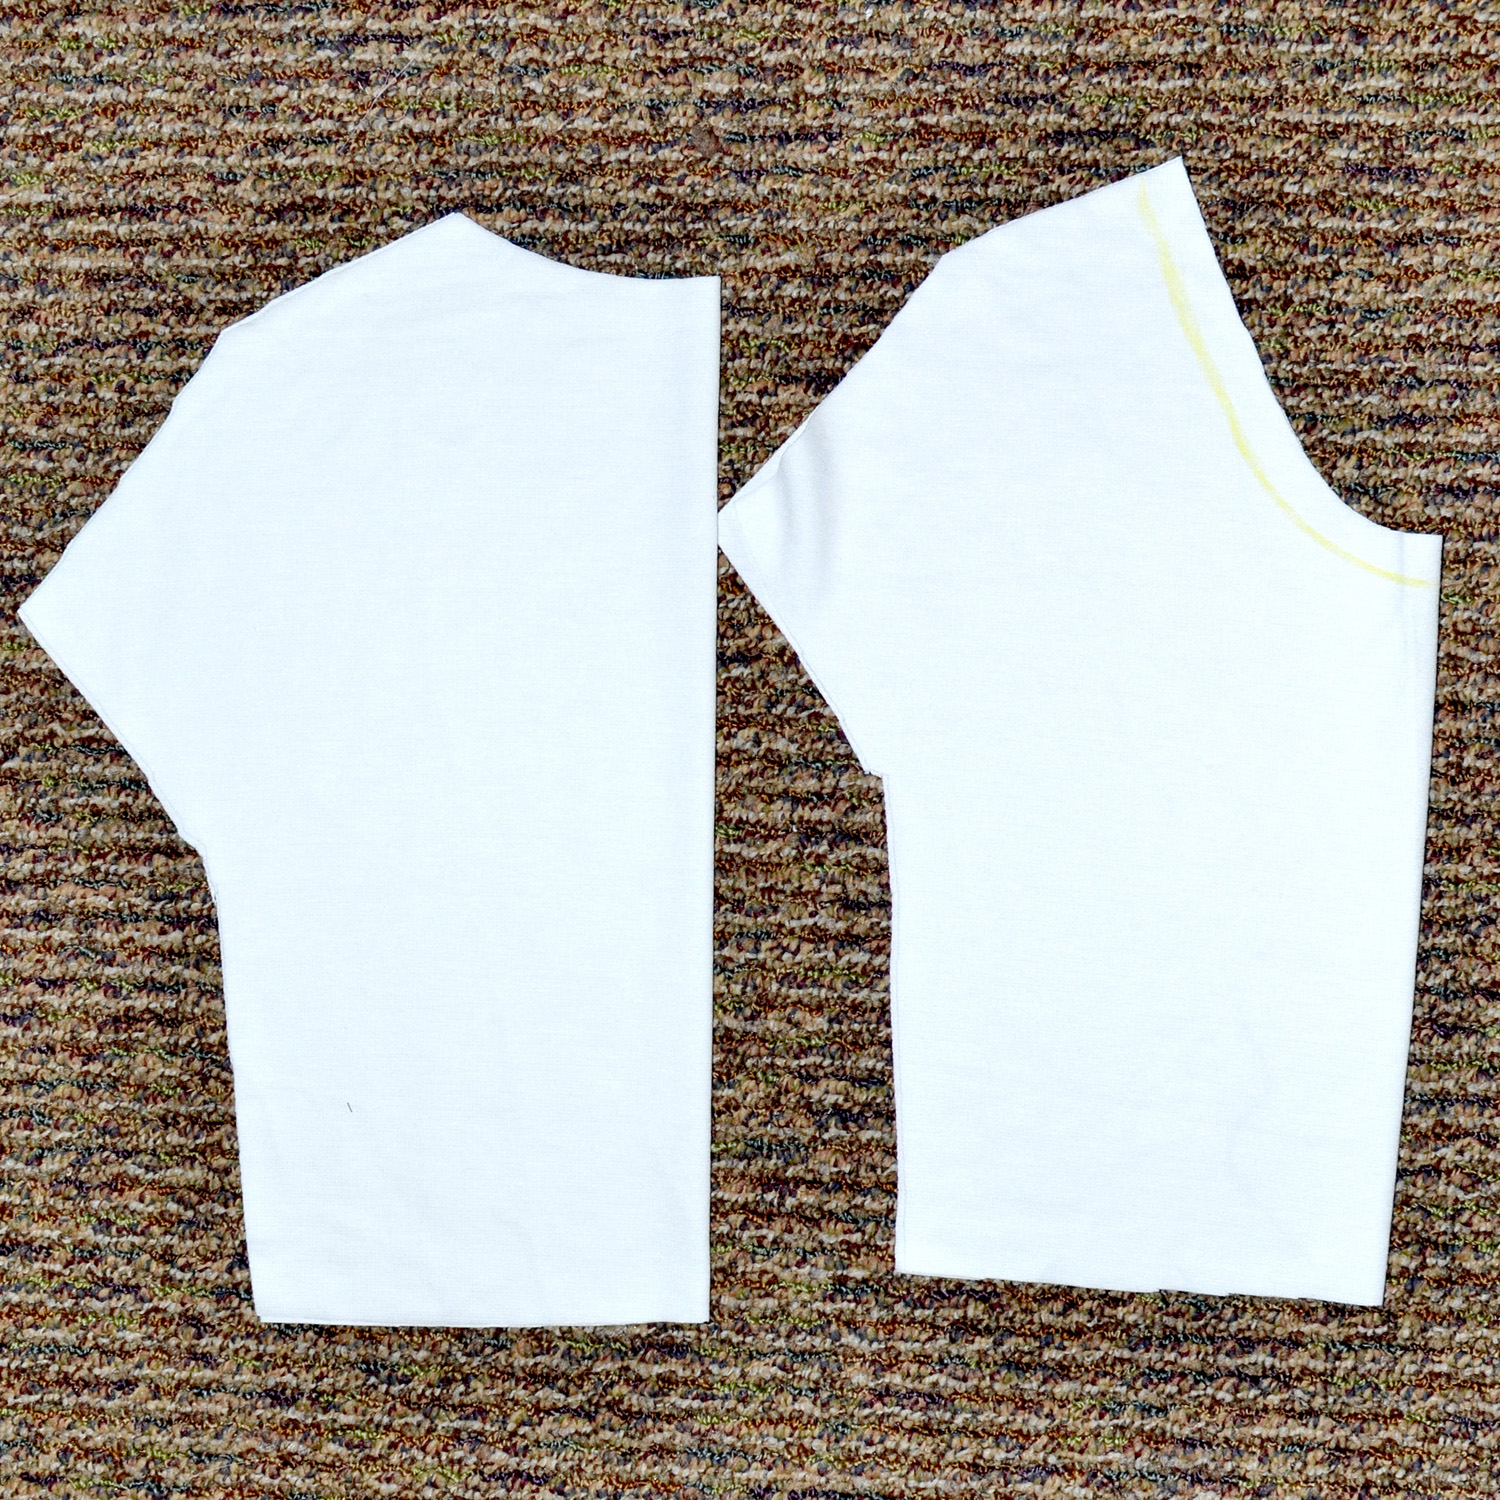
Now, fold the front half of your original t shirt so that the neckline is folded perfectly in half. Place this over your folded front piece and trace the neckline out. Cut that shape out, making sure to leave a 1/2″ seam allowance.

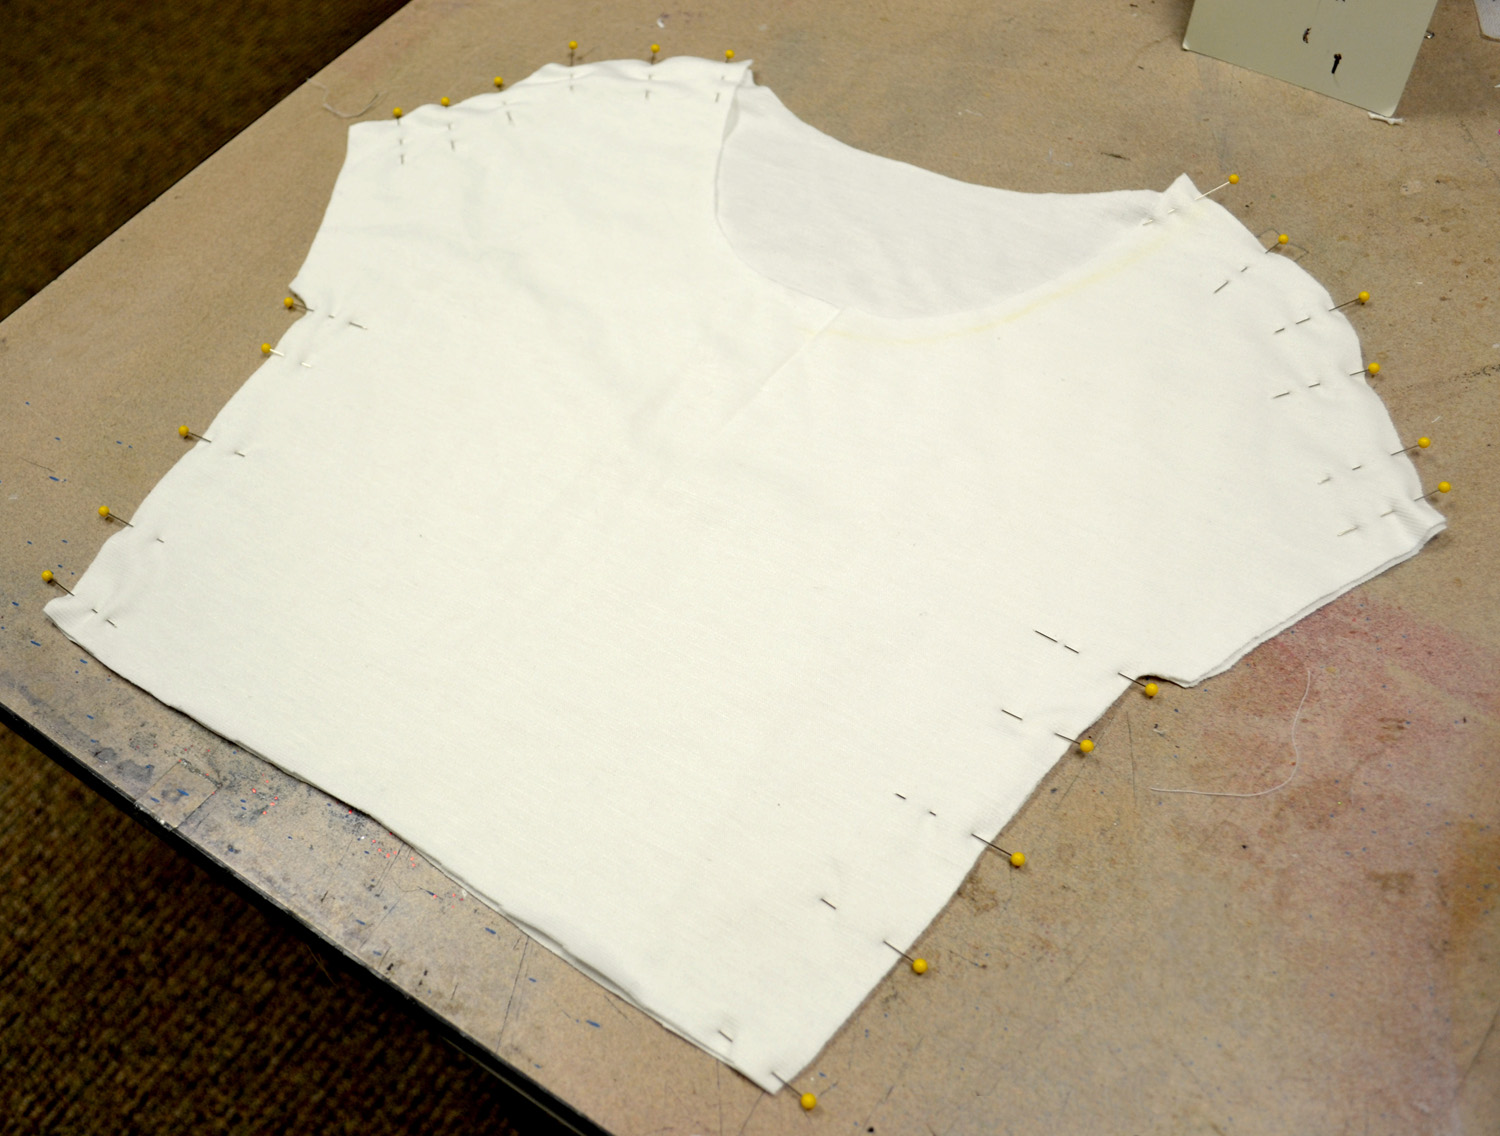
Now that you have your front and back piece, pin them together at the shoulder and side seams, right sides of the fabric together. Make sure to leave your arm holes open!
Once those seams are folded together, you can now finish and hem all edges. You can leave them unfinished for a more raw look if you want, since knit doesn’t fray, but you would have to trim the seam allowance off the sleeves and open edges. This is what it should look like!
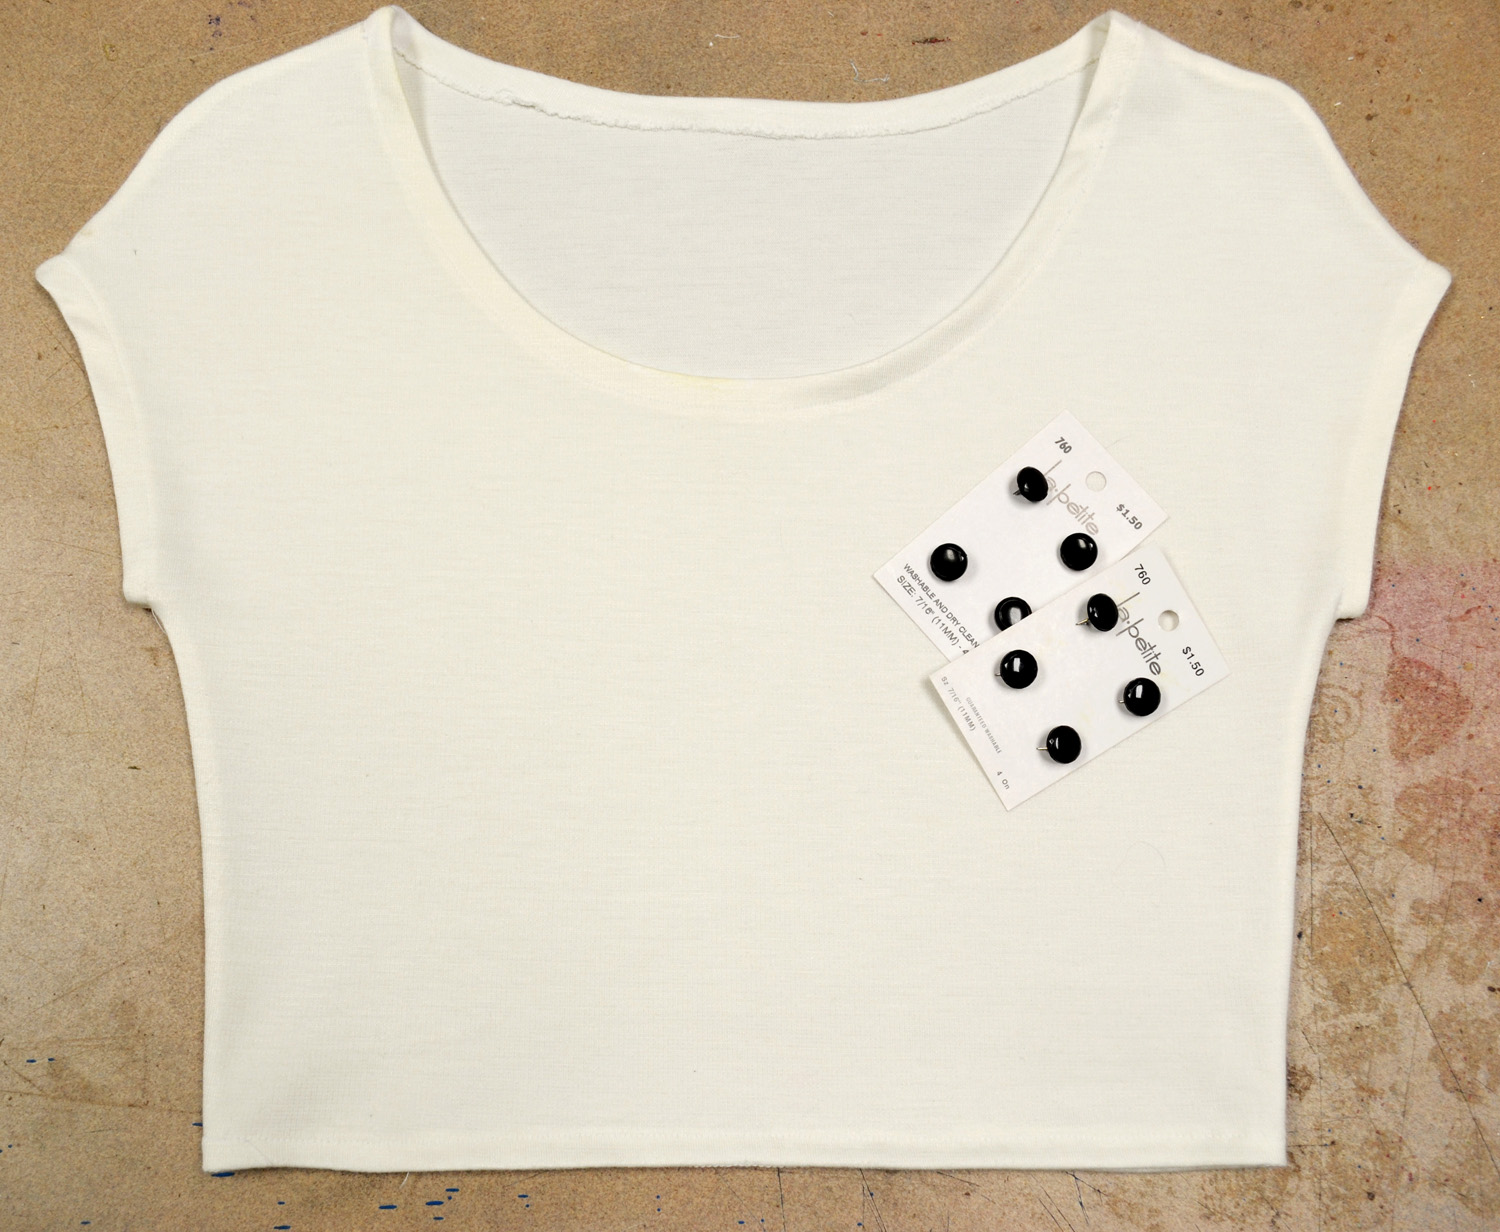
I’m adding buttons on the shoulder seams for a cute detail…I used La Petite hook #760– which you can now purchase online! Take a gander through our website to find styles you like!
Yay! A simple and cute summer outfit made in less time than it takes most people to get ready for a night out. Wear the heck out of this outfit this summer because it’s just as comfortable as it is cute and easy!