
Fall and dying buttons – what do they have in common for this blog? Okay I’ll answer but there are so many answers to this question;
1. I wanted to show you how to dye Wood Buttons.
2. Fall is my best time of the year because of all the variations of color!
3. We get to create another project!
4. Fun & Easy!
I’ve seen several blogs on how to dye buttons – and I’m figuring well we are a button company and the question is always can you dye your own? The answer is yes and it’s easy. I’m the type who needs to be shown and then I’m off to do it myself and to teach others also. So how is this relating my blog – FALL – LEAVES – WOOD!

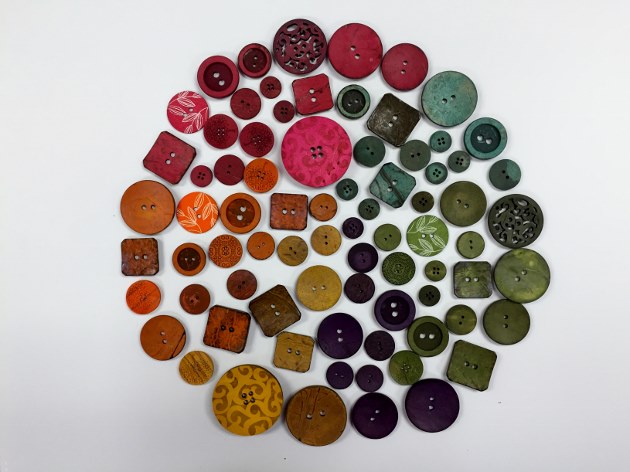
It’s that time of the year where I’m always mesmerized by the colors of the leaves and the tree outside my window is doing just that – from lush green to golden yellow to pumpkin orange and soon to hues of red and then to shades of brown. And I have the perfect buttons for this project…
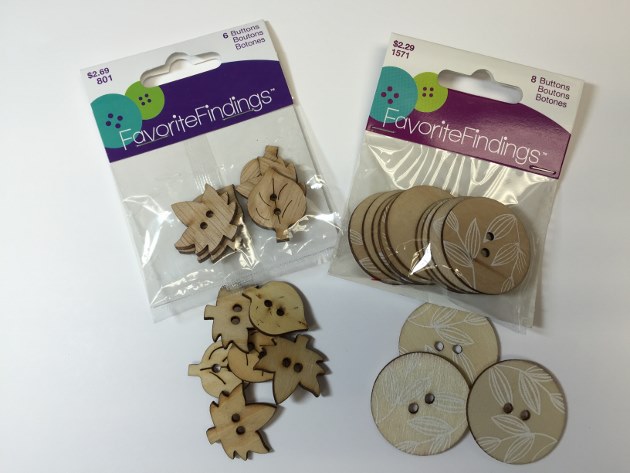
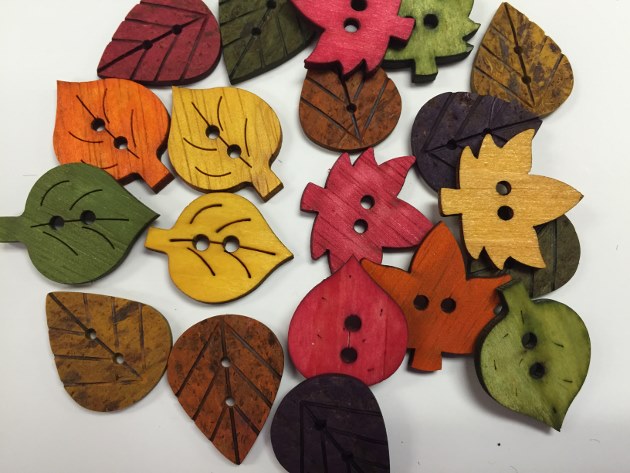
For the actual project I used Favorite Findings 550000801 Simply Leaves also included in the photo are some additional Favorite Findings Meadow Flowers #550001571 that I will show you how these dye.
I’ve also included several wood buttons that we carry to show you how the dying process took on these buttons. Each button will have it’s own personality!
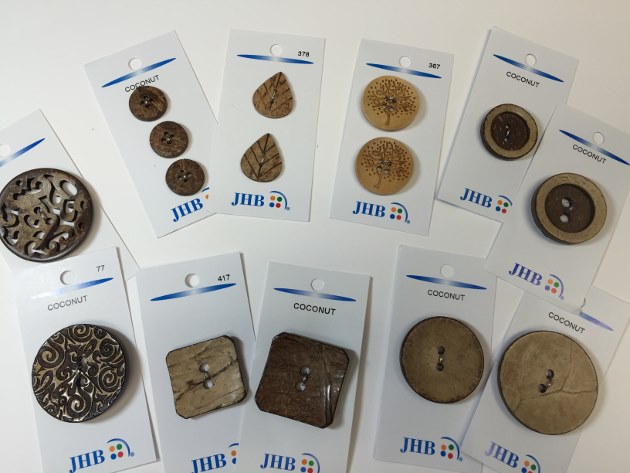
several JHB Buttons
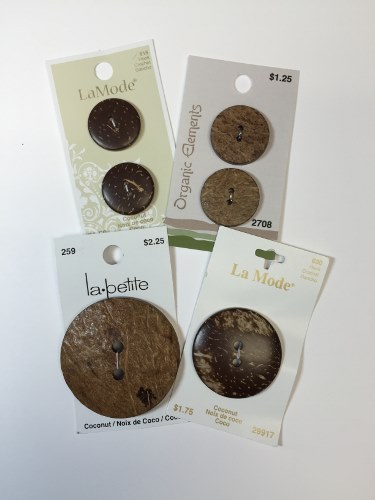
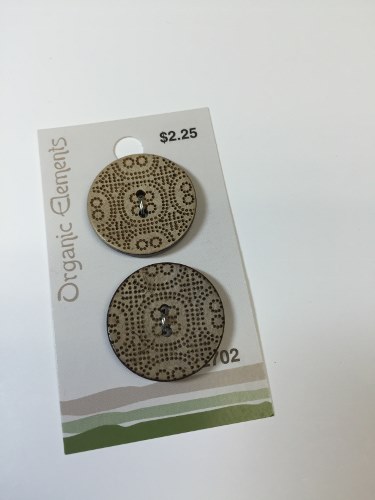
La Mode, la petite and Organic Elements…
So let’s get started: BUTTONS
RIT DYE (for this project I used liquid – they do come in powder form); plastic spoons; container – metal, glass or plastic; newspaper; papertowels…
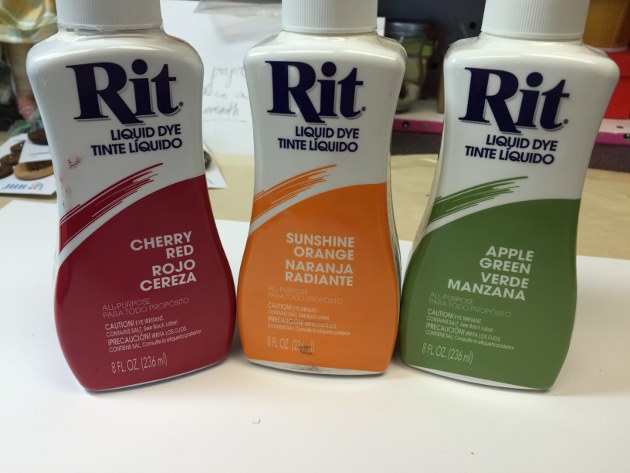
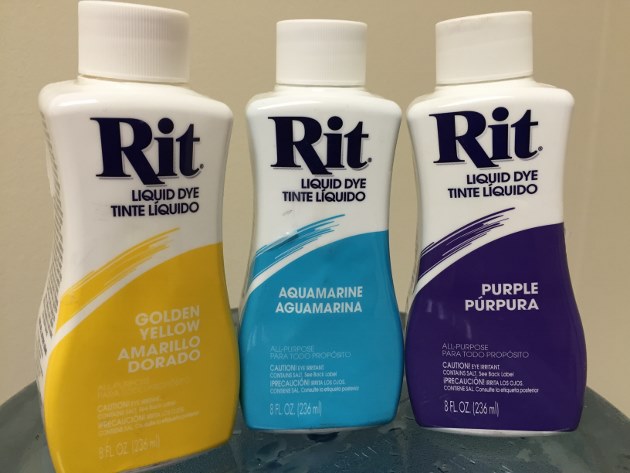
these are the colors I used – depending on your project there are additional colors available.
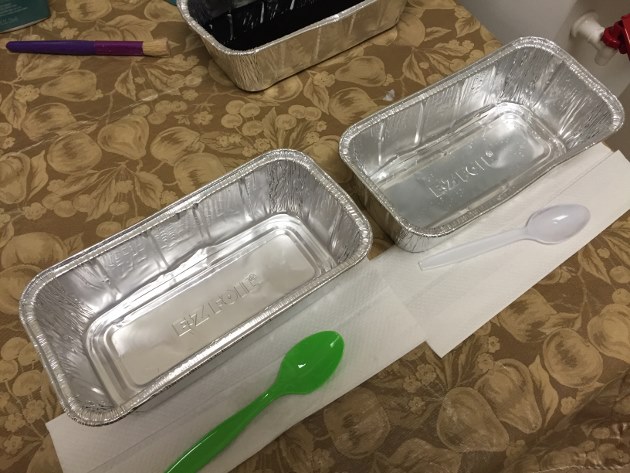
I used tin containers and filled them a little less than half with HOT water (read the directions on the bottle). Make sure to lay some paper towels or newspaper down around your work area “just in case”.
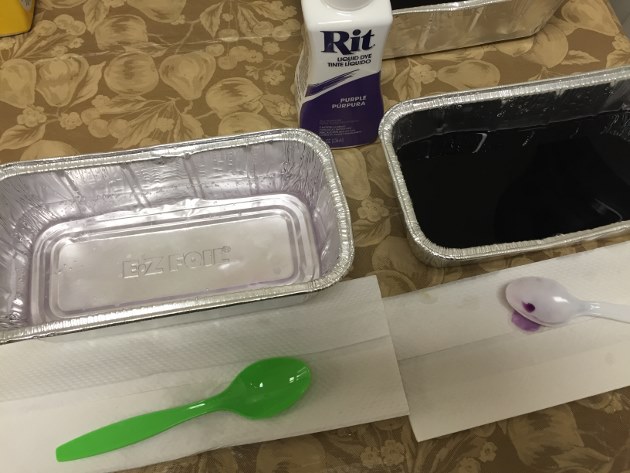
I added a teaspoon and then added some more – suggestion is to put the teaspoon and keep adding until you’ve achieved the color you want. Since I knew I wanted light to dark – I would pull buttons out as needed.
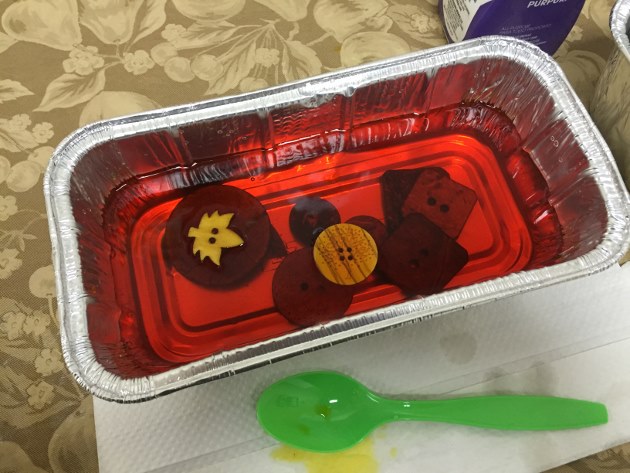
As you can see I now added the yellow (which looks like orange) again if you are dying wood buttons – you will find since these are natural color – they will all have different textures and finishes – especially the coconut! Also note in the above photo that there are several buttons that are light and will float to the top just make sure they are face down. In addition – make sure your buttons are separated and not resting on each other – I know that will be hard to see on darker colors…
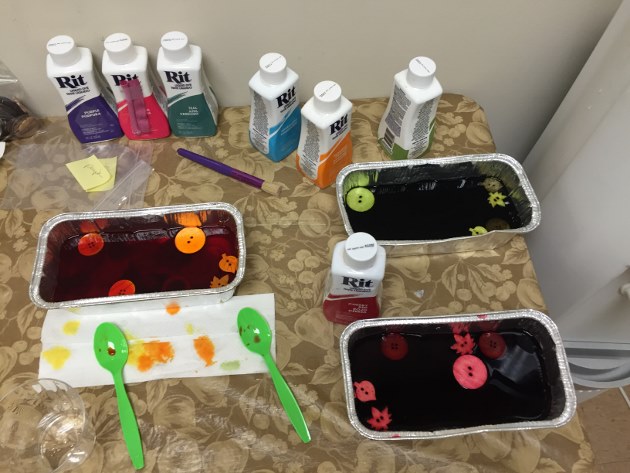
So as you can see I’ve moved onto additional colors such as reds, orange and green…
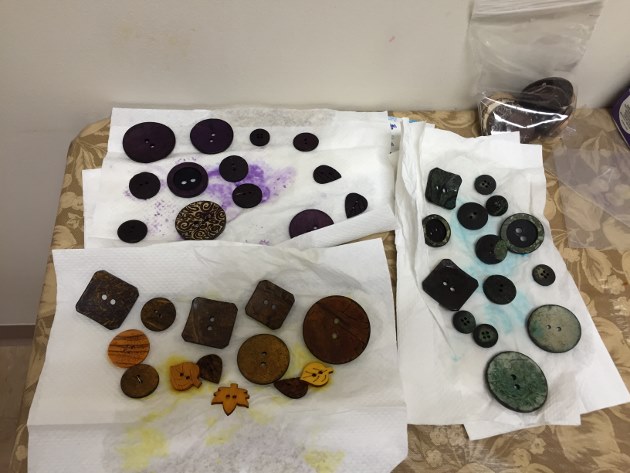
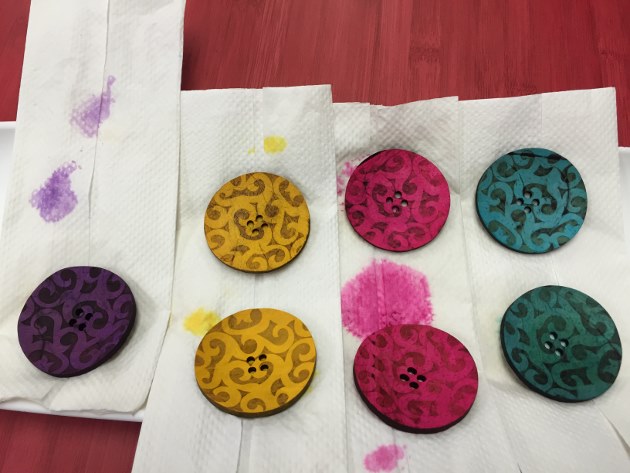
Once you’ve pulled them out of the dye (again depending on your color choice – 2 – 5 minutes is recommended – or longer) Rince the buttons in cold water then some soap and rince again – you don’t want your dye coming off on your project. Doesn’t look like much yet since they are still wet once they dry you’ll be surprised…allow them to dry atleast 24 hours – remember you are dealing with natural material – you want them to dry!
Here are some additional buttons that I dyed earlier…
these are actually JHB Buttons I dyed for a project we are preparing for Quilt Market in Houston… here’s the original button…
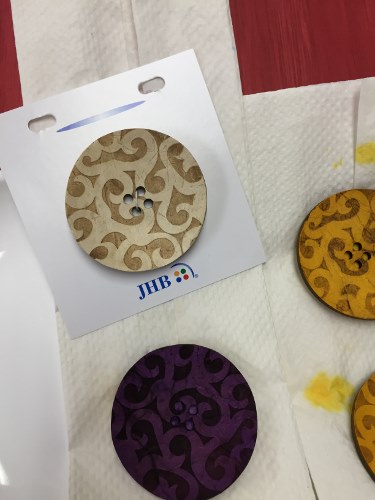
here is the end result of the Favorite Findings Falling Leaves also JHB #80013 Autumn Leaf – notice how on this button the coconut texture comes thru!
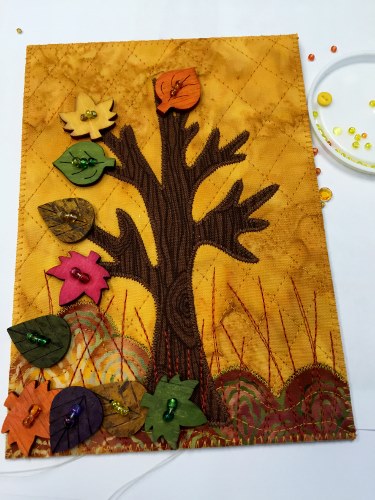
Now that all my Buttons have dried onto the project…
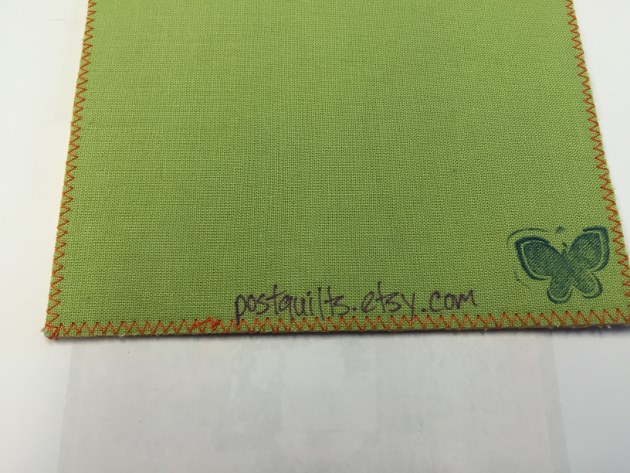
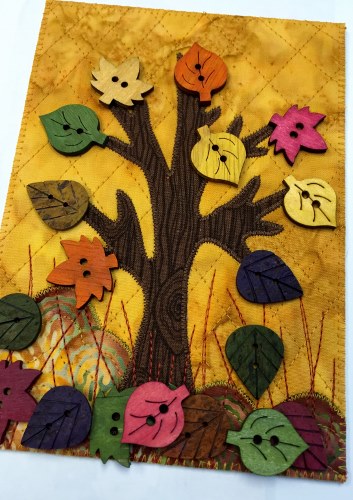
I was lucky enough to have met Lori Ray via Etsy a young lady who creates Fabric Applique POSTQUILTS as she calls them – they are actually fabric applique quilt post cards! – yes mailable! Check out her link below and so worth visiting…Lori acutally created some adorable pieces for the Quilt Market in Houston this month (booth #2550) where we embellished several pieces together!
https://www.etsy.com/shop/postquilts
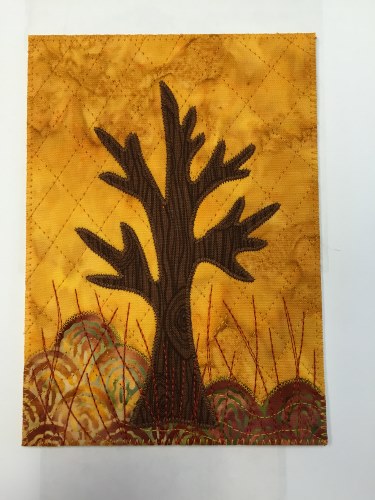
when Lori sent me this 4 x 6 post quilt I knew that these buttons would be the finishing touch to her quilt!
I laid out my buttons then rearranged them and off to stitching them on. I added some seed beads so you wouldn’t see my thread…
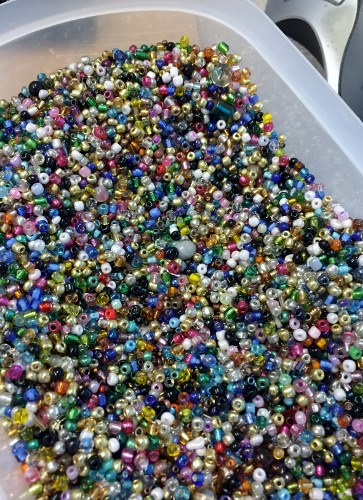
you can say I had some beads! lol.
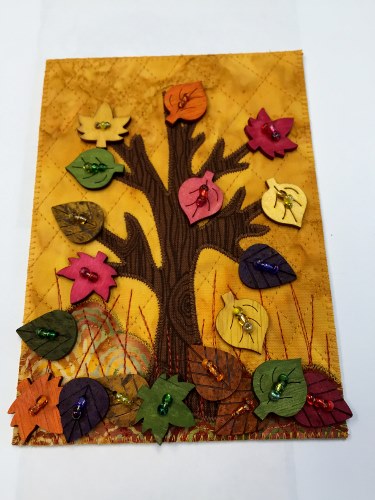
now off to purchase a frame and call it a day!
Hopefully I’ve inspired you to go out and create and try some dying of your own buttons! the possibilities are endless. And so I close my blog with just that – remember all the buttons I showed you earlier….
Make sure to post/share your creations with us on our Facebook – maybe you can inspire someone to create!
HAPPY CRAFTING!
HAPPY FALL!
We are a team of craft-obsessed, button loving people! You probably use buttons almost every day without giving it much thought – they keep our shirts closed and our pants up (hopefully!) - but buttons can be so much more! We created this blog to share all the fun, creative ways we’ve found to use buttons. Our product development team is always coming up with great new button shapes and colors, in addition to new products, so we will always have something new to share with you!