
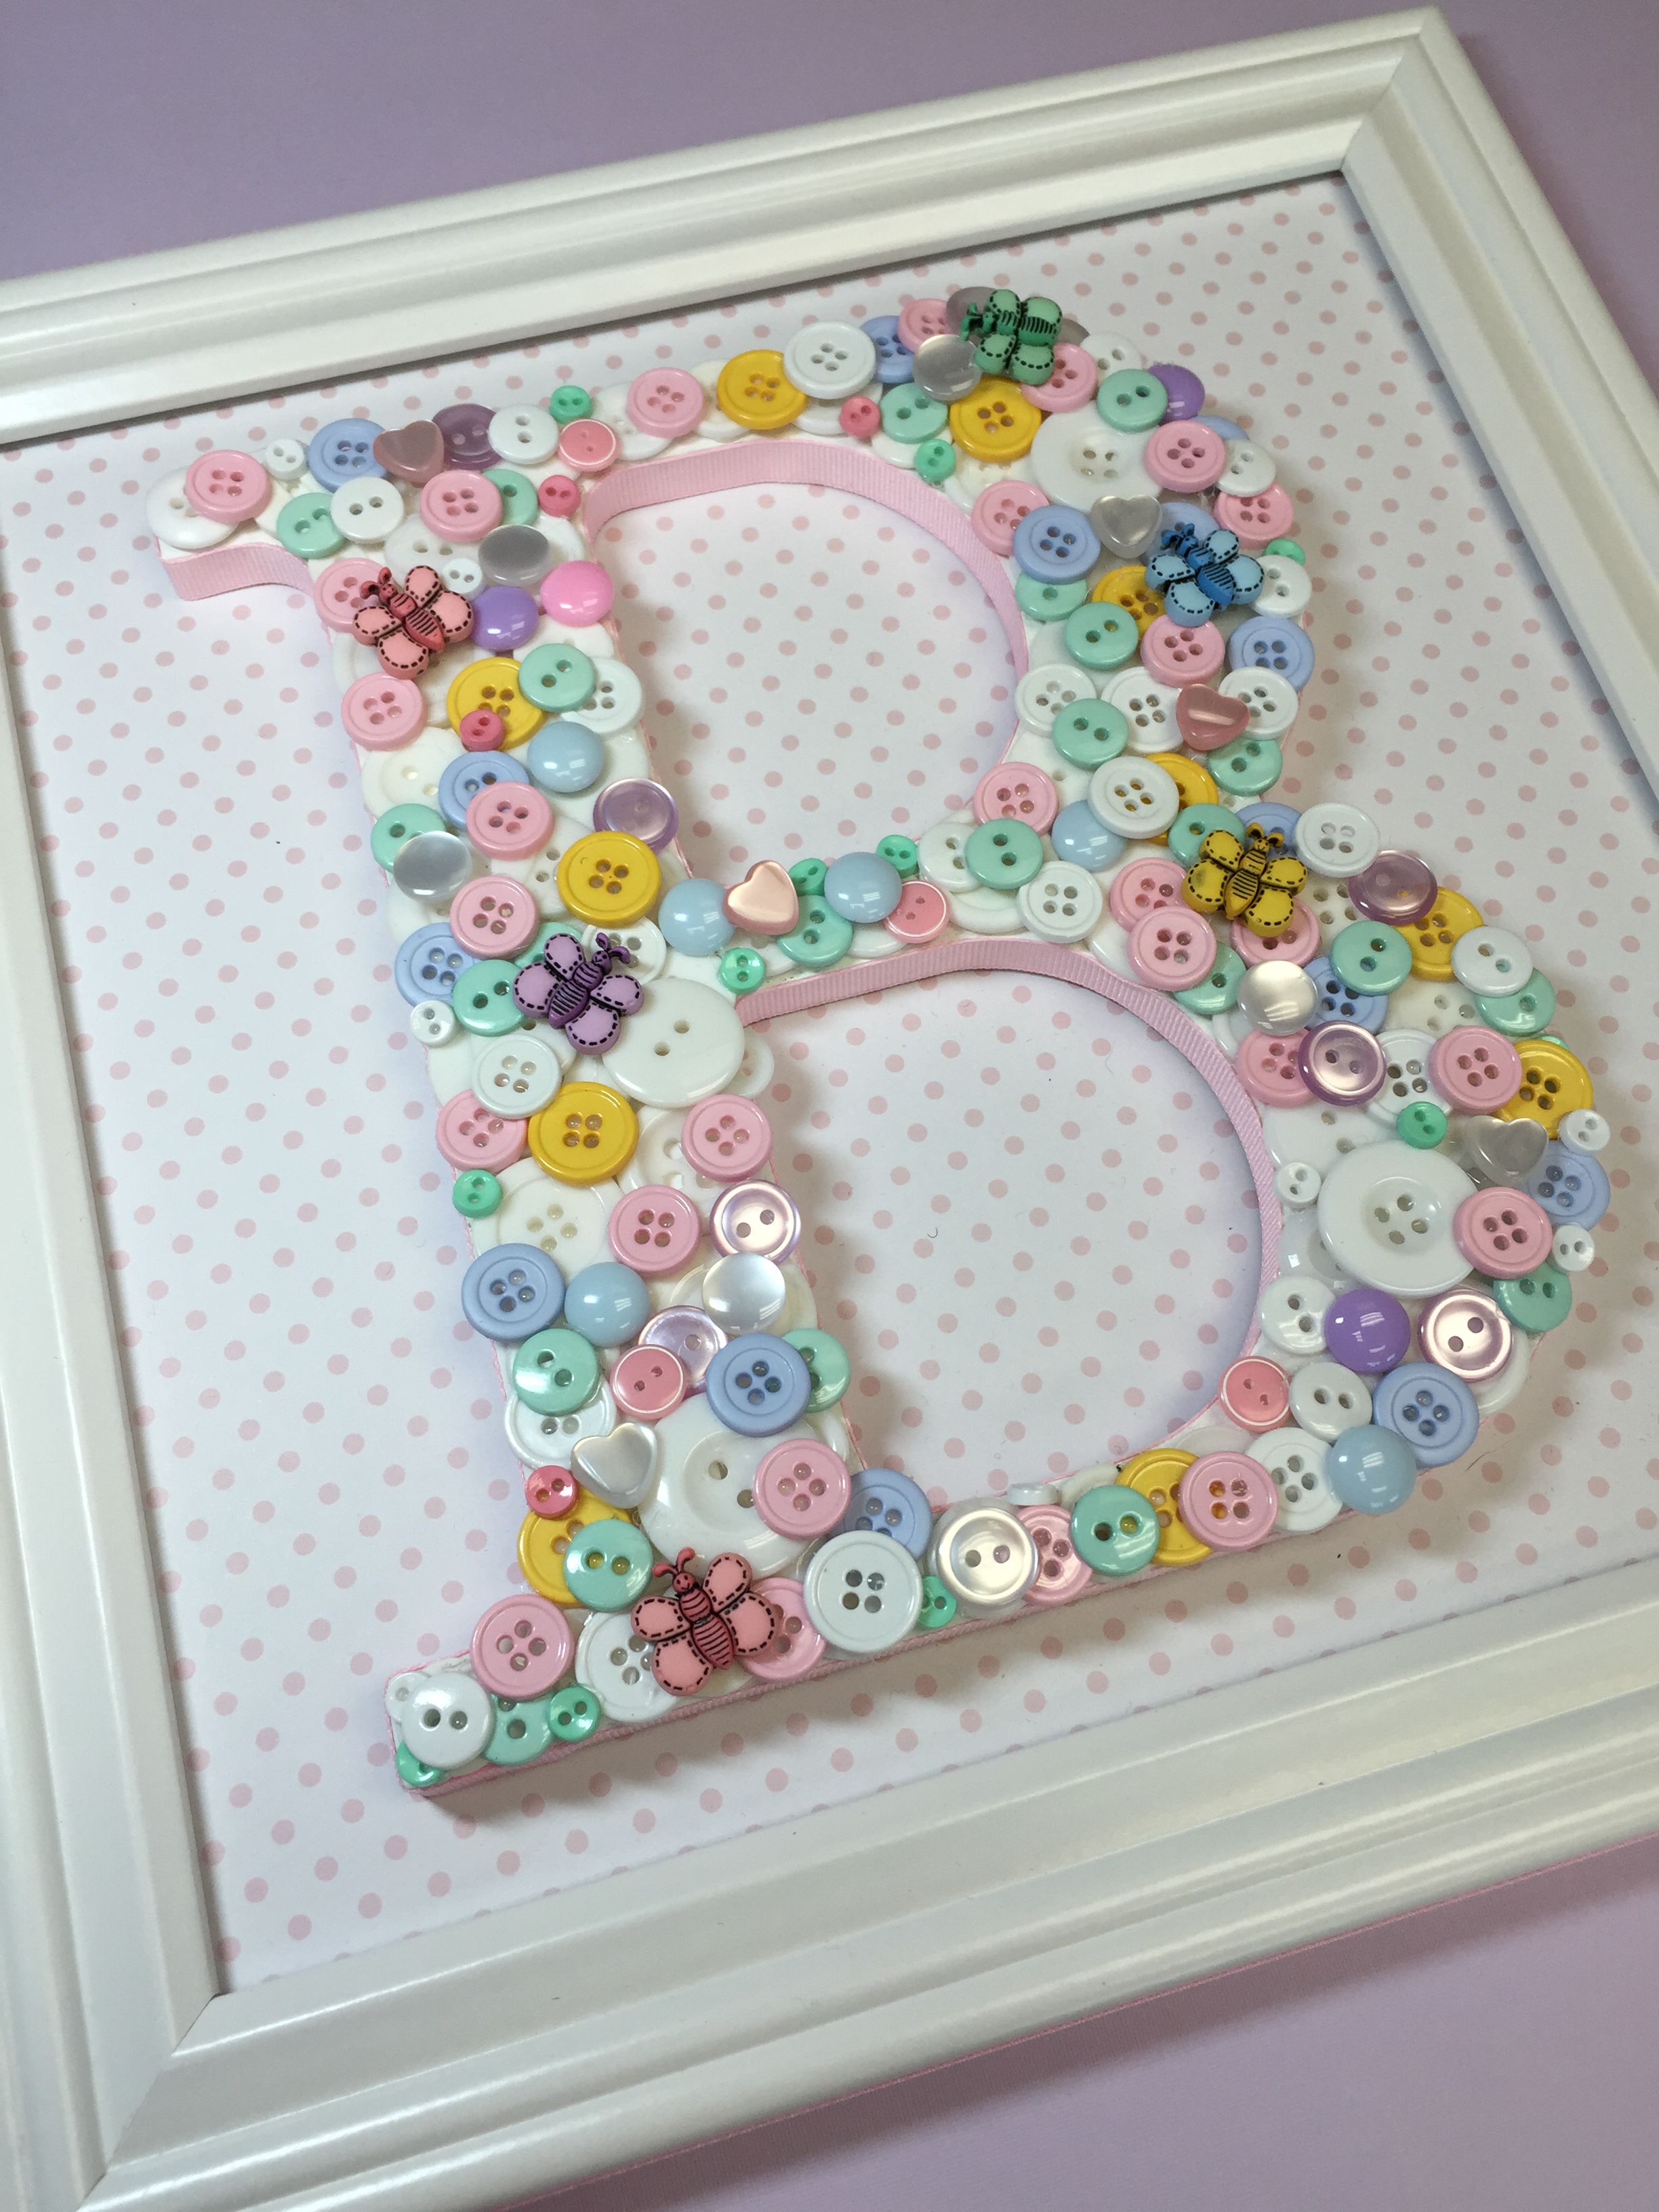
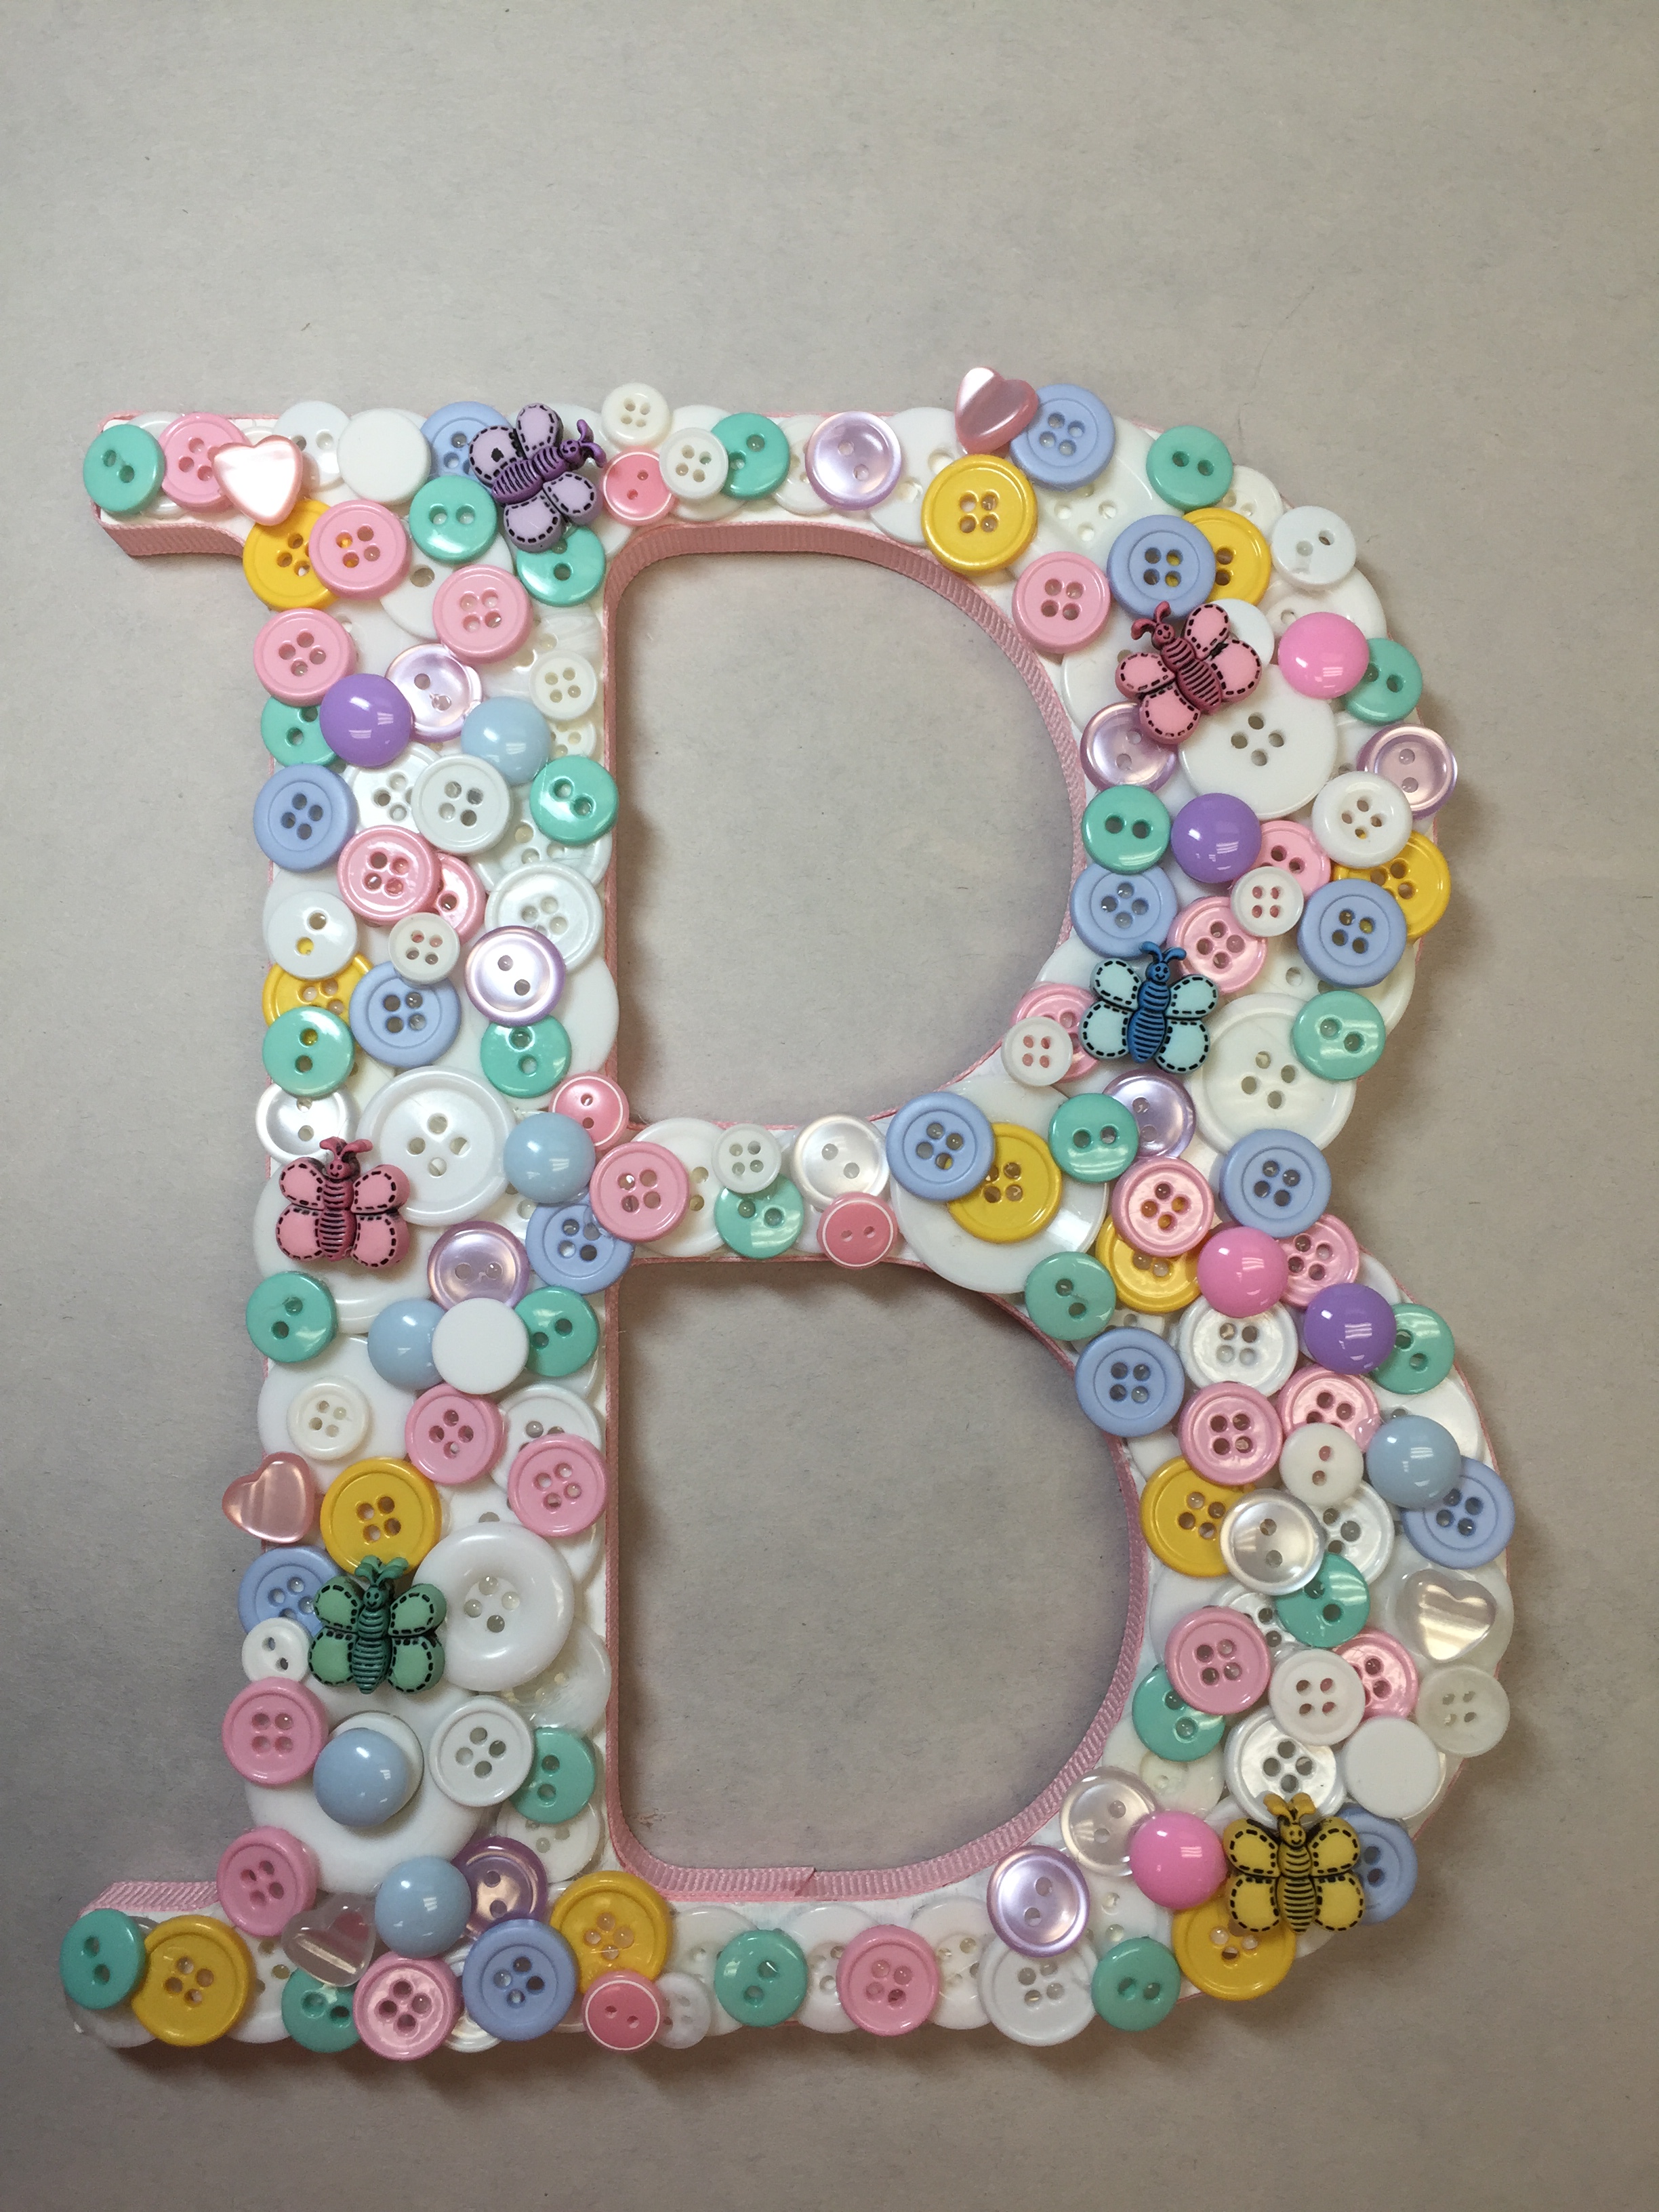
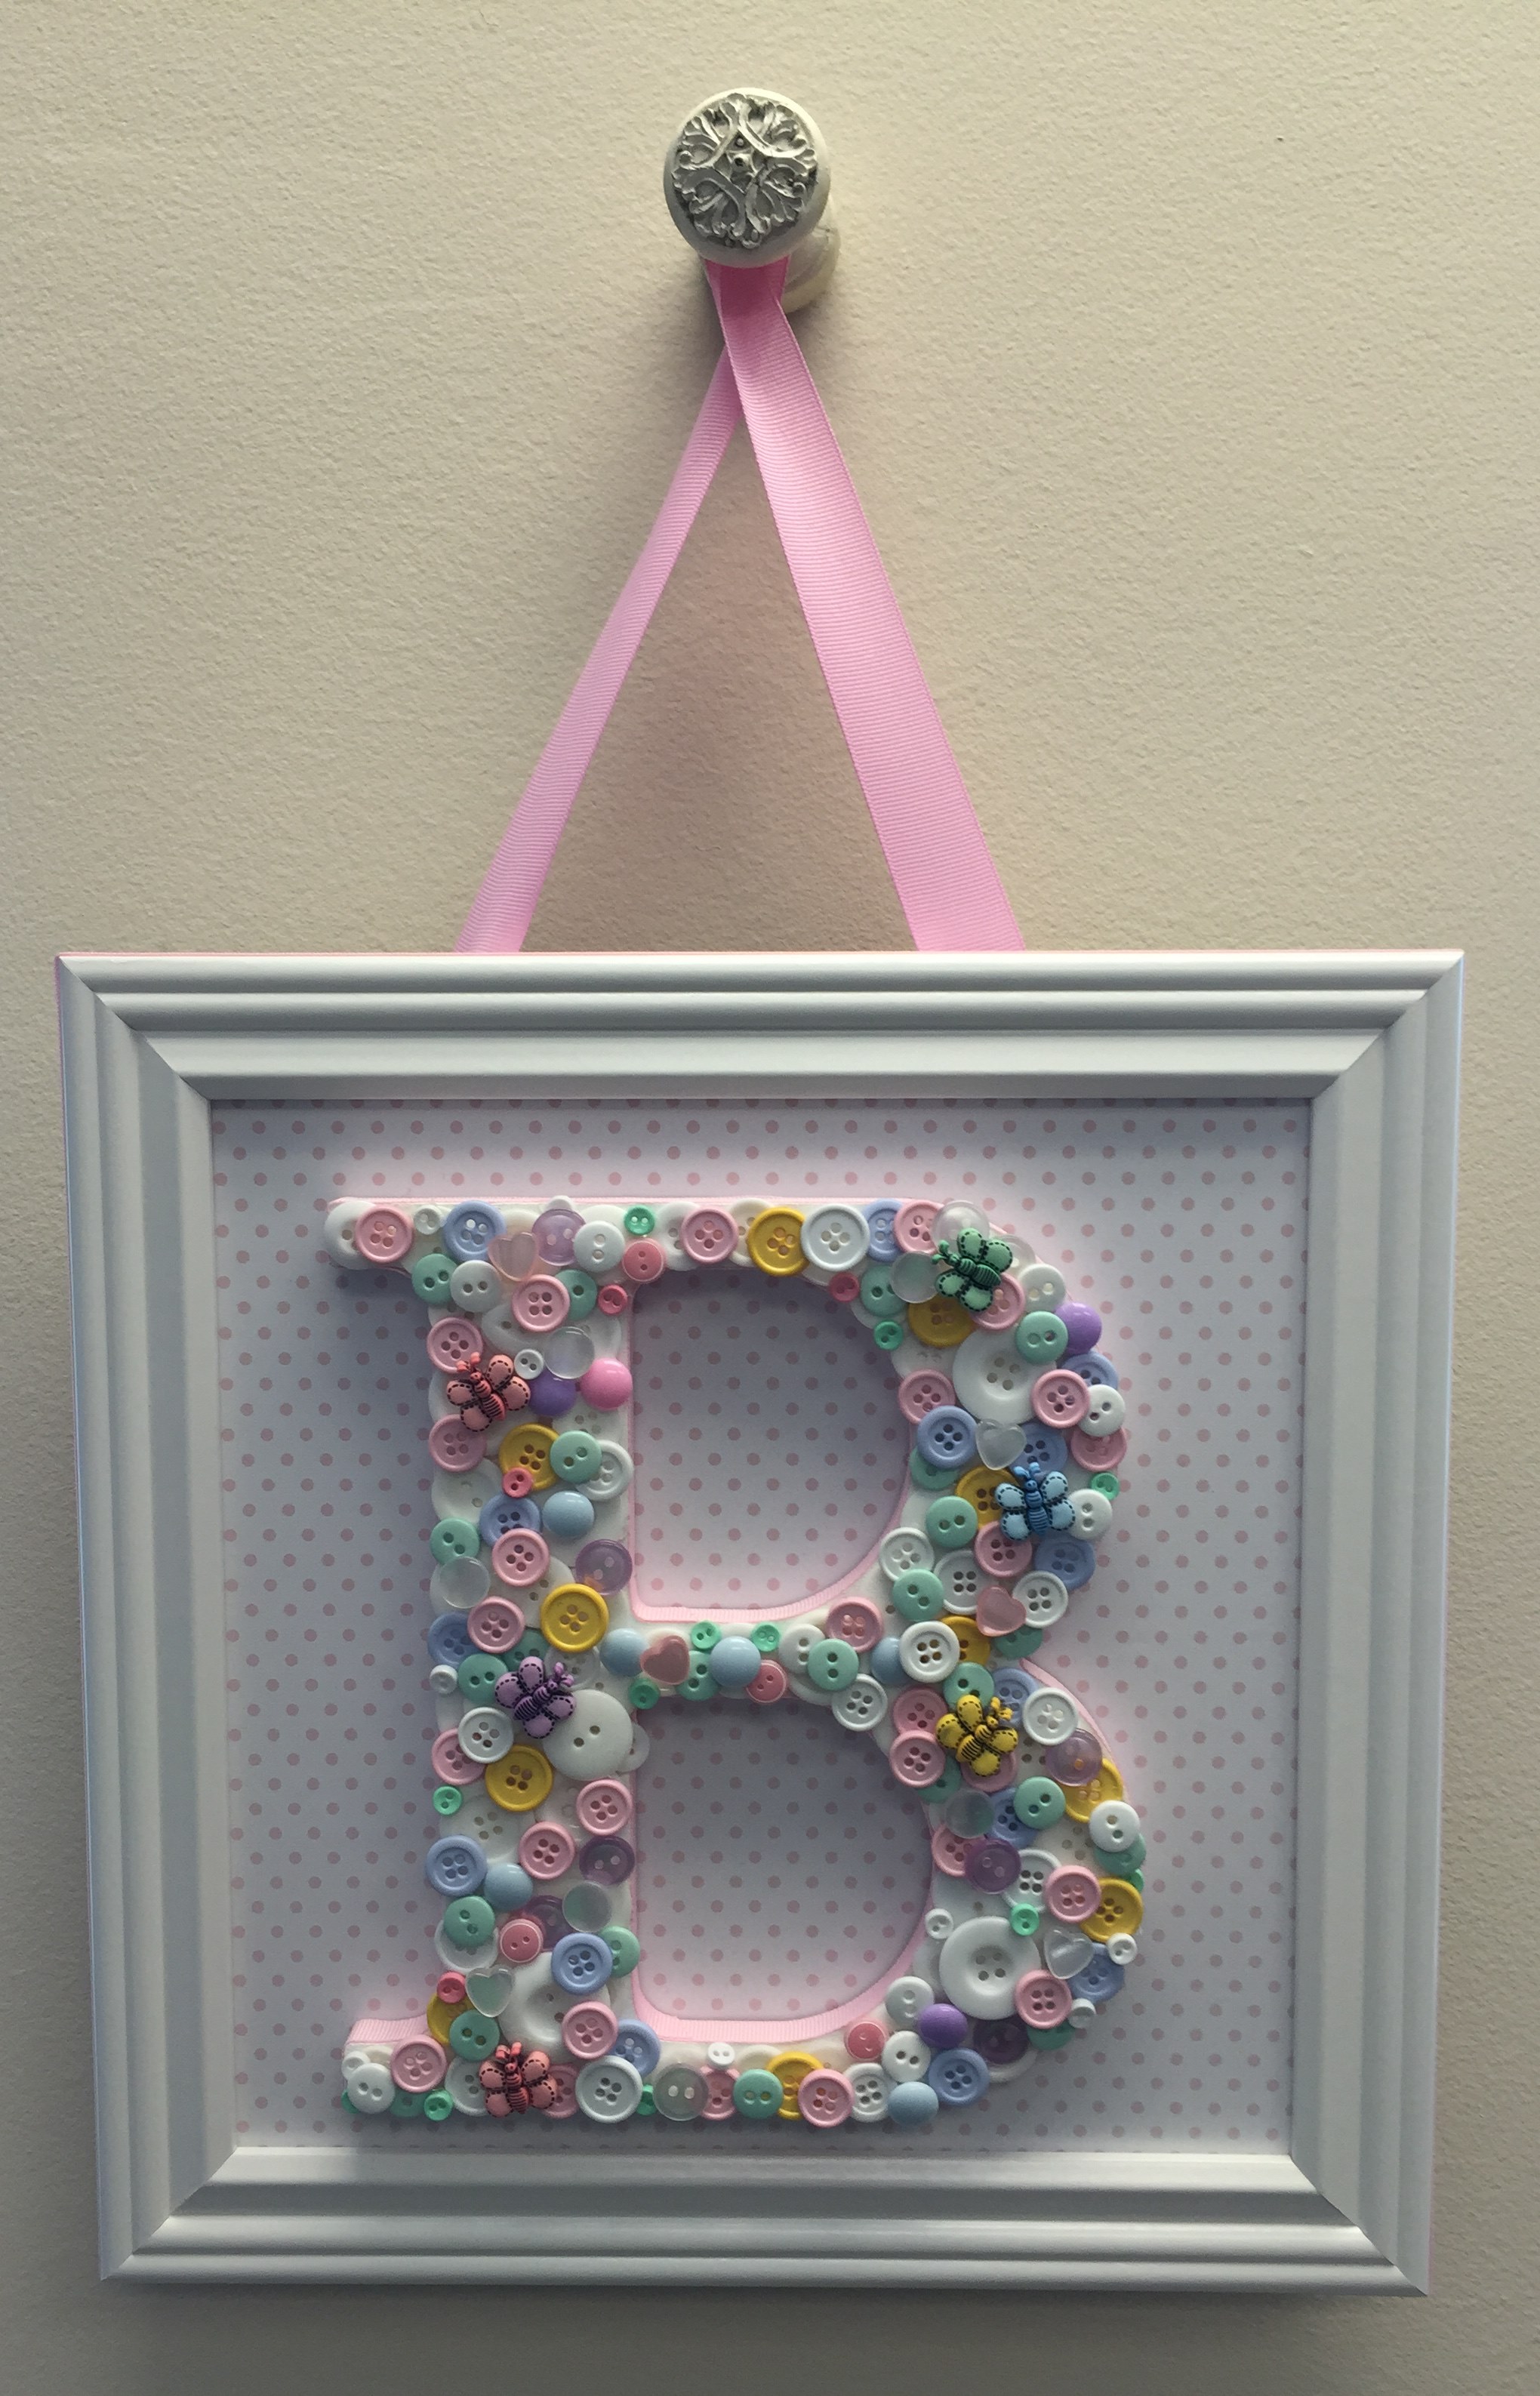
Looking to give someone a personalized gift? How about creating this adorable initial Button Art. For this project I created my gift for a babies nursery. Granted you can use any color combination if you know their color scheme but I went with the traditional baby pastel colors.
List of supplies to make your Button Crafting letter
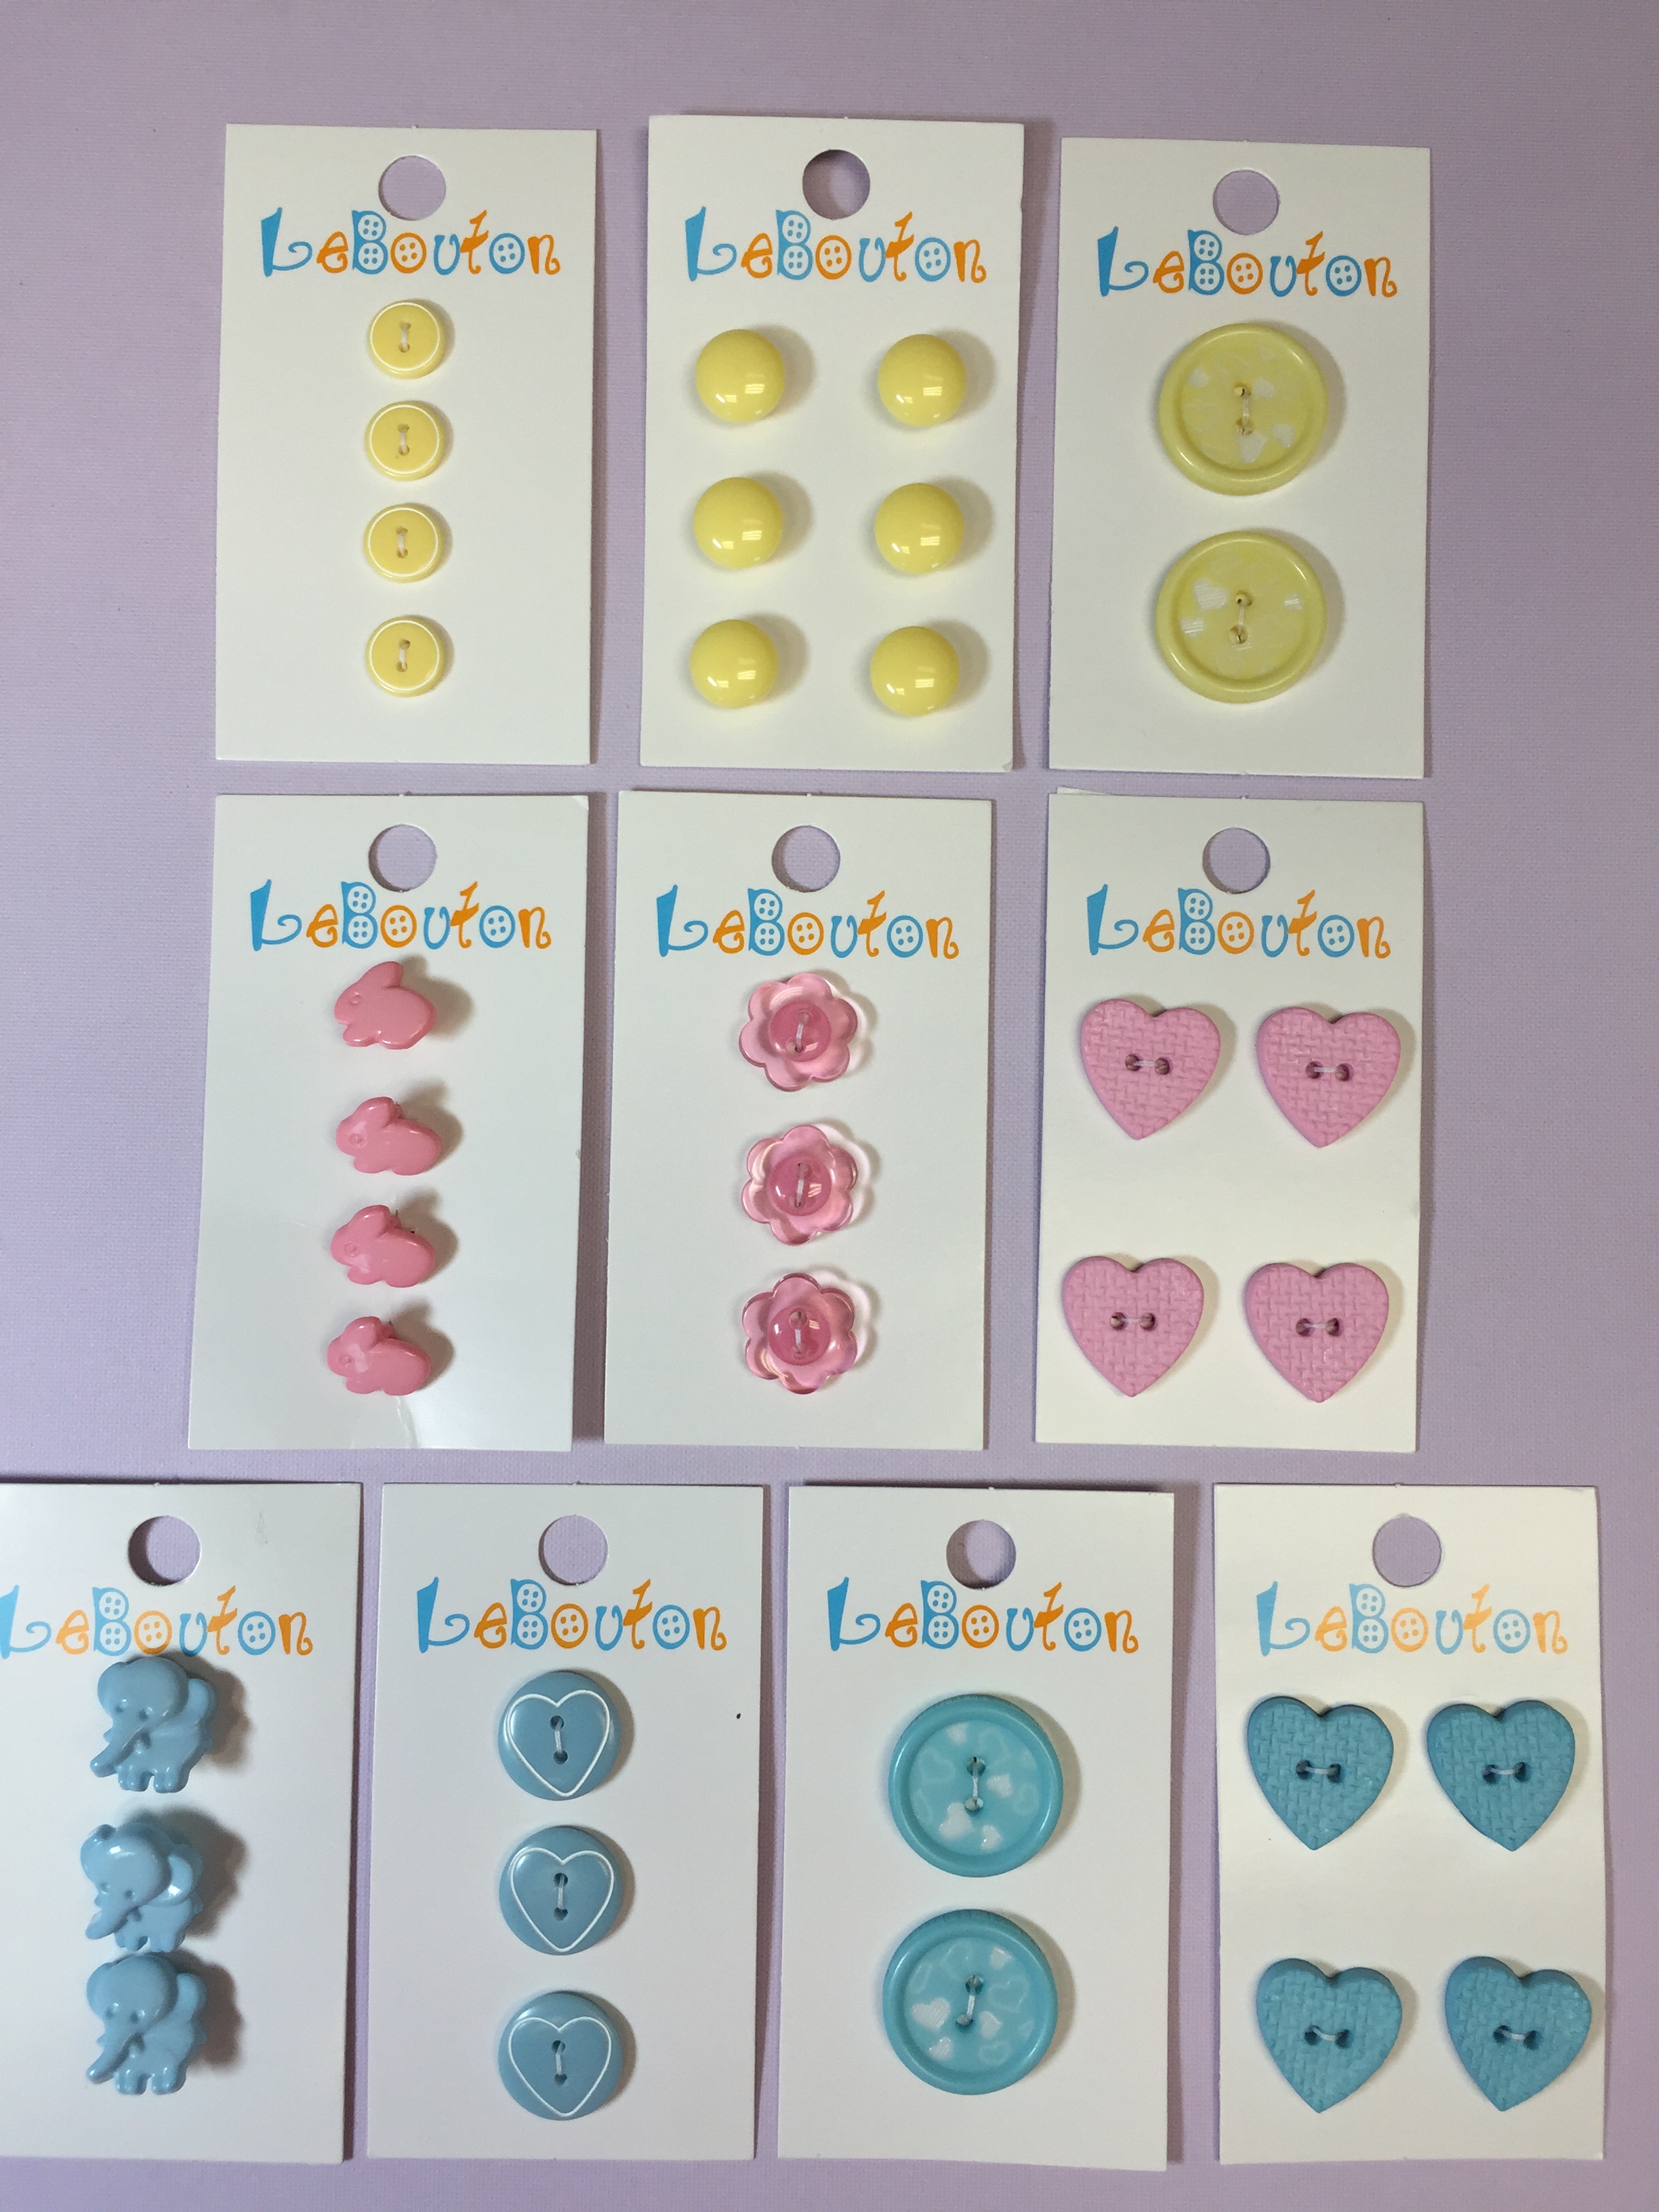
Le Bouton: 551402079 – White
551100402 – Favorite Findings White
551100421 – Favorite Findings Pastel
551201150 – Favorite Findings Butterfly Wings
631405622 – white heart
631405615 – pink heart
631405613 – light pink
631405648 – pink
631405630 – blue
631405660 – purple
These buttons are all available at Walmart
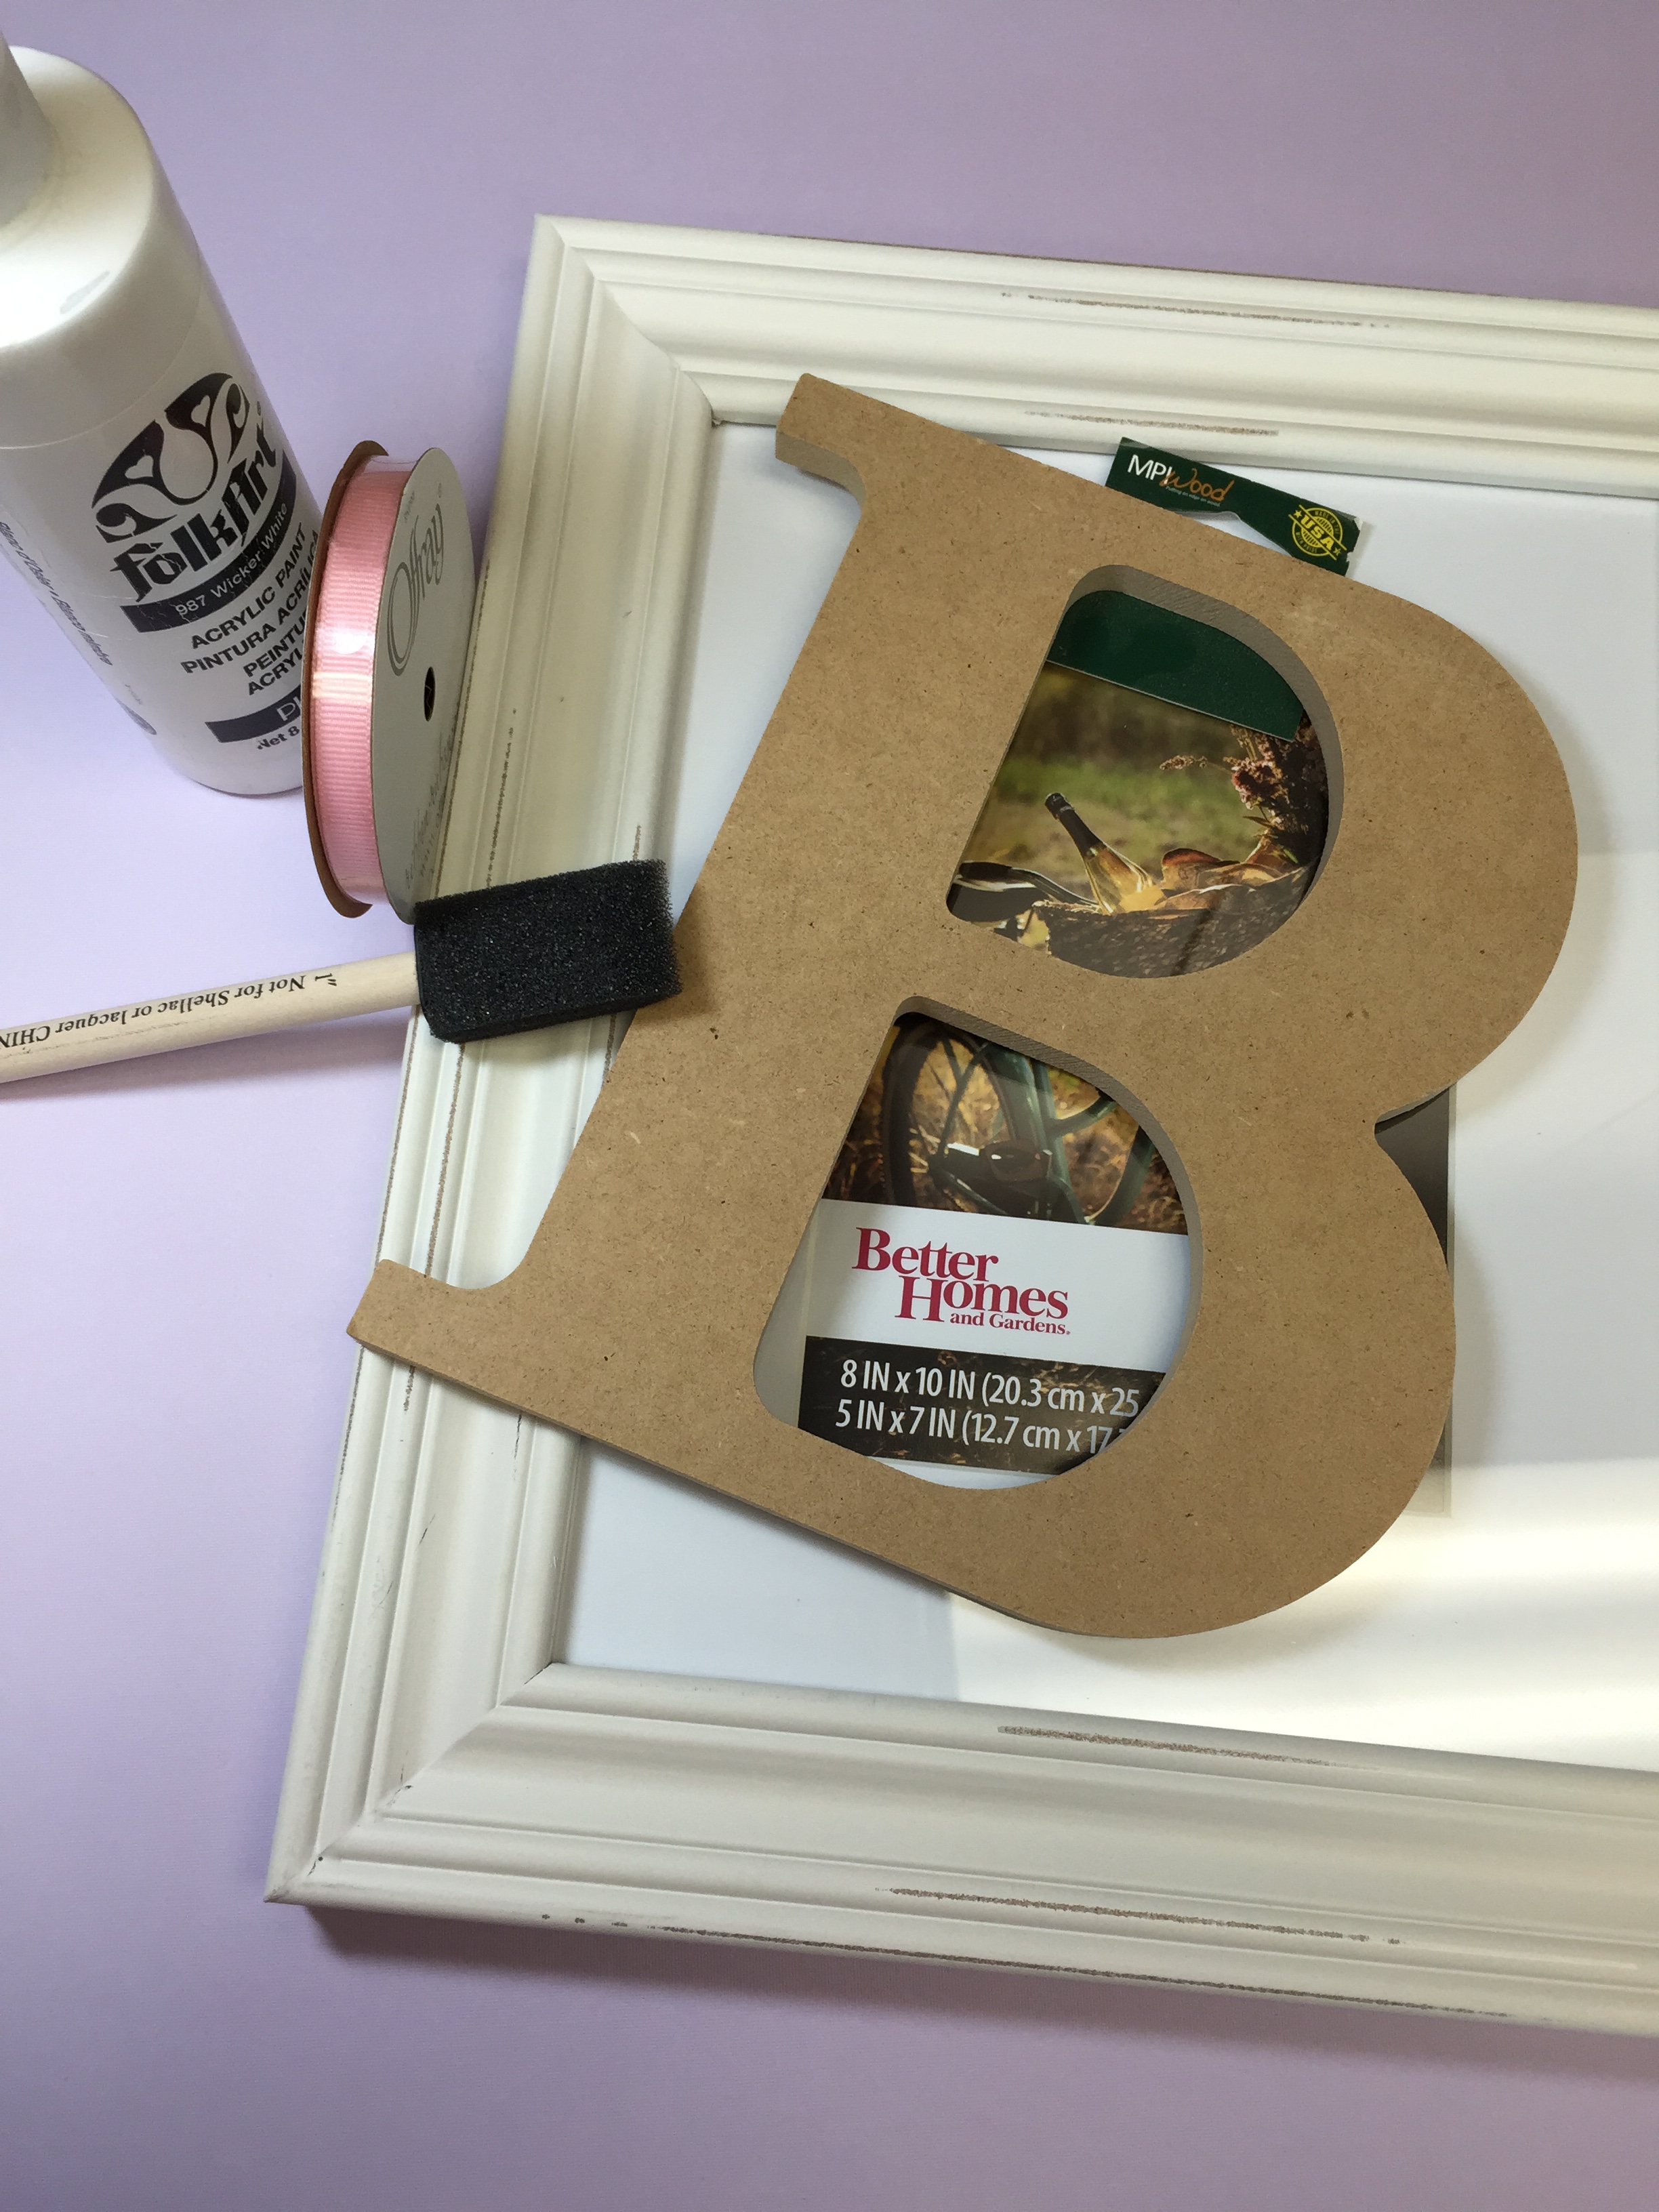
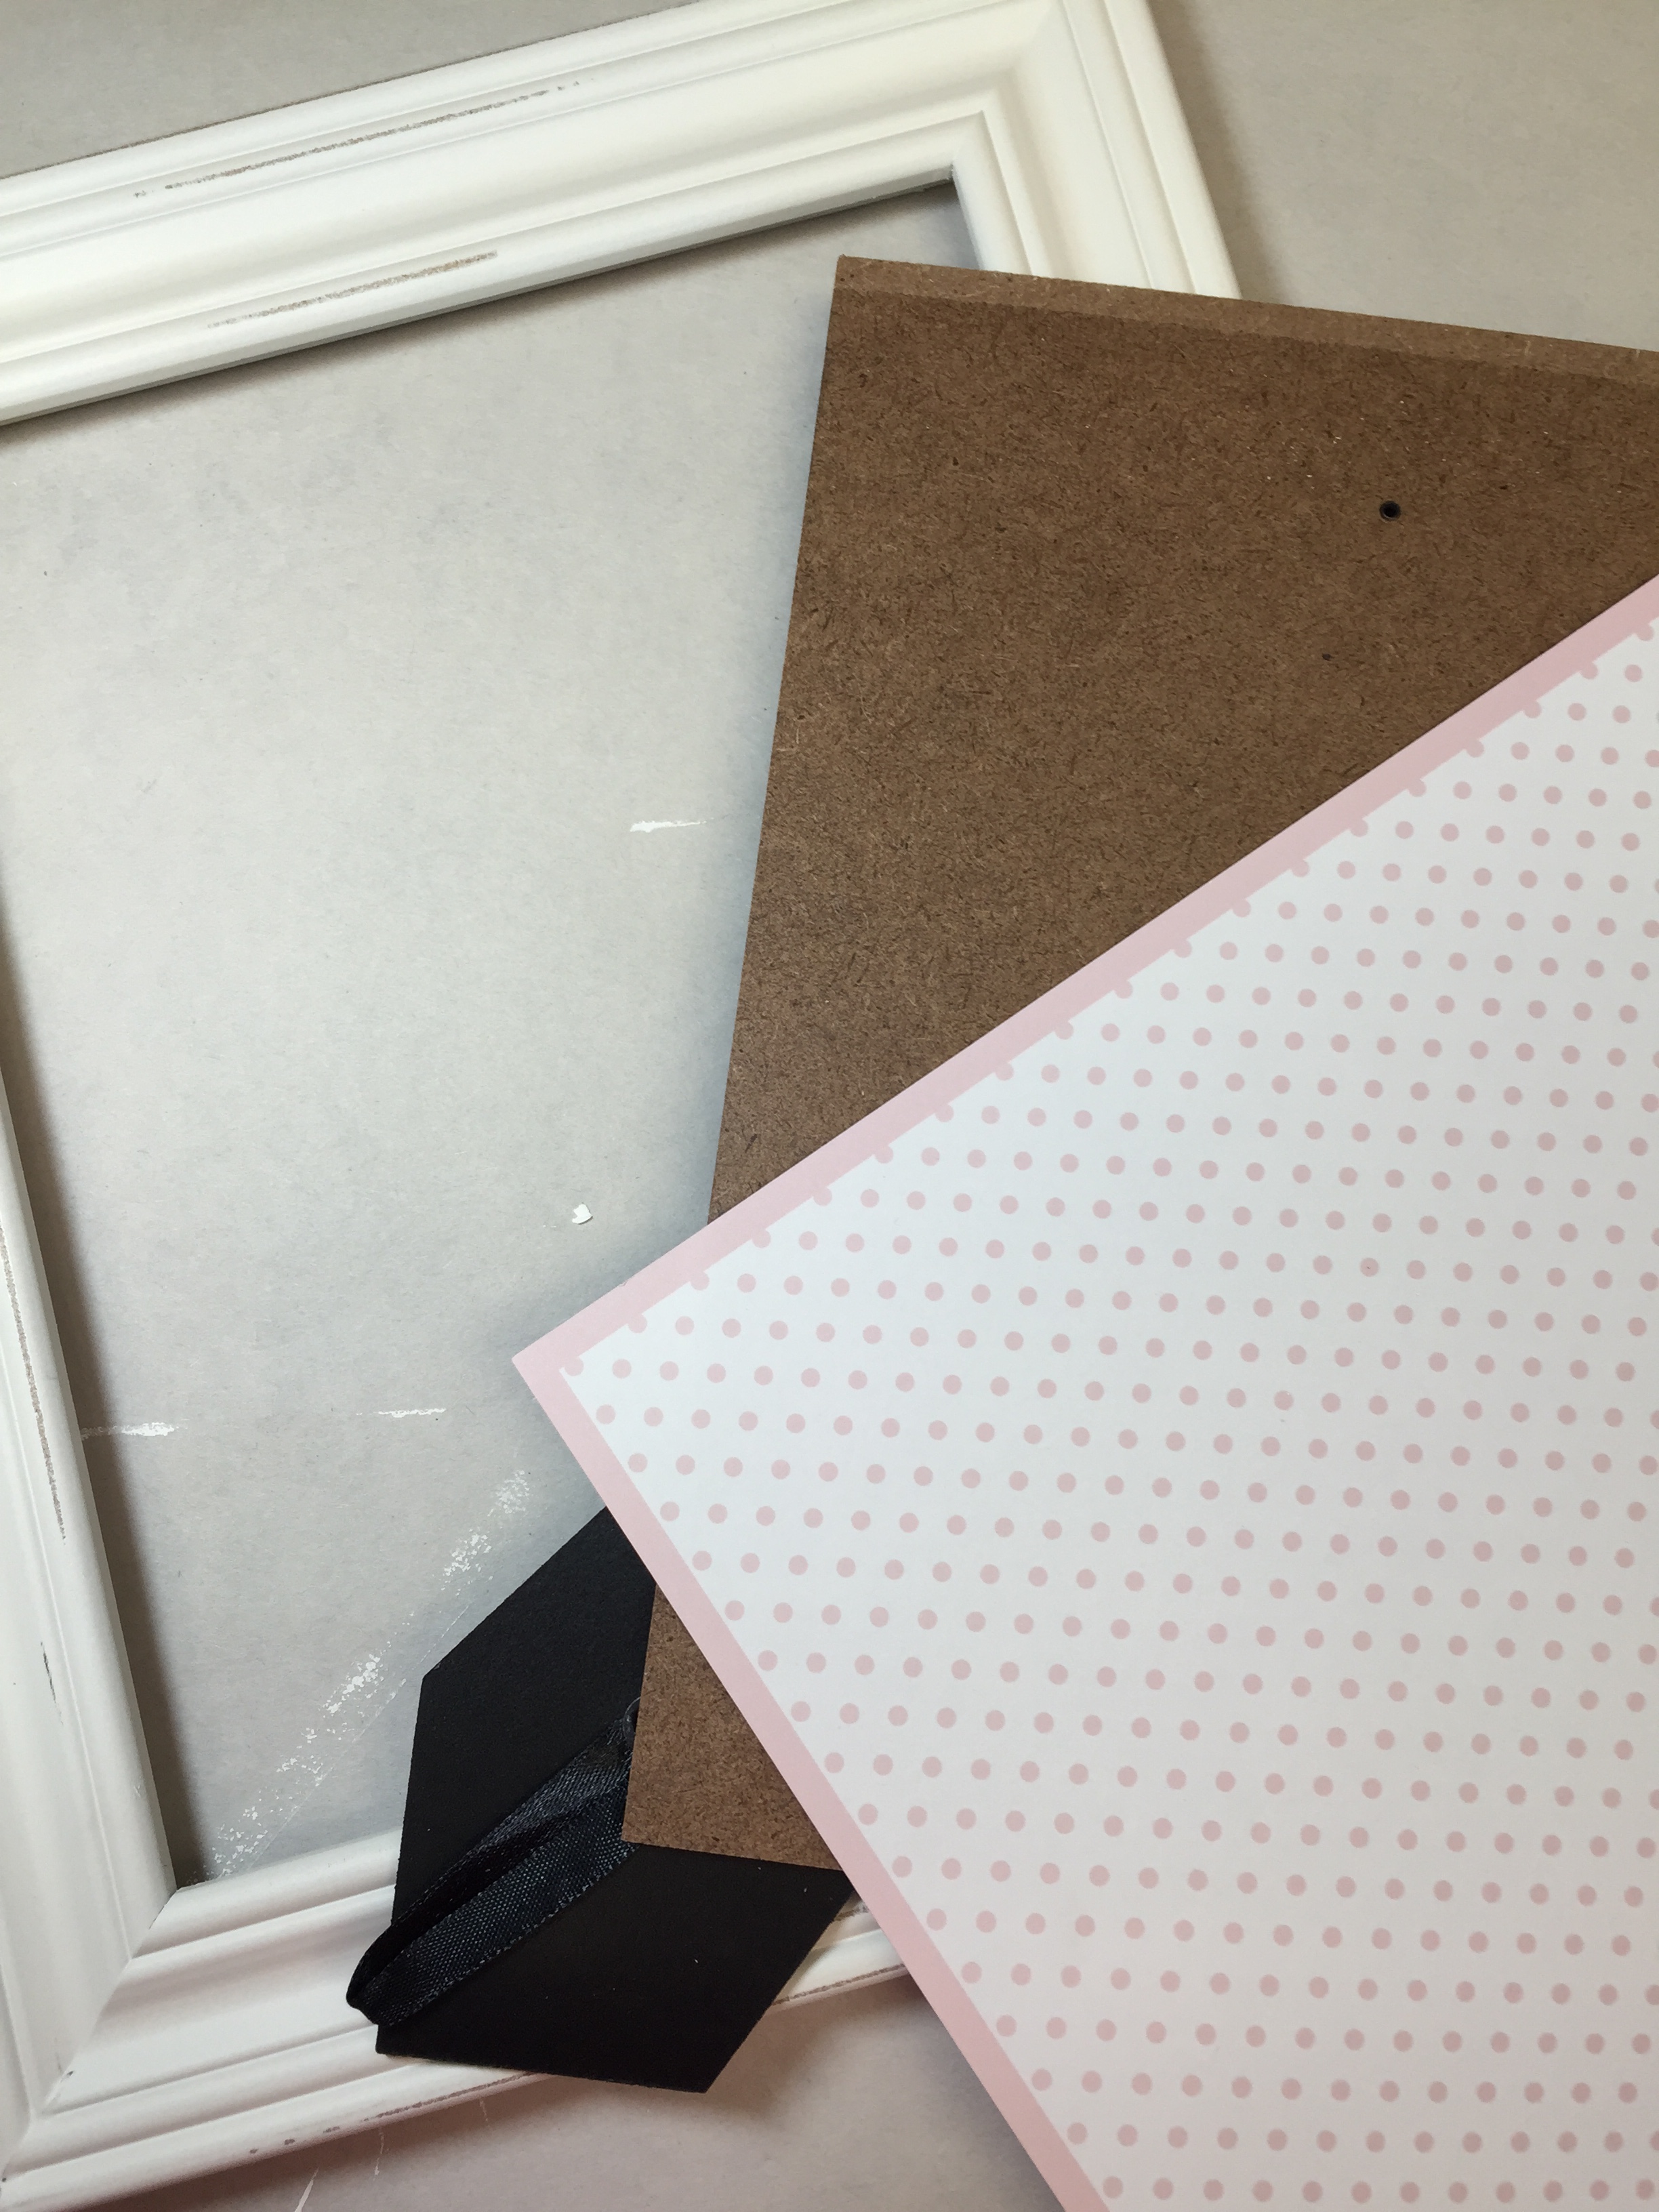
Additional supplies: 8 x 10 frame; 8” wood letter (make sure this fits the inside opening of your frame; scrapbook paper; white paint; paintbrush; ribbon; glue – hot glue and craft glue; scissors;Newspaper; plate.


To begin – prep your work area – since we’re working with paint and glue cover your work space to avoid any mishaps.
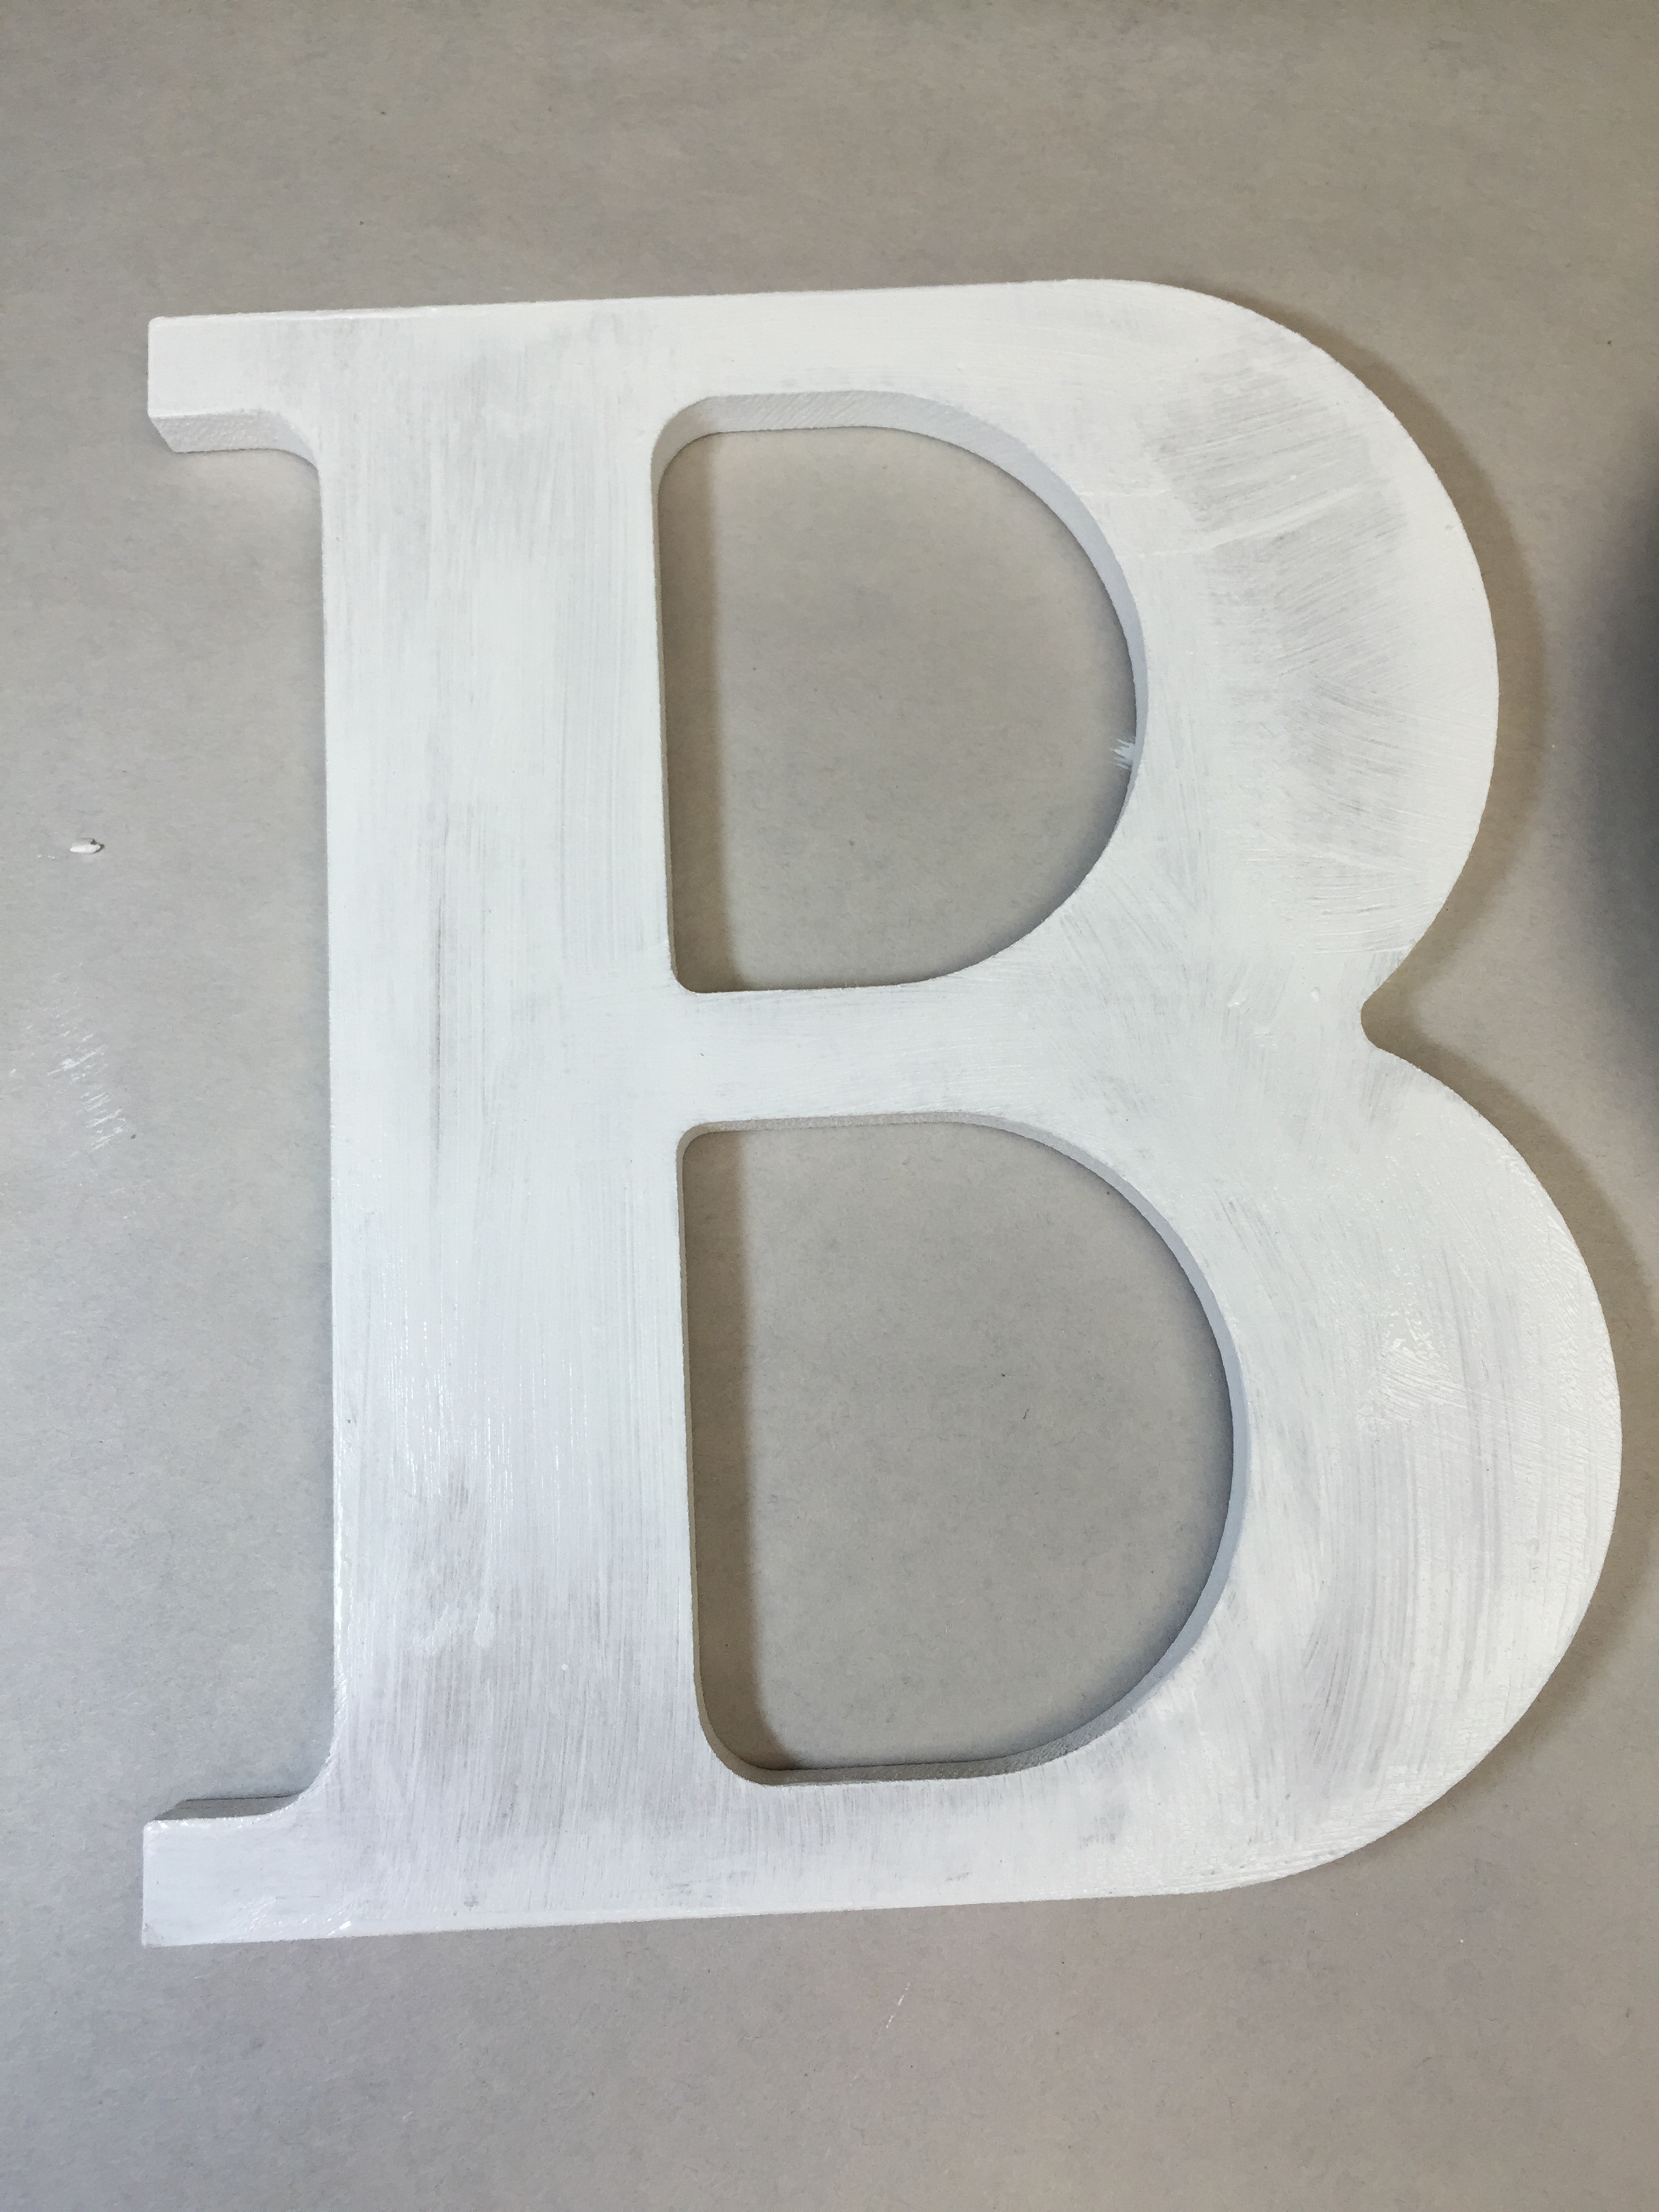
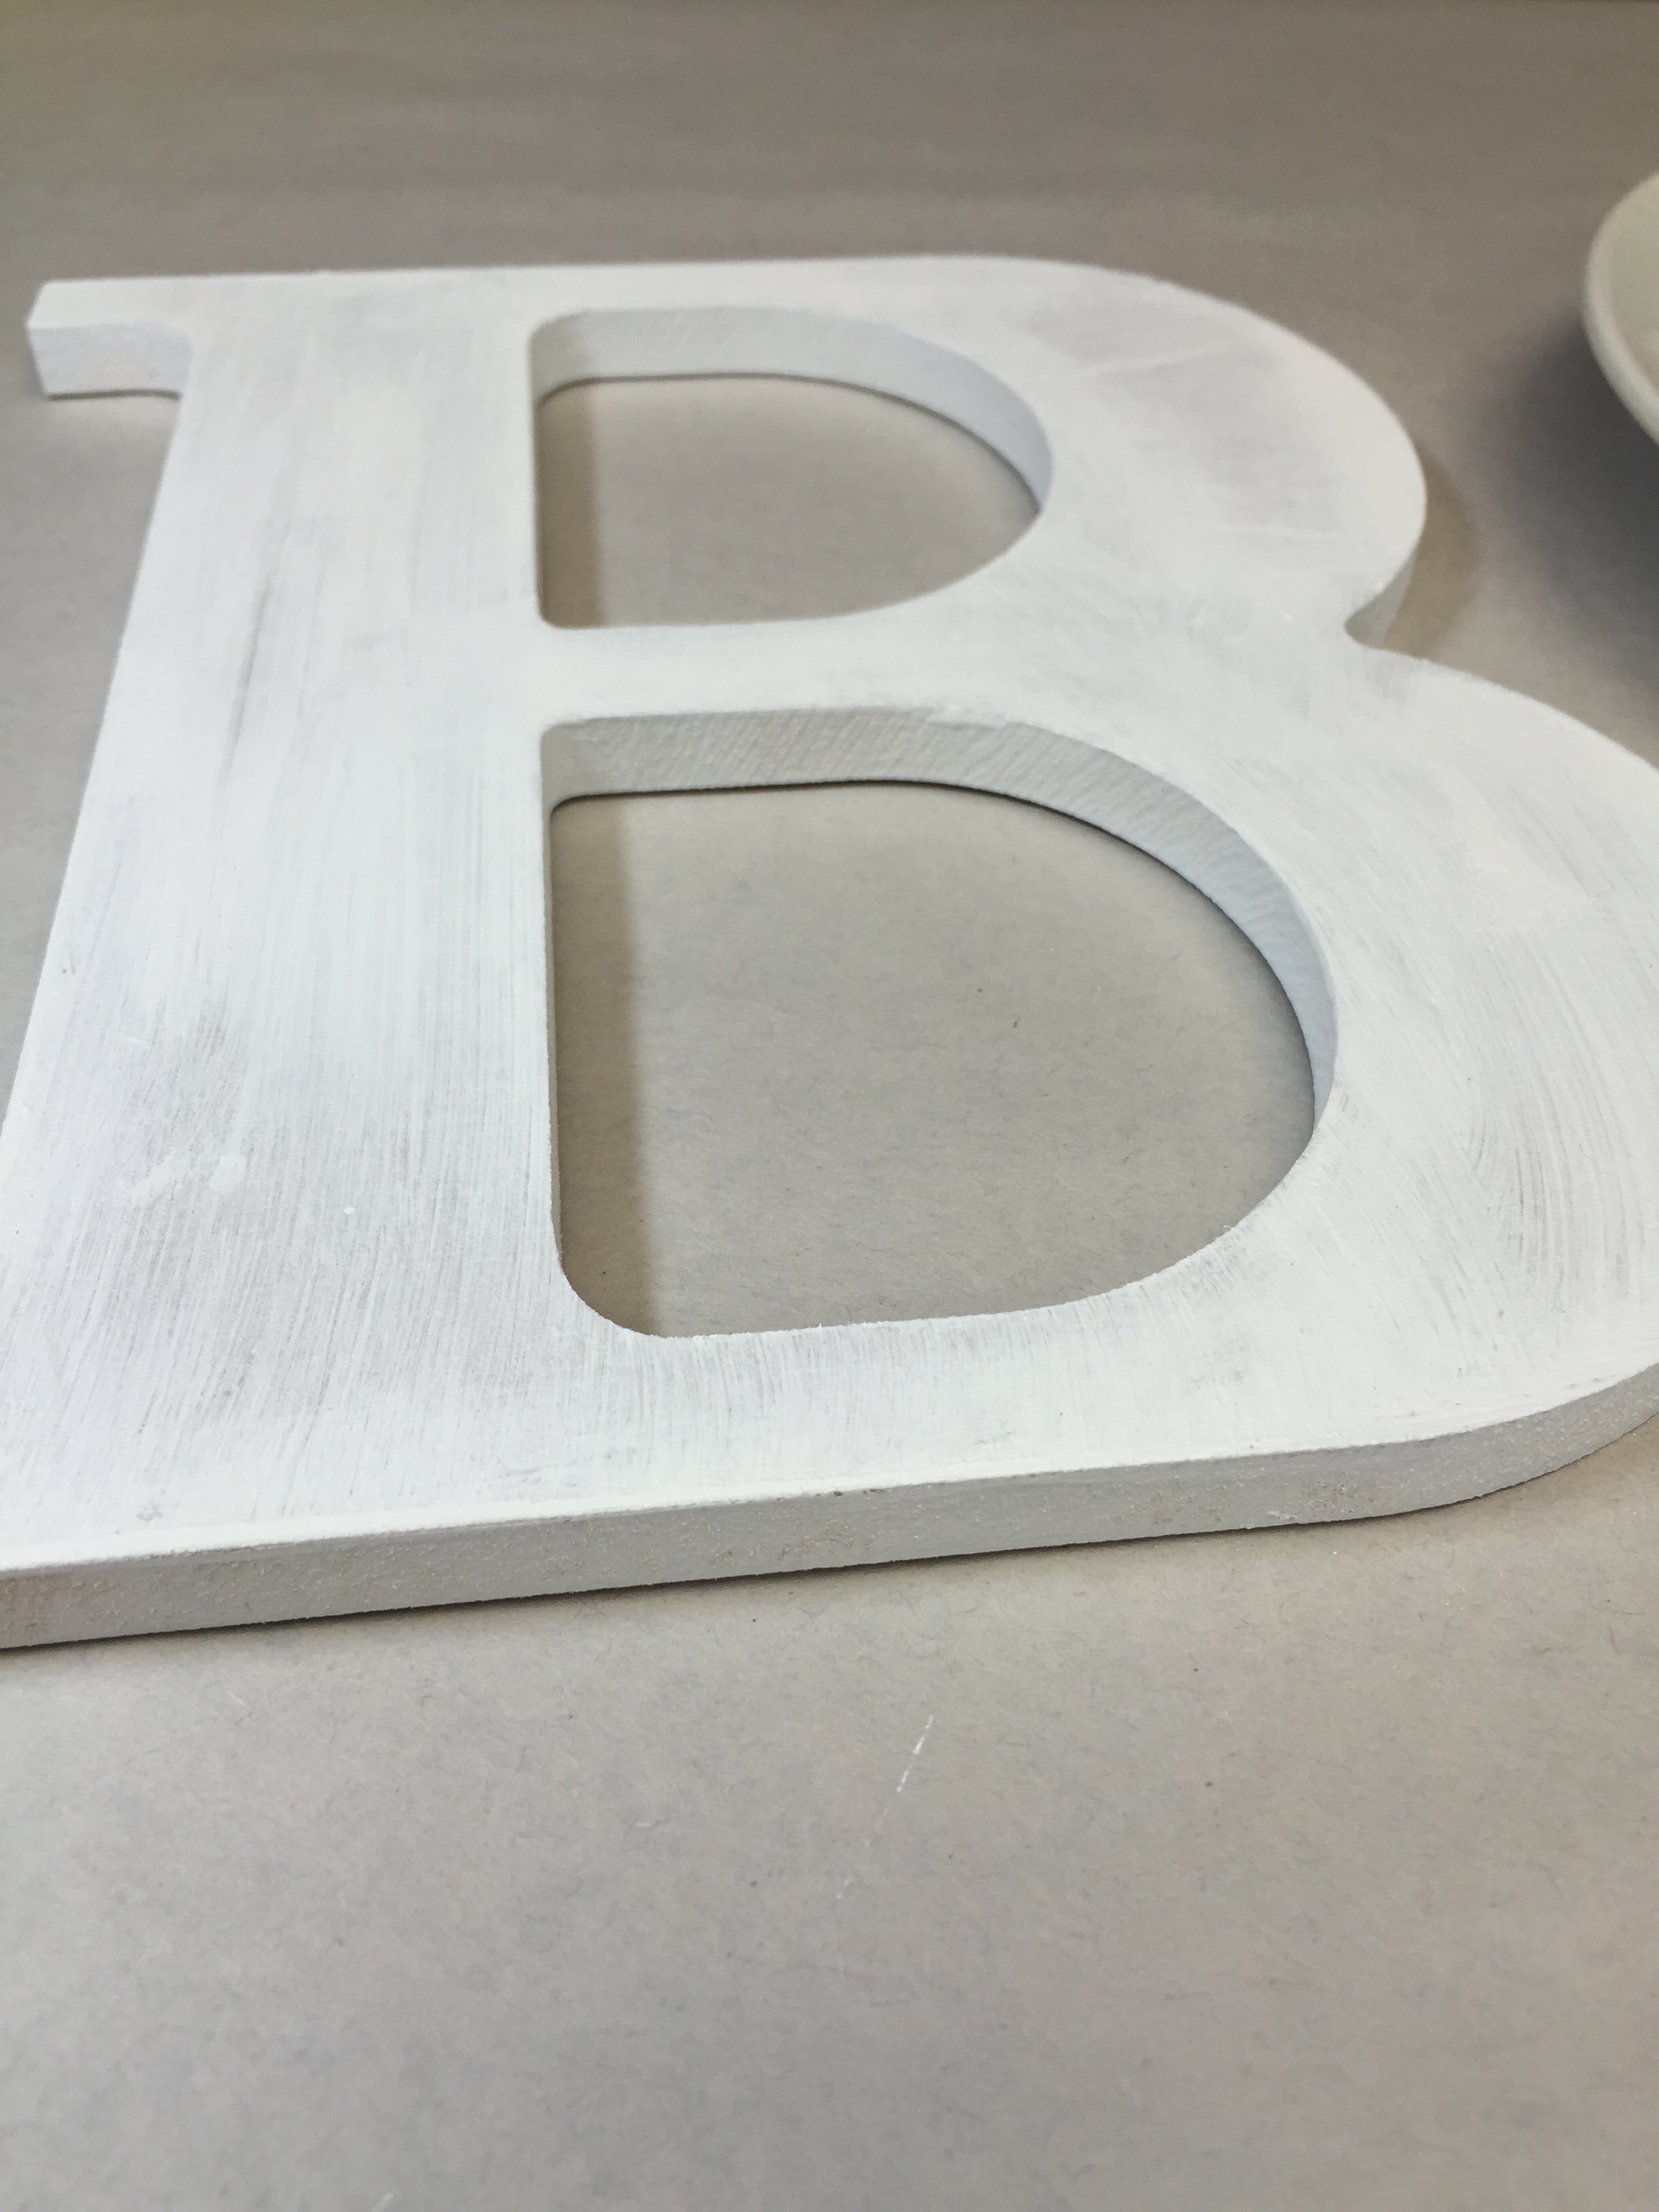
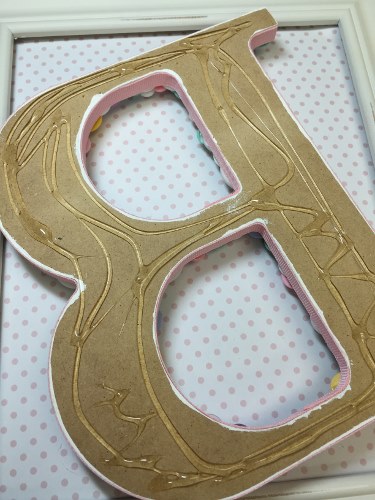
Pour a small amount of paint onto your plate – using your sponge evenly apply and cover surface of your wood letter – remember to paint the sides and inside of your letter (anything that is visible gets covered). Set aside and let dry. One coating is fine since you will cover the letter with buttons. 
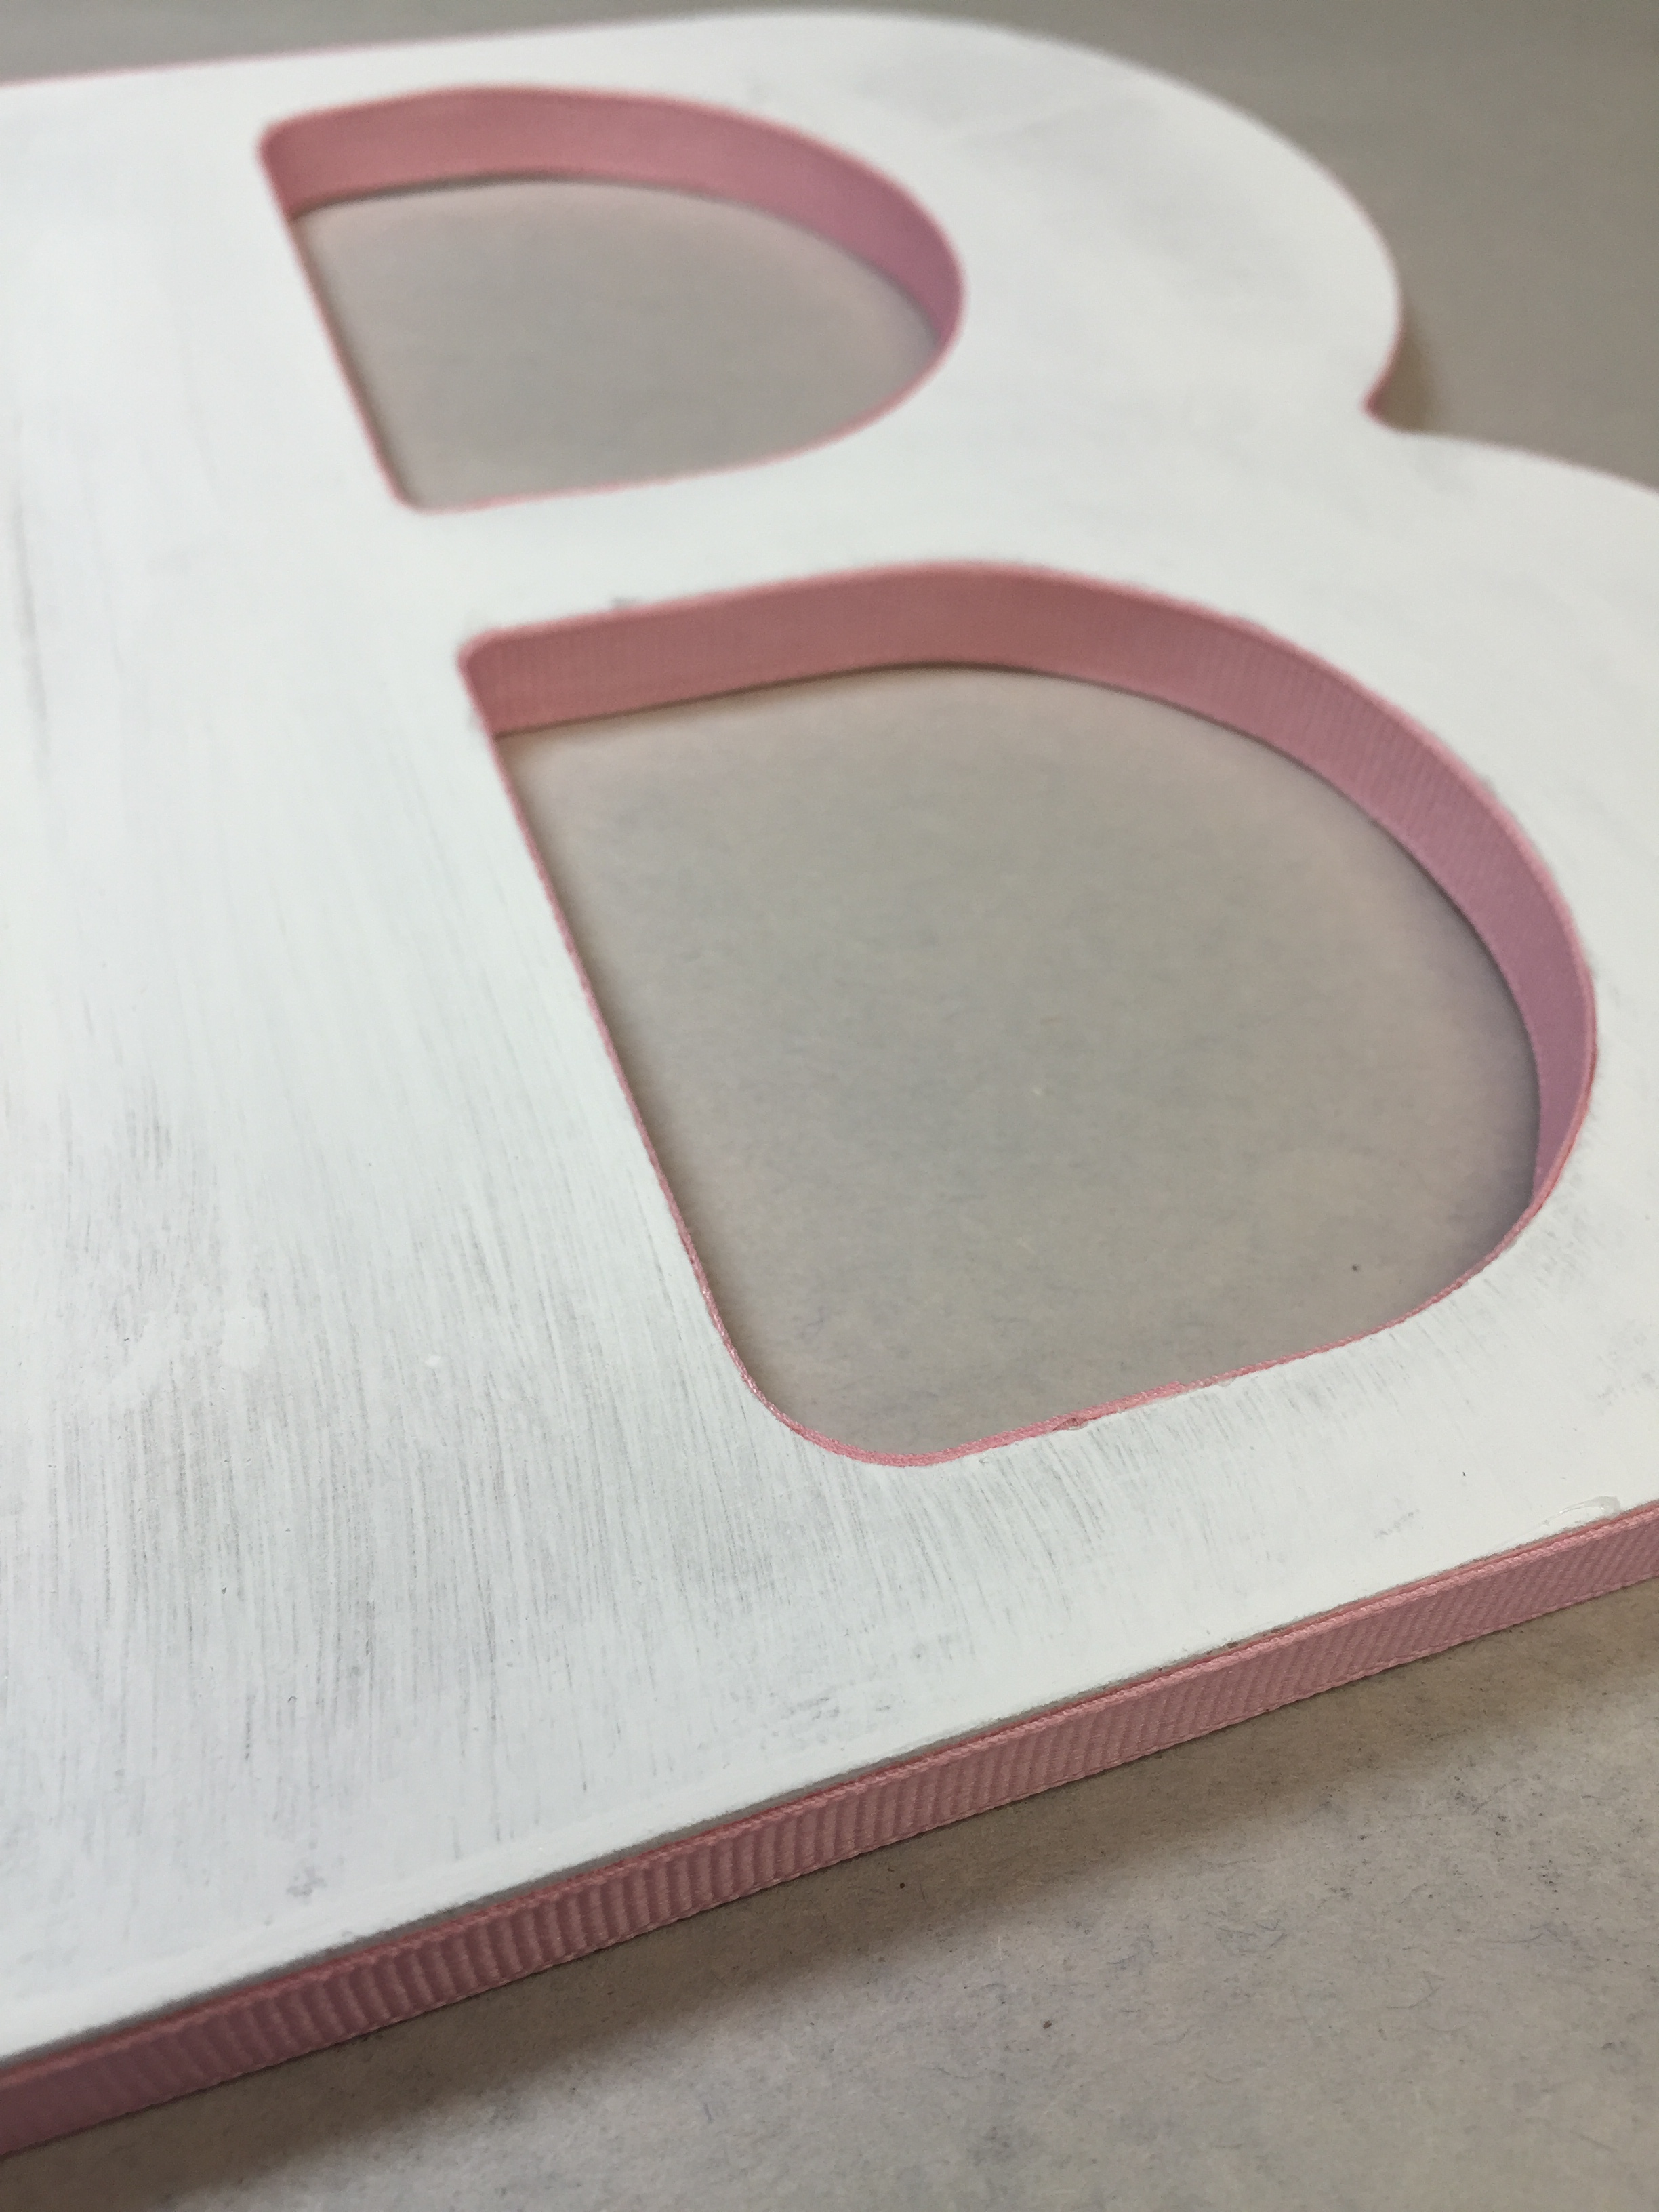
This next step – locate your ribbon and glue – with your adhesive glue run a bead along the edges and place ribbon on top – continue until you’ve covered the edges (again don’t forget the inside). Cut excess.
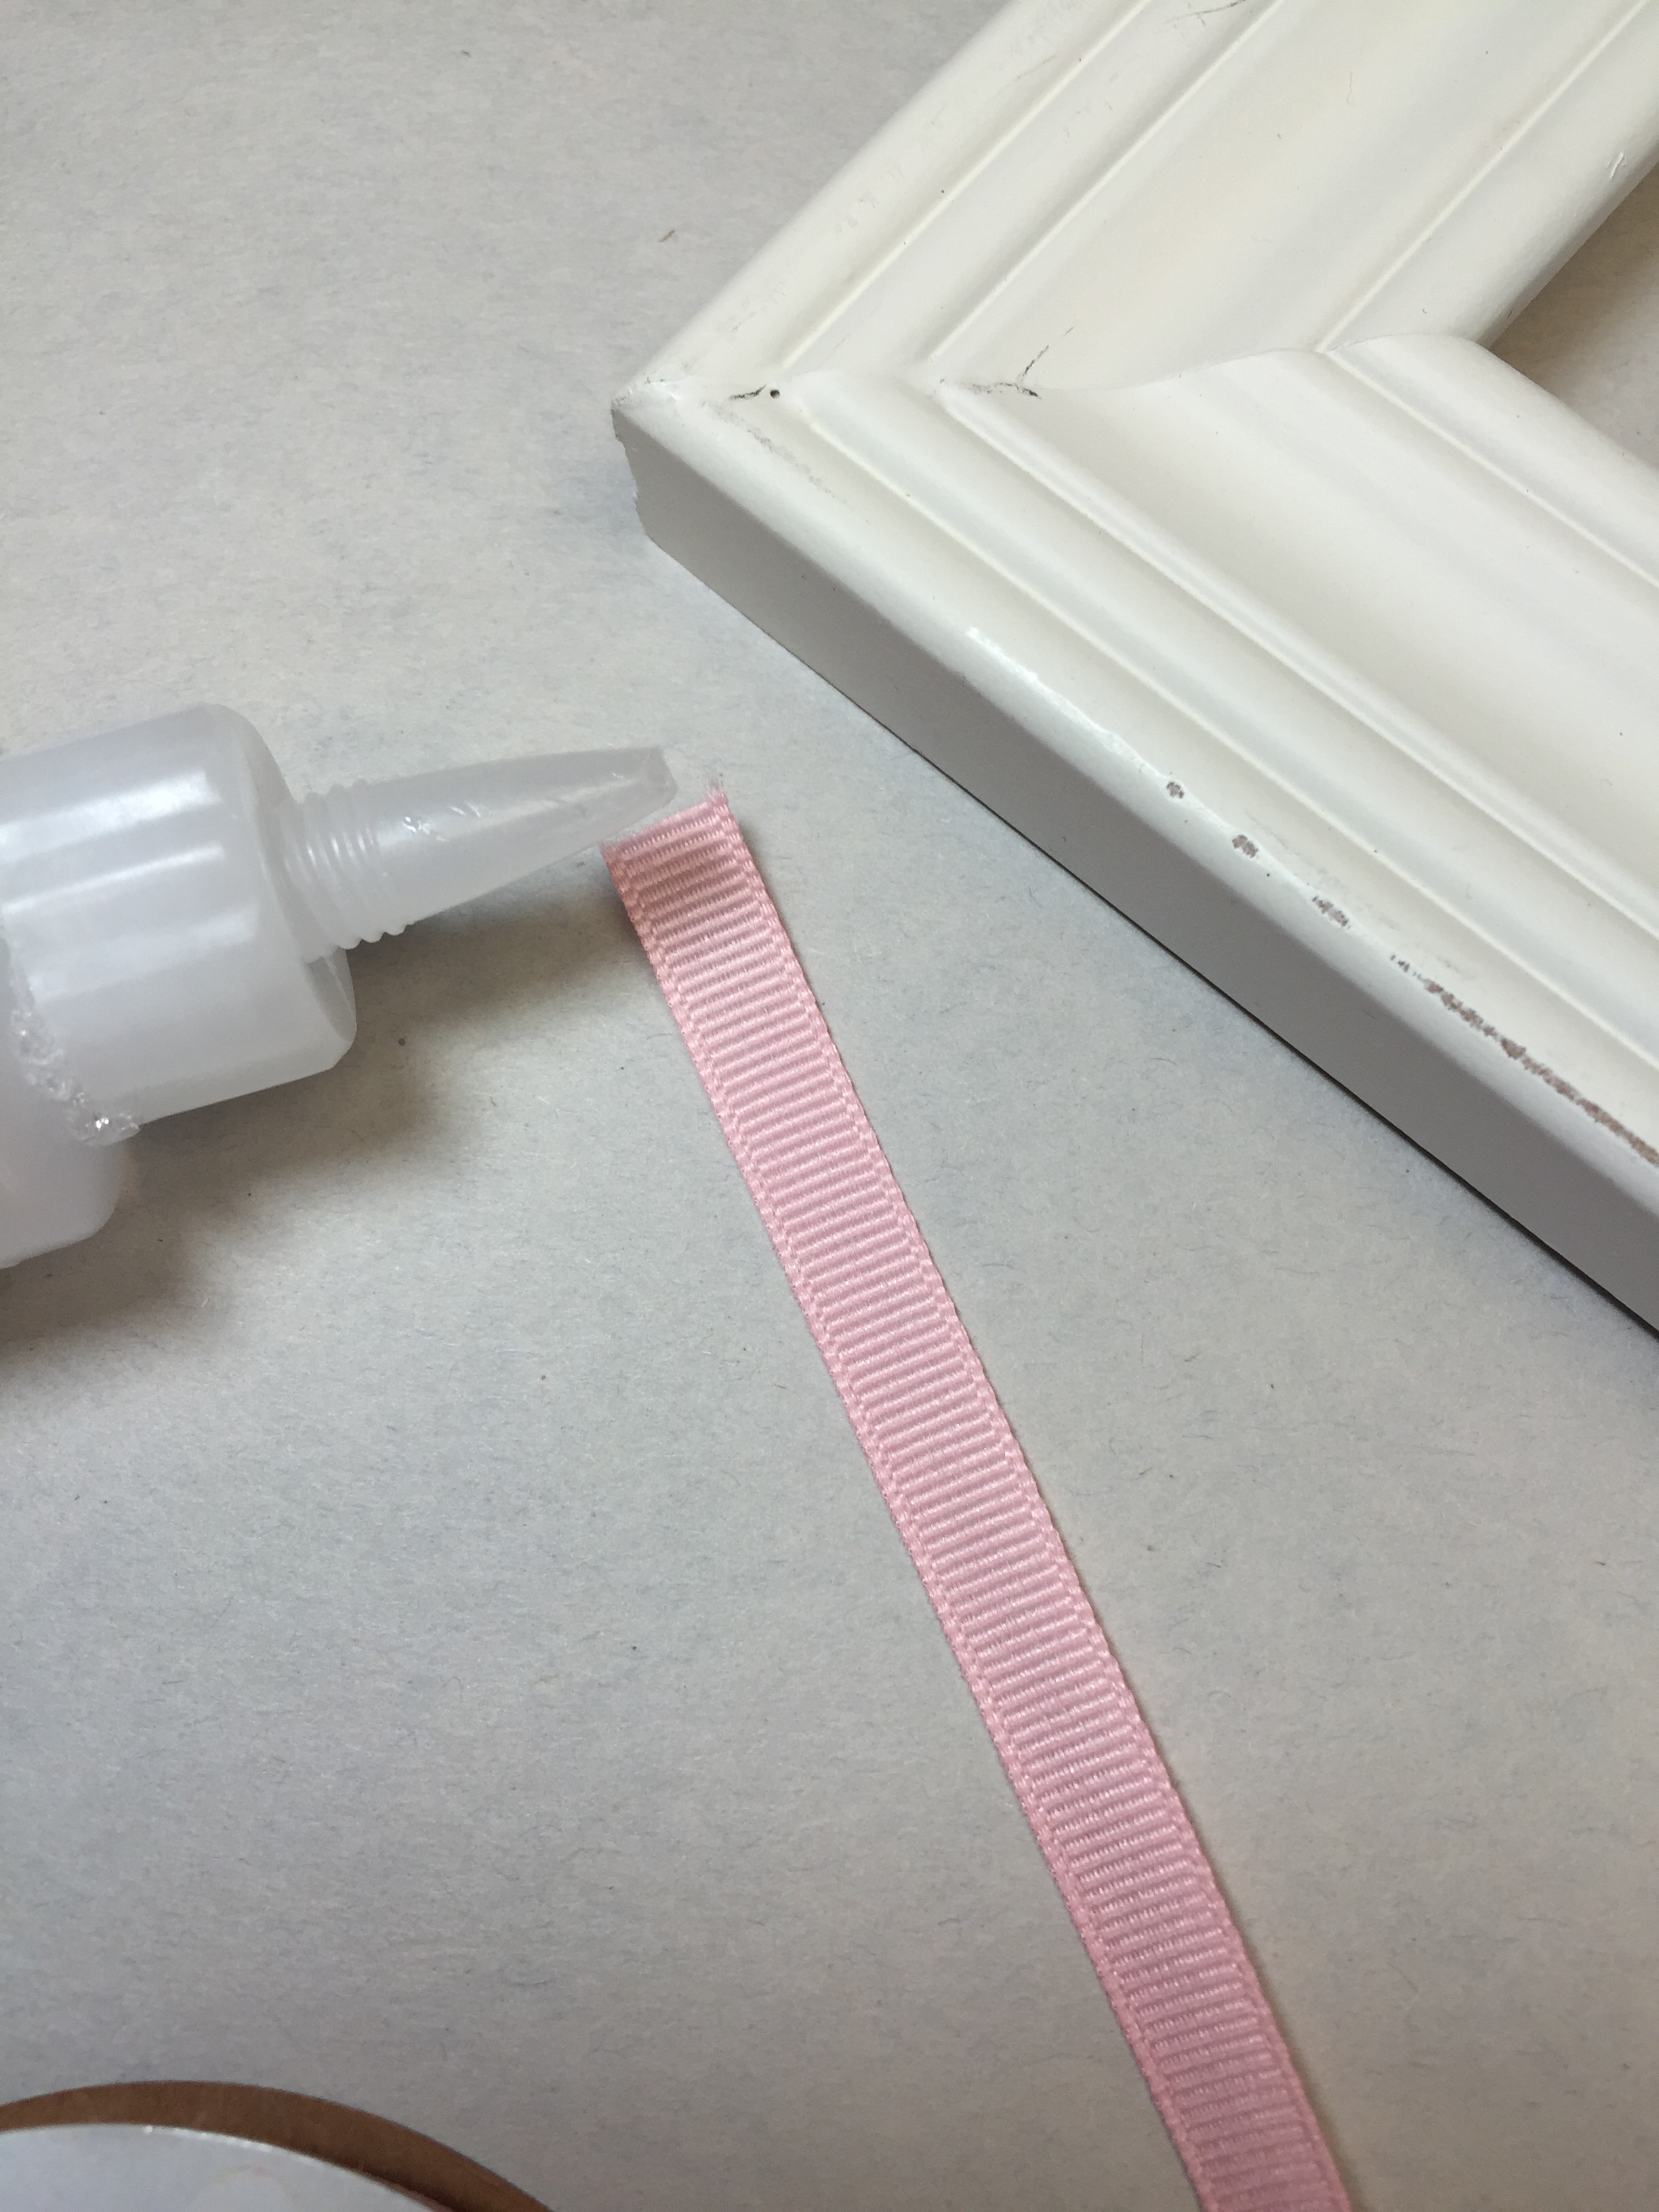

At this time if you’re using a hot glue gun make sure it’s plugged in (this will take time to heat up). If you’re not comfortable using a hot glue gun there are other adhesives that will work (check with your sales associate in the department).
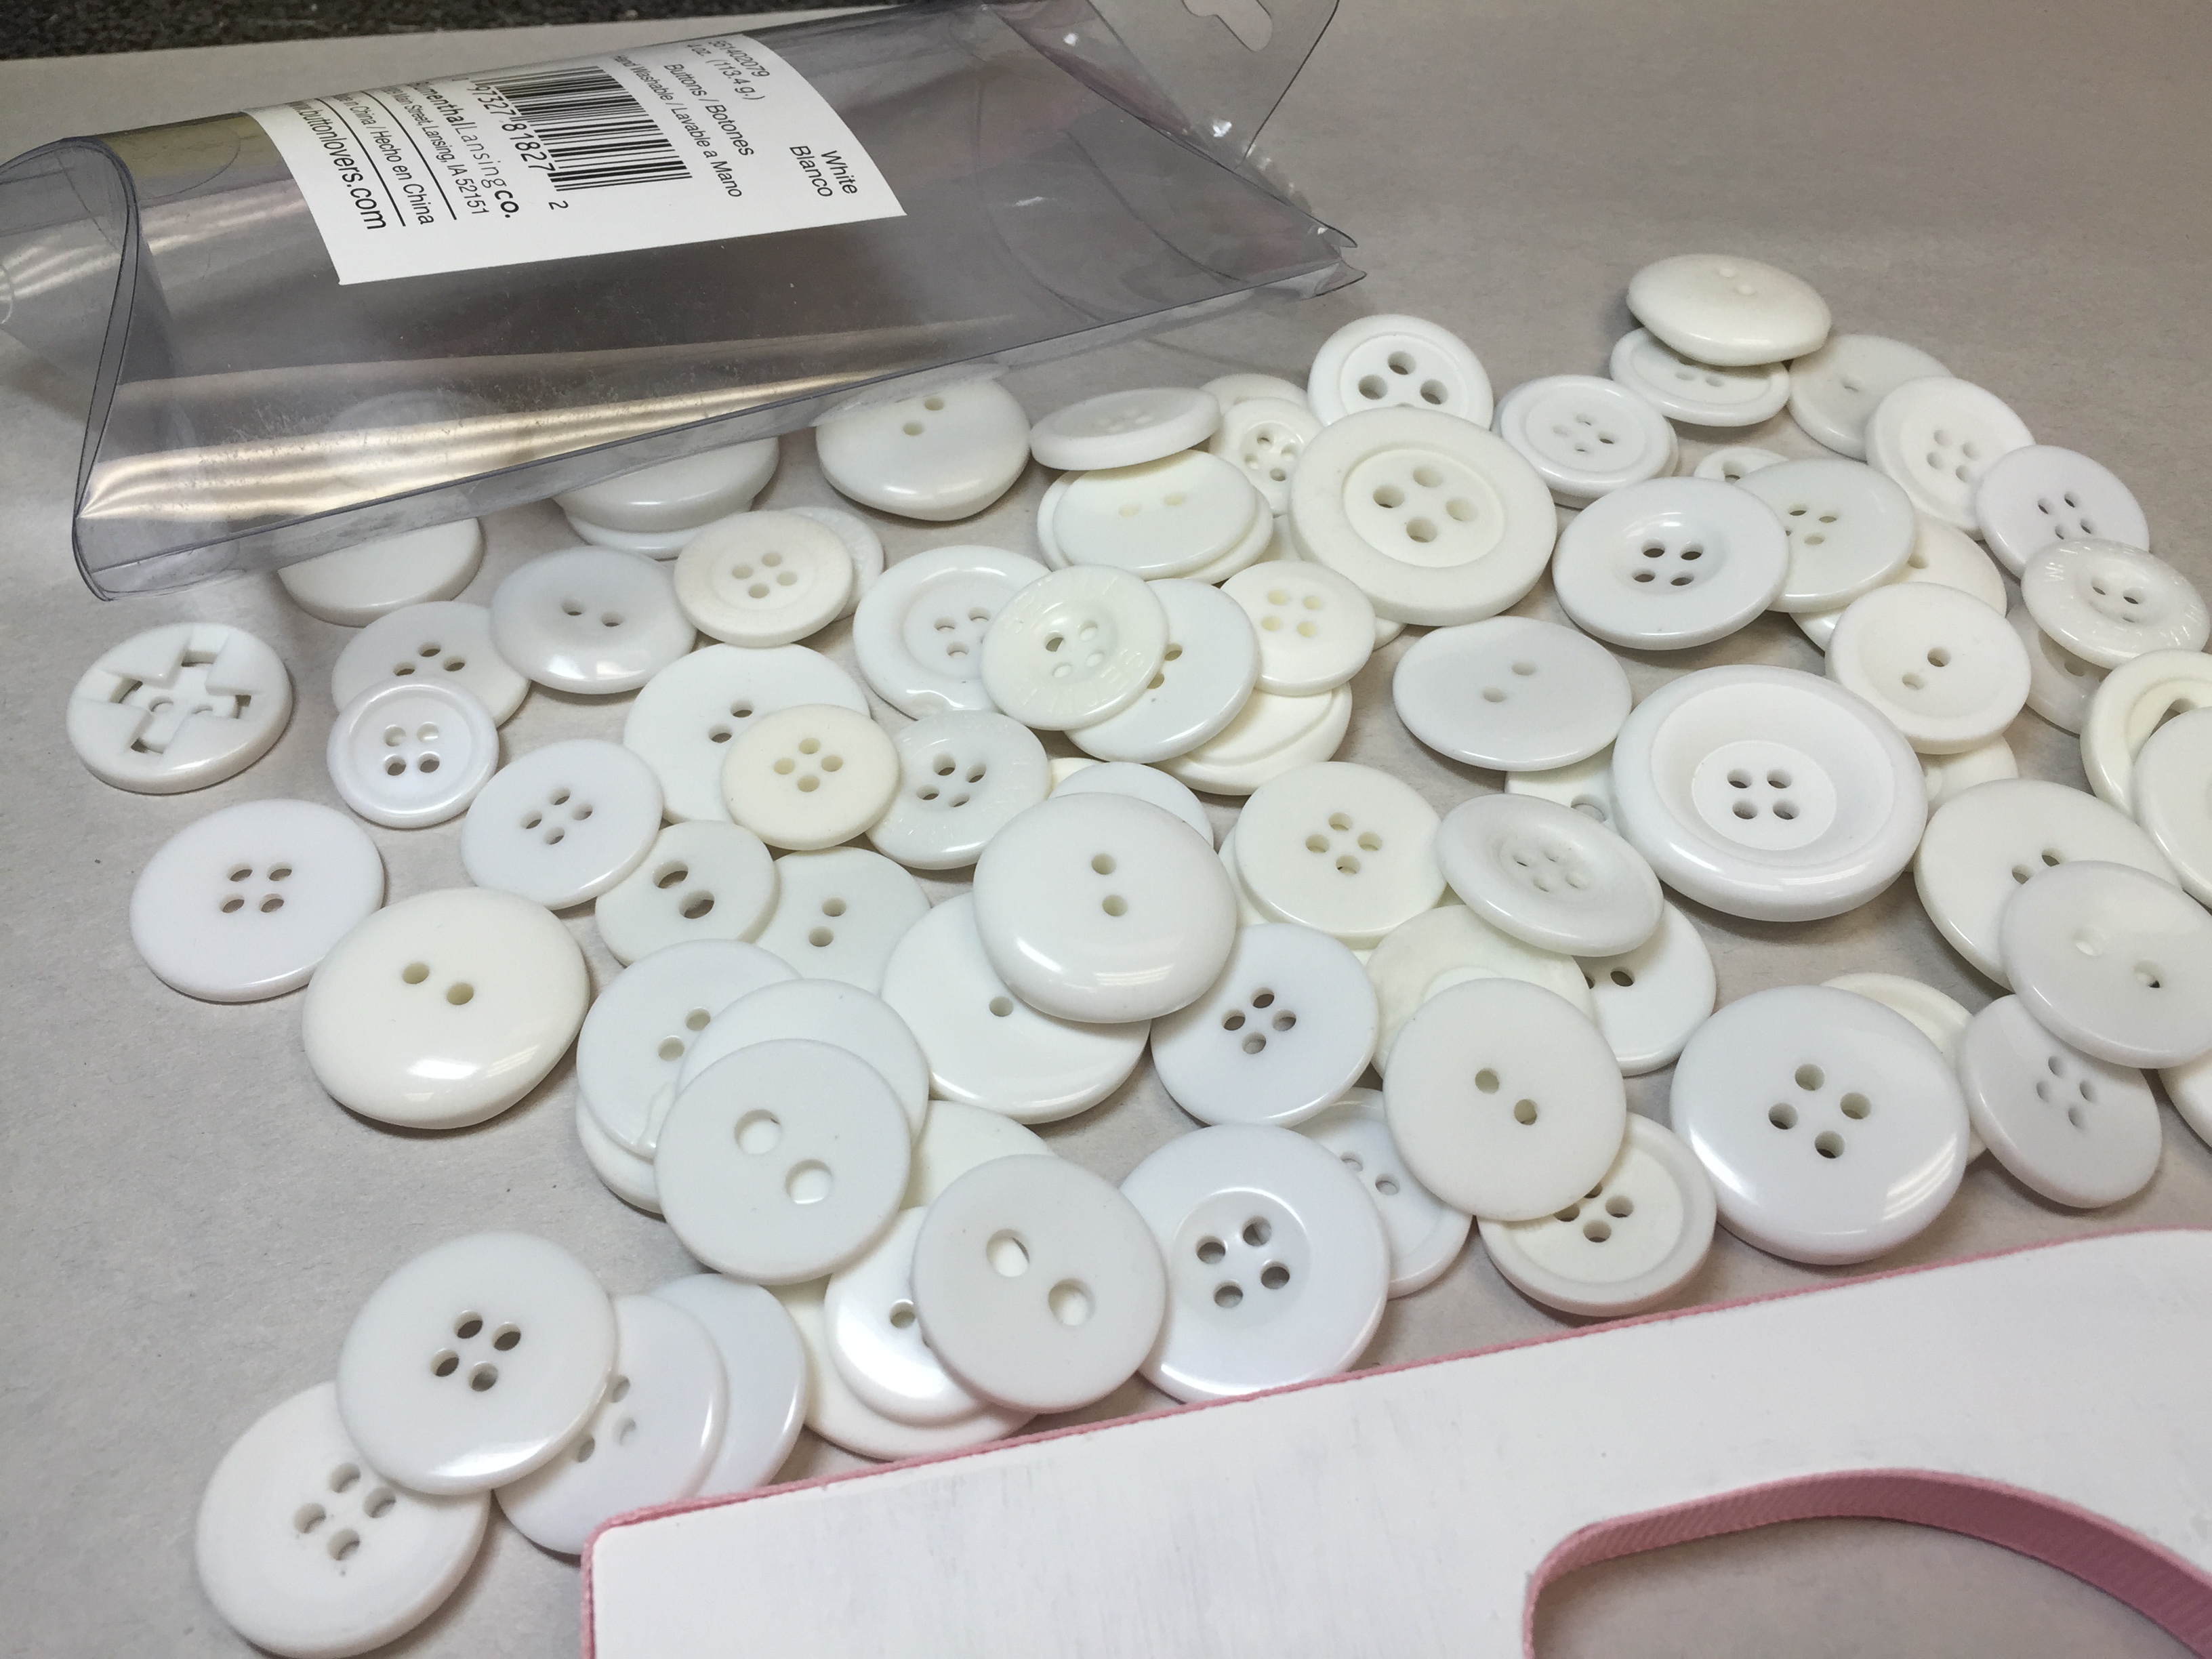
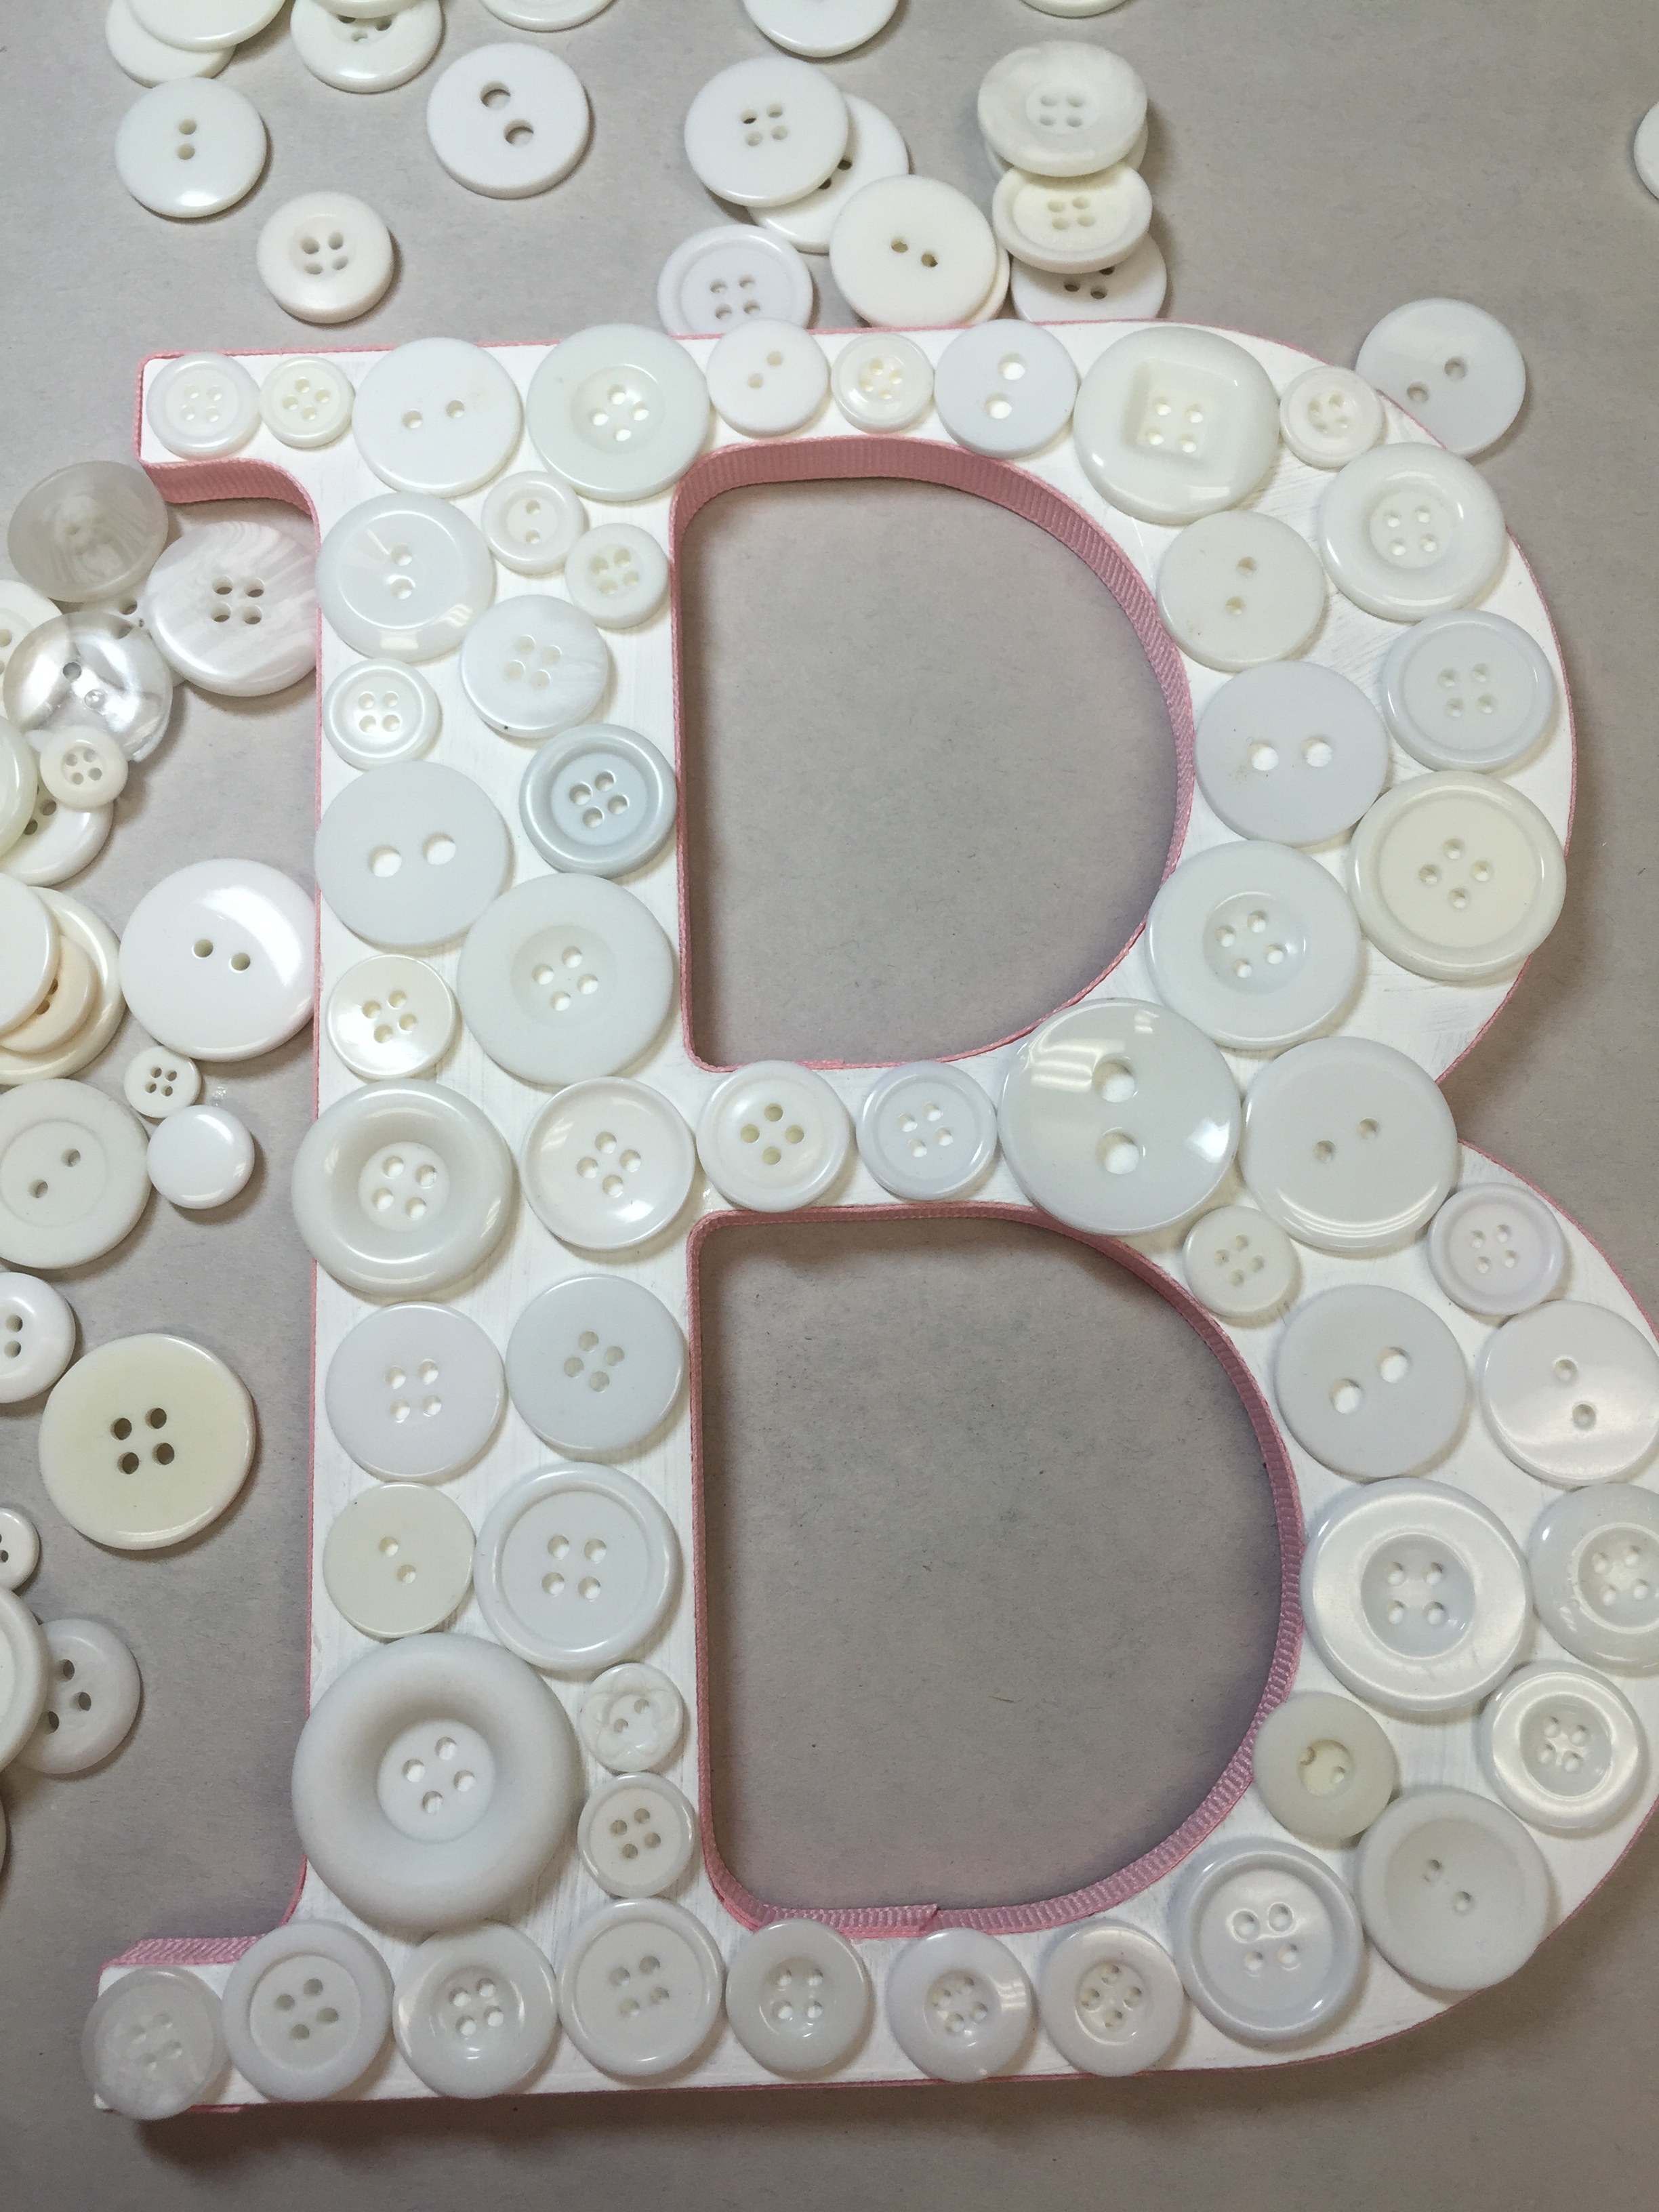
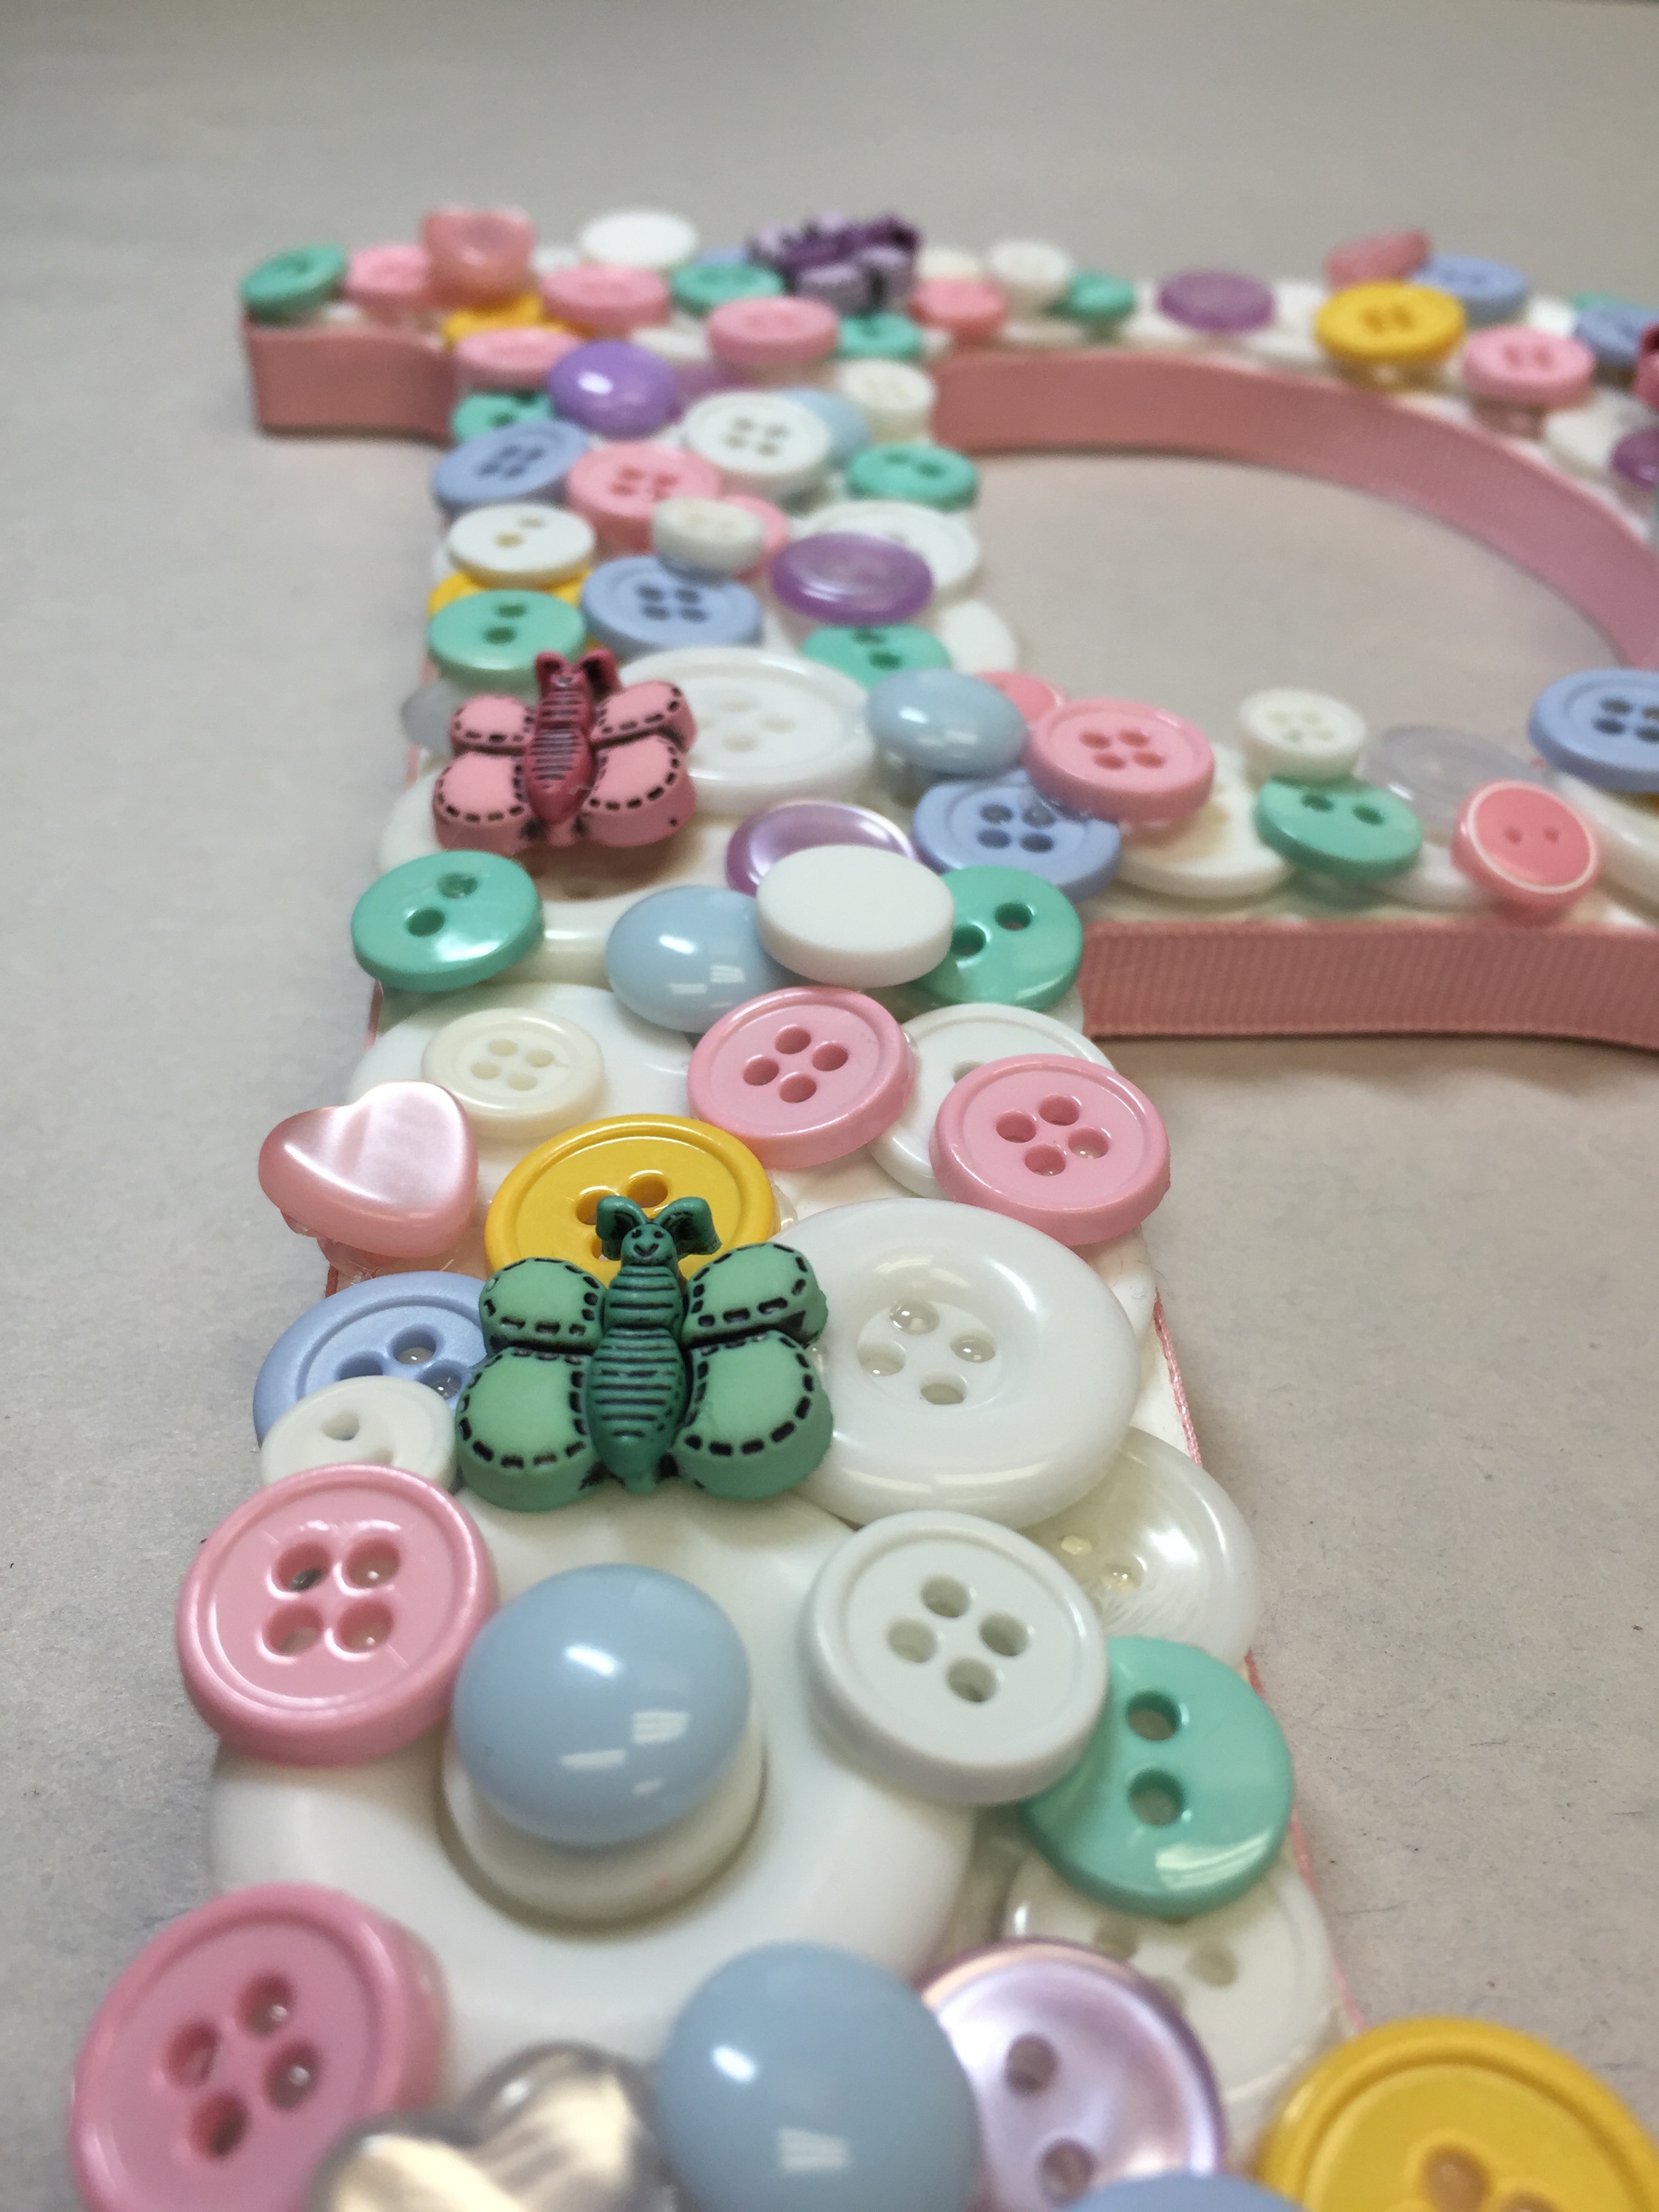
Next step BUTTONS! Remove your white buttons from the package and spread out in front of you. You will create your fist layer with the larger white buttons and filling in with smaller ones to fill the gaps. TIP: lay out buttons on the initial before gluing avoiding any issues at the end (such as large gaps or overhangs) once happy begin adhering with glue. Set the white buttons aside you will need some for the top layer.
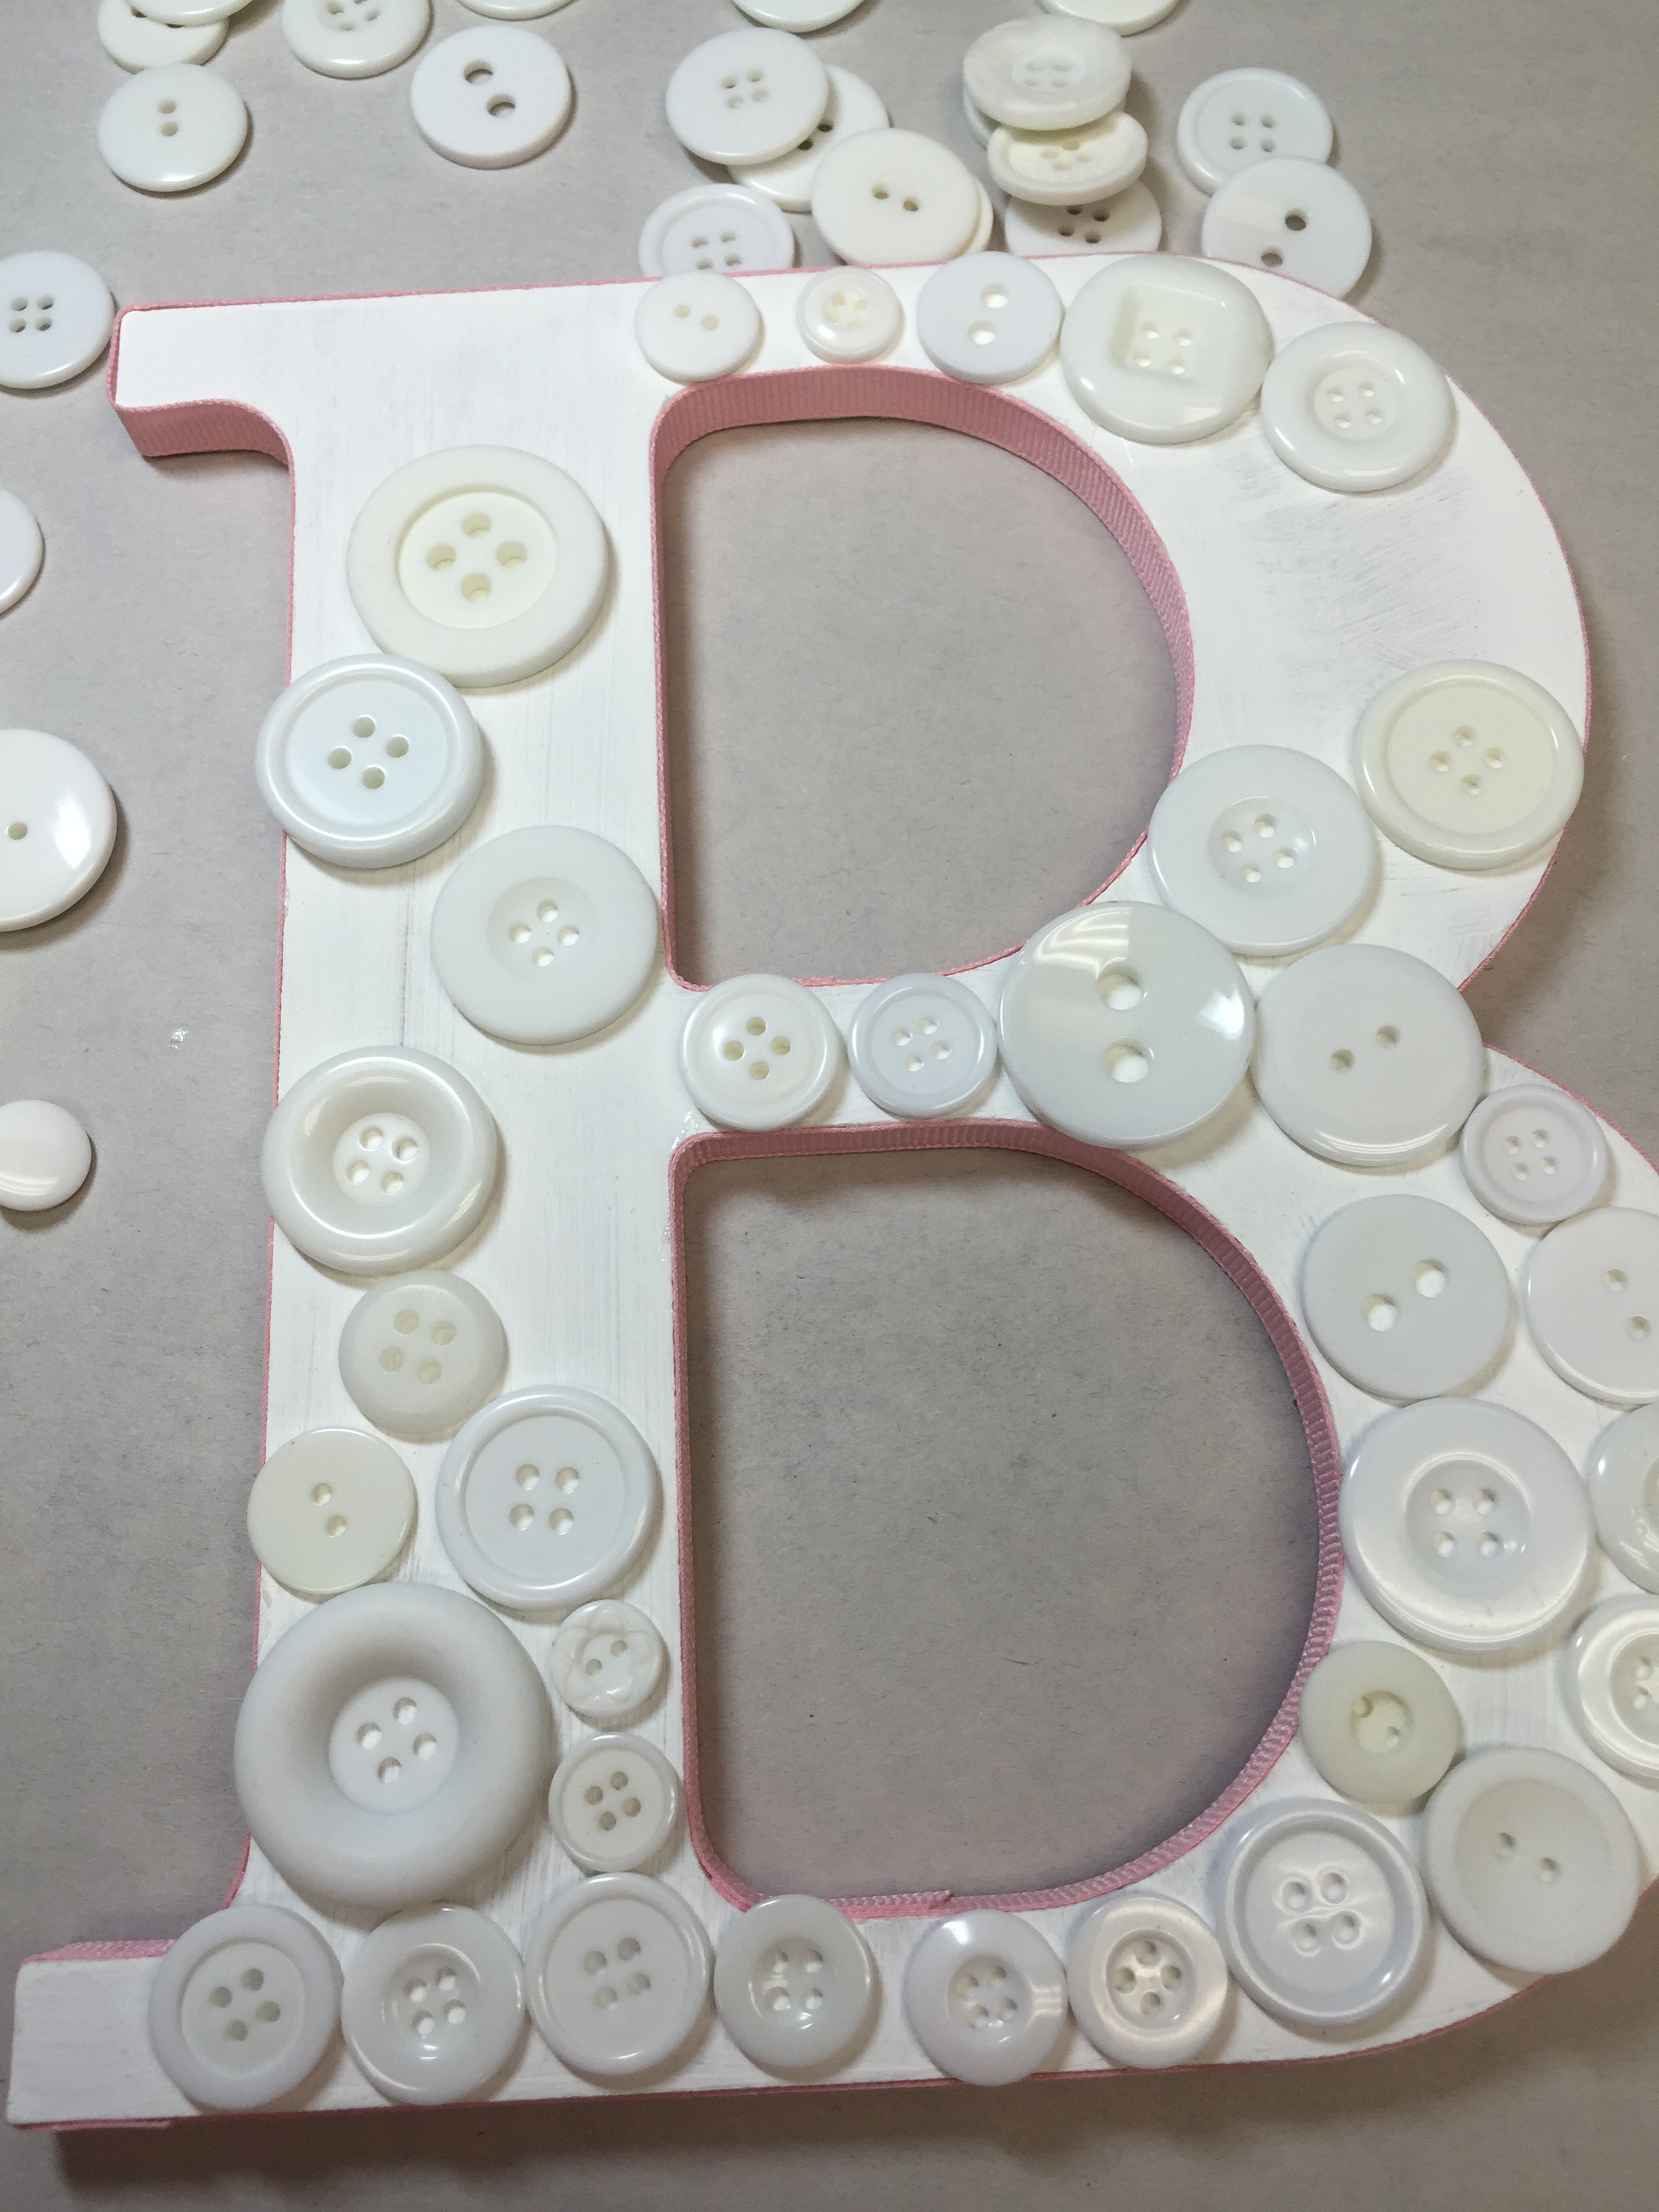
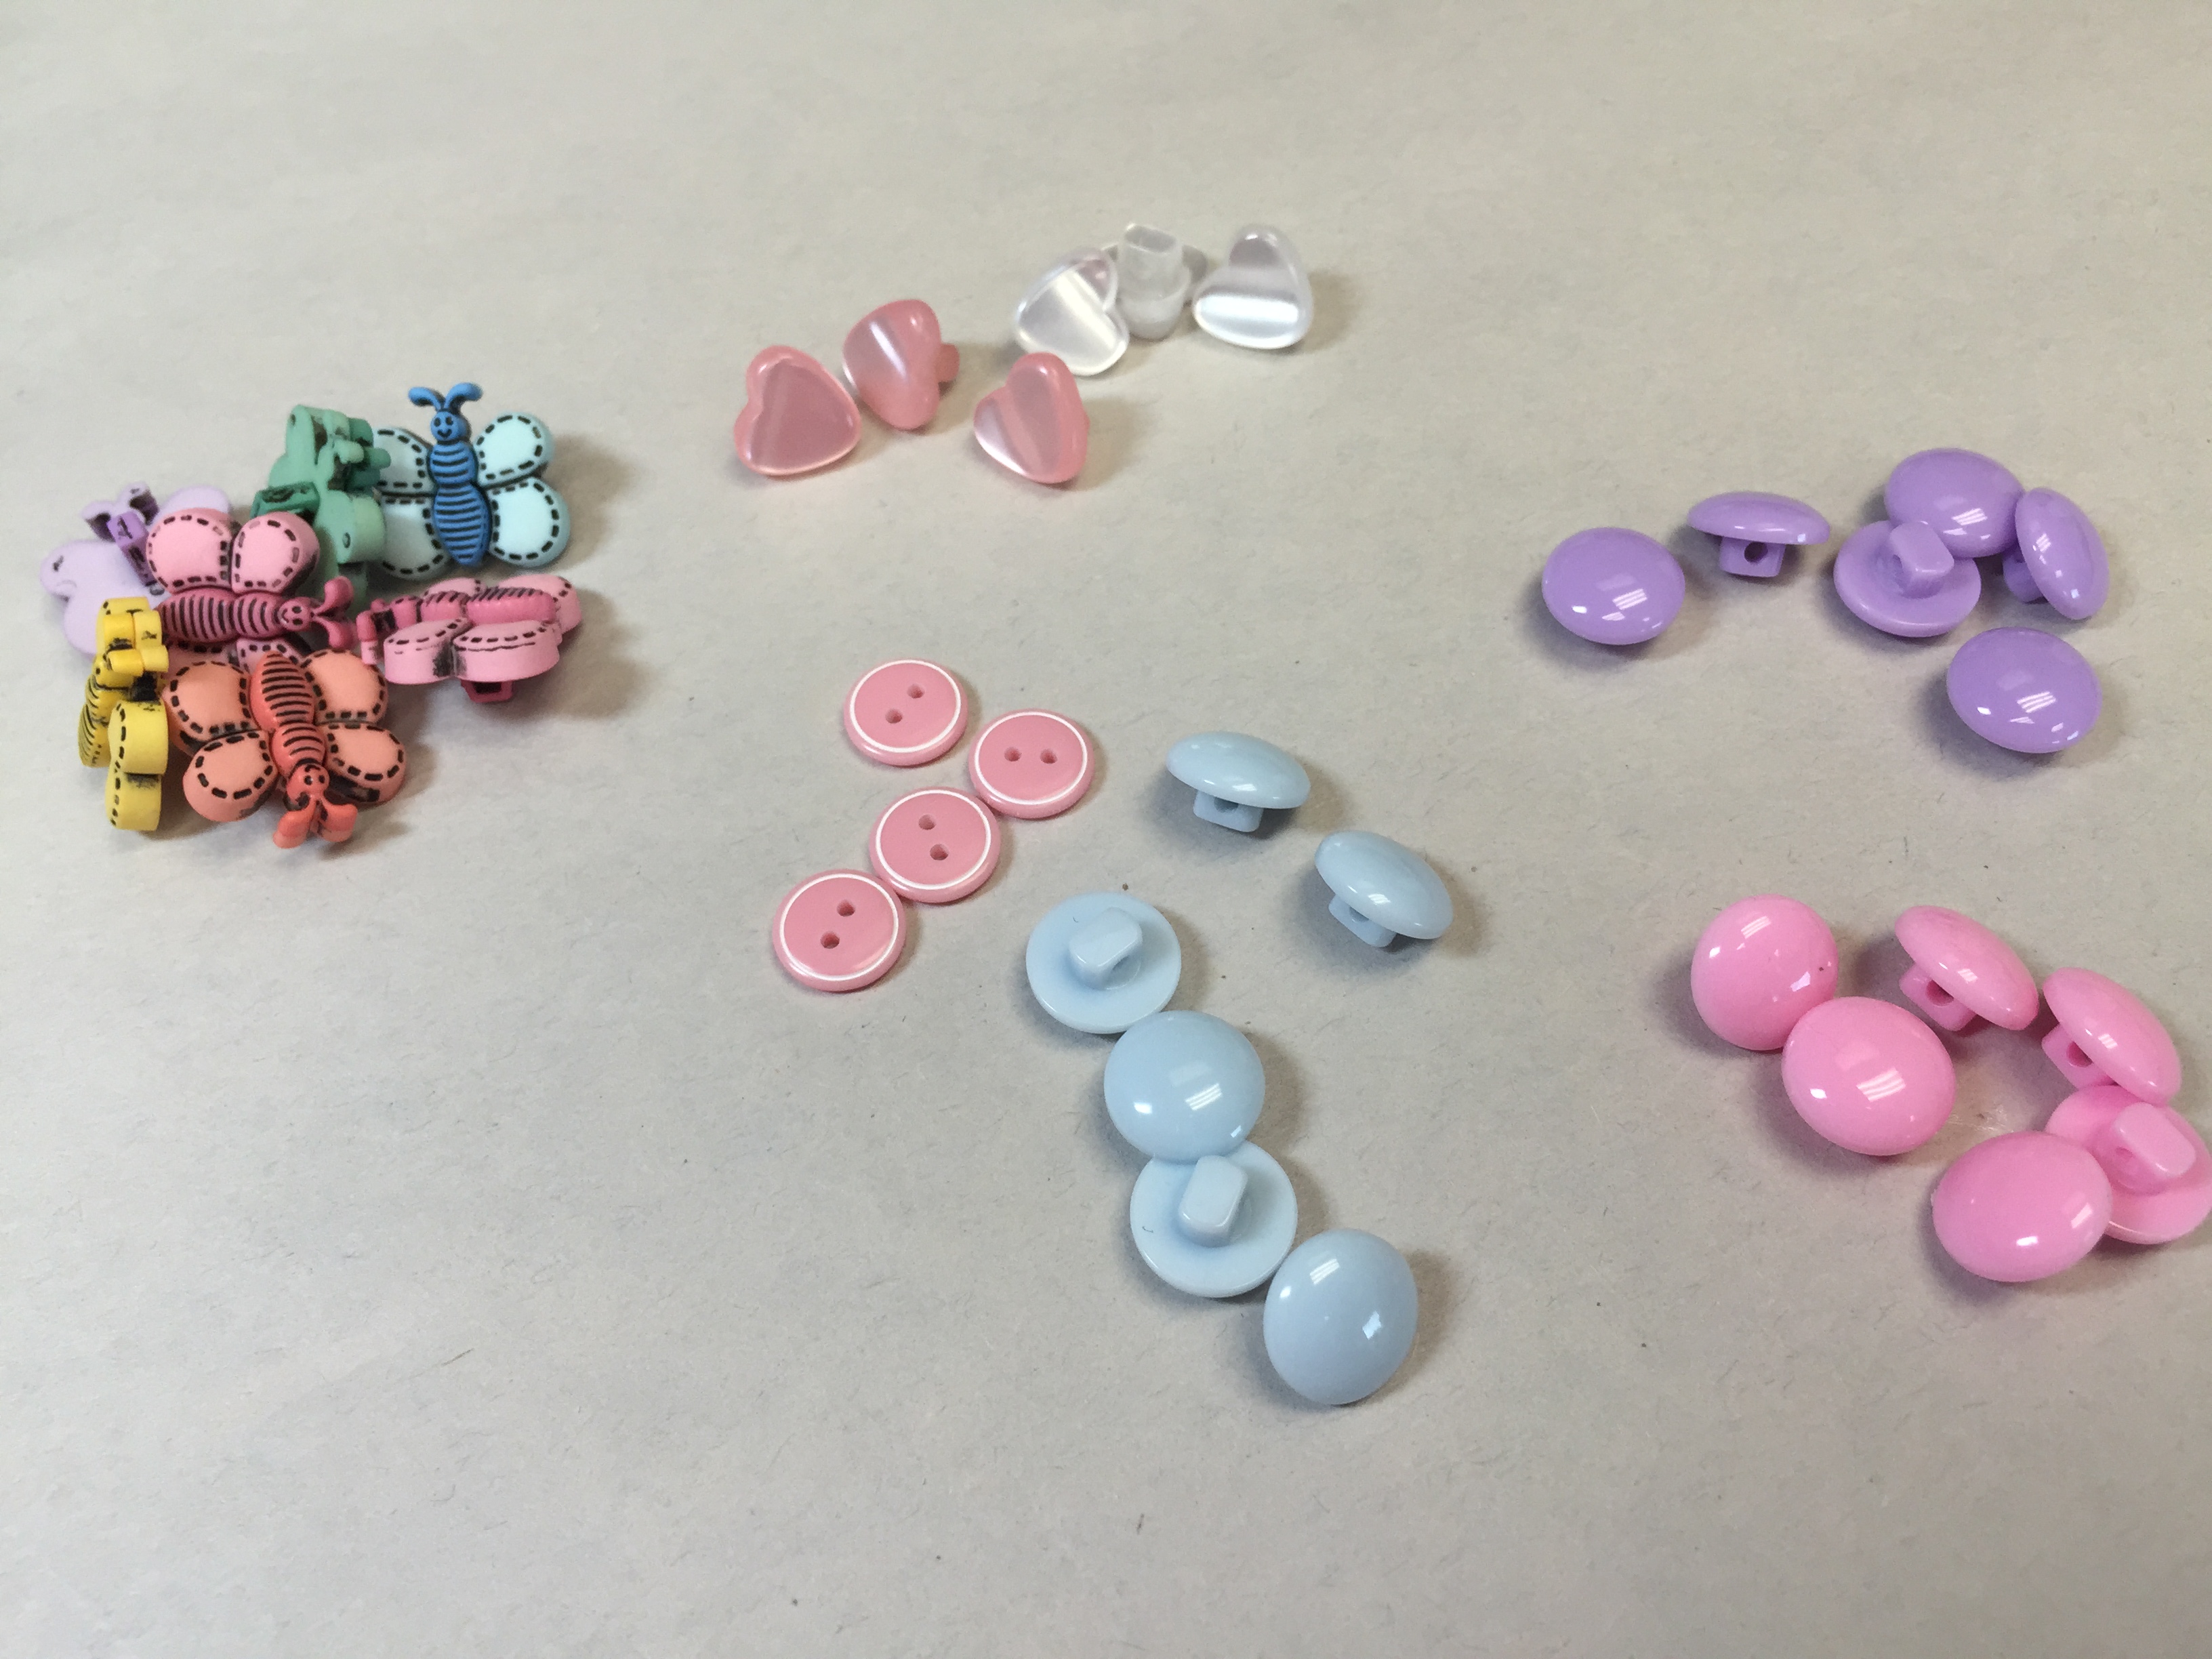
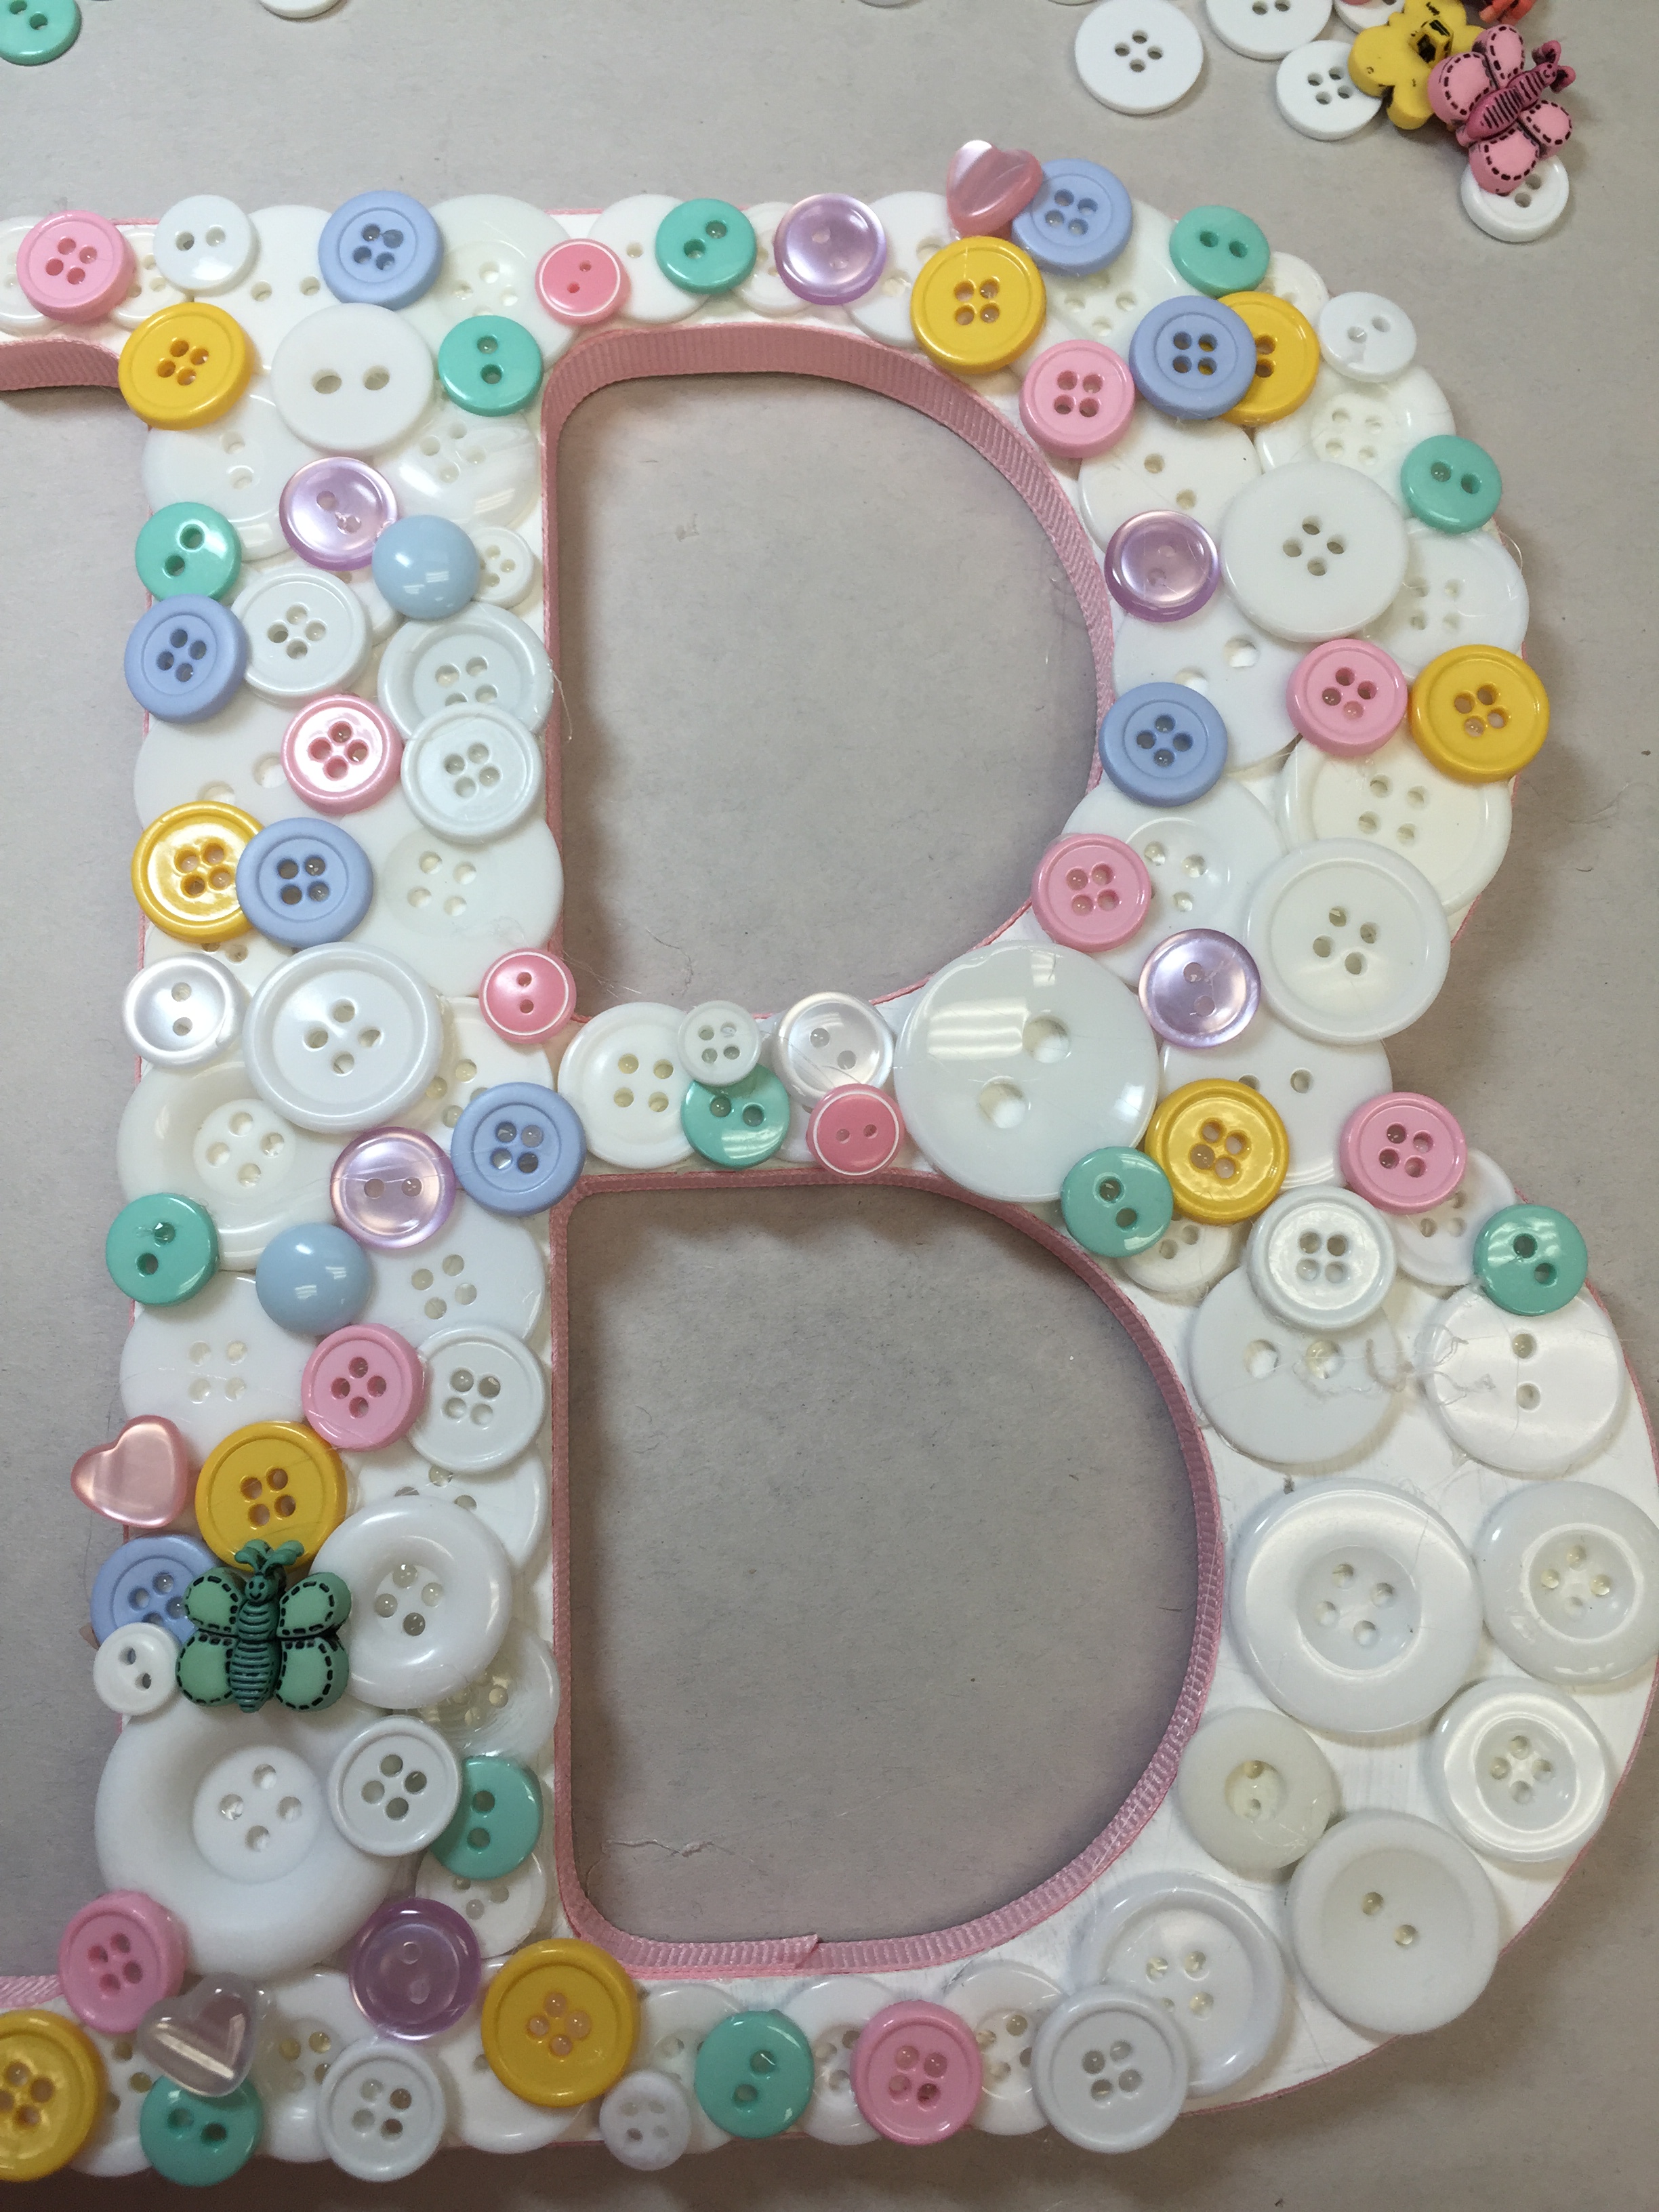
Next you will work with your Favorite Finding pastel buttons – remove from package and place in front of you – creating groups – as shown in the photos. Balance of the buttons are your accents these you can add as you go along. Adhere your pastel buttons to cover any gaps – layer ontop of the buttons. Once complete set aside.


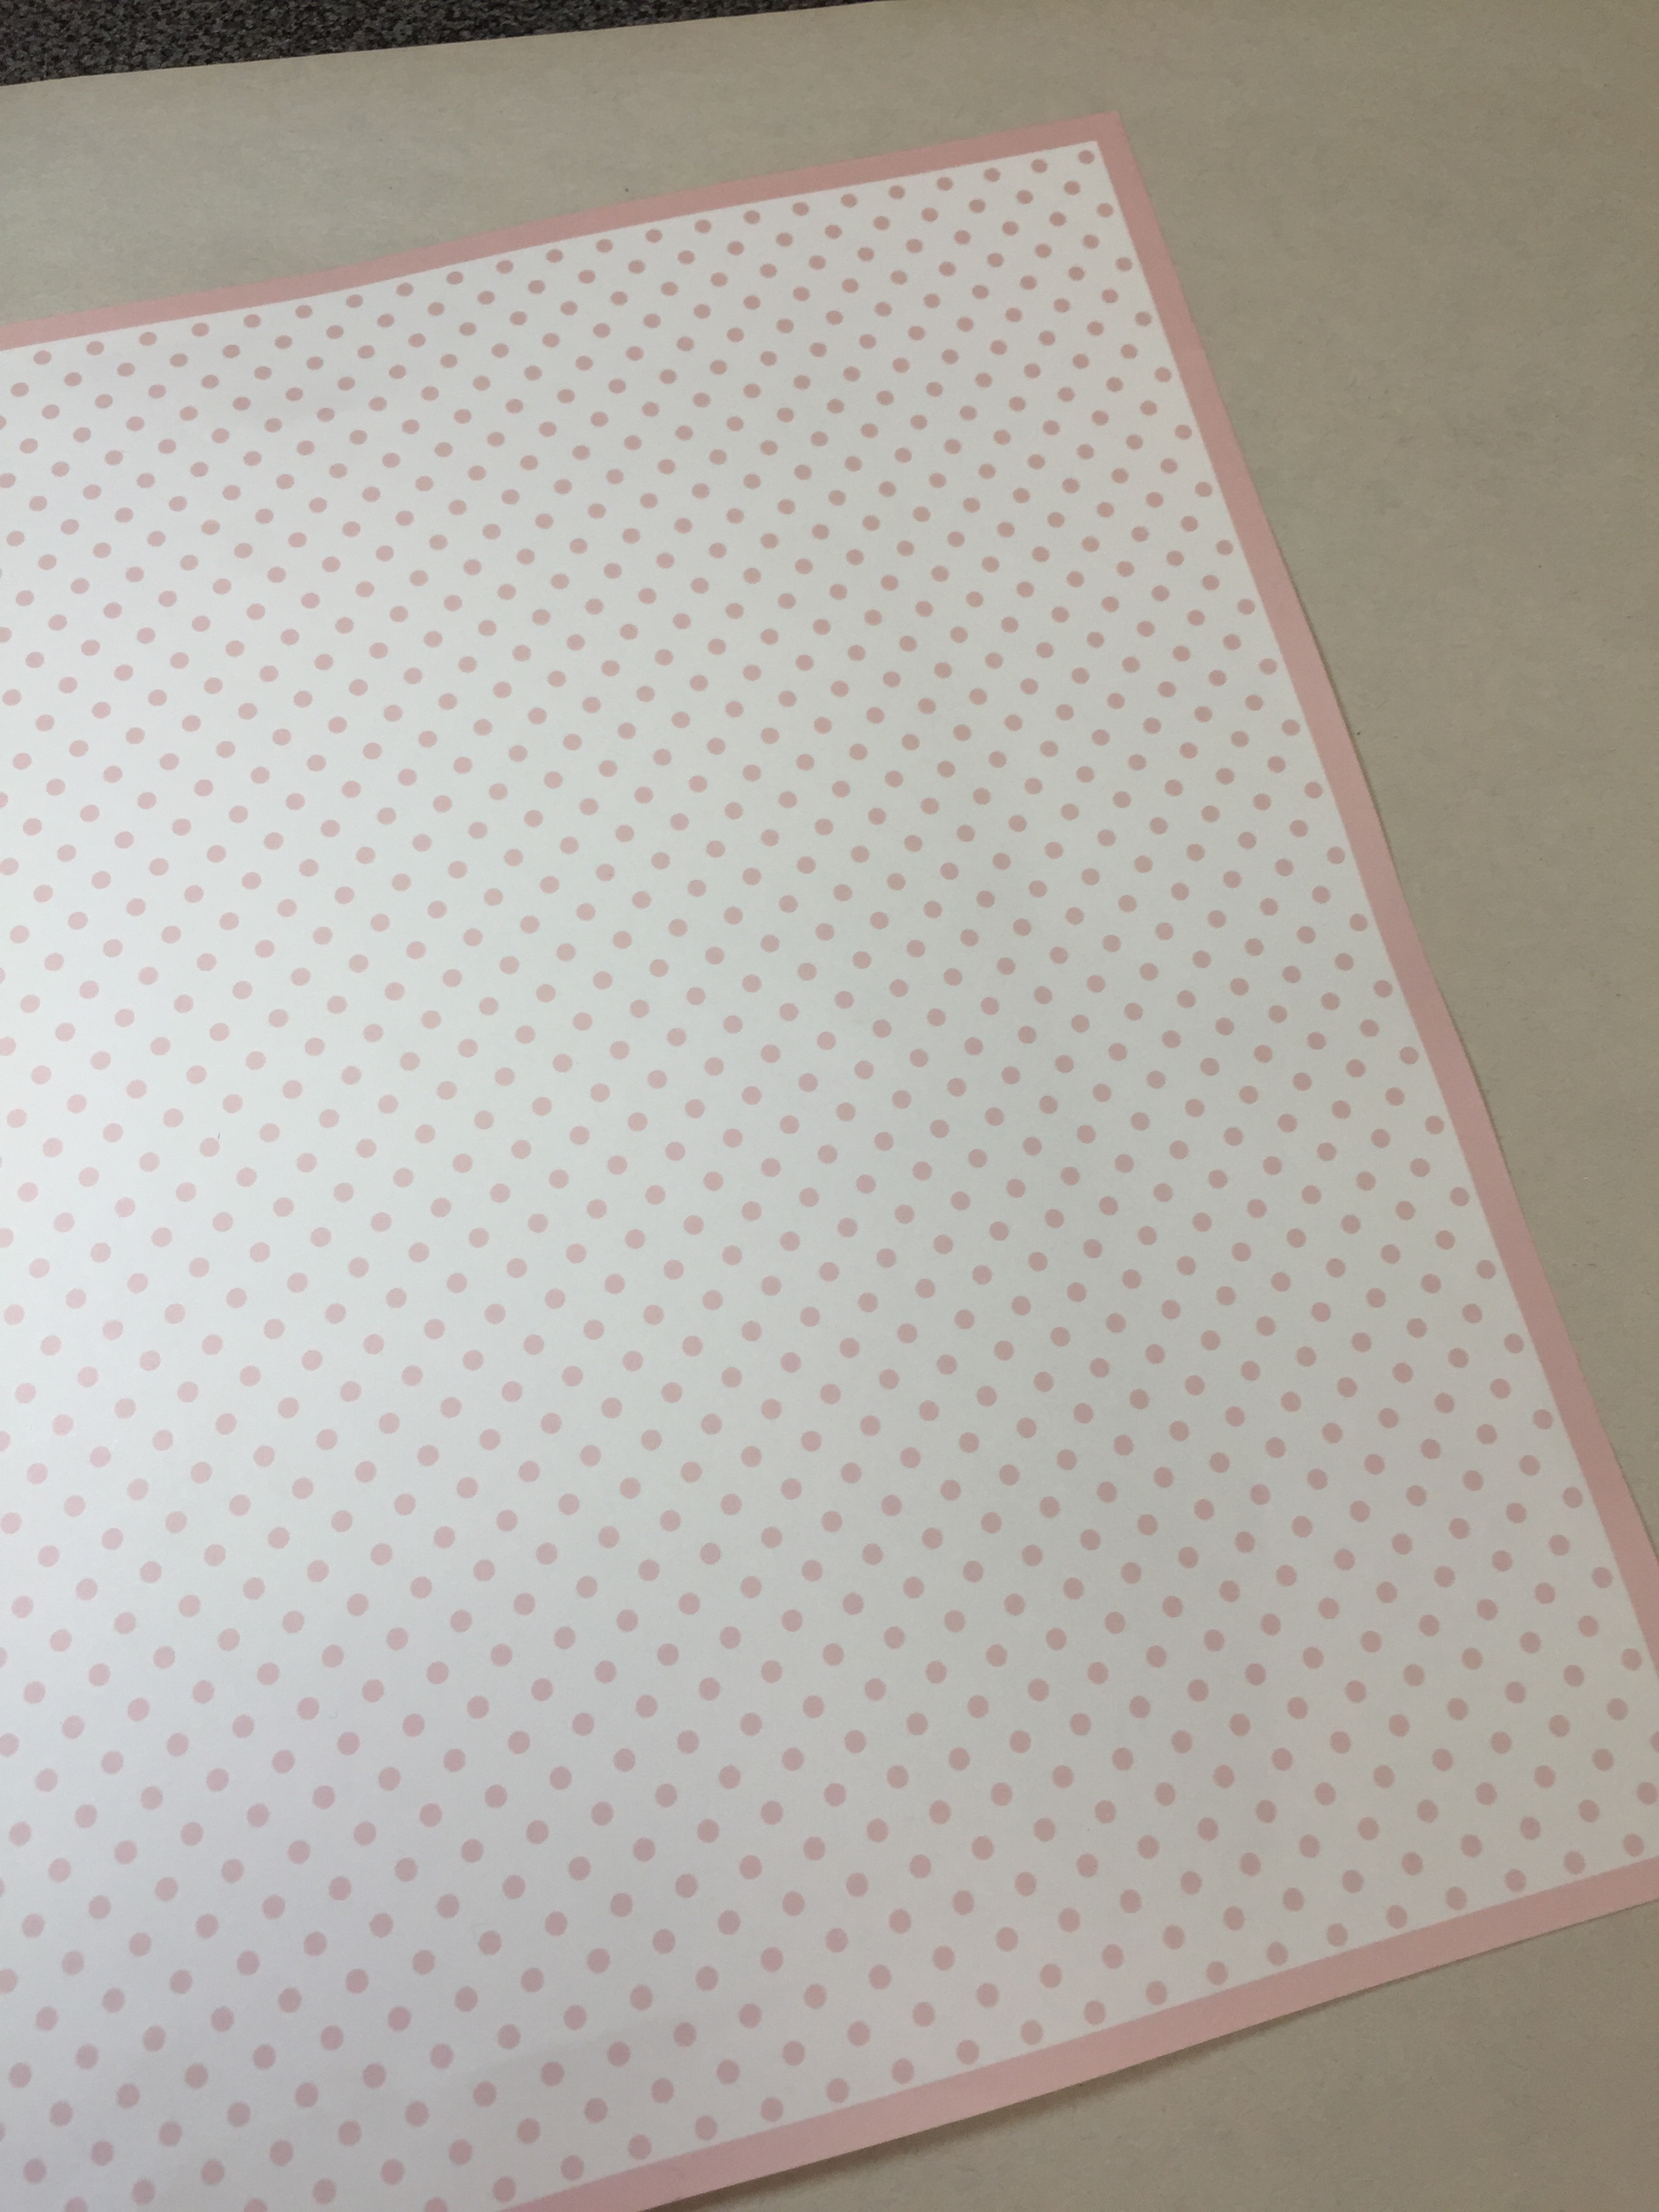
Locate picture frame – open the back of the frame – and if your frame does have glass remove (you will not need this for the project). Add ribbon along the edge of your frame with glue. Measure, cut and adhere your scrapbook paper to the front side of the backing board that will be visible. Place back into frame and secure.

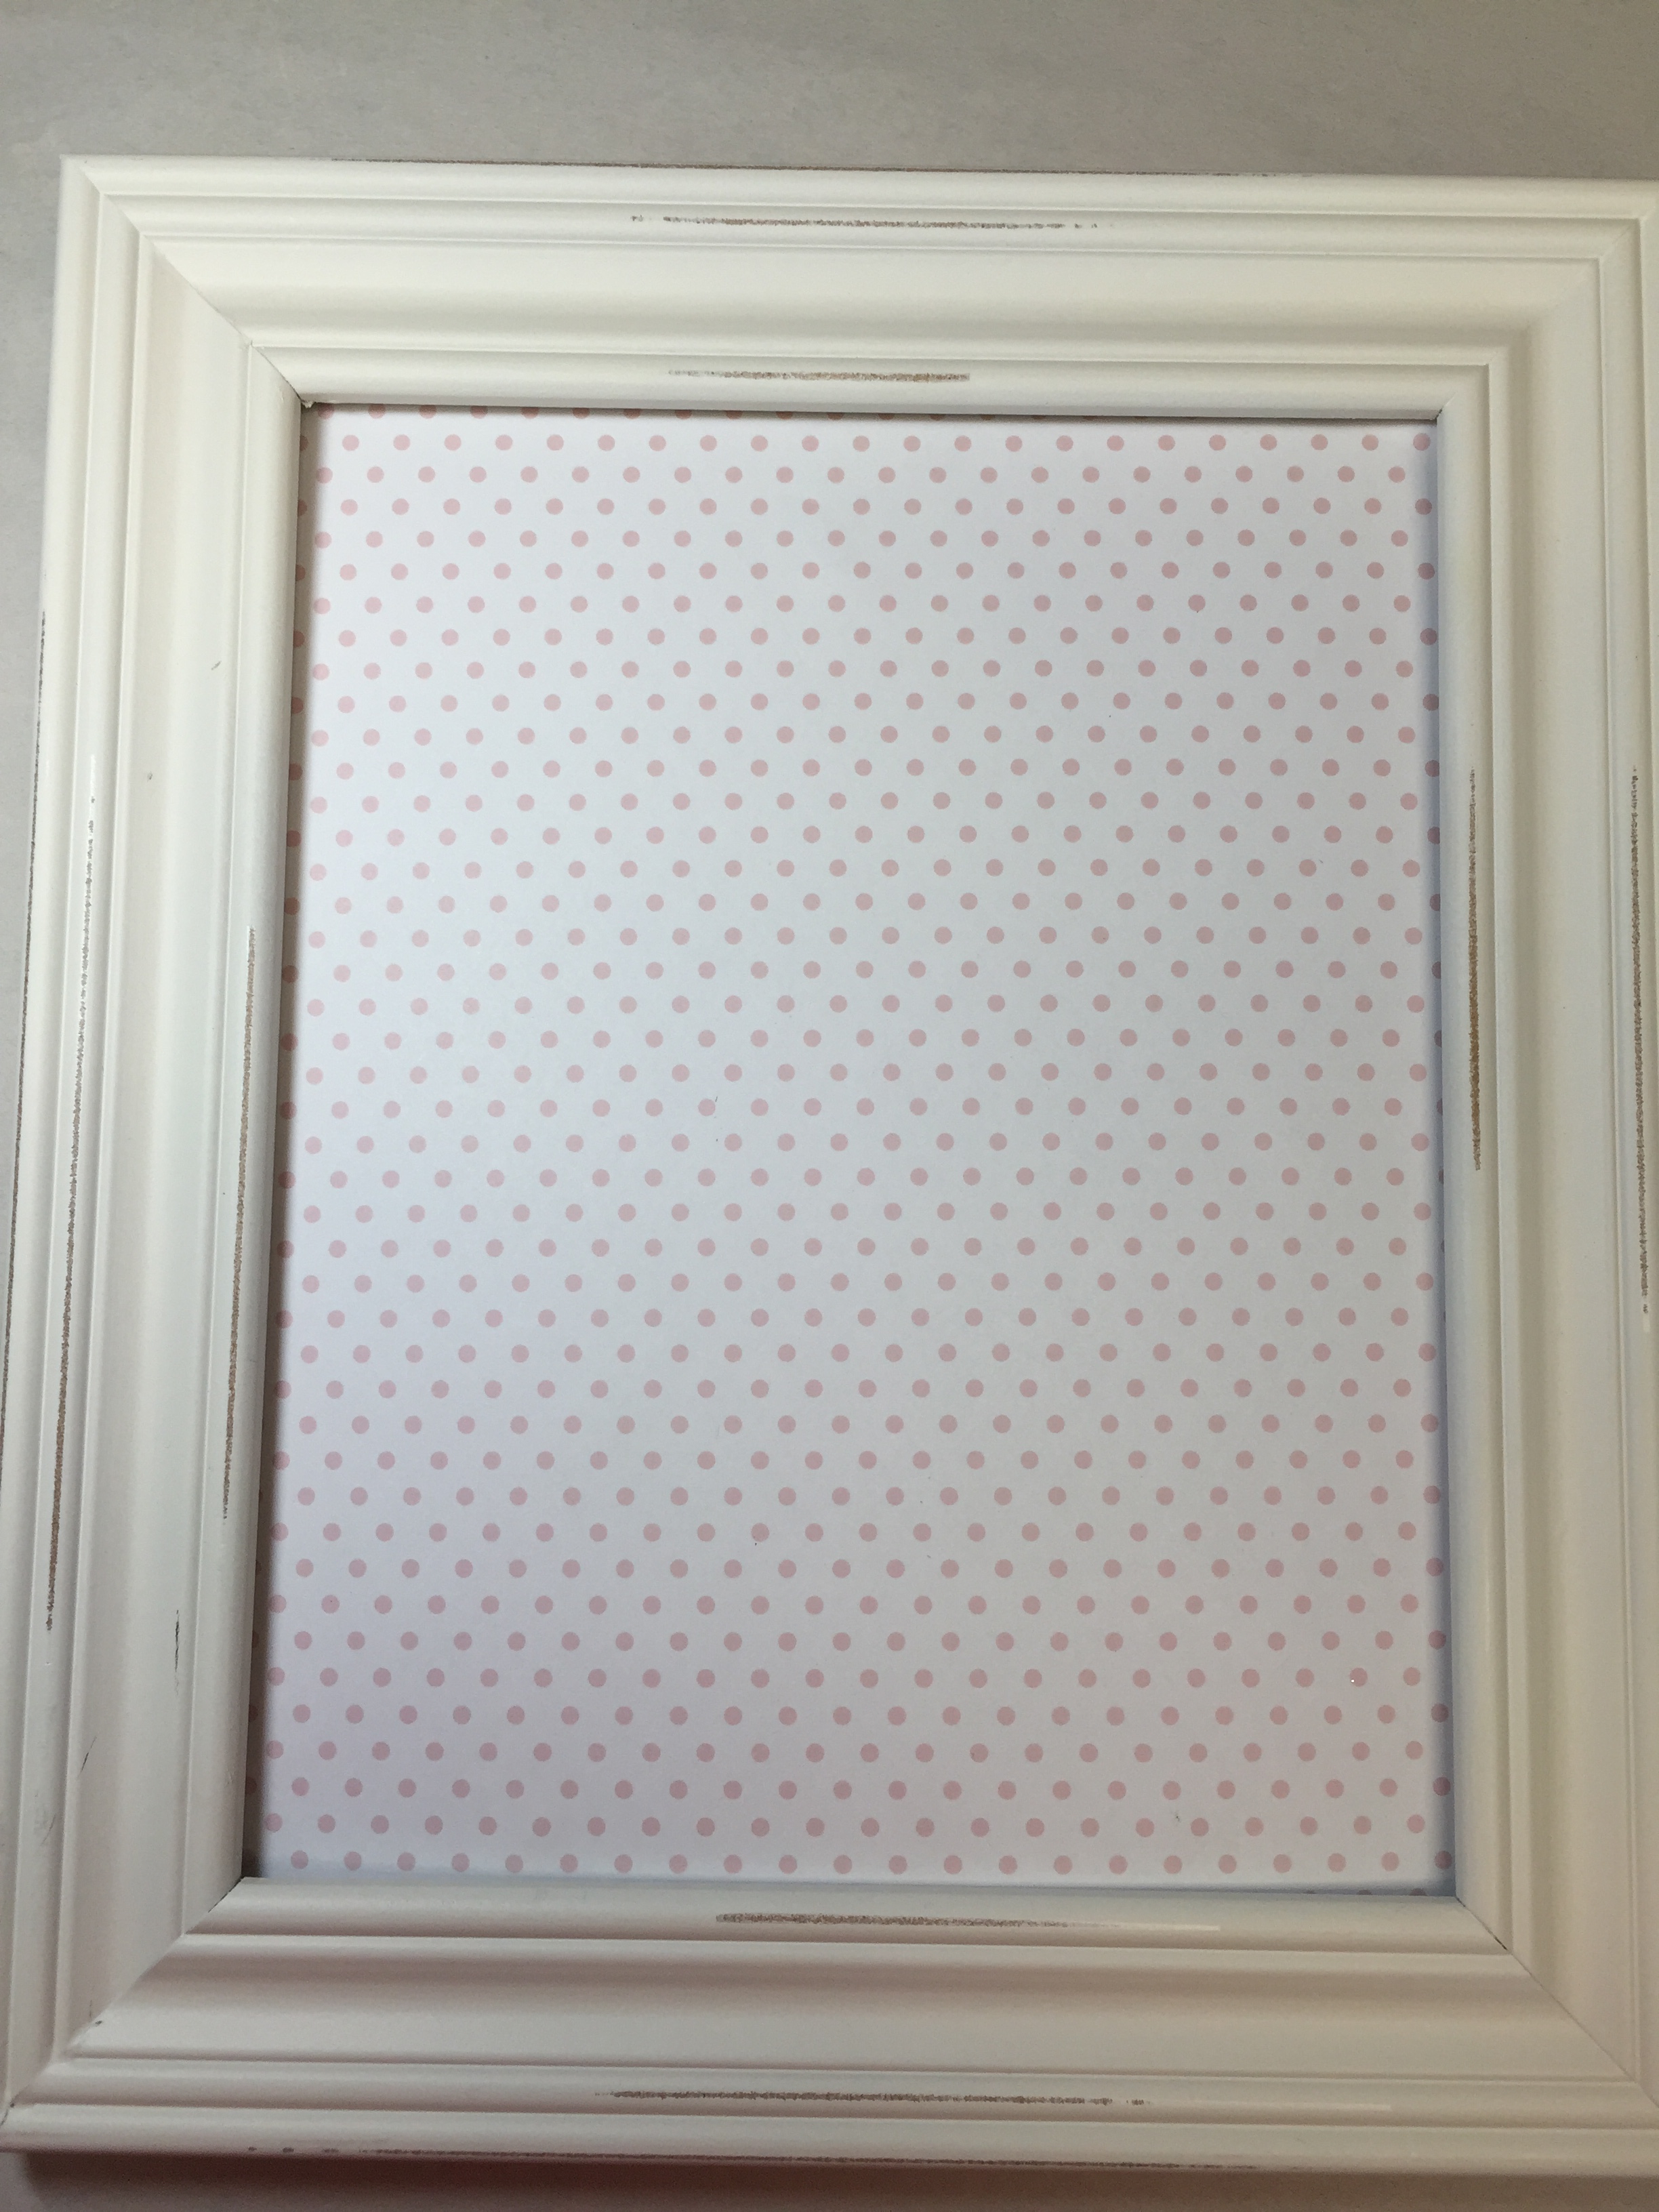
With you initial – add glue to the back, center and adhere to scrapbook paper (let this dry before hanging). Once dried your Button Art is ready for hanging (you can add decorative ribbon for hanging)
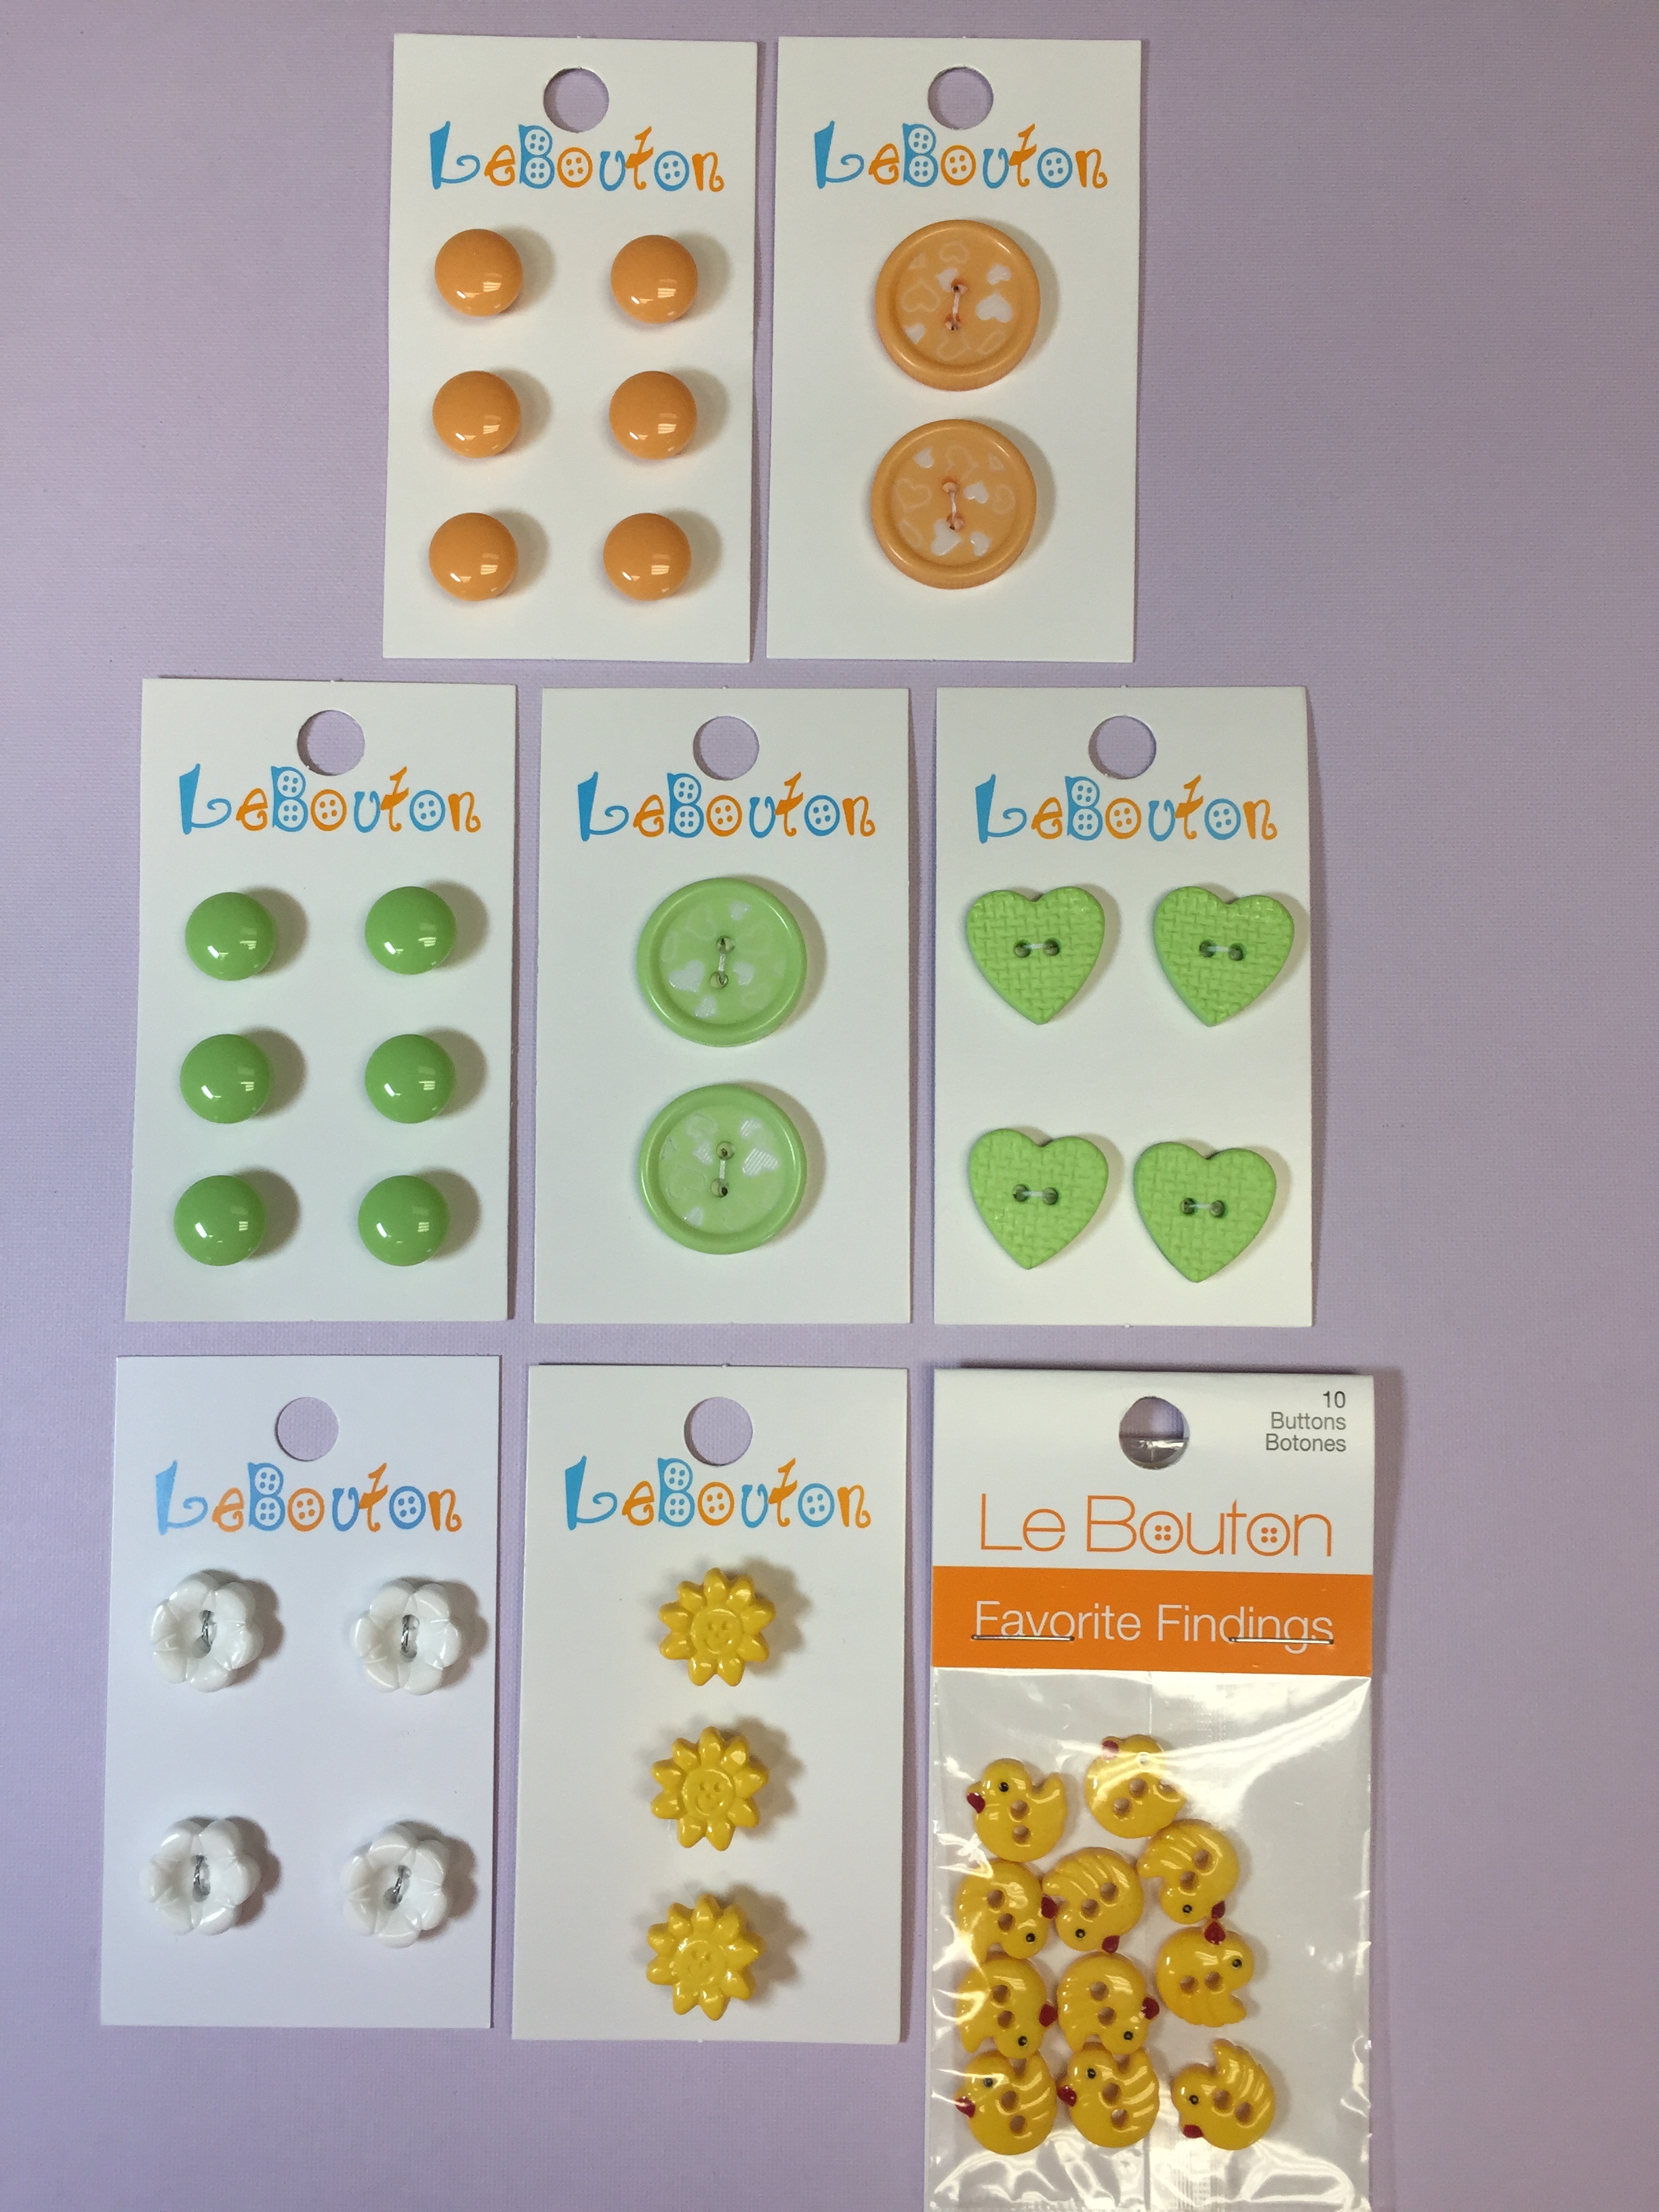
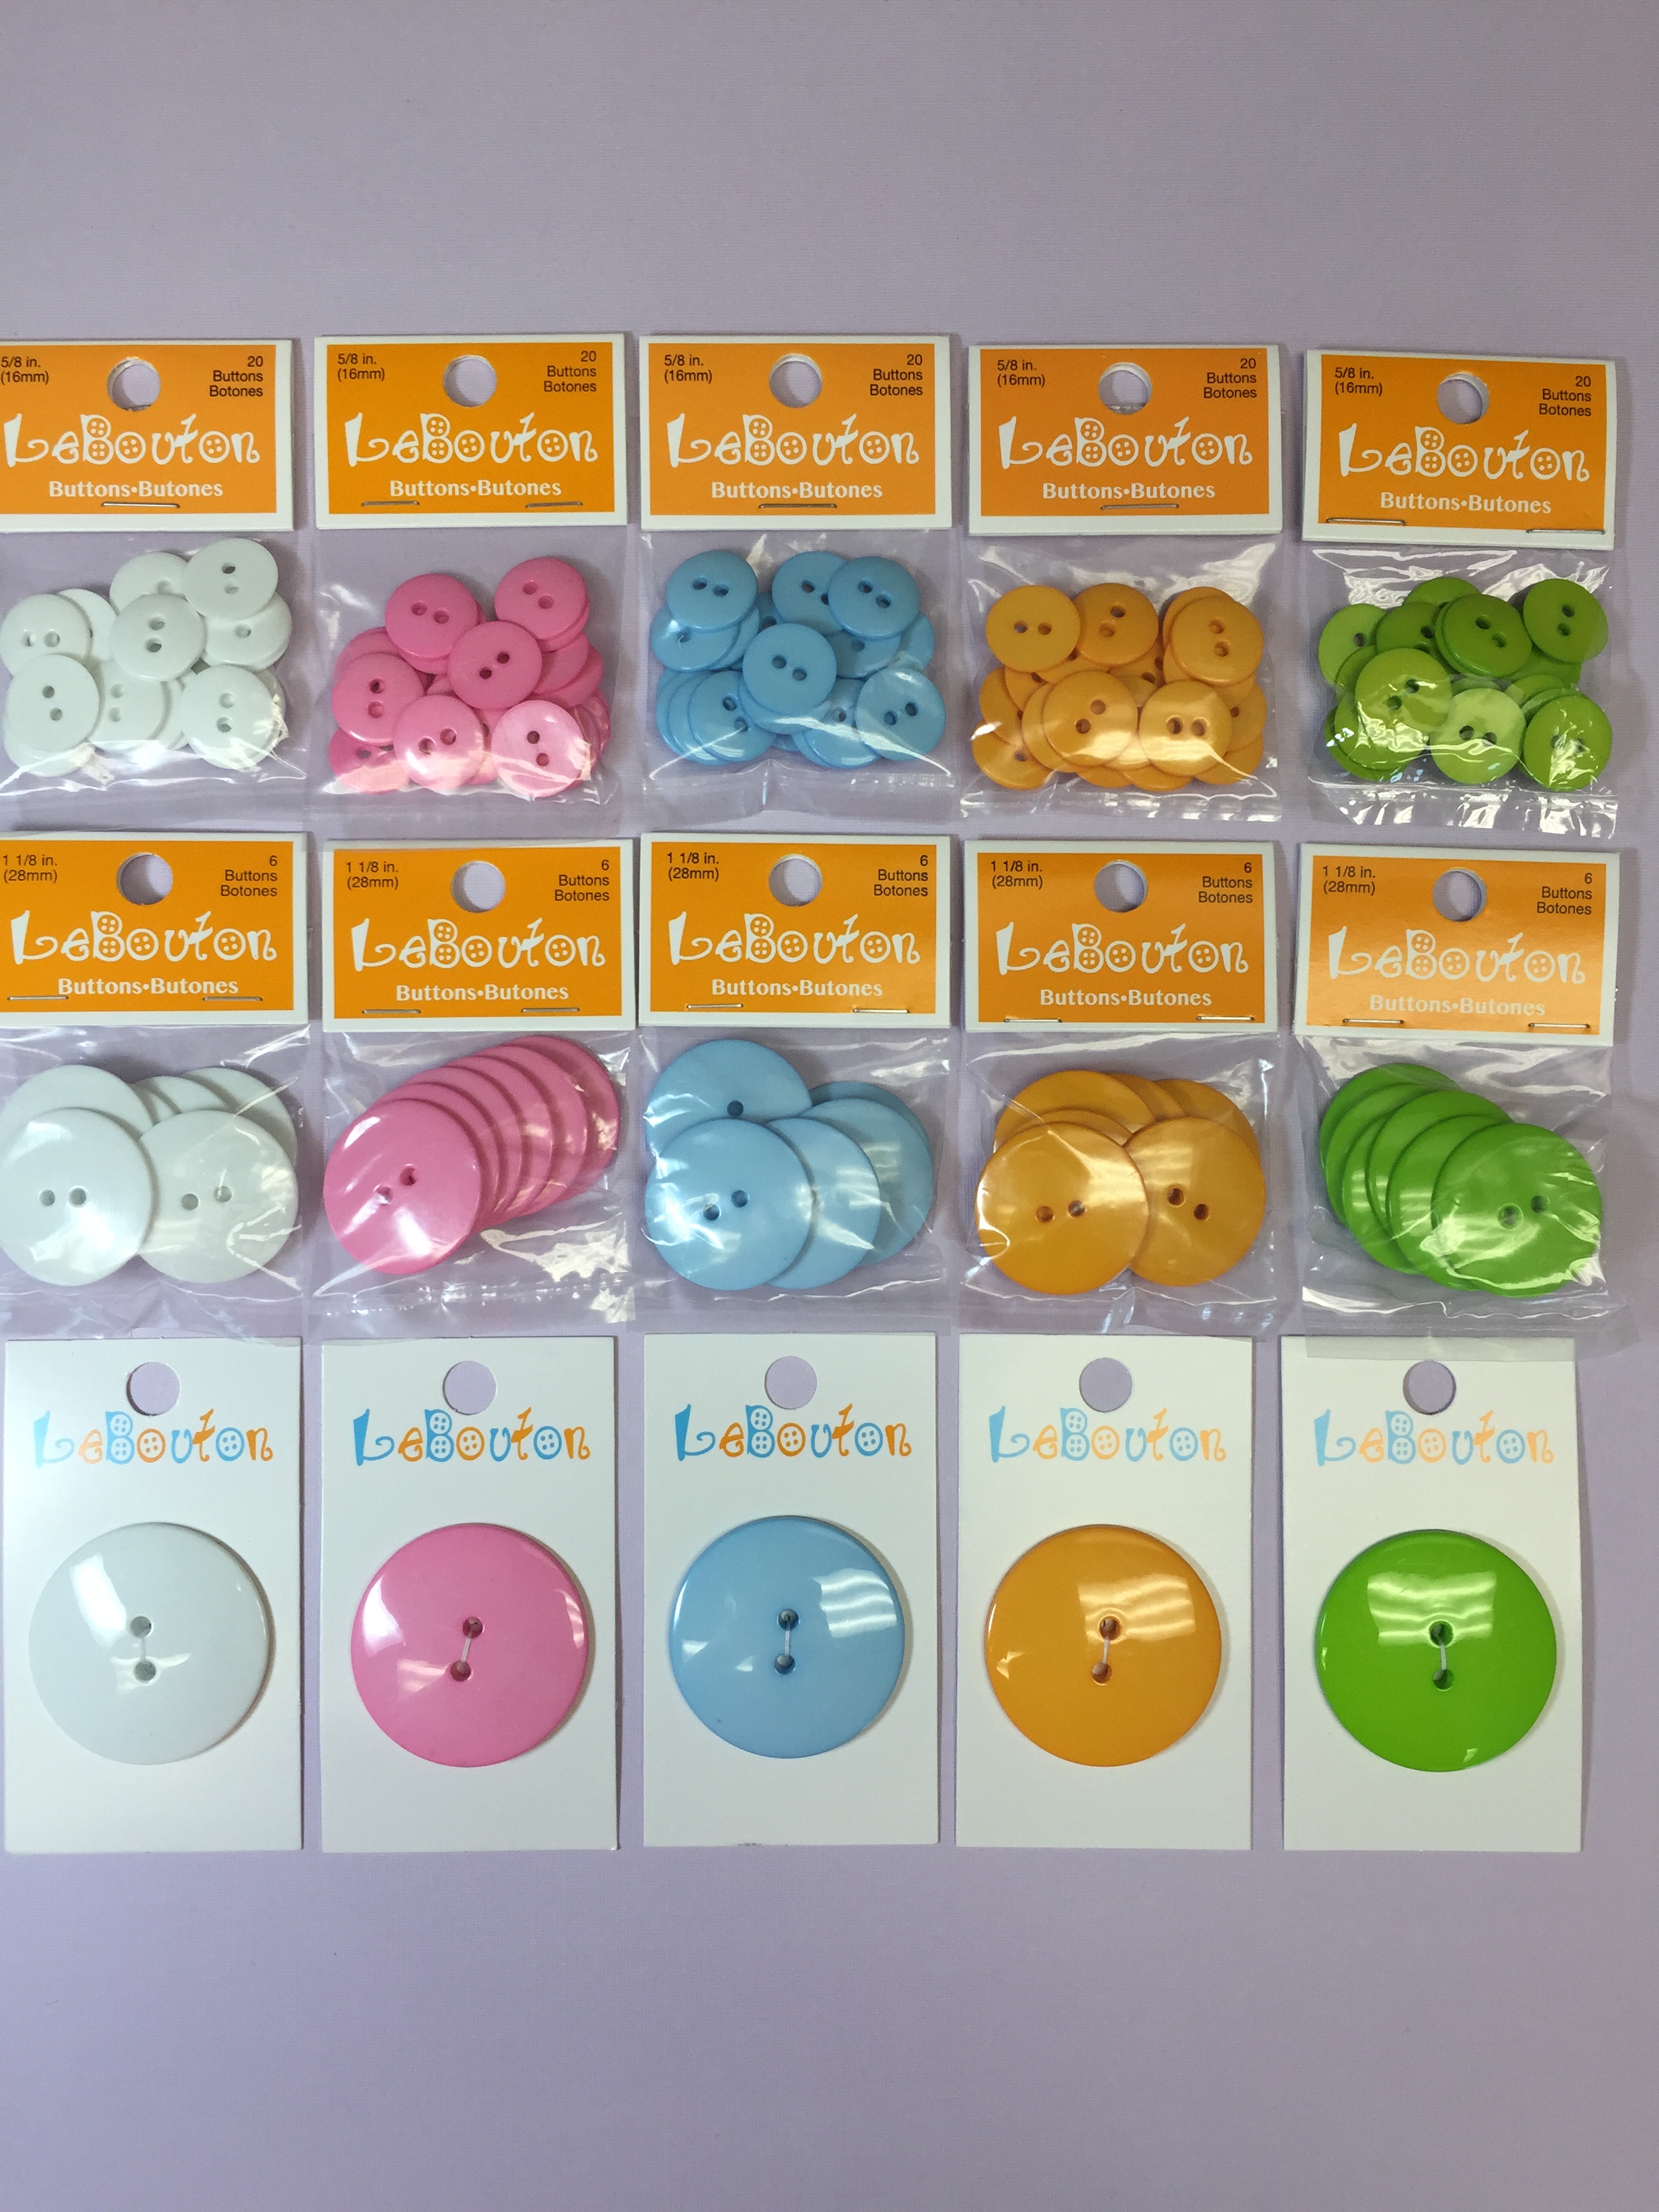
Here are some additional buttons that also would work with this color theme:
So make sure to stop by your favorite Walmart Store for some additional great crafting and sewing projects!
Happy Crafting!
We are a team of craft-obsessed, button loving people! You probably use buttons almost every day without giving it much thought – they keep our shirts closed and our pants up (hopefully!) - but buttons can be so much more! We created this blog to share all the fun, creative ways we’ve found to use buttons. Our product development team is always coming up with great new button shapes and colors, in addition to new products, so we will always have something new to share with you!