
As many of you know Memorial Day is celebrated the last Monday of May – we all wait for this 4 day (some of us only get three – sorry!) weekend to come – it signifies the beginning of the summer season for most of us, family gatherings, sports events and picnics! But we also need to remember the men and women you have died in military service for the United States. THANK YOU!
So how do you lead into a Button craft project after that!? Red, White & Blue is the color theme during this time of the year…we decorate our picnics and gatherings in remembrance and there are so many crafty ideas out there using these colors and it’s repeated again on the Fourth of July!
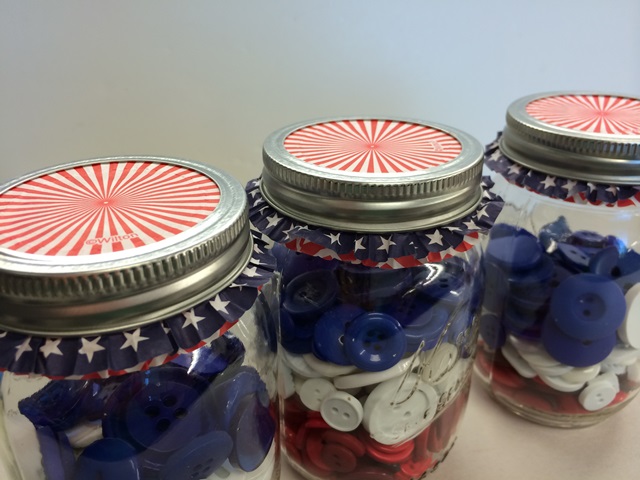
Today I’ve created table button centerpieces for your picnic gathering!
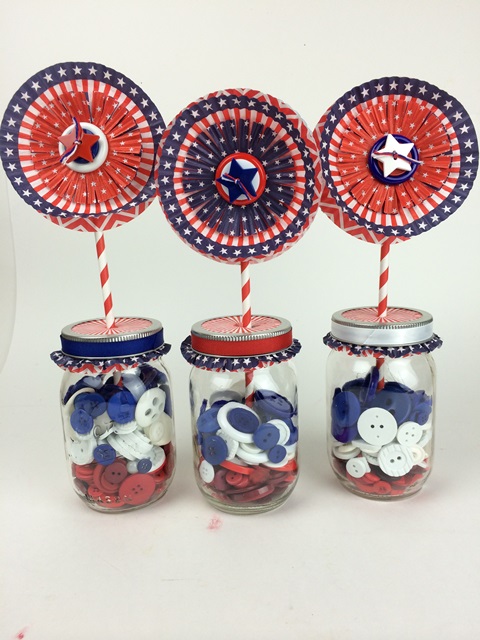
Button Centerpieces are Easy to Create! Materials needed:
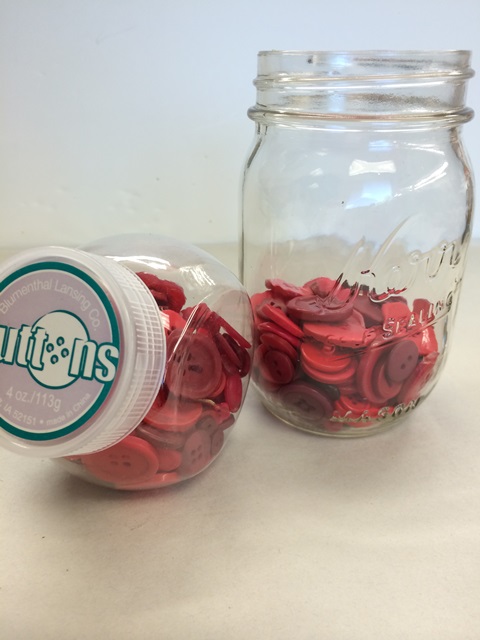
- Buttons: Button Jars White – 540001003; Red – 540001006; Blue – 540001007 (2 jars each – to create the fullness as in photos)
- La petite buttons – White Star –1099; Red Star – 1100; Blue Star – 1098 (1 card each)
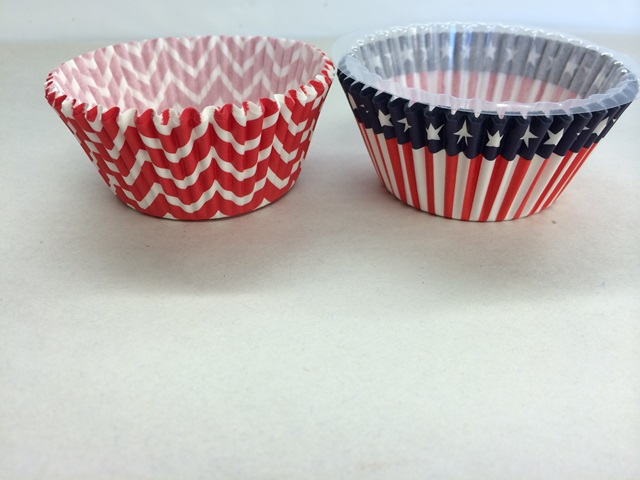
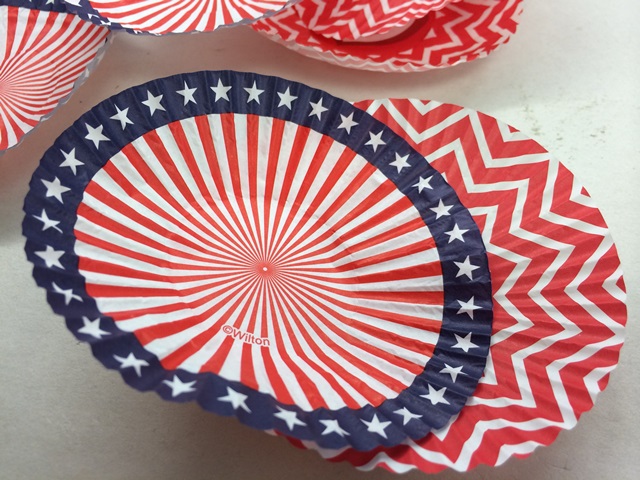
- Cupcake wrappers – red, white and blue “festive” 2 sizes (check the holiday aisle in your craft stores)
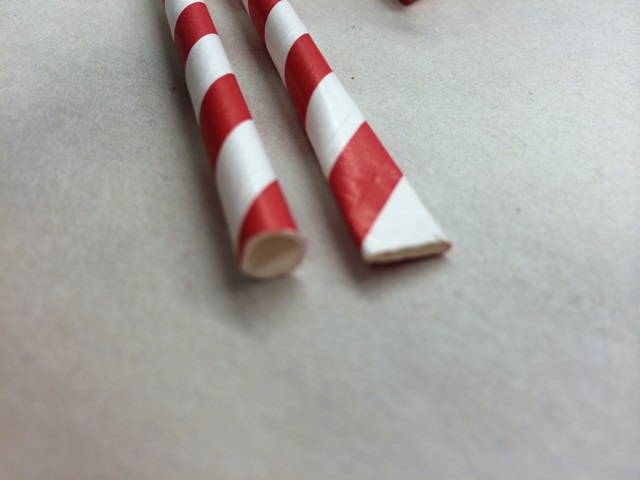
- Straws – 3 – red & white (or your choice preference)
- Ribbon – red, white & blue; Mason Jars (3); glue; scissors; heavy card stock
 check your overflow of craft supplies – you may just have items in your drawer that might work! I like to recycle – so whenever I get a chance! (you’ll see later!)
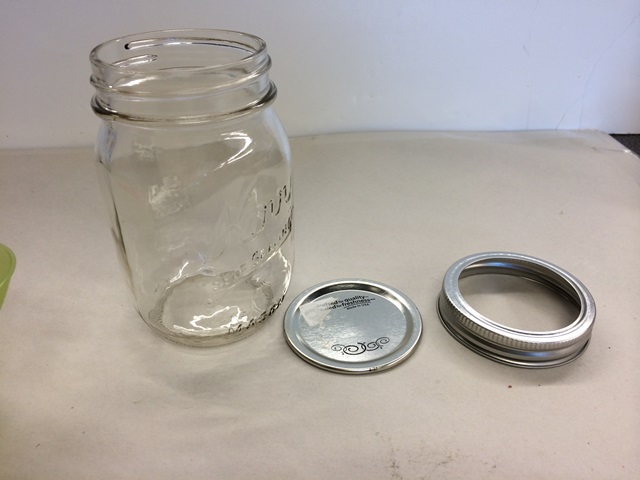
prep your work area – get your three jars opened and ready to fill. Begin with your red buttons – fill 1/4 of the way (as shown):
and continue filling with your white and blue….your can have them layered as shown or you can mix the buttons.
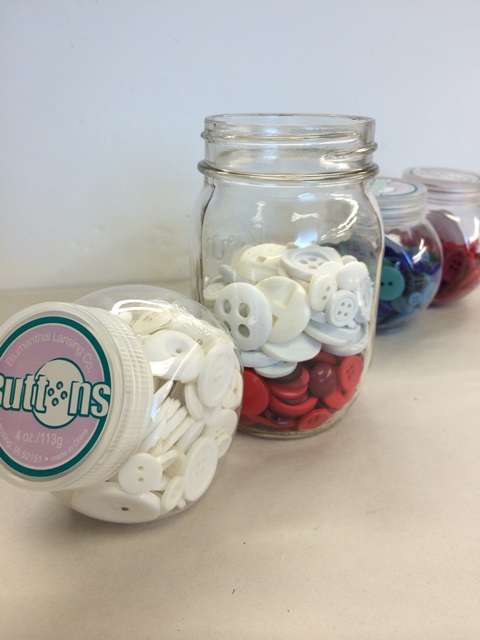

Remember you don’t have to fill it to the top (that’s why two jars of each color works!)
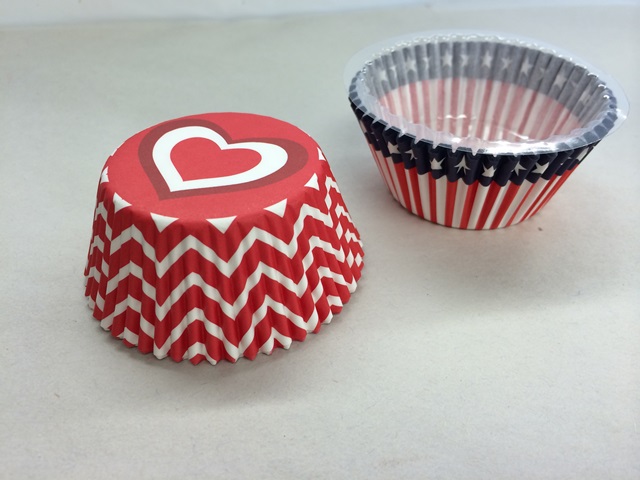
Next – cupcake wrappers – here’s where you’ll see where recycling comes in handy…I actually had leftover Valentine wrappers and well – why not? Know will see the hearts!
Flattened out gently…
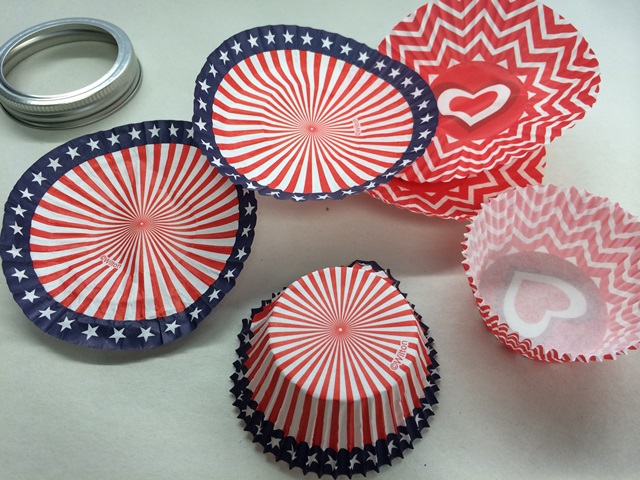

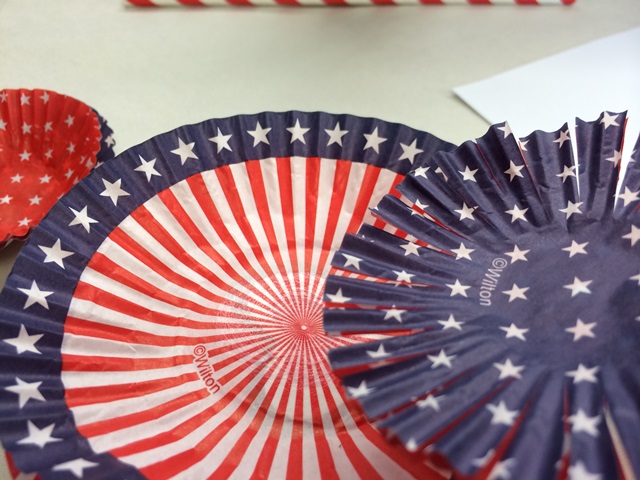
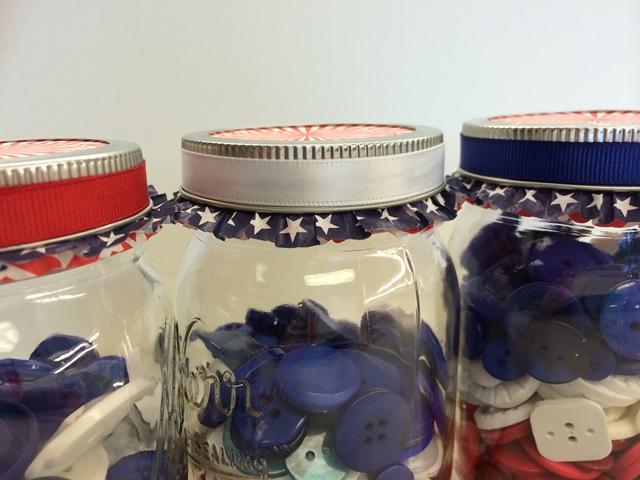
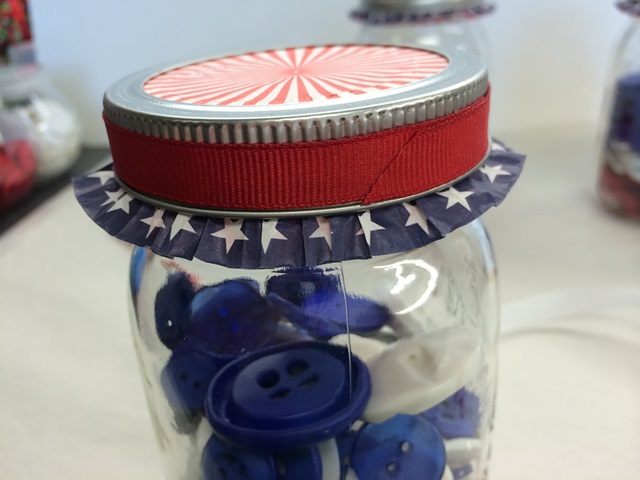
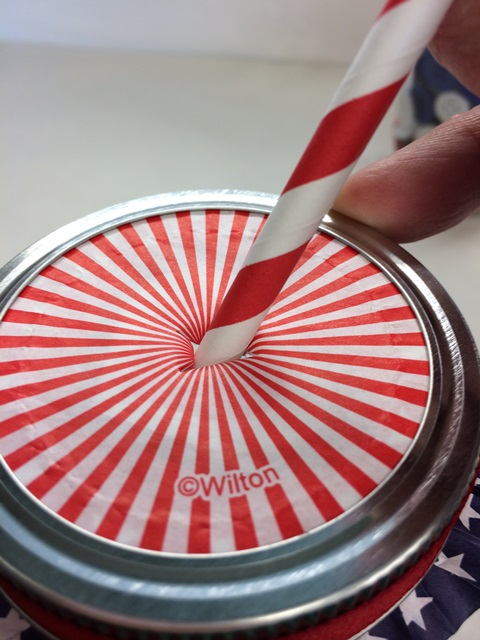
Lid covers – you will need a total of 3 red, white & blue – 3 red and white stripe. Place ontop of each other and place over rim of jar folding down around the lip. Add lid (you do not need the silver lip on the lid.

you’ve created a ruffle around the lid – gently separate the two wrappers. Set aside…
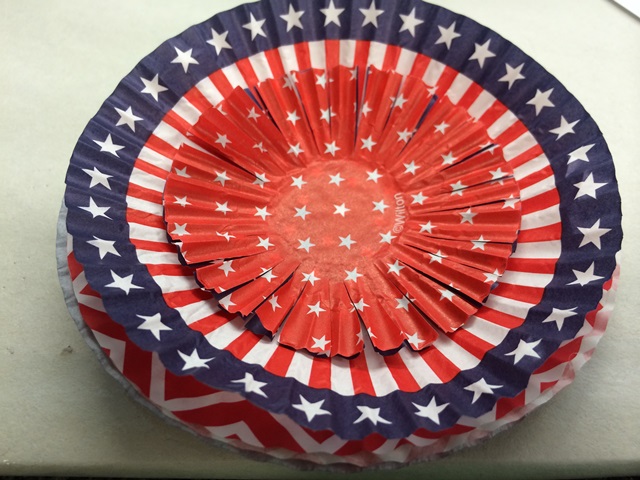
Creating your cupcake pinwheels!
you will need large wrappers: 6 – red, white and blue wrappers and 6 red and white stripe and 6 each of the small red and blue. Repeat the same procedure – by flattening the wrappers. You will need the white card stock – glue stick. With scissors cut round circle – approximately 2 inches diameter.
 add glue to white card stock and center your red and white wrapper ontop. repeat with your red, white and blue wrapper. Flip card stock over and repeat same procedure. Small wrappers – glue red ontop of blue and adhere to top as shown – alternate. With scissors cut wrappers.


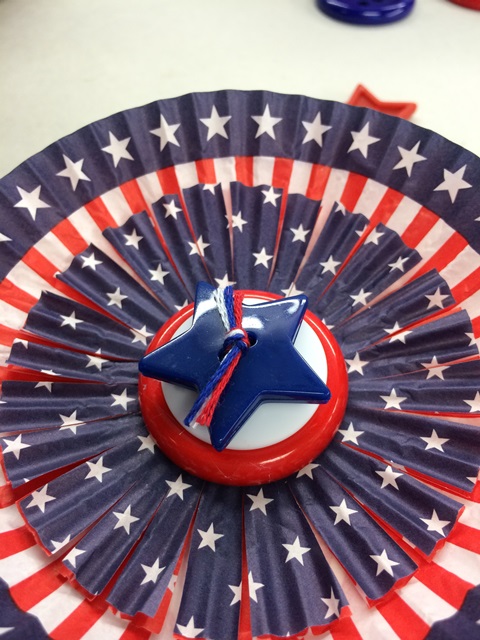
Adding buttons: create 6 buttons stacks of red, white and blue. Use embroidery floss to hold – tie knot ontop (as shown).

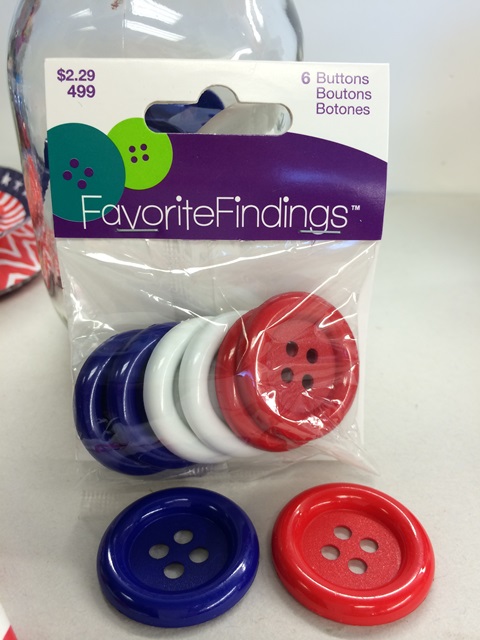 remember Favorite Findings has some GREAT Red, White and Blue Buttons #0499
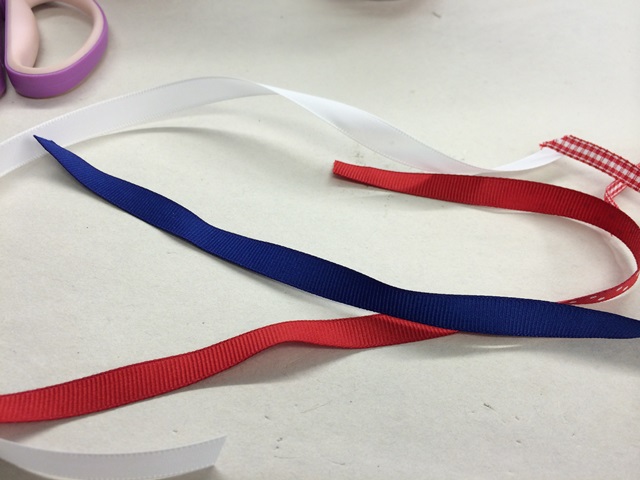 add red, white and blue ribbon to the lids of the jars…

Now sit back, welcome your family and friends and enjoy your weekend. And remember to take a moment to THANK our Military Men & Women!
 REMEMBER!
HAPPY CRAFTING!