
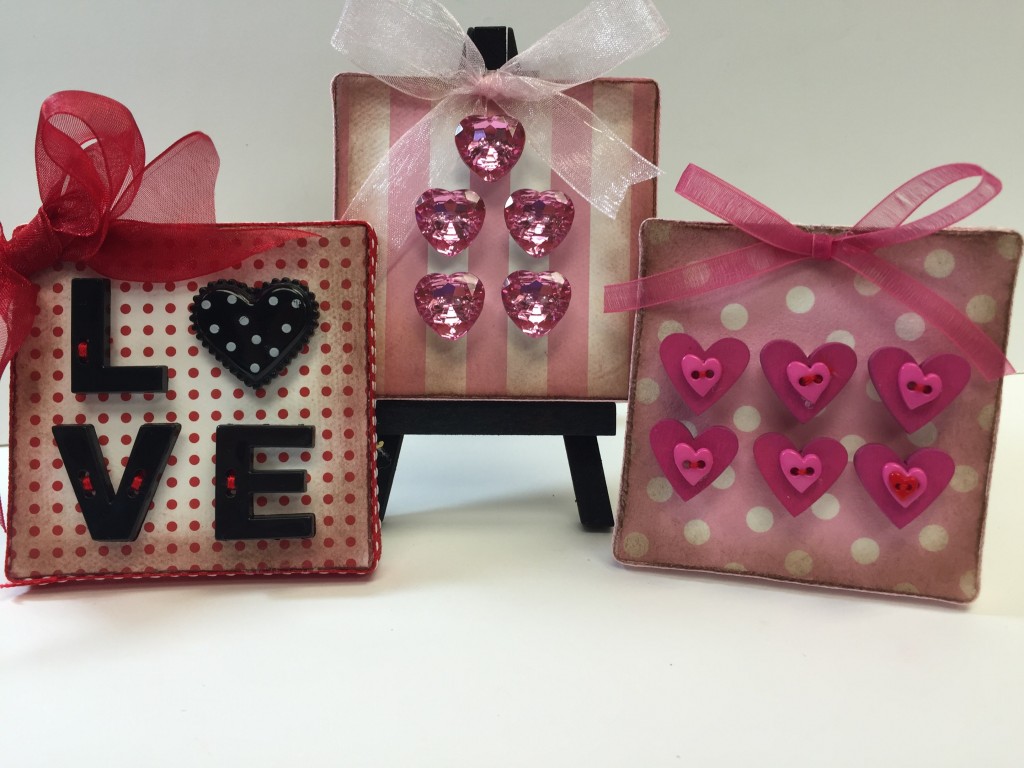
Cards you can always buy, but today your creating a keepsake that they can treasure all year round “Mini Valentine Button Heart Plaques” . You can create one or all three for the special someone’s in your life – even if it’s for yourself!
Materials:
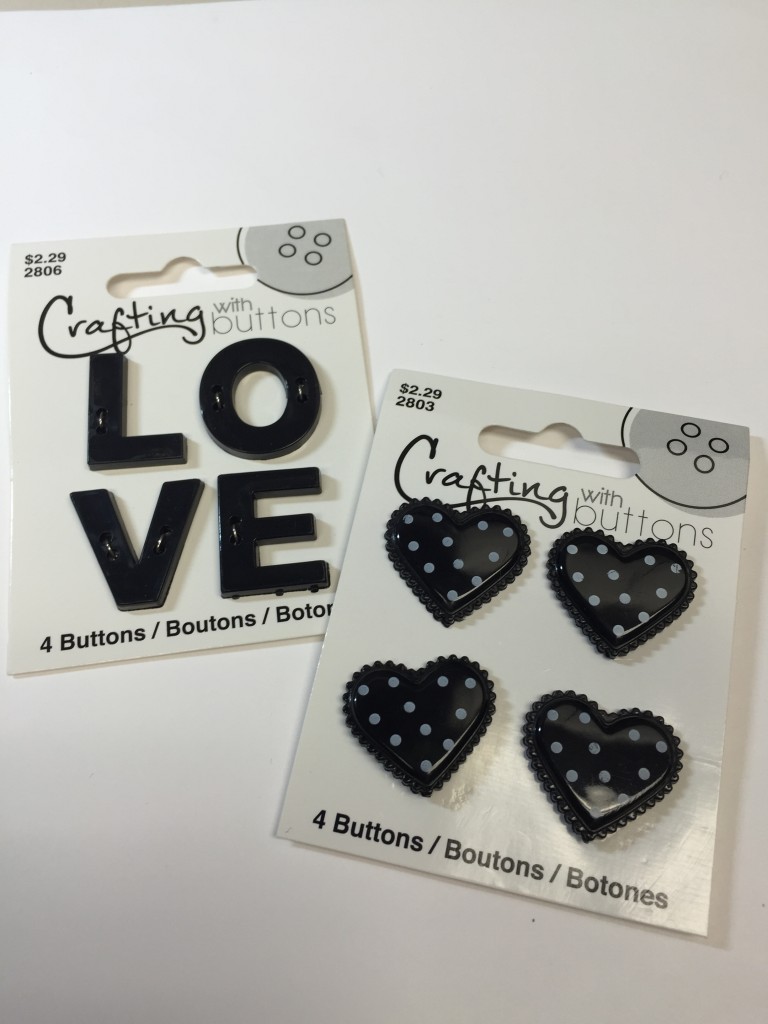
Love Plaque: Crafting with buttons 470002803 & 470002806
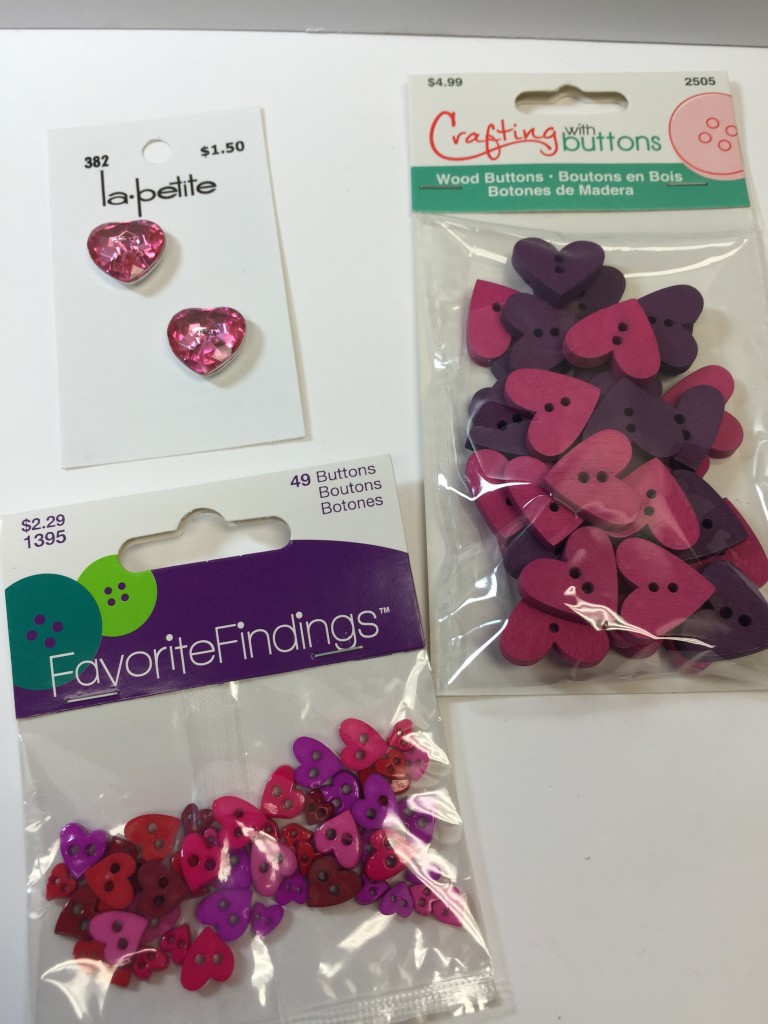
Gem Heart: La Petite 382
Layered Hearts: Crafting with buttons 470002505
Favorite Findings 550001395
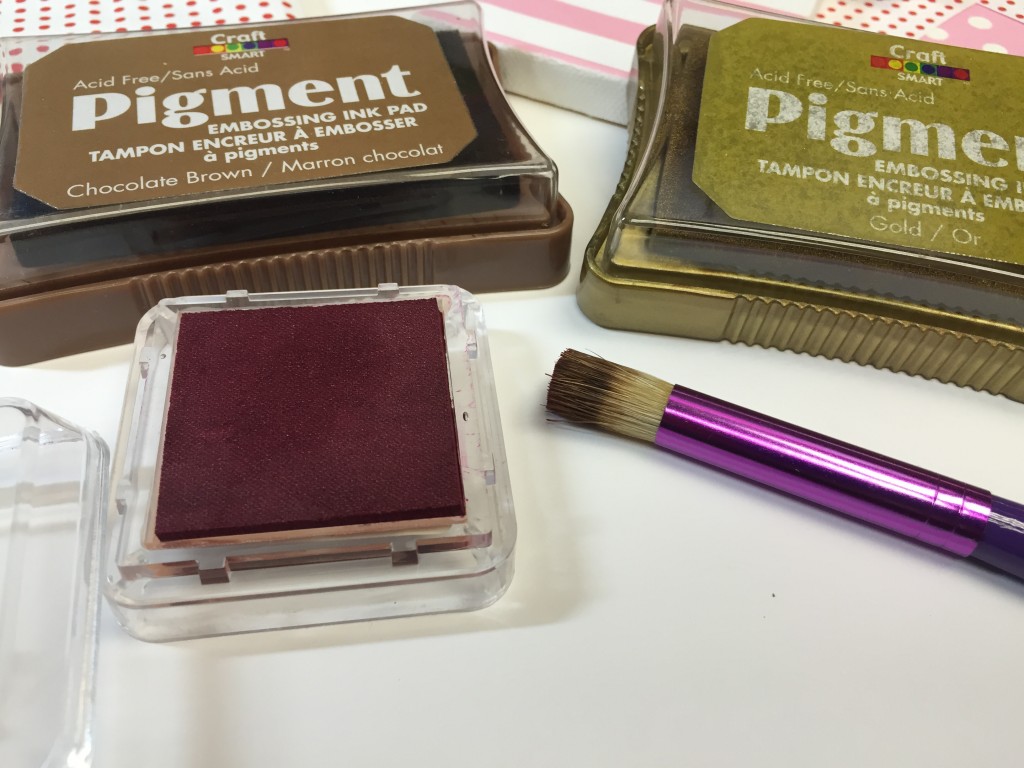
Assorted scrapbook paper; ribbon; glue adhesive; embroidery floss & needle; scissors; pencil; (3) mini 3 x 3 canvas; ink pad – red, brown, gold and brush; paintbrush
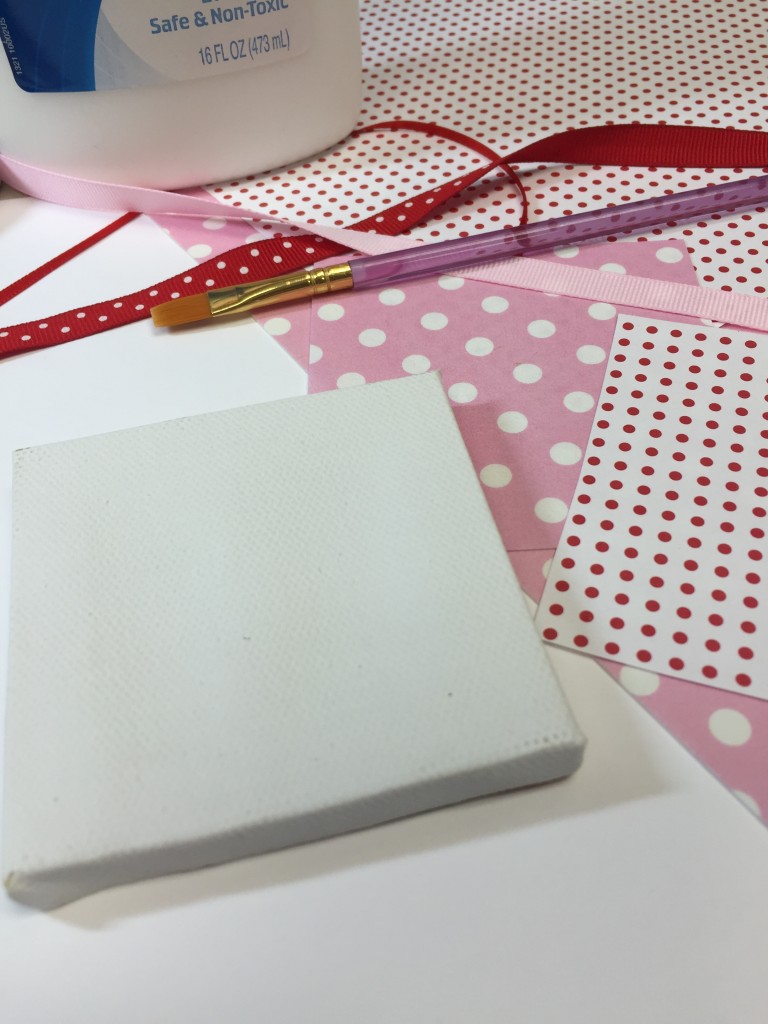
Prep your work area since you’re working with glue and ink pads. Select paper and then with your pencil trace outline of canvas onto back. Cut with scissors.
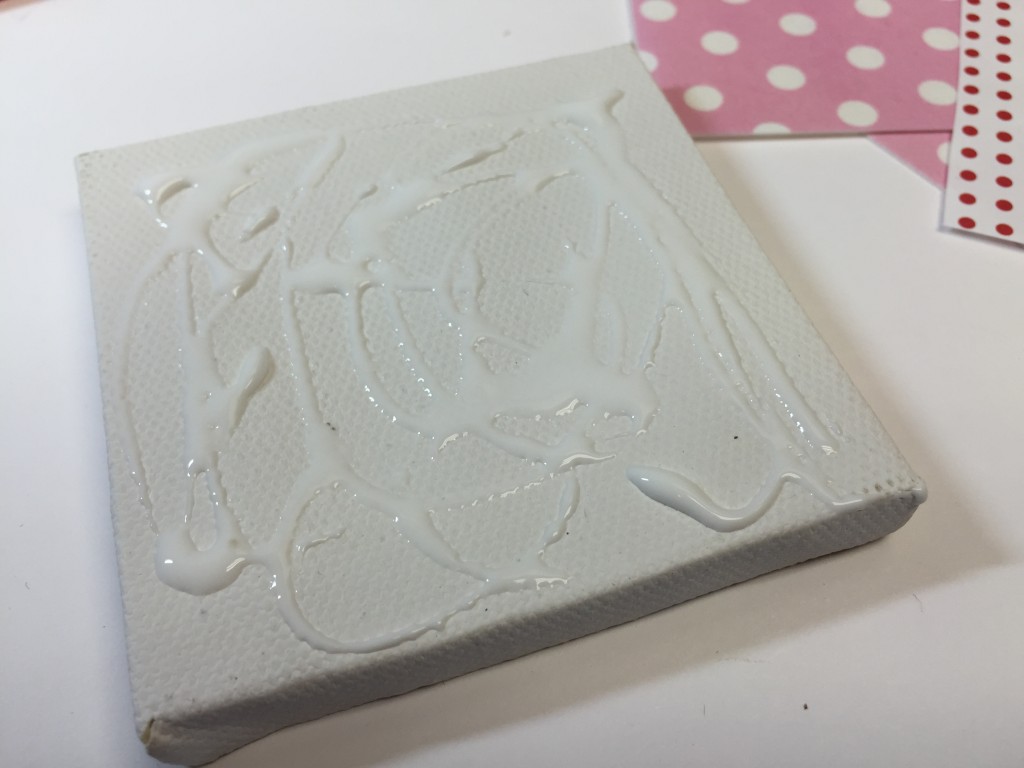
Apply glue to your canvas.
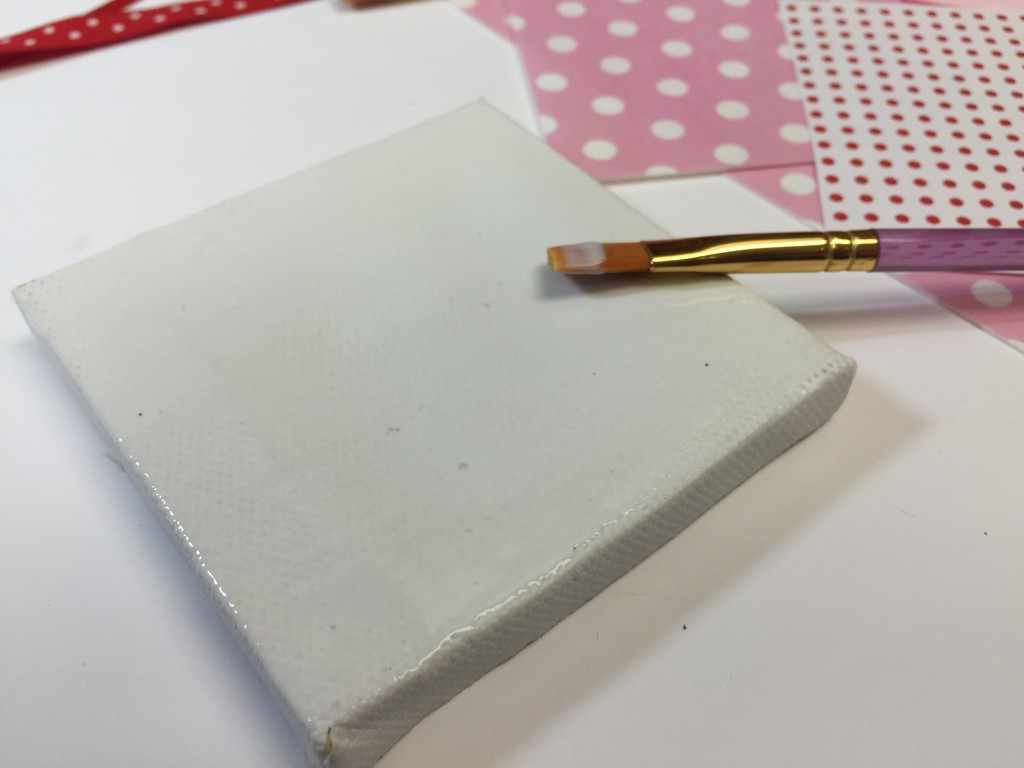
with your paintbrush evenly distribute glue or in this case “SCHMEAR” your glue! Place your pre-cut paper on top and smooth our any imperfections.

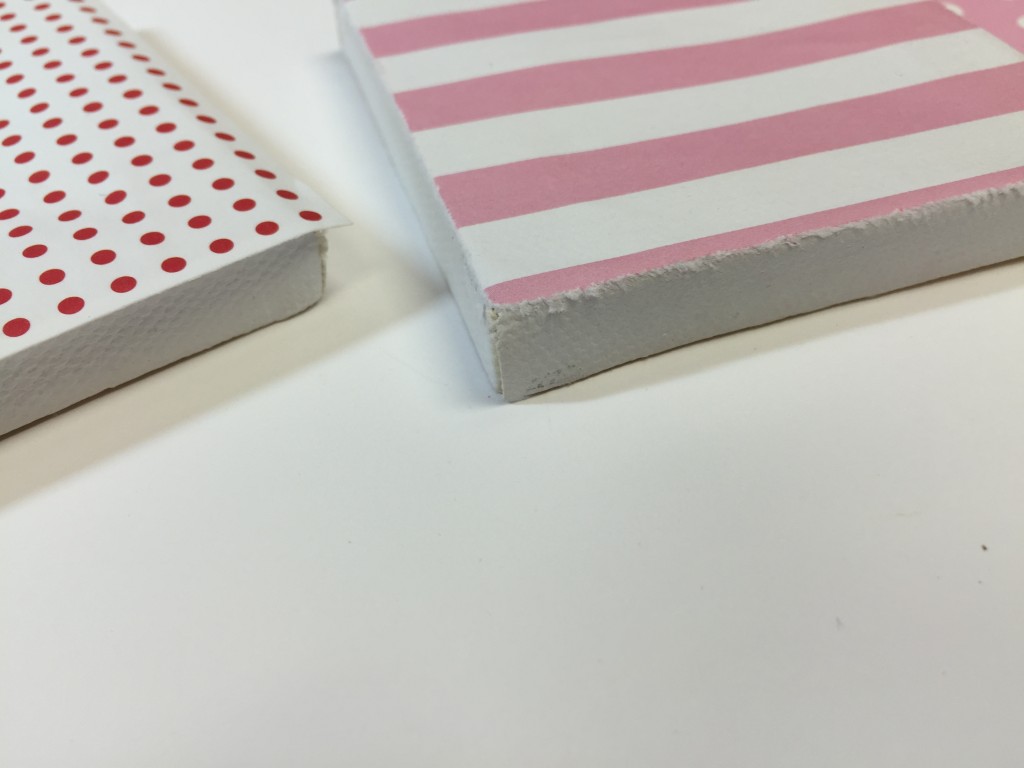
If you have paper overhang – see below photo (if your paper is larger than your canvas) I recommend using an emory board or sandpaper to remove excess paper.
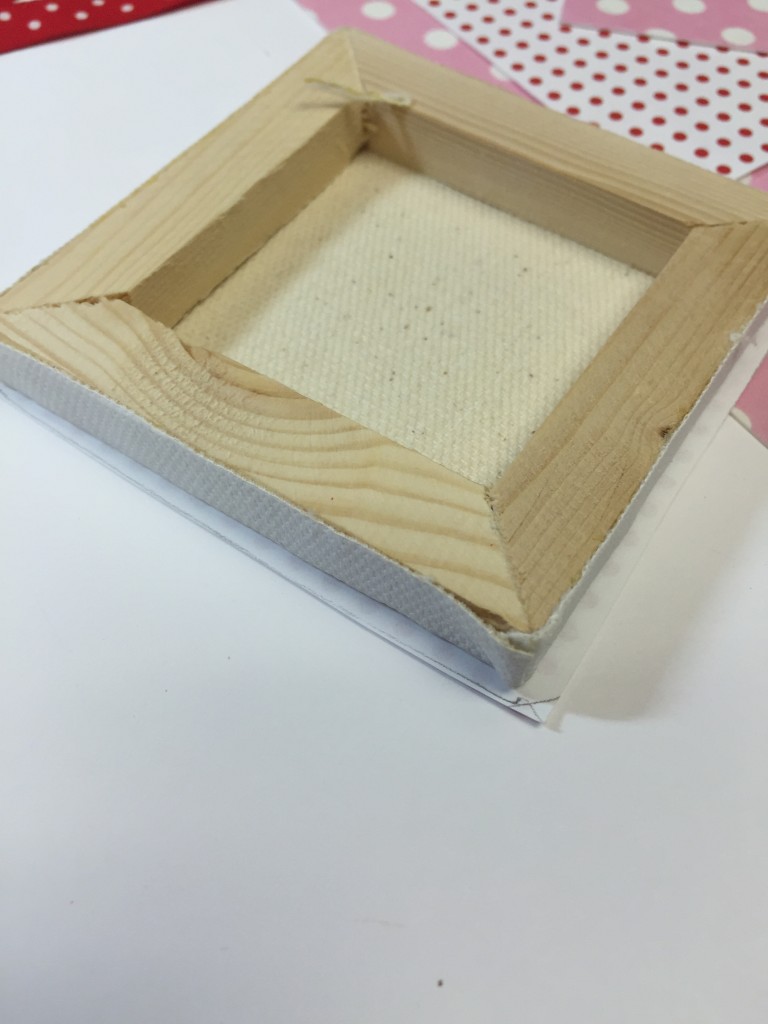
If you prefer to use scissors then do so. But I find this gives you that “straight” edge. Don’t worry if it’s not perfect you’ll be covering it with ink and ribbon.
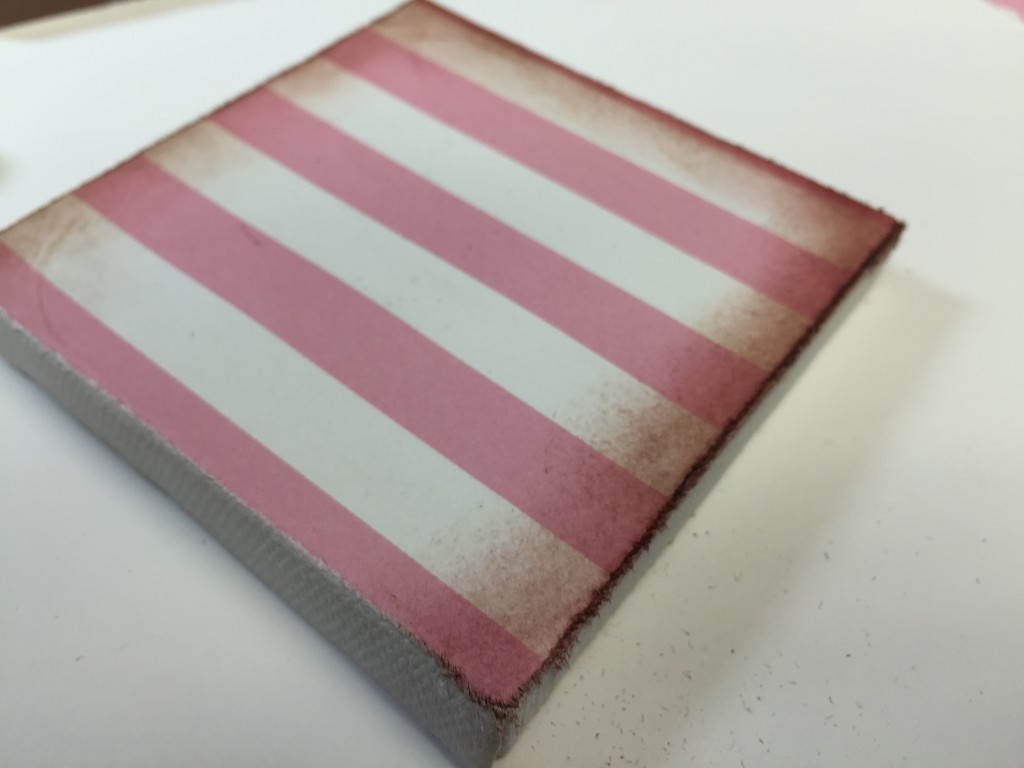
Locate your pink pad and brush. Tap into the pad and with a circular motions along the edges begin applying. You can go back to darken areas if you prefer.
AI used red and brown together to achieve the color I wanted. I later went back and applied gold.
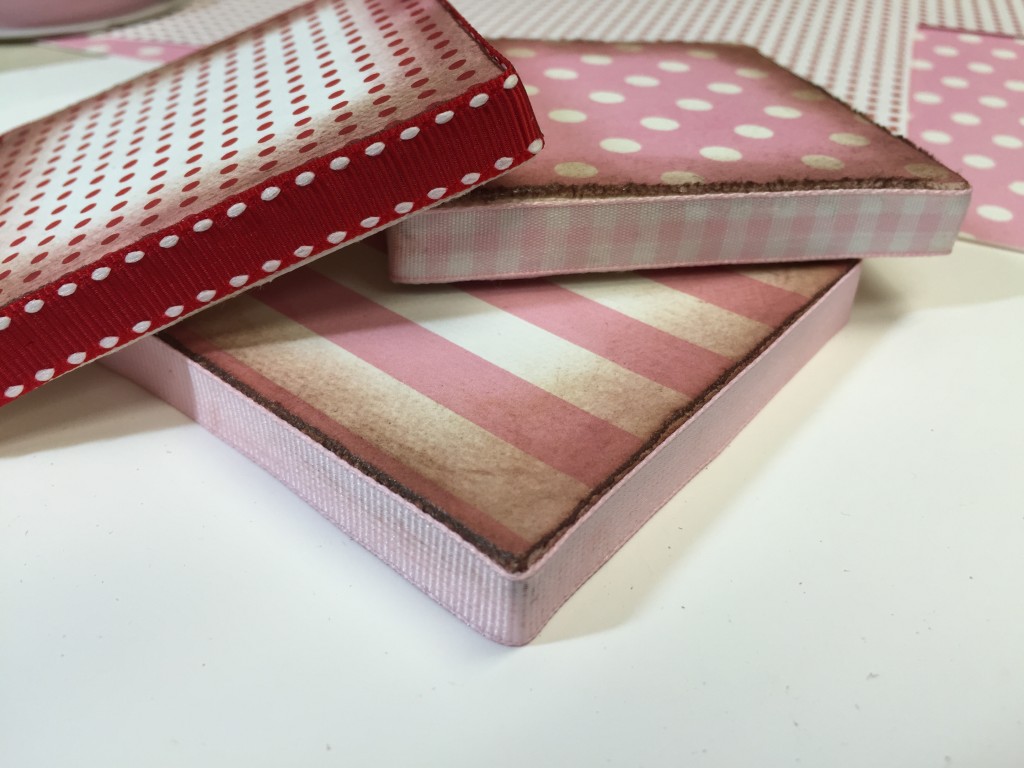
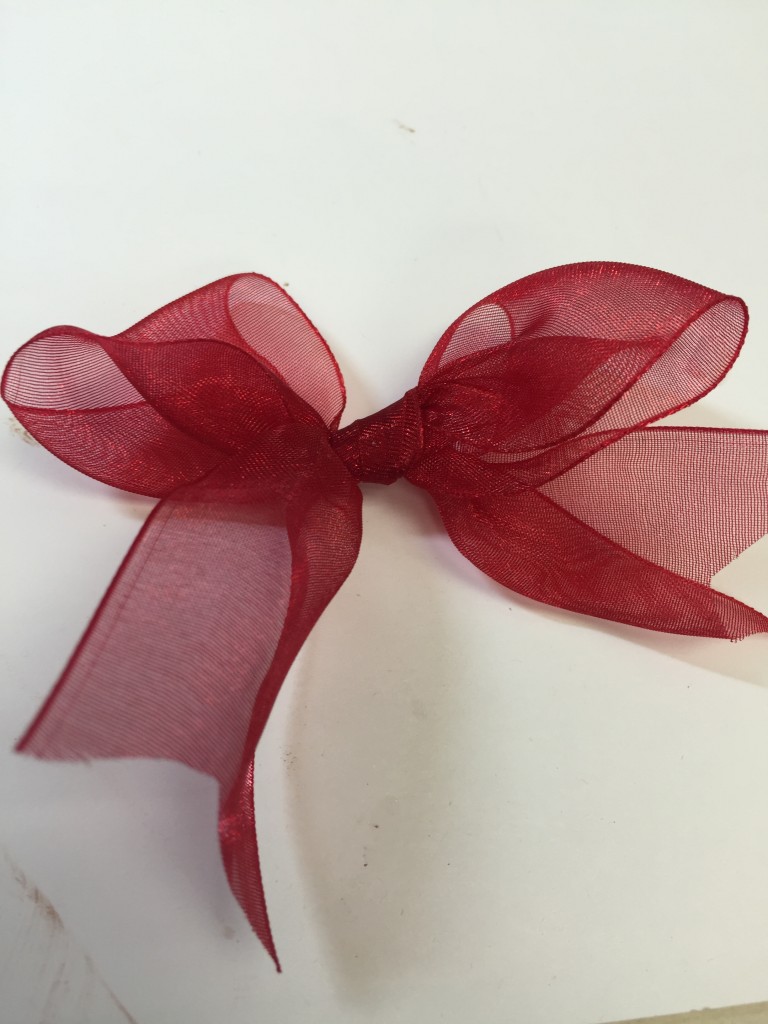
Once you’ve completed this process, your ready for your ribbon. Apply a beam of glue along edge and add ribbon. Cut excess.
Determining your design: there are so many options – and I’m only showing you three. Layout your design before you glue – this will allow you to go back and change it several more times until you’re happy! TRUST ME!
As you can see I started with not knowing which plaque to begin with! But this is a perfect example of why you shouldn’t glue so quickly! Layout and then determine – take photos to refer back to the other layouts!
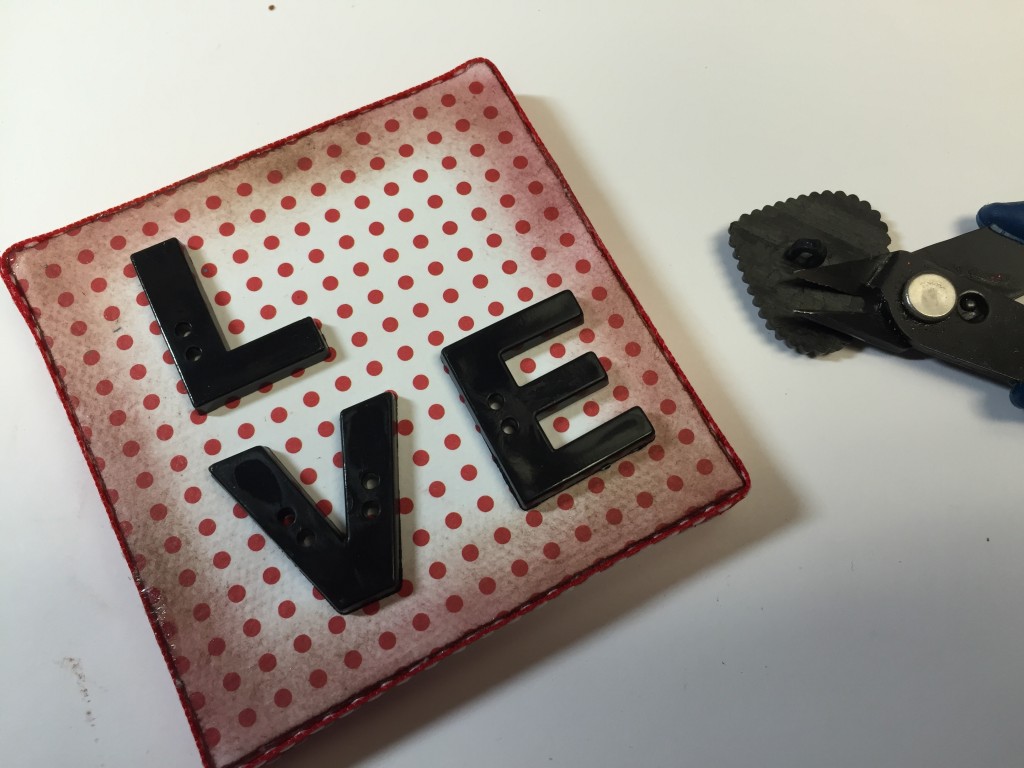
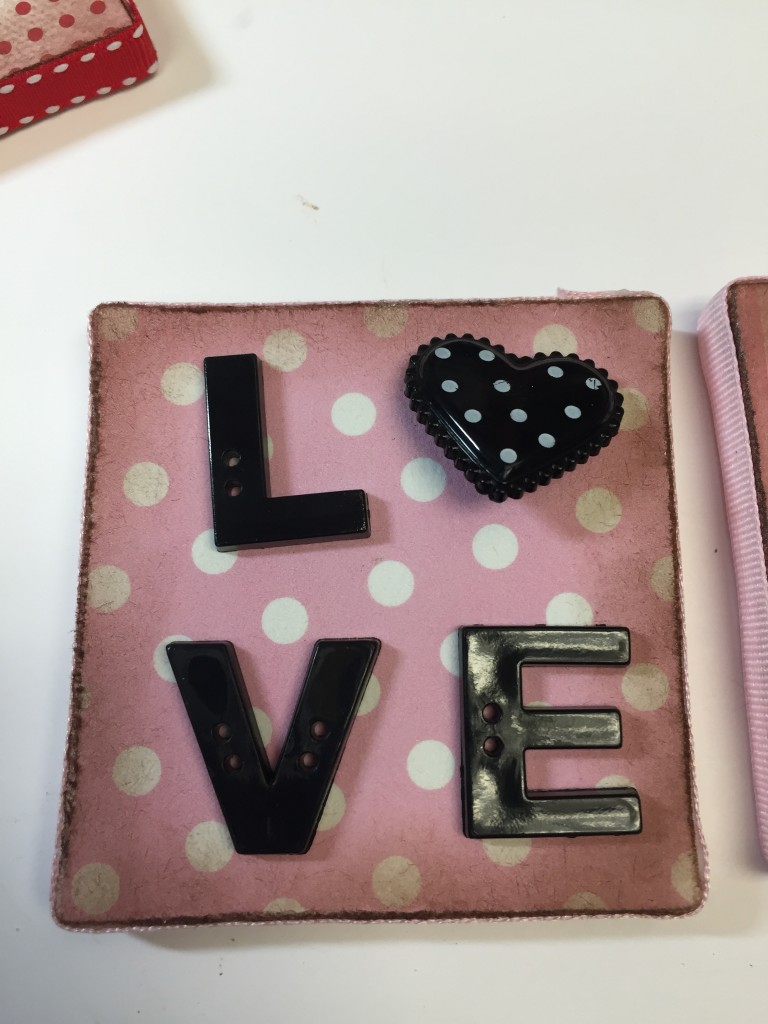
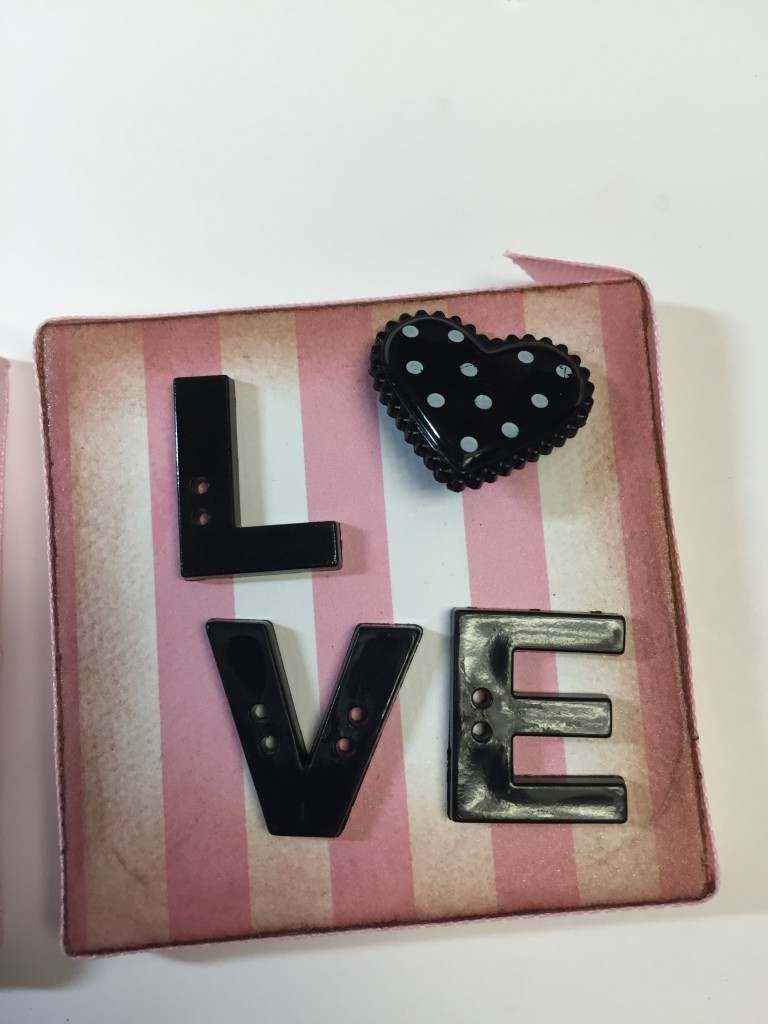
And the winner is red and black for the “LOVE” layout!
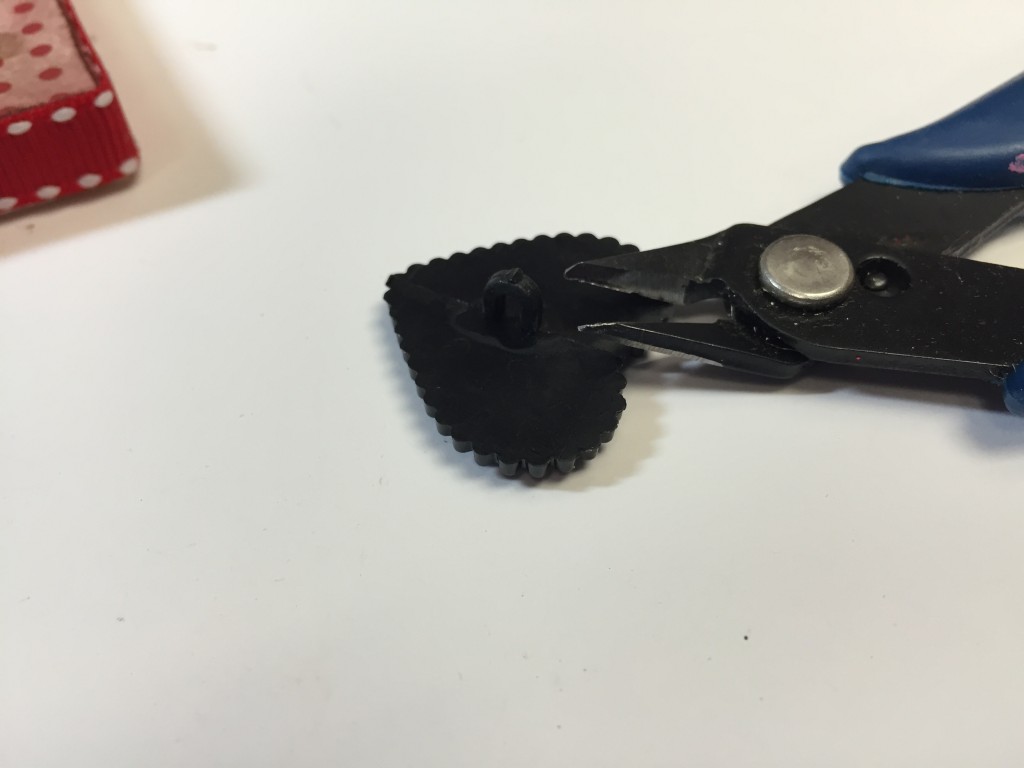
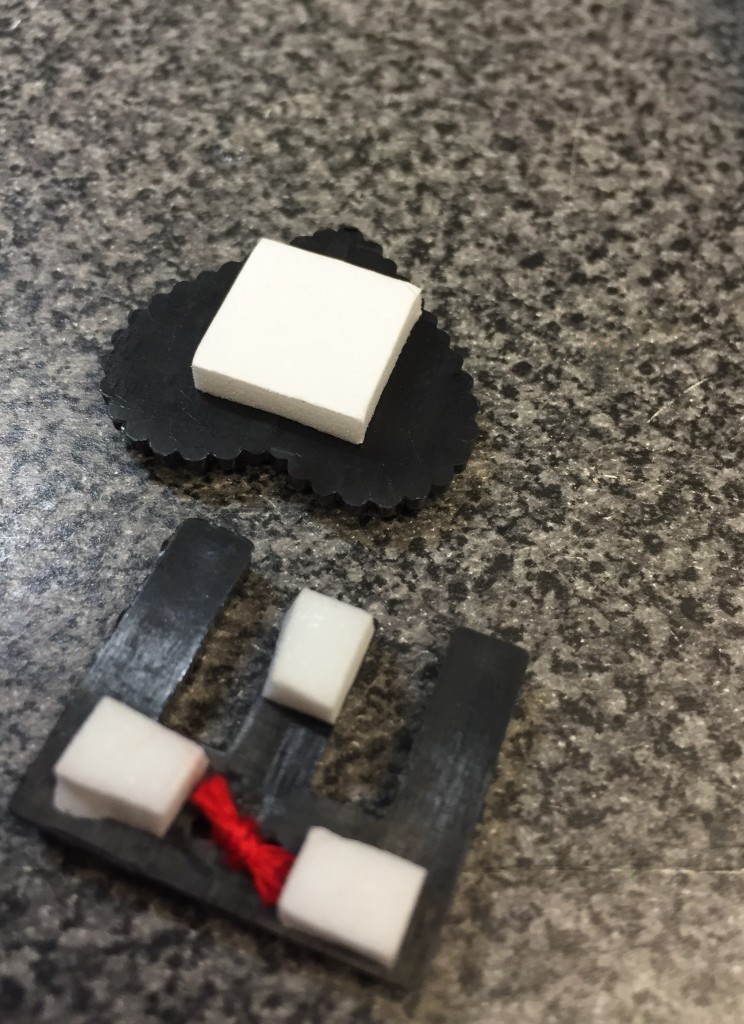
To begin – you will need to remove the shank off the back of the “heart” button (shank – it’s that loop that is attached to the back of the button). Use your Button Shank Remover and carefully snip off the back. Refer to my blog from yesterday – I mention how to remove the shank carefully.
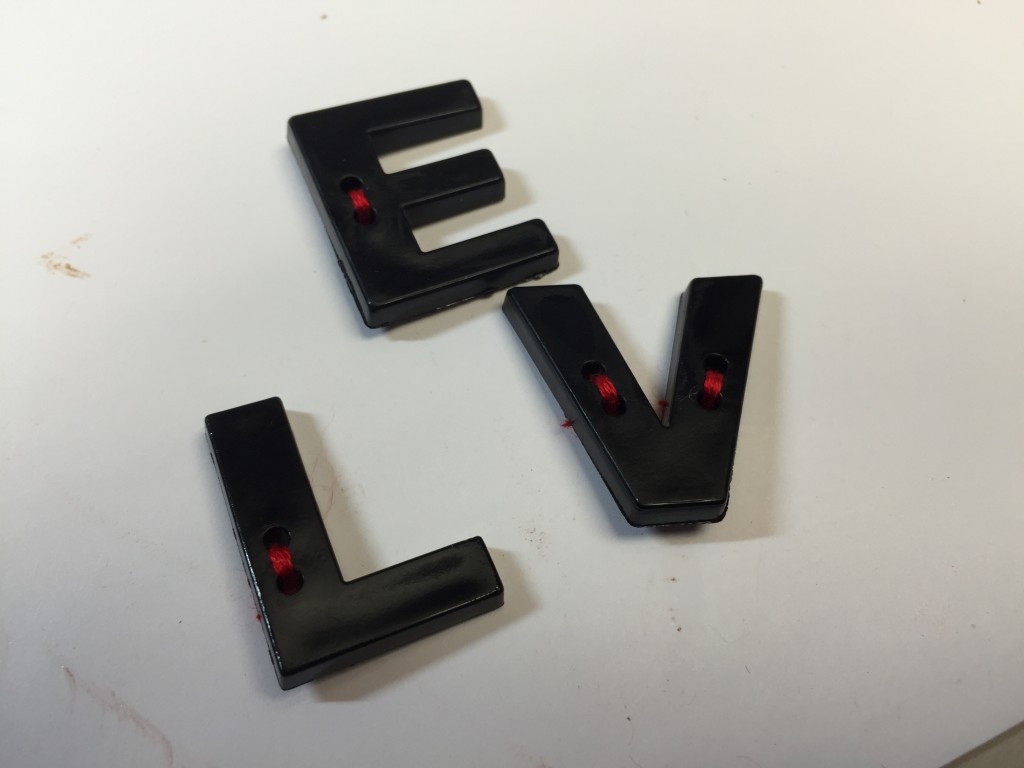
So this “heart” button as you can see replaces my “O” from LOVE. Remember to finish the L V and E with red embroidery floss.
Okay you’re ready to place down your button…Since I wanted to add dimension to my letters I ended up placing adhesive foam for the height as shown. You many need to trim the foam. Peel back and place down of canvas.
Don’t forget the bow. Add that to the corner of your canvas.
Ready…Here’s your finished Mini Valentine Button Plaques!
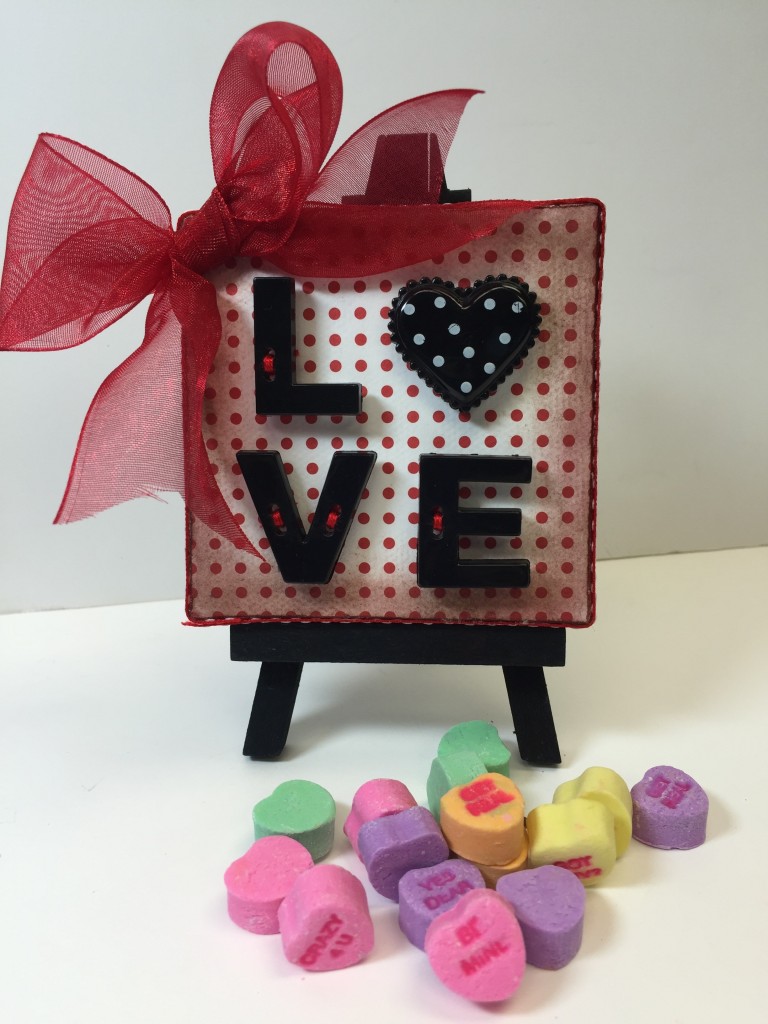
don’t forget to add some of those candies too!
Here are the last two Button Heart Plaques…
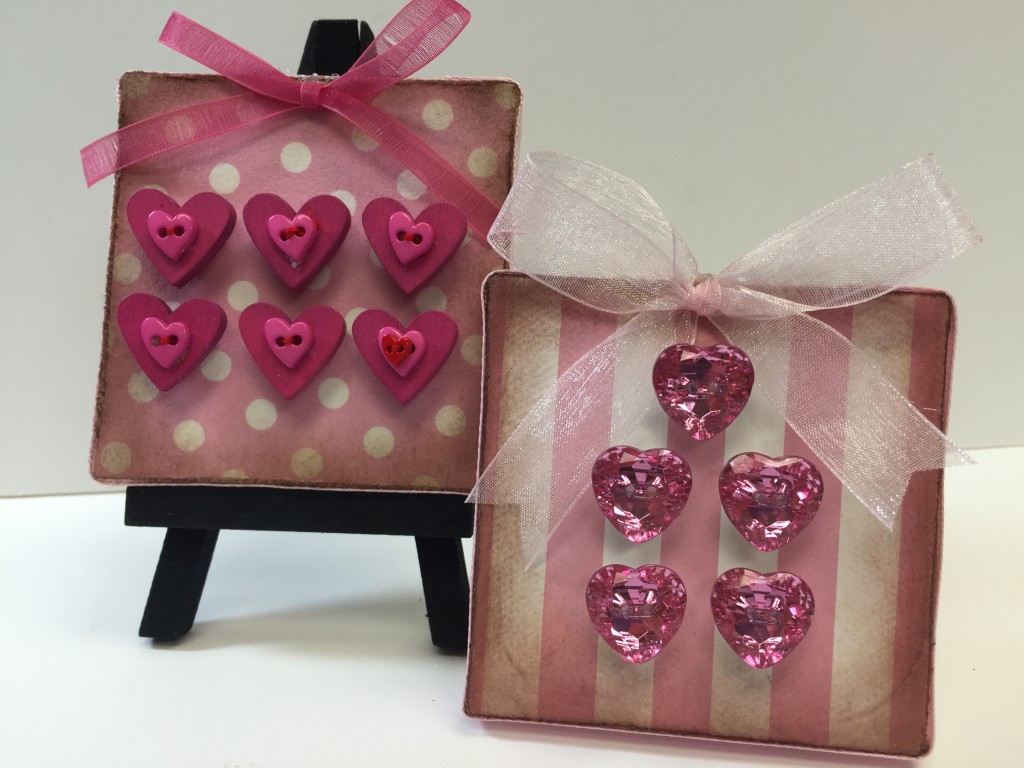
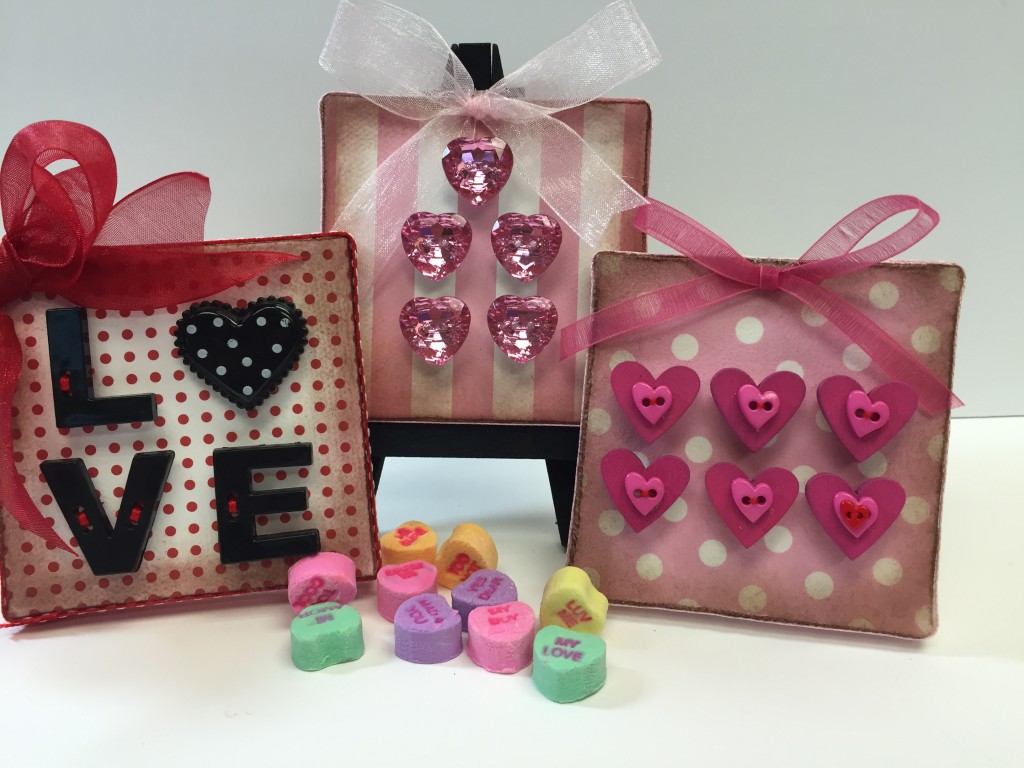
Hopefully you’ll have some candy left!
Make sure to visit our website for additional Heart Buttons!
HAPPY VALENTINE’S DAY!
HAPPY CRAFTING!
We are a team of craft-obsessed, button loving people! You probably use buttons almost every day without giving it much thought – they keep our shirts closed and our pants up (hopefully!) - but buttons can be so much more! We created this blog to share all the fun, creative ways we’ve found to use buttons. Our product development team is always coming up with great new button shapes and colors, in addition to new products, so we will always have something new to share with you!