
Oh Christmas Tree, OH BUTTON CHRISTMAS TREE…You may still have time to create this last minute home dec idea for your home or maybe that last minute gift idea! Although, in some areas it feels more like “spring has sprung” so let’s get started and get crafting!
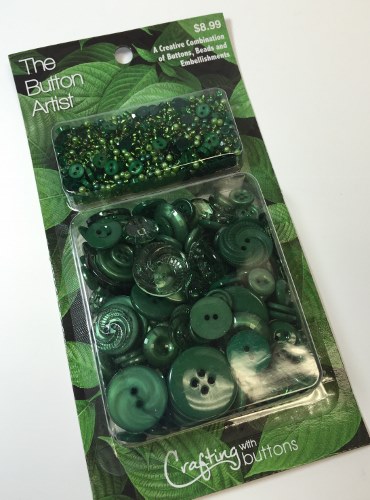
Materials: Crafting with Buttons – The Button Artist: Amazon 100005826
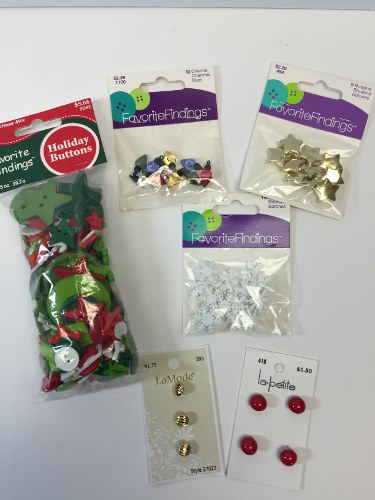
LaMode #400027023 (gold button)
LaPetite #132500418 (red button)
Favorite Findings: 550000356 Let it Snow
550000484 Twinkle Twinkle
550001100 Brite Lights
Big Bag of Buttons: 550002042 Christmas Mix
Christmas Tree Form (wood, cardboard); green & brown paint; paintbrush; Glue: hot glue, Fabri-Tac by Beacon; metallic thread; holiday scrapbook paper; frame

Prepare your work station – place newspaper or a paper towel down so that you don’t spill paint.
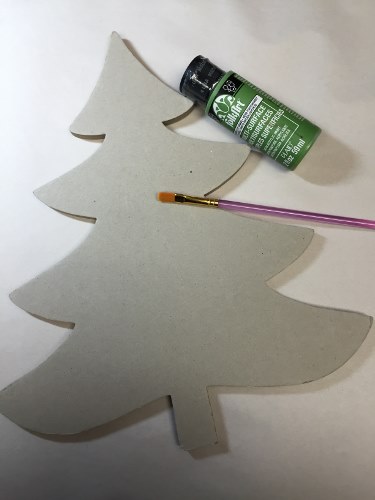
Cover the complete surface (even though you’re going to cover with buttons you just want to make sure no grey/wood surface is peeping out! Don’t forget to paint the “stump” of the tree brown.
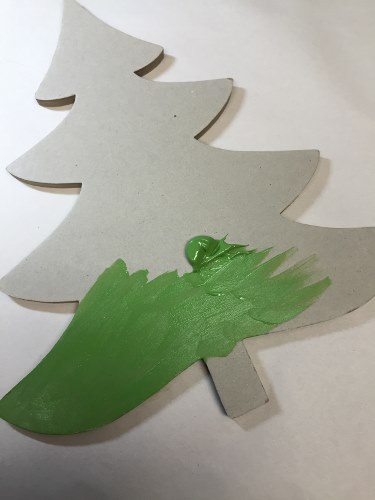
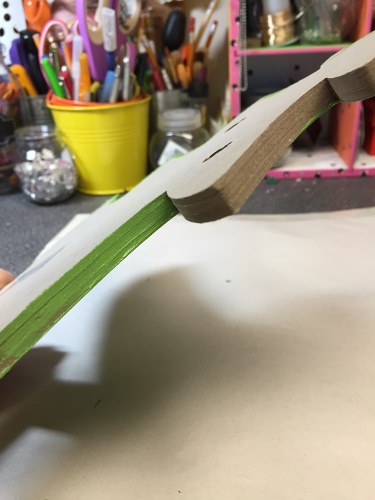
Remember to get the sides! Set aside and let dry.
While this is drying get your buttons ready and plug in the hot glue gun. If you’re not comfortable with using a hot glue gun – I suggest Fabri-Tac by Beacon (it may become stringy – so have a damp towel to wipe the nozzle).
Once your paint has dried – I suggest laying out your buttons onto the form. Remember you will be layering so you can leave gaps as shown below.
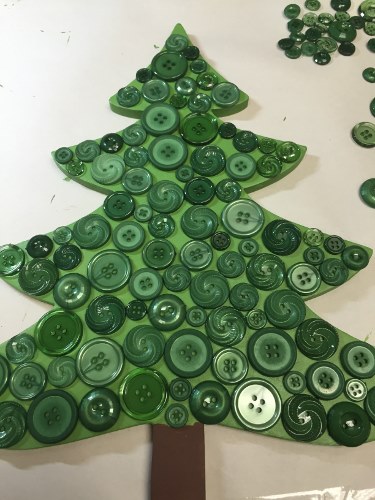
Once your first layer is laid out – go back and begin gluing then go back and begin layering.
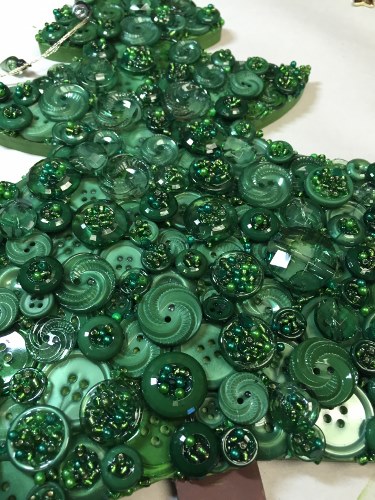
Since I wasn’t sure how I wanted my tree to look – I layered assorted buttons randomly onto the tree. Needless to say I didn’t go in this direction (could have but I still wanted to work in the beads). So the above was option 1.
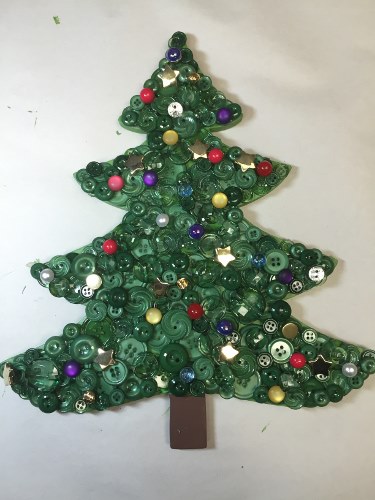
Option 2 is the route I took. I ended up placing beads along the edge of the tree and in the center of the buttons – you can use glue and your going to let those set/dry for an hour or so…
I found that if you use clear dimensional medium also works.
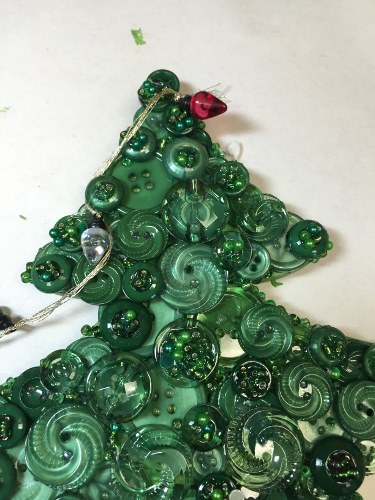
Now for the trim. String on the Favorite Findings Brite Lights leaving a gap every 2 inches knot each one this will prevent it from sliding. Glue down each light (button). Keep going until you’ve reached your desired look. Remember to add beads to the stump of your tree – for this I used assorted brown & gold tone beads.

I also added some snowflakes and buttons…
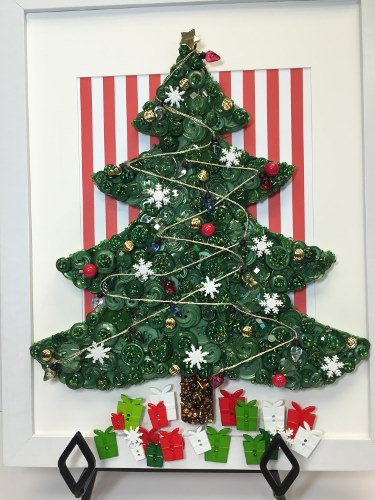
To finish – place into an 8 x 10 frame. For this is I removed the glass and placed decorative holiday striped scrapbook paper onto the matt. Glued my tree down and continued to embellish by adding Button Presents on the bottom.
To achieve the dimensional look glue presents on top of two plain buttons.
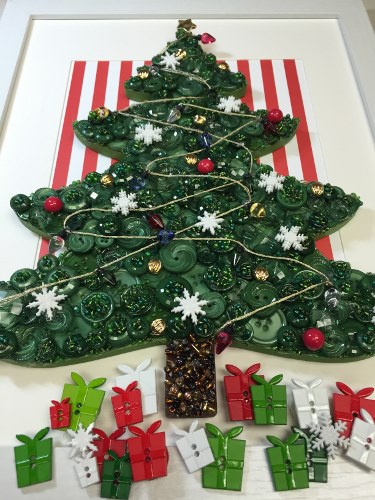
Well it seems there’s enough presents under the tree. Pull out the stand and display in your entrance to welcome family and friends.
Wishing you and your family a very joyous Holiday!
Merry Christmas!
Happy Holidays!
Happy Crafting!