
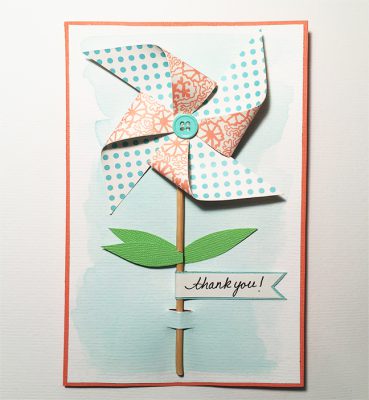
We are in the handmade card groove, so next up is this Pinwheel Handmade Card. You probably have plenty of buttons on hand that could work with the color scheme you choose.
To make this Pinwheel Handmade Card, you will need the following materials:
Card Stock in White, Blue, Green and Orange
Card Stock that is printed on both sides in the same color family
Watercolor Paint and Brush
Button in a matching color
Coordinating Thread and Needle
Small Stick
Glue
Scissors
Ruler
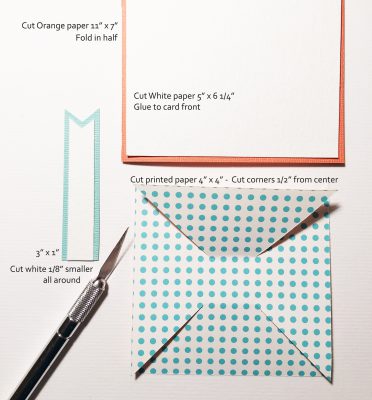
Cut the orange card stock to 11 inches by 7 inches and fold the 11 inch side in half to create the card. Cut a piece of the white card stock to 5 inches by 6-1/4 inches. Center and glue to the front of the card, gluing the edges only. Cut a 4 inch by 4 inch piece of the printed card stock. Next, make cuts from each corner towards the center, stopping 1/2 an inch from the center of the square. To create the banner, cut a 3 inch by 1 inch piece of blue card stock and a piece of white card stock that is 1/8 of an inch smaller on all sides. Cut a V shape into both pieces and glue together.
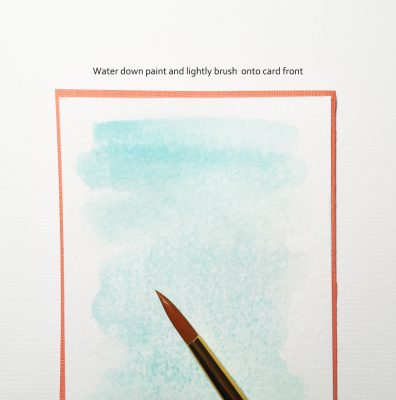
Lightly brush watercolor onto the white front of the card.
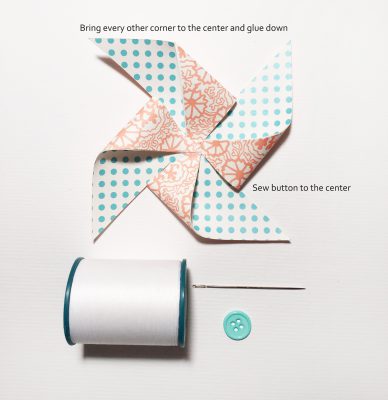
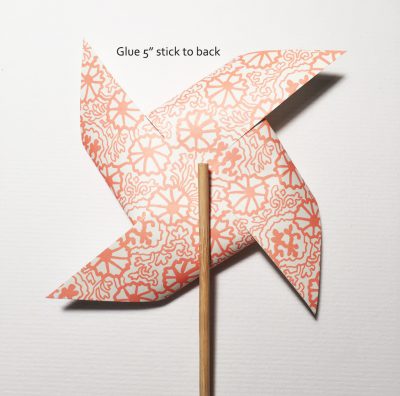
To create the pinwheel, fold and glue each corner of the printed card stock to the center. Sew a button to the center using the needle and thread.
Cut the stick to 5 inches and glue one end to the back of the pinwheel.
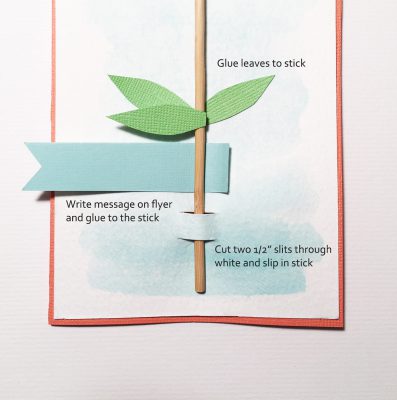
Cut out 3 leaves from the green card stock. Cut two slits in the white card stock using a blade. Slide the other end of the stick into the slits. Glue the leaves onto the stick. Write a message on the banner and glue the banner around the stick.
This is a versatile card that can be used for any occasion. You can make them ahead and leave the banner blank until you are ready to give the card!
Happy Crafting!!