
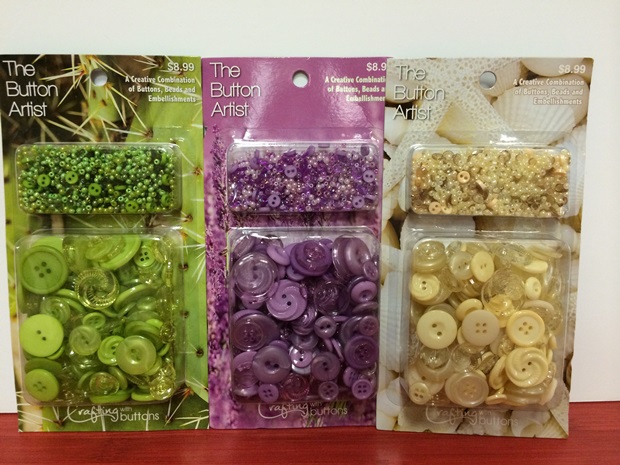
Introducing a NEW BUTTON product available at JOANN Fabric and Craft Stores this week! So what is it…. “THE BUTTON ARTIST” by Crafting with buttons is a Button & Bead product that we put together in 18 wonderful colors – white, yellow, blues, greens, reds colors for any color scheme your working with. We made it easy and packaged it for you – buttons and beads that are already coordinated for you. In addition to 9 additional Embellishment Accent Packs – to add the final touch to your project.
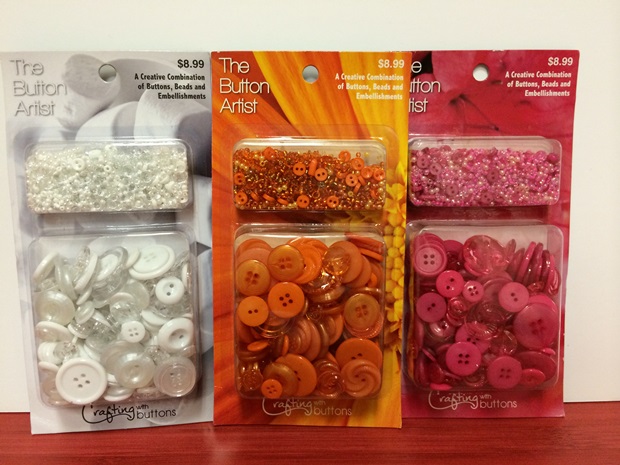
5810 White; 5813 Orange; 5817 Azalea
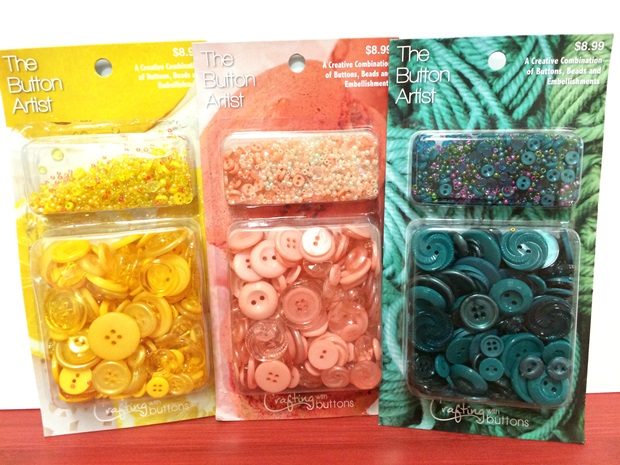
5812 Sun; 589 Sorbet; 5818 Teal
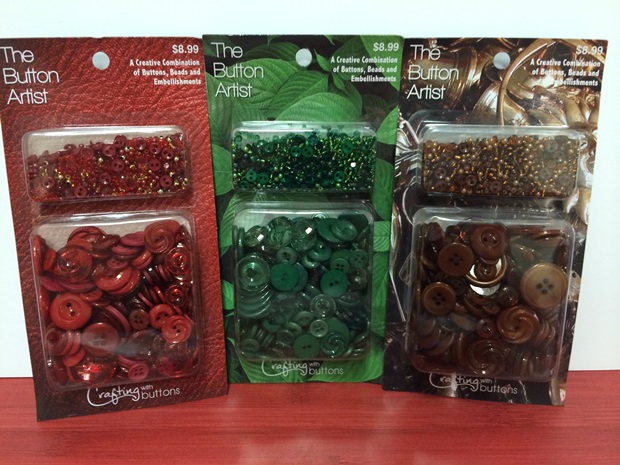
5825 Wine; 5826 Amazon; 5827 Coffee
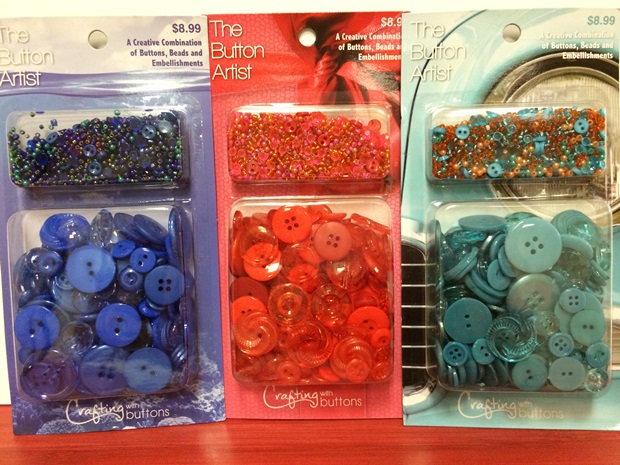
5823 Marine; 5824 Red; 5821 Turquoise
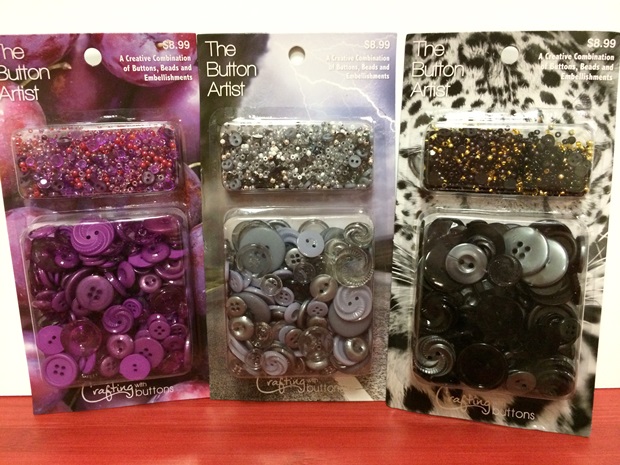
5820 Plum; 5816 Steel; 5822 Black
5814 Cactus; 5815 Lavender; 5811 Cream
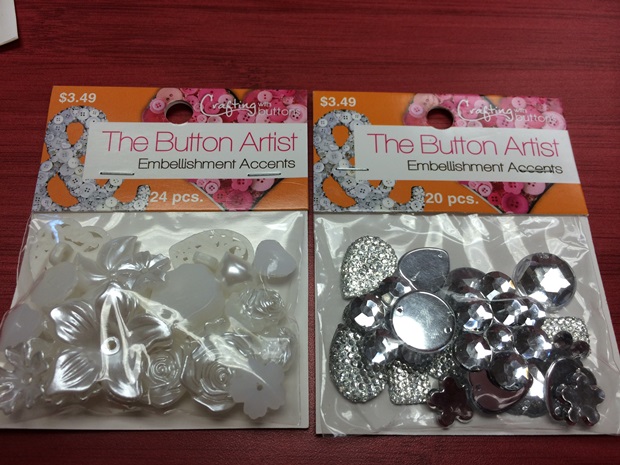
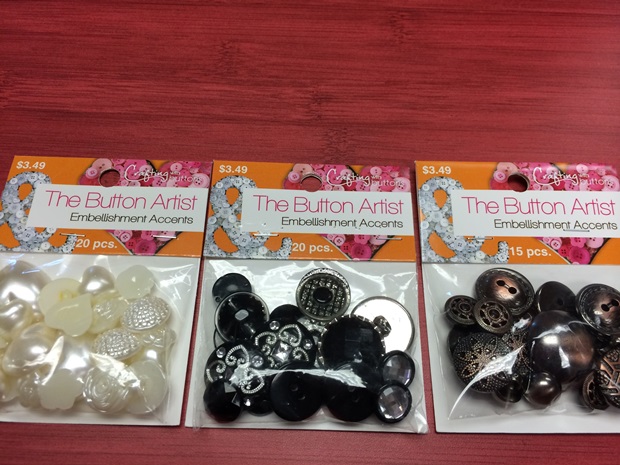
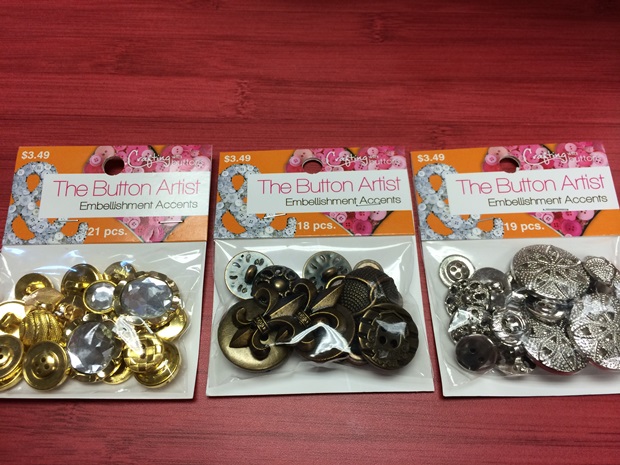
(yes I know there is one missing and this is a “shiney” silver pack).
Today, I’m going to show you a quick tutorial on how to create your own Button Initial using the New The Button Artist….
Materials you will need: The Button Artist – in your favorite color – I used Cactus #100005814
Wood Letter; small plastic container (to hold beads) Aleenes Turbo Tacky Glue Pen; Hot Glue Gun; tweezers or needle (sewing needle works well too); paint & brush (optional)
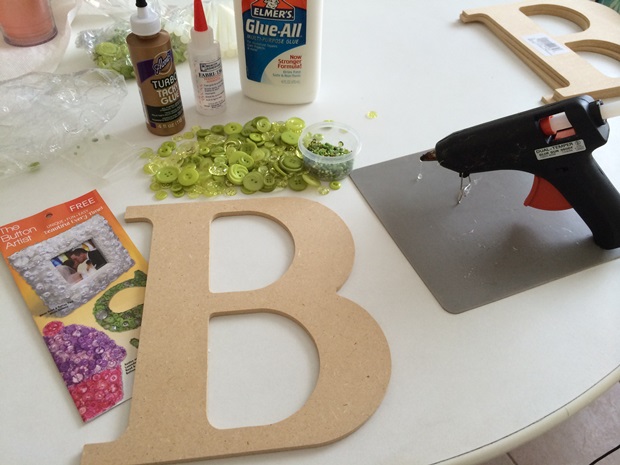
In the photo above you will notice a color brochure – make sure to pick up your FREE Project Pamphlet at JOANNS when selecting your color. It features additional projects you can create and the “six” easy step outs for creating your Button Art project.
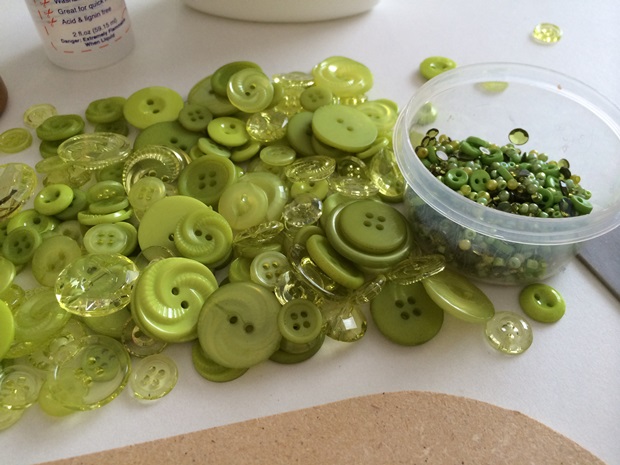
So I have everything ready on my semi clean surface – but it works: my wood letter, glue. As you can see I’m using hot glue for my project – I’m comfortable working with it. I do suggest when working for the first time to use the Aleenes Turbo Tacky Glue (or your preference) it’s easier and this way everyone can join in on the fun (kids). What I do find that works is sorting my buttons by size… I also placed all my beads into a small container (beads, mini buttons and mini gems are in all the assortment colors!)
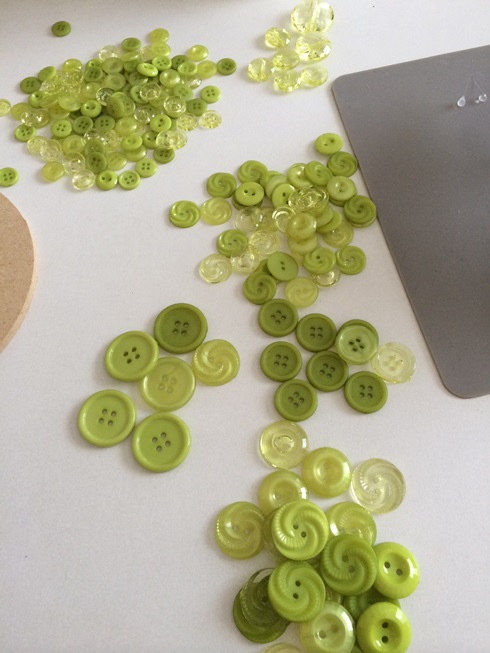
Next step: before glueing layout your buttons onto your surface – working with your larger and medium sized buttons. You also want to leave an outline for your beads as shown below… 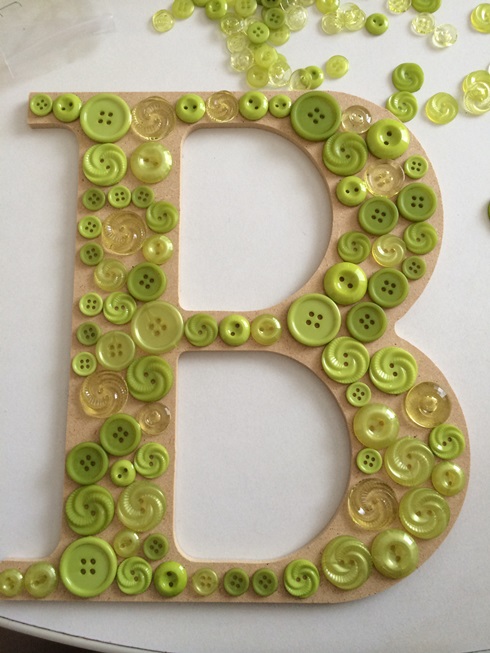
Don’t worry about the gaps you will fill those later. Ready – glue. Let this dry for a few minutes. Now you’re ready for the second layer – here you will fill in the gaps filling them in with the smaller and the remaining buttons. Layer randomly…


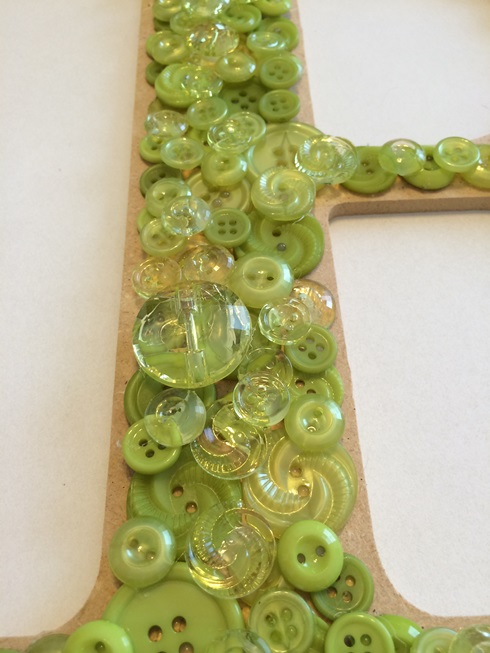
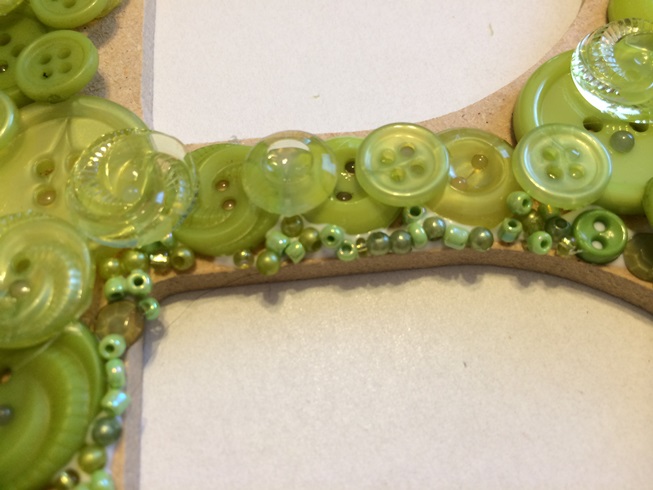
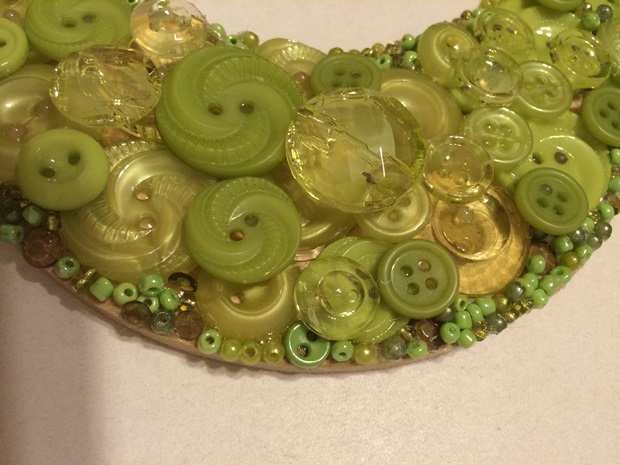
here are some close-ups just so you can see what I’m talking about. If you still have small gaps you can fill them with beads and mini buttons and gems…

and this is what comes in the mix – assorted sizes of seed beads, mini gems and buttons coordinated to match your buttons! Couldn’t be any easier…
Your ready to begin adding your beads – do this in sections – remember the white craft glue will dry clear. Run a bead of glue along the edge. Sprinkle or place your beads with the needle or tweezer. You can always go back if you didn’t put enough on…
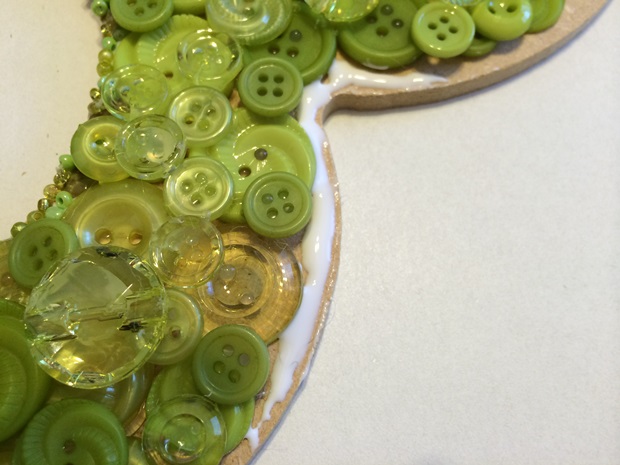
Once all done – you will find that you will have extra – you can fill in additional gaps or save it for your next project.

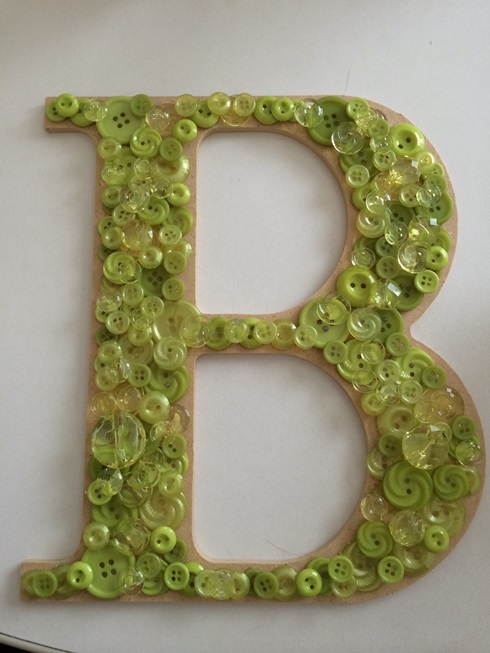
and you’re done!
This is such an fun and easy project to create alone or with your kids!
Add an adhesive hook or decorative ribbon and hang!

before and after.
You can also paint your surface this is optional…

the projects are endless…
Come back next week and I will show you how to create your Button Art Heart for Valentines Day using The Button Artist!
Don’t forget to show us what you’ve created!
Happy Crafting!
We are a team of craft-obsessed, button loving people! You probably use buttons almost every day without giving it much thought – they keep our shirts closed and our pants up (hopefully!) - but buttons can be so much more! We created this blog to share all the fun, creative ways we’ve found to use buttons. Our product development team is always coming up with great new button shapes and colors, in addition to new products, so we will always have something new to share with you!