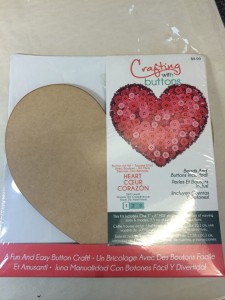
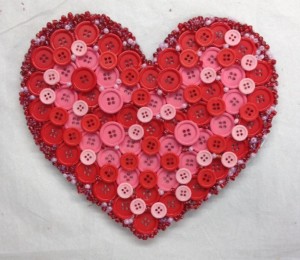
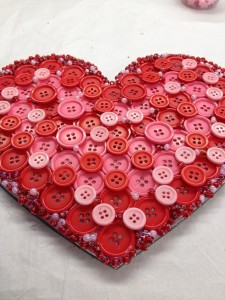
It’s only a few days away till that sentimental day comes along where we create that something special for someone we love…And what a better way to say “Be Mine” with our new Button Heart from Crafting with Buttons. This project is easy and you can get the kids involved!
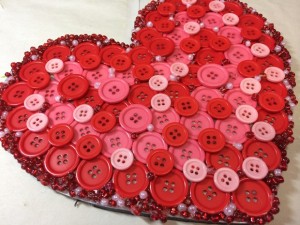
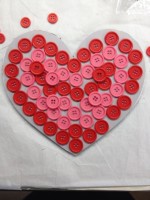
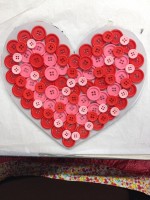
from this to this…
Supplies Needed:
- Crafting with Buttons – Button Heart #470003402
- Glue (your preference); We recommend Aleene’s Turbo Tacky Glue, or a hot glue gun! Elmer’s glue for the kids!
- Container for your beads
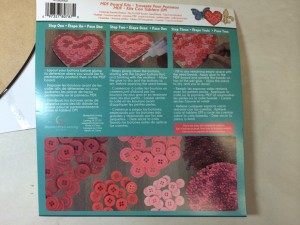
Make sure you have a clean work area – remove contents from the packaging. However, hold onto the packaging on the back it shows you step outs…
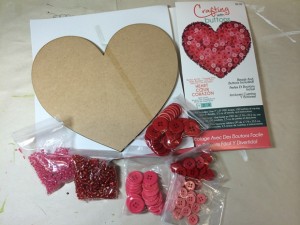
this is what will come in your kit – MDF heart shape; buttons & beads
this is the back of the package…
Now your ready to create – lay down your first layer of buttons – here we are using the bigger size buttons – I recommend that you first lay it out and then glue – this way you have the option to change your layout. Once happy with the layout – glue the buttons down. I use hot glue since I’m more comfortable with this – however if this is your first time – please use a “Craft” glue (don’t worry the white craft glue will dry clear). You may need to wait a few minutes between layers.
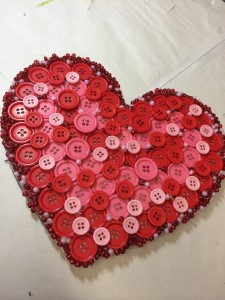
As you can see we did not work along the edges – we left a space so that our beads will be placed. Once your second button layer has dried you can continue onto the beads. Run a bead of glue along the edge (work in sections it’s much easier). It’s easier if you put your beads into a small container – you can then use this to place your beads down.
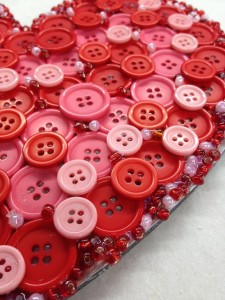
you can go back and fill in with extra beads. From the above photo – I also place bead onto the heart (this also works to cover the gaps)
And your done! Mount your creation onto a frame, canvas. Or just add a decorative ribbon and hang.
HAPPY VALENTINE’S DAY!
HAPPY CRAFTING
PS – Kits are available at JOANN Fabric and Craft Stores and also on our website: blog.buttons.com

