Are you a crafty bride-to-be? There are so many cute ways to put a personal spin on your wedding day: paper flowers, customized banners and signs, and homemade favors. In today’s post, I’ll show you how to create a Button Boutonniere! Our buttons are available in such a wide variety of colors that you’ll be able to find the perfect match to your wedding colors.
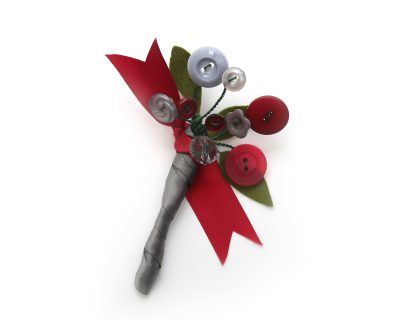
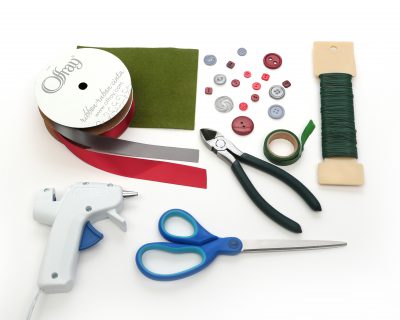
To make this Button Boutonniere, you will need the following materials:
Buttons and Beads Steel 100005816
Offray Double Face Satin Ribbon, Scarlet, 7/8” wide
Offray Double Face Satin Ribbon, Pewter, 5/8” wide
Floral Wire
Floral Tape
Green Felt
Liquid Glue or Glue Gun
Measuring Tape
Wire Cutters
Scissors
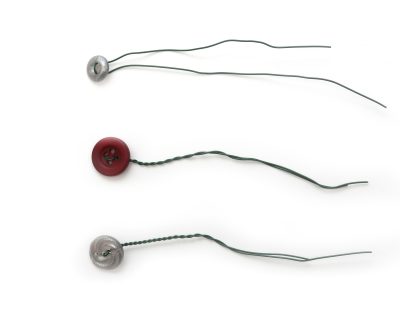
Select nice buttons in a variety of sizes. Using the wire cutters, begin by cutting nine 10 inch wire pieces and three 6 inch wire pieces. Bend the first piece of 10 inch wire in half and feed it through the button holes of the first button. Move the button to the bent end of the wire. Twist the wire from top to bottom to hold the button in place. Repeat for the other eight buttons.
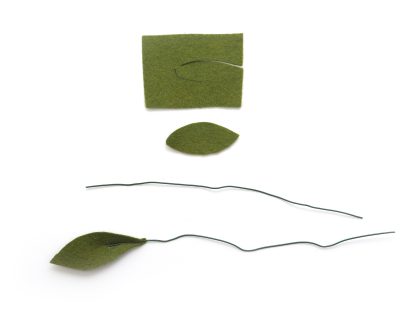
Next, cut the felt into 3 leaf shapes. Glue the leaf shapes to the 6 inch pieces of wire.
Gather 2 to 3 button wires and a leaf, adjust the placement and wrap together with the floral tape. Repeat with the remaining buttons and leaves. Mix colors and sizes in each bundle.
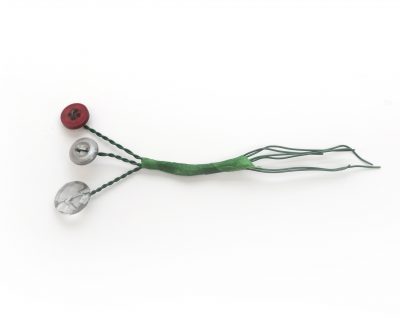
Take all the bundled wires and wrap together with the floral tape. Trim the wire ends with the wire cutters to make all the ends even.
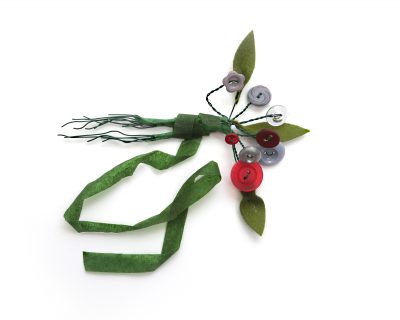
To finish, wrap the pewter ribbon around the stem to hide the floral tape. Begin by gluing the ribbon end at the top and wrapping around the stem, working your way to the bottom. Secure the bottom end with glue.
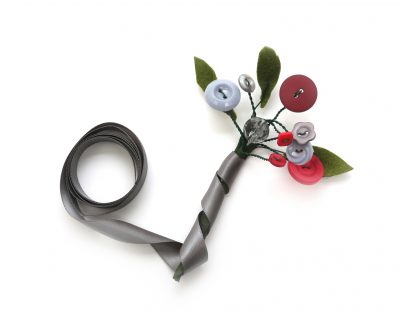
Tie a piece of the red ribbon at the top in a simple knot. Trim the ends at angles for a finishing touch.

Get your bridesmaids involved and make Button Boutonnieres for all the groomsmen!
HAPPY CRAFTING!!
