
Hello button lovers! I’m Taylor and I will be blogging about trends and sewing projects for all the fashion lovers who like to get hands on!
How to transform your old t-shirt into something new
Todays blog is about transforming a plain, old, oversized t-shirt into a cute and brand new top that you’ll want to wear more than once! I started off with a huge old shirt that had no business taking up room in my closet. Seriously — I could make tents out of this shirt to house a whole tribe of Native Americans! I gathered up all my sewing supplies…scissors, pins, measuring tape, thread, hand sewing needle, my dear old sewing machine, and most importantly, the buttons! Check out our awesome line of assorted buttons at your local sewing and craft store to add a cute touch of detail to your new DIY top. Next step is to put your favorite music station on and get ready to be creative!
Here is the before and after and a few steps of the transformation!
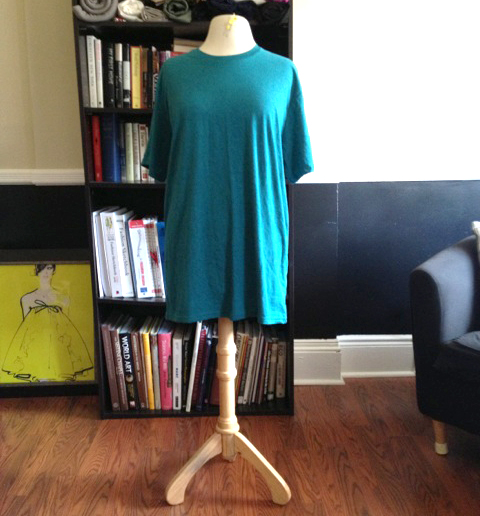

So what I wanted to do is make a little sleeveless dress-top with a little bow detail at the neckline…since I am obsessed with bows! For this particular project, you want to make sure the shirt is at least two-three sizes too big.
The first thing I did was measure from my neck to my waistline and mark that same measurement on the t-shirt. Then I folded my t-shirt in half longways and cut off the remaining bottom portion of the shirt. I saved that remaining fabric for the skirt of the blouse, which I’ll get to later!
The next step is to fold the shirt in half the opposite way so that the the center front and back of the shirt are in a perfect half. This way, when you cut your new neckline, it’s even on both sides.
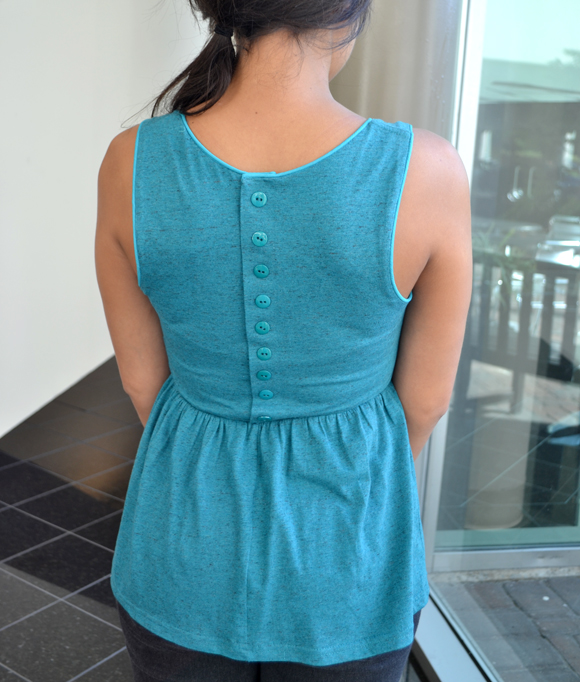
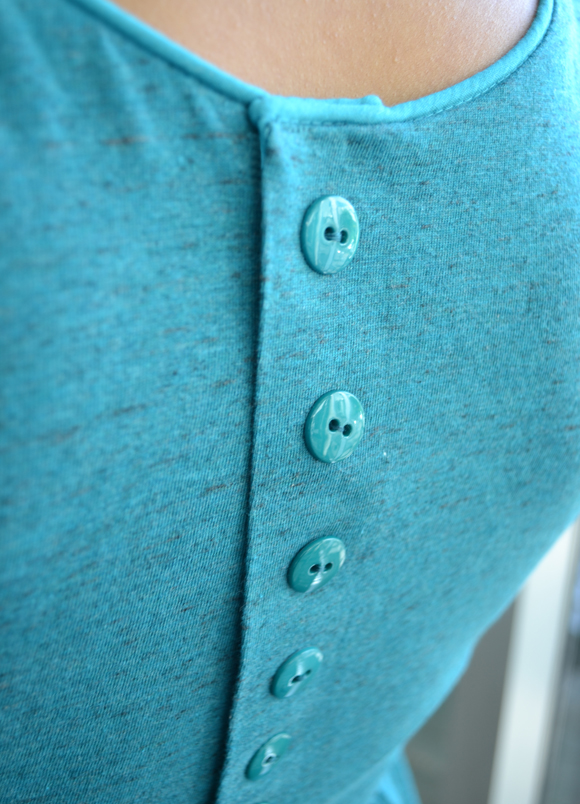
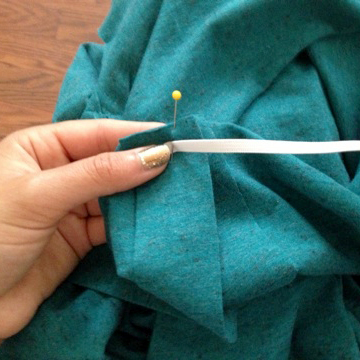
I measured about 4″ down from the original neckline and traced a smooth scoop line from the back to the front of the shirt, add 1/2″ seam allowance and cut. To finish the edge of the new neckline, you can either fold the seam in and topstitch or you can buy matching piping and use that to finish the seam.
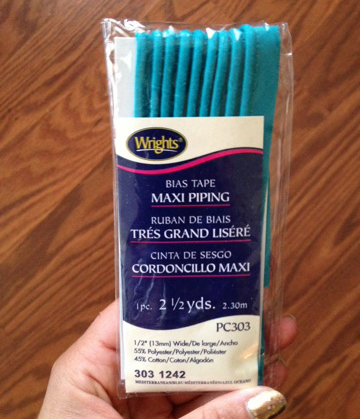 Simply measure the piping to match the neckline measurement, pin right sides together, and stitch as close to the piping as possible; Flip piping over and press with an iron.
Next step is to remove the sleeves, making sure to save one of the sleeves for your bow! After the sleeves are removed, you taper the blouse by marking a new line at the side seems to fit your body. What I did was measure my waistline and subtract that amount from the measurement of the original shirts waistline. Divide that number in half and take that amount off each side seem. Sew your new side seams. Now you can finish your armholes the same way you did your neckline.
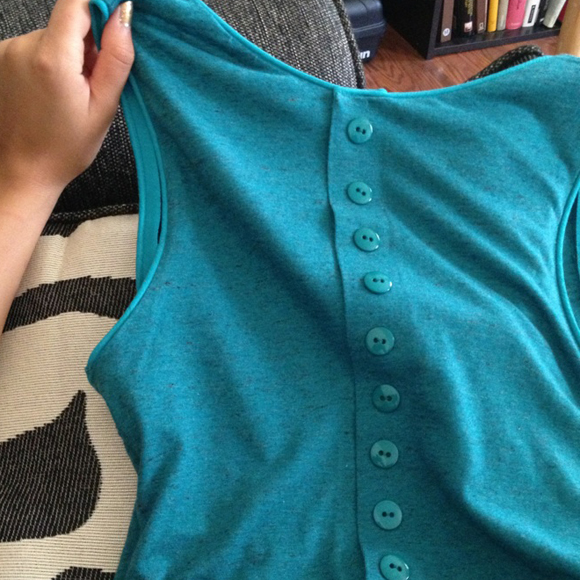
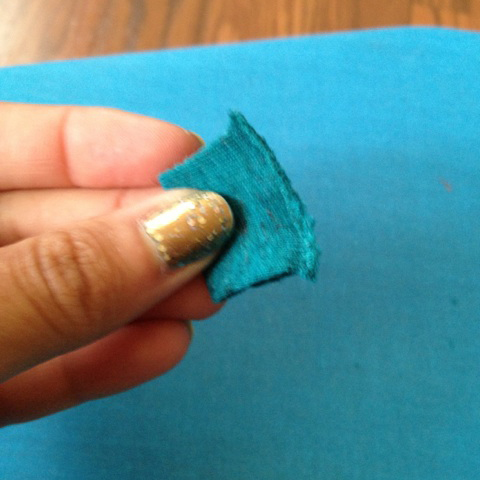
The next step I did was to cut a straight line right along the center back of the shirt. I then folded 1″ from the edge, lined the 1″ fold with adhesive fabric stiffener and pressed the fold toward the inside of the shirt with an iron. Do this to the other half of the back. Place the right folded edge evenly over the left and sew a basting stitch on the waistline seam allowance to keep them together. Now you can pin the backs together and evenly place desired amount of buttons along the center back as a decorative detail. Hand stitch buttons. You can use our Turquoise buttons or our Teal buttons… we have many other colorful buttons available!!


Next step is to cut a piece of elastic that is wide enough to fit around your shoulders when stretched. Sew this piece of elastic to the new waistline of your top, making sure to stretch both the elastic and the seam allowance while sewing.
Now you can sew the excess fabric that was saved in step one (the skirt) onto the top. Make sure to also stretch the fabric and elastic while sewing, and that the skirt is dispersed evenly with the top. To make this step easier, you can sew a loose gathering stitch with your machine along the seam allowance of the skirt and gather it evenly along your top seam allowance where it will be attached.

Once the skirt is sewn onto the bodice, trim the seam allowance about 1/4″ and press.
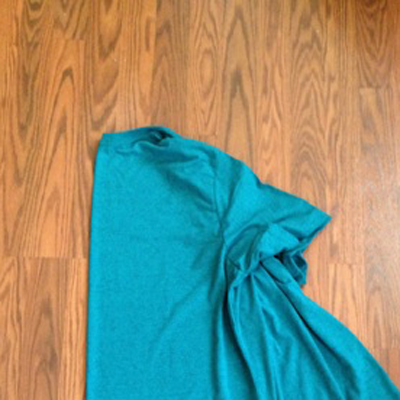
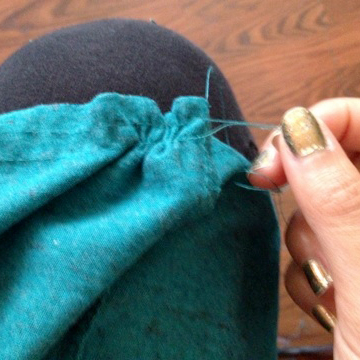
Almost done! Now all you need to do is find the extra sleeve that was put aside, as well as any extra fabric left over from the shirt for the center of the bow. Use the extra fabric to cut a rectangle about 1″ wide and 2″ tall. Fold this piece in half and sew along the bottom edges to make a square loop.
Cut off about 3-4″ from the bottom edge of your sleeve, and cut off the raveled edge that was attached to the armhole for a smooth line. Fold this piece in half and press.
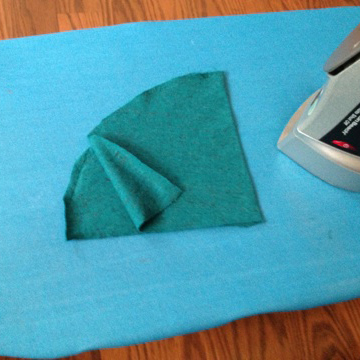
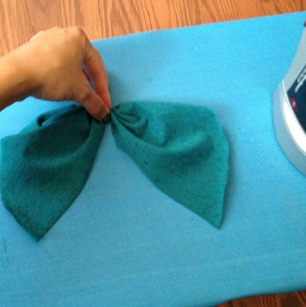
Unfold the piece, pinch it directly along the fold line, and slide your square loop onto the sleeve to create a bow.
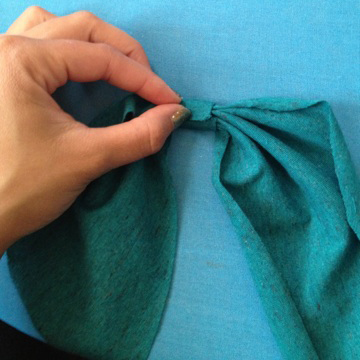
Hand stitch the bow to the center of your neckline.
YAY! You now have a wearable top that you made yourself! Time to congratulate yourself with a victory dance and an ice cream cone loaded with sprinkles.