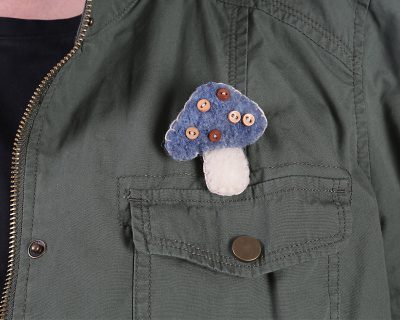
Last week, we showed you how to make these cute Felt and Button Mushrooms. This week, we’ll take those little mushrooms and turn them into Button Mushroom Pins. Use them as favors and table décor for a spring luncheon with your girlfriends. In case you missed it, follow the Felt and Button Mushroom project and create one for each of your guests in felt colors that match your theme. We will turn these into pins and attach them to place cards.
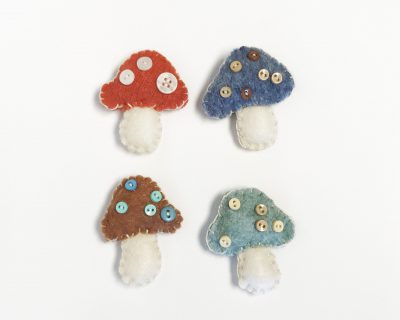
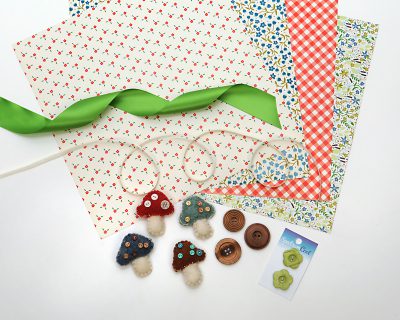
To make these Button Mushroom Pins you will need the following materials:
Pin Backs
Card Stock, in colors and patterns to match your theme
Needle and Thread
Ruler
Double-sided Tape
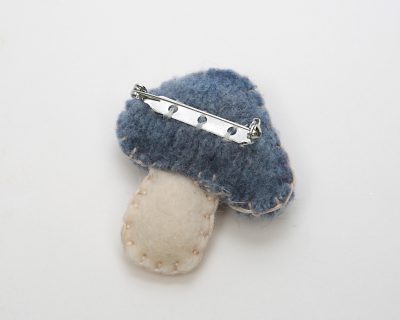
Use the needle and thread to attach the pin back to the back of each mushroom.
Next, use the card stock to make the folded place cards. Don’t be afraid to mix and match different patterns. They work well together when they use the same colors. To make these place cards, we measured and cut out pieces that are 3” by 4.5” and then folded them in half along the 4.5” side.
To make the name portion of the card, we cut out a smaller piece of cream card stock. We used a felt tip marker to write each name and attached it with a piece of double-sided tape. You could also use a pretty font on your computer. Just type your list of names and print. You can then cut the names out and tape them to the place cards.
Once the place cards are finished, attach a Button Mushroom Pin to each card.
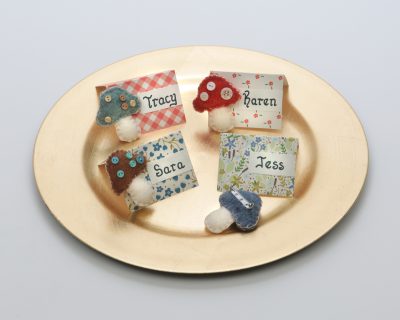
Make sure your guests know that they can take the Button Mushroom Pin home as a favor!
To keep with the button theme, we created a variety of napkin decorations using ribbon and buttons that you can use as inspiration for your own table.
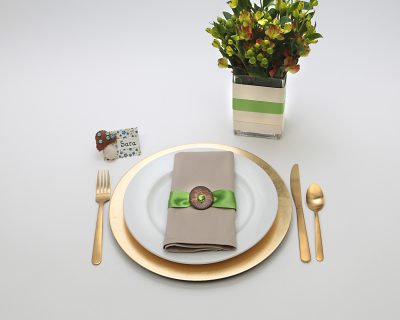
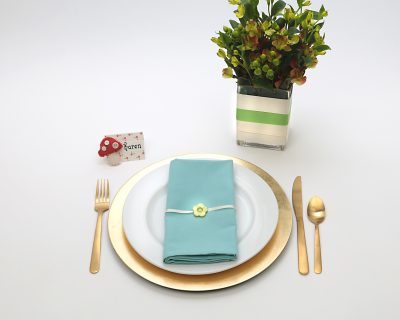
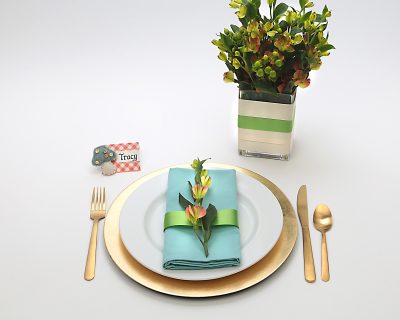
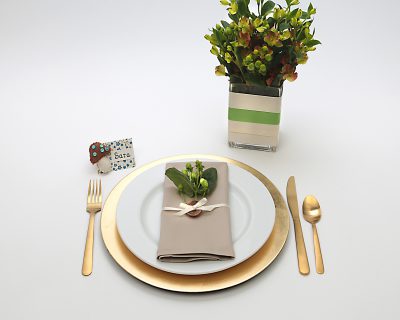
We hope that springs comes a little early where you are!
Happy Crafting!
