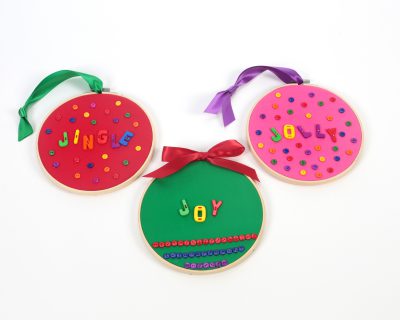
For this Christmas project, re-use the embroidery hoops you used for previous projects (Pumpkin Face Buttons and Embroidery Hoop Art). We created these Button Ornament Decorations with three of the same size hoop, but you can also vary the sizes of the embroidery hoops.
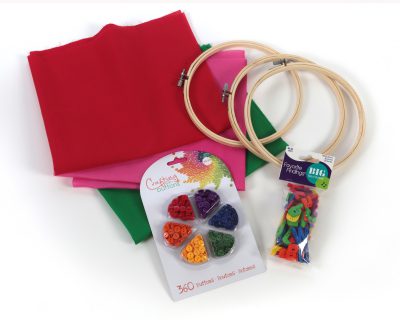
To make these Button Ornament Decorations, you need the following materials:
Embroidery Hoops
Fabric for each Hoop
Embroidery Thread and Needle
Fabric Glue
Scissors
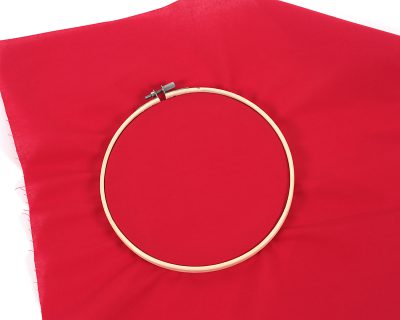
To begin, iron any wrinkles out of the fabric. Separate the embroidery hoops. Place the fabric over the inside hoop and fit the outside hoop back on to the inside hoop and fabric. Pull the fabric tight. Tighten the screw on the outside hoop to hold the fabric in place. Trim some of the excess fabric, but leave a few inches around the edges. You can pull the fabric tight again once you are finished decorating each ornament.
Next, determine the layout for each ornament. Use holiday words or names to personalize each design.
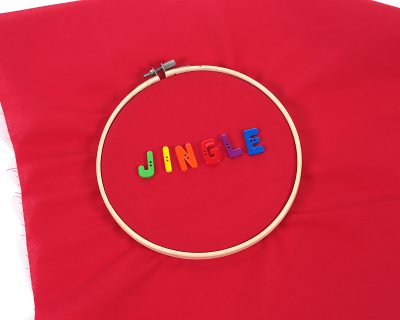
Thread the needle with a coordinating color of embroidery thread and sew each letter on with a single stitch. To add the decorative buttons, we used glue but you can also sew the buttons into place. Once the glue has dried completely and the design is finished, pull the fabric tight all the way around the hoop. Using sharp scissors, trim the remaining excess fabric from around the back of the hoop.
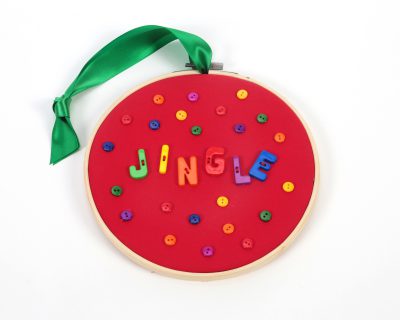
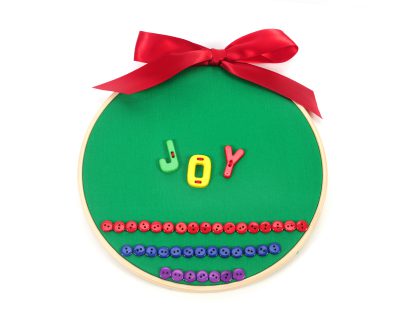
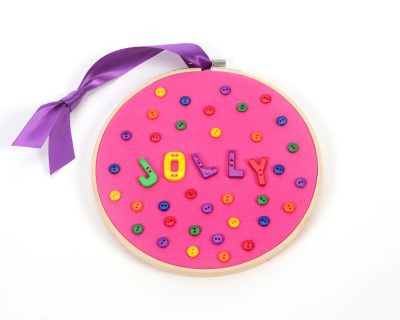
Tie a bow using coordinating ribbon around the screw at the top of the hoop. Or you can loop a longer length of ribbon around the screw to use for hanging. And your Button Ornament Decorations are ready to display!

These decorations are so easy to make and make great gifts for co-workers, teachers and neighbors!
HAPPY CRAFTING!!
