
The way to a crafter’s heart is a box of BUTTONS – did you honestly think I was going to say chocolate? Okay we all know that works too! But, why not surprise her or a loved one with something special and out of the ordinary!
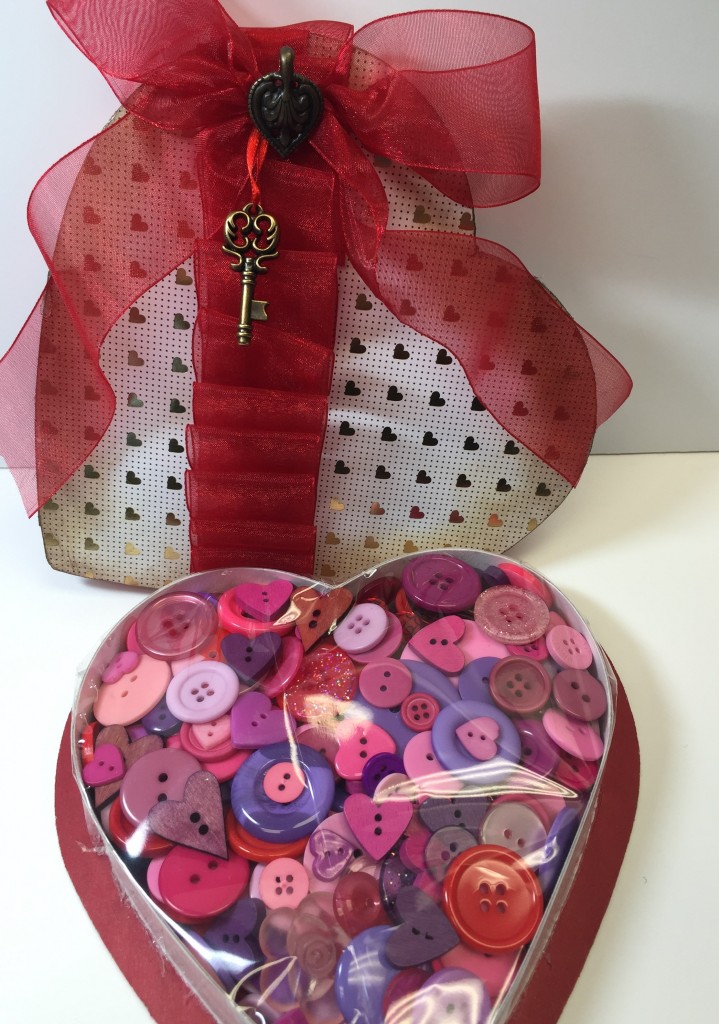
Today I’m going to show you how to create this fun filled heart with buttons she’ll be able to create and not “gain”!
Materials: Assorted pink, purple and red buttons in assorted sizes and heart shape – here are some suggestions: Crafting with buttons #470001101 red; #470001102 pink; #470001110 purple; #470001211 heart; #470001302 traditional hearts; #470002505 purple & pink hearts; #470002506 pink flowers and red hearts; Favorite Findings #550000403 red; #550000404 pink.
Have fun with the buttons and remember it doesn’t have to be “Valentine” colors it can be buttons you’re passing down to them!
Ribbon; scrapbook paper; scissors; glue adhesive; celephane; ink pad/brush; pencil
Heart shaped box of chocolate (these are easy to find in any store this time of year!). I’m sure if you walk down your favorite craft store aisle you’ll find plain heart shaped boxes!
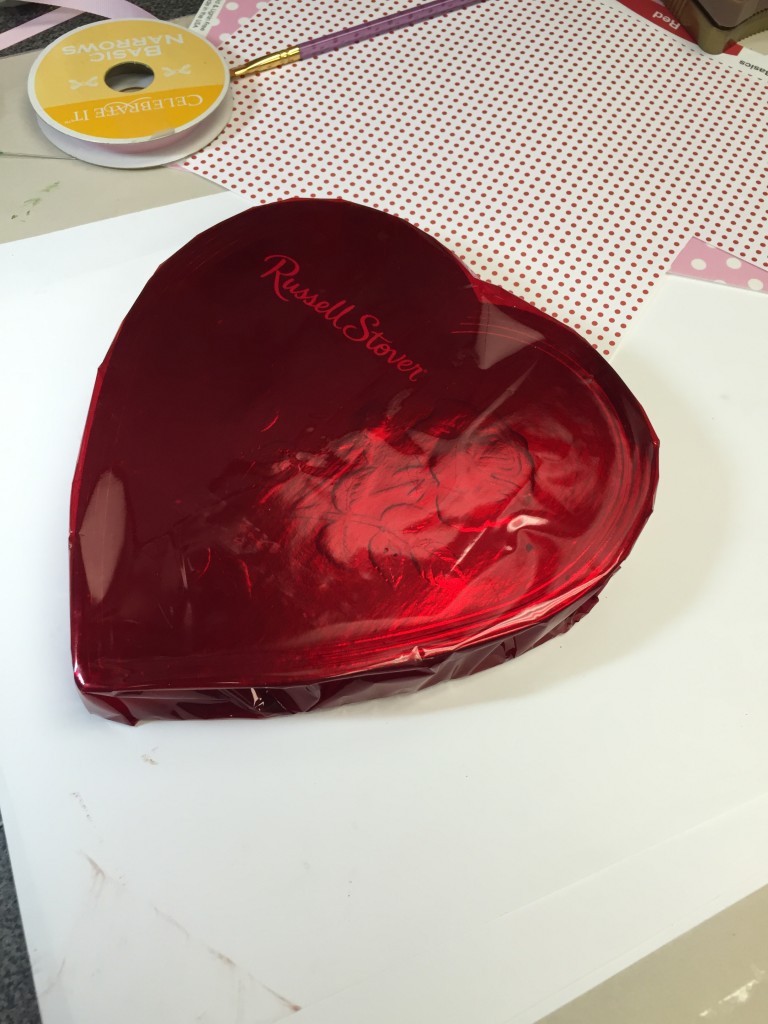
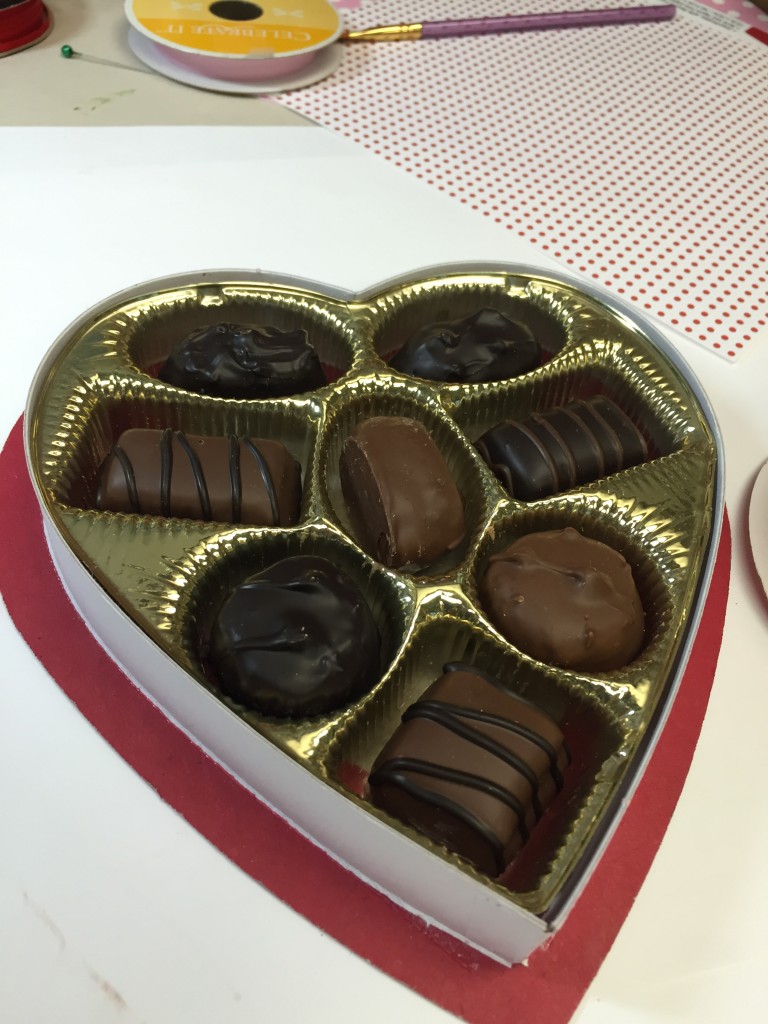
Of course I selected a box that was filled with chocolate and this is probably the hardest part of the whole project and why I suggest working with a plain heart box – You MUST “empty” the box – yes I said empty – how you empty the box is your choice – you can share it later or as you’re working on this project “nibble”! I don’t suggest eating it all in one day (depending on the brand)! Moving on…
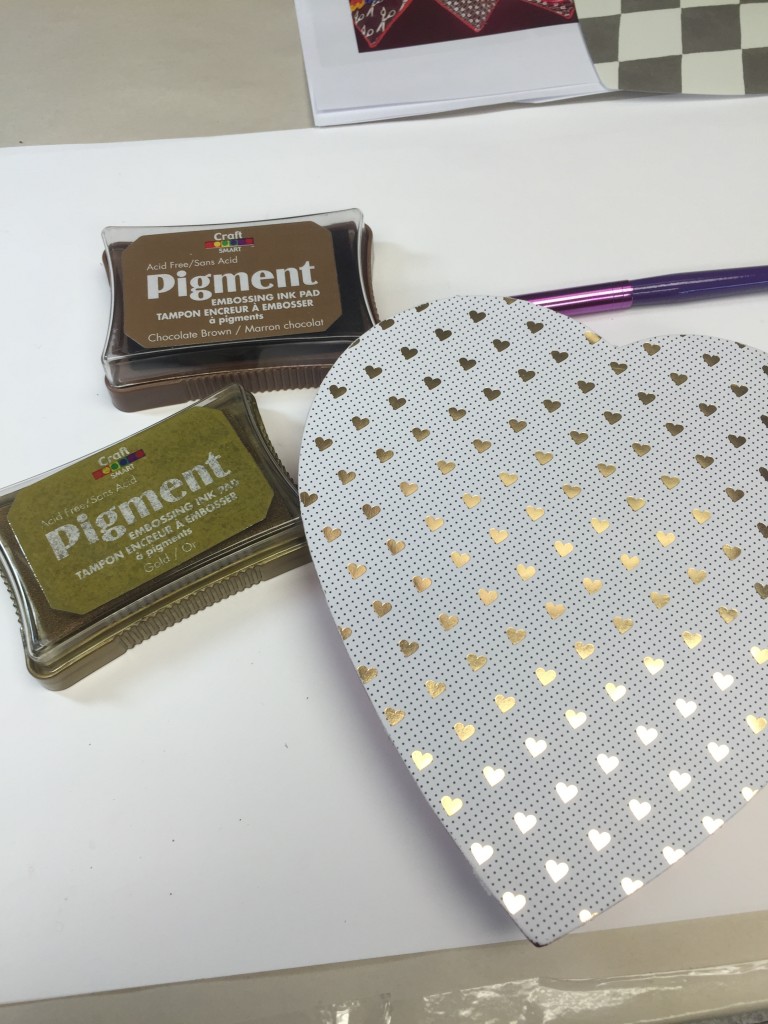
Determine what color /pattern scrapbook paper you’d like to work with. With your pencil, trace the lid onto the back of the paper and cut.
Run a beam of glue along the edges and place paper on lid – smooth edges and trim excess.
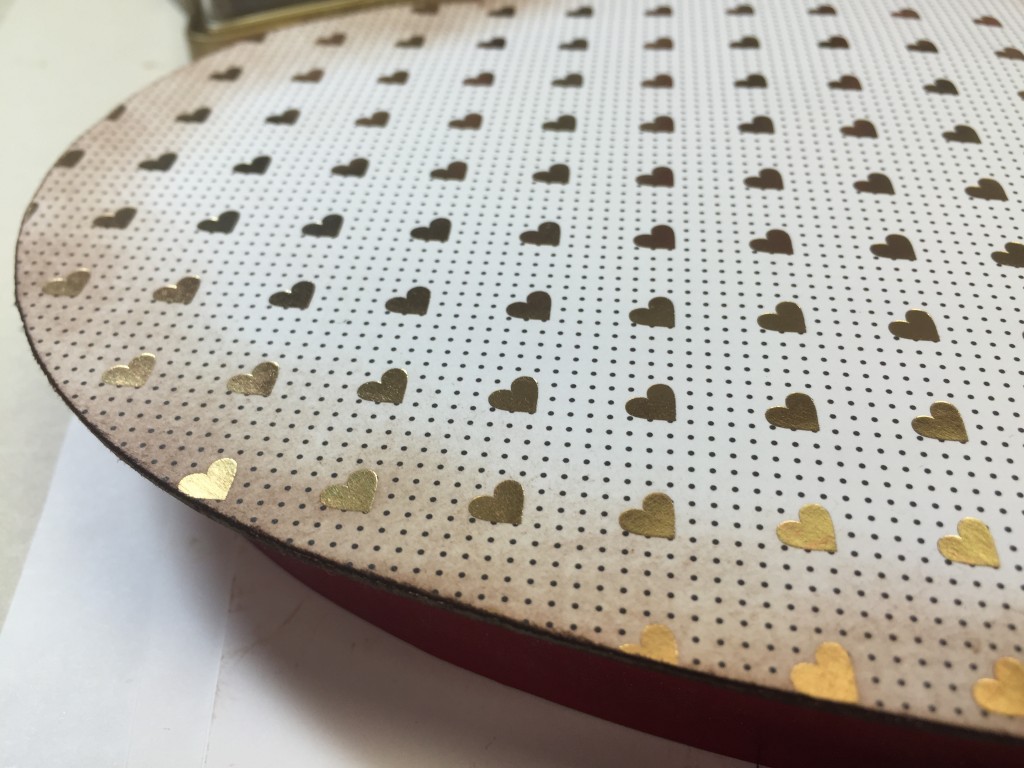
This next step is optional and I find that it adds to the project – but it’s your choice and you know I like giving choices. With your ink pad – I used brown and gold since I wanted to age my paper. Using your brush and in a circular motion begin adding ink along edge.
Even looking at it now you also can use a red ink pad!
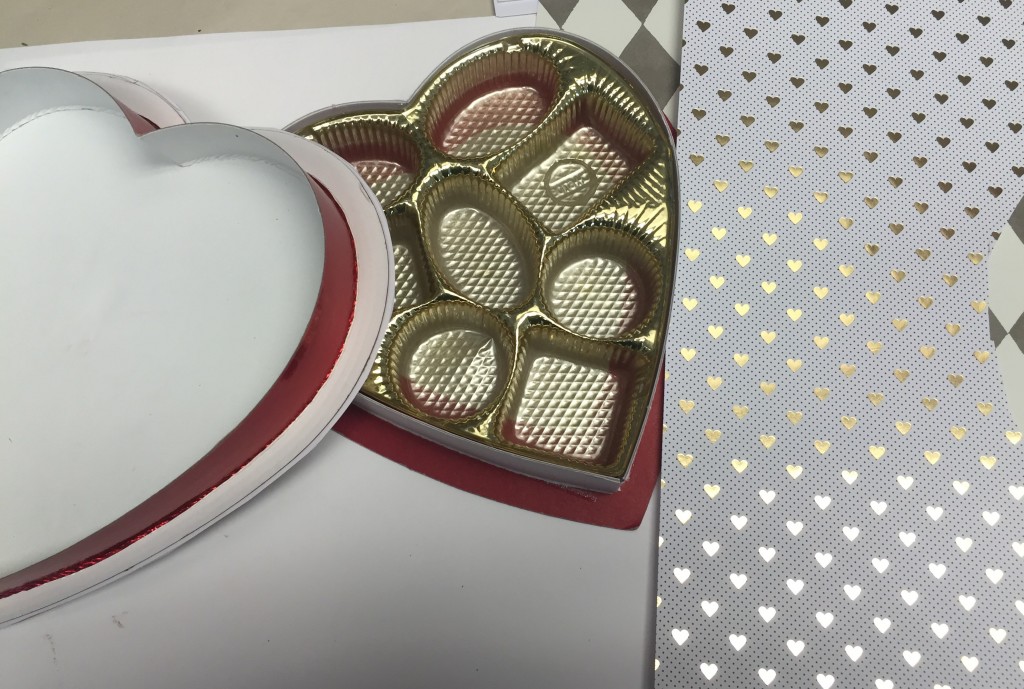
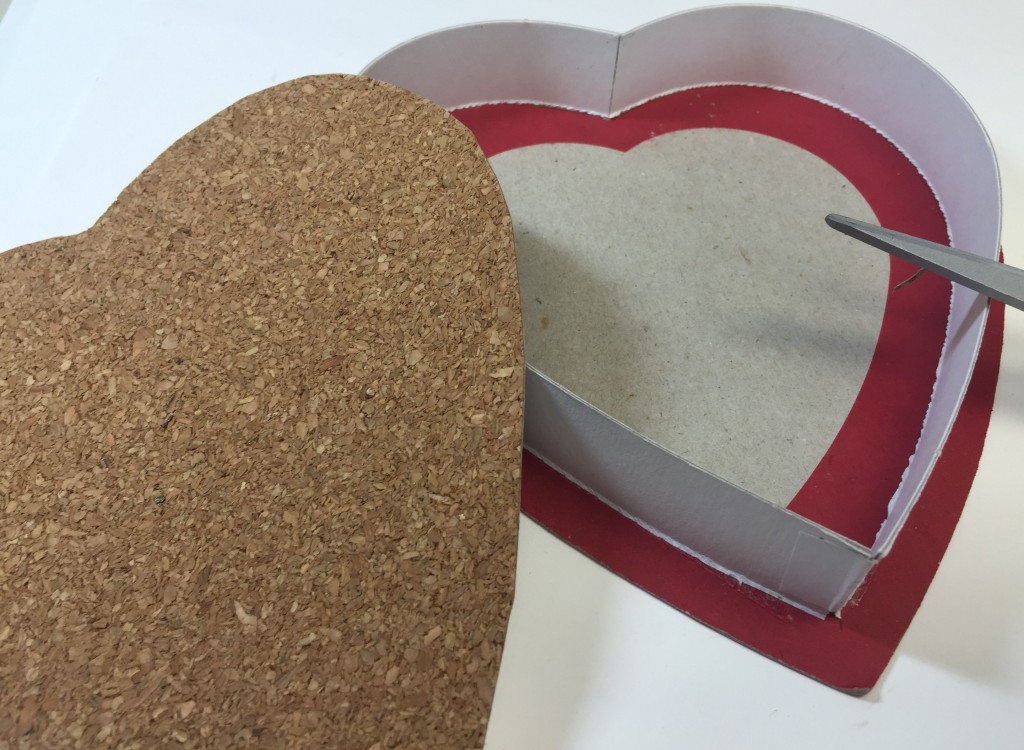
Set aside and let’s work with the bottom portion of the box. Since I wanted to give the inside a “finished” look. I used a cork like scrap paper that already had an adhesive back – using my lid as a template trace. Cut. Remove adhesive and place down to cover the cardboard bottom.
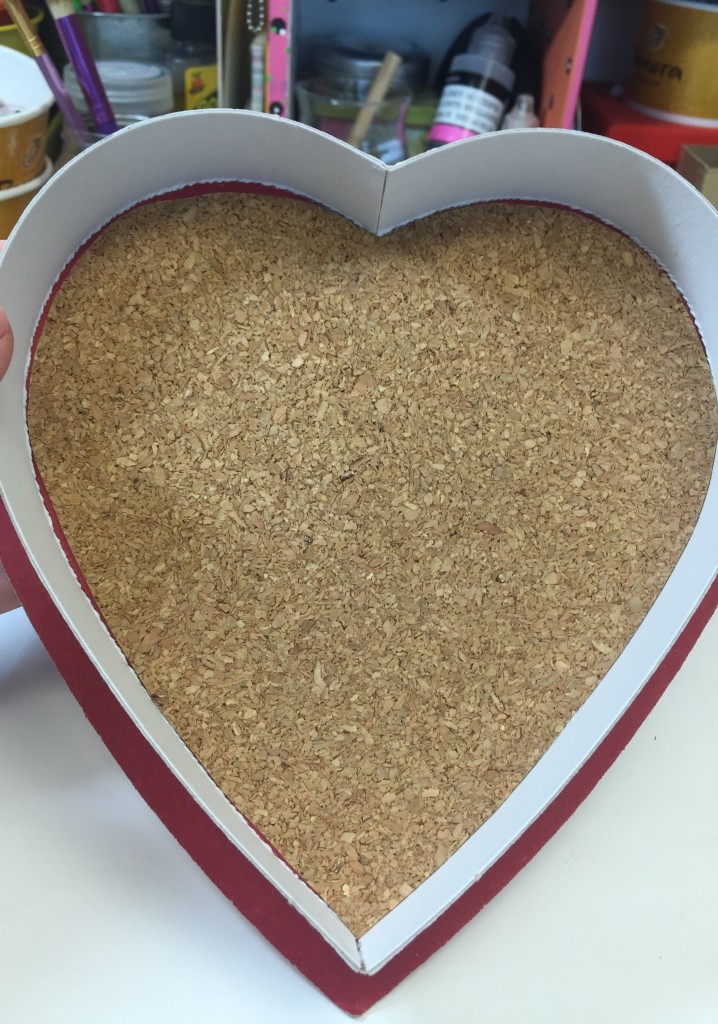
your ready to fill your box with buttons.
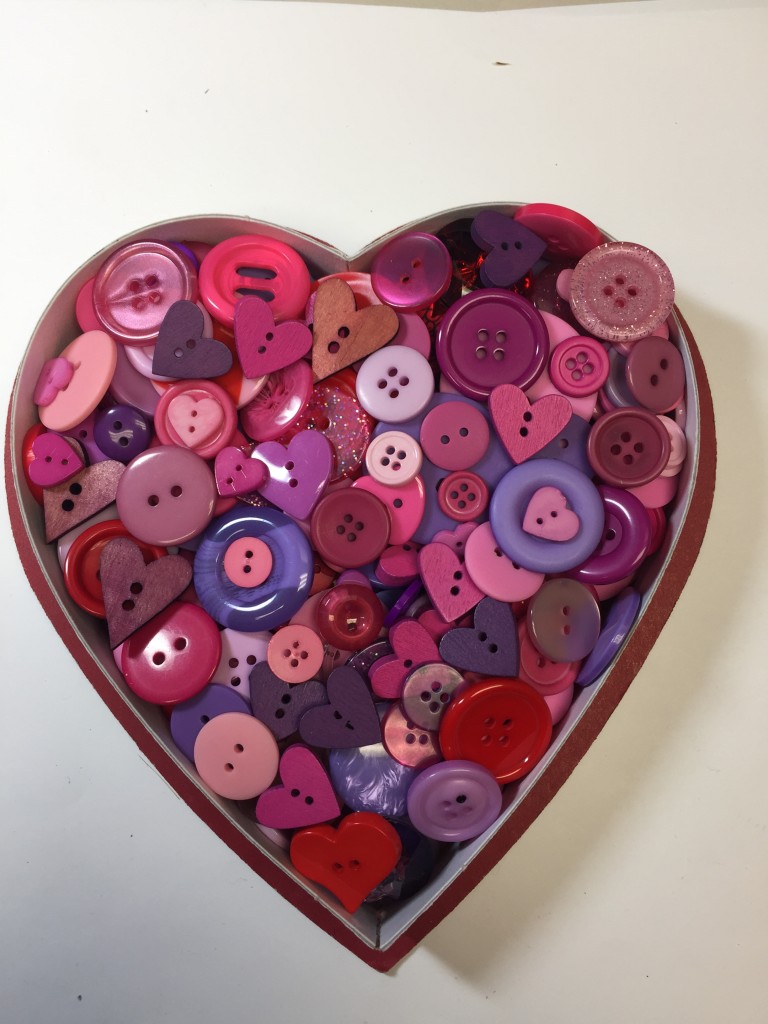
Does look delicious to the eye of the BUTTON LOVER!
Time for a chocolate break!
Again, this next step is optional. I decided that I wanted to place cellophane on top of the buttons preventing them from falling out when they open their “box of buttons” – remember the recipient thinks they’re getting chocolate! The weight alone should have them wondering!
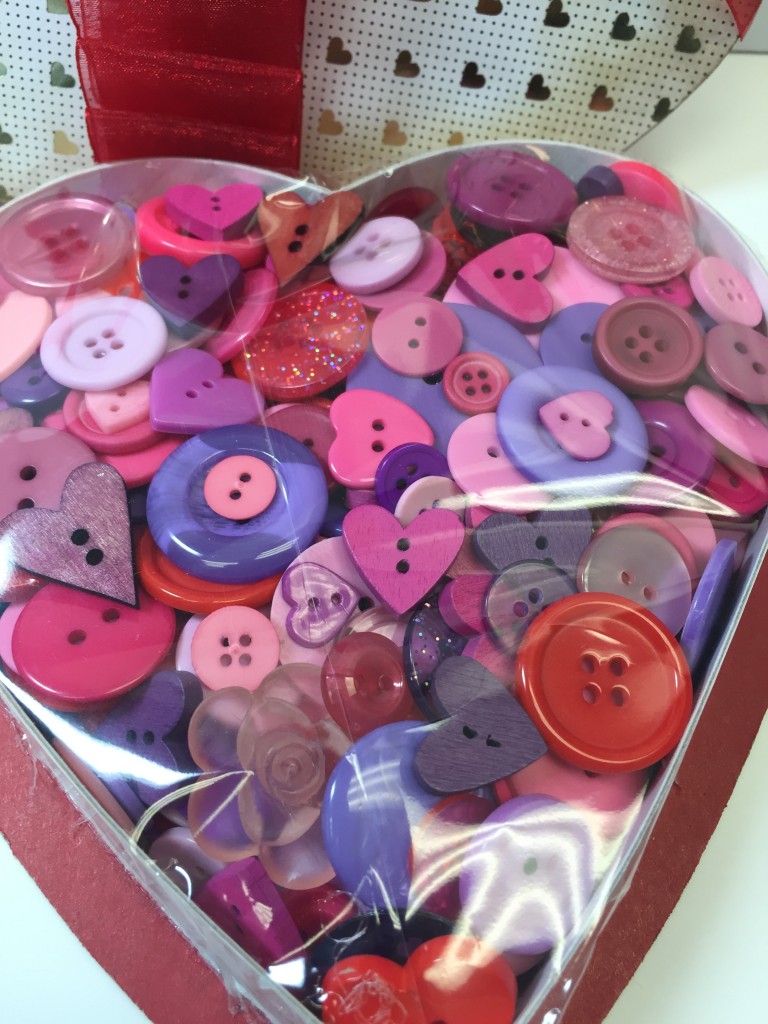
To do this step you will need cellophane. Cut larger than box. Usine a roller tape – run it along the side bottom edge and top edge of box. Place cellophane on top and begin to press gently to the tape – you may need to add additional tape as you go along. Don’t worry about the overhang keep going all around. Using a blade (xacto blade) carefully and gently run along edge removing excess. Looks pretty professional to me! After this I think we deserve a chocolate break!
Set this aside and getting back to your top lid. With your adhesive roller – run a strip in an angle and add ribbon ( I used a 5/8″ ribbon as a guide) and then went back and created my decorative pleat with a 1 1/2″ sheer ribbon. Add glue to hold your pleat. TIP: You can also use an iron to flatten your pleat. Tuck ends inside and add glue to hold in place.
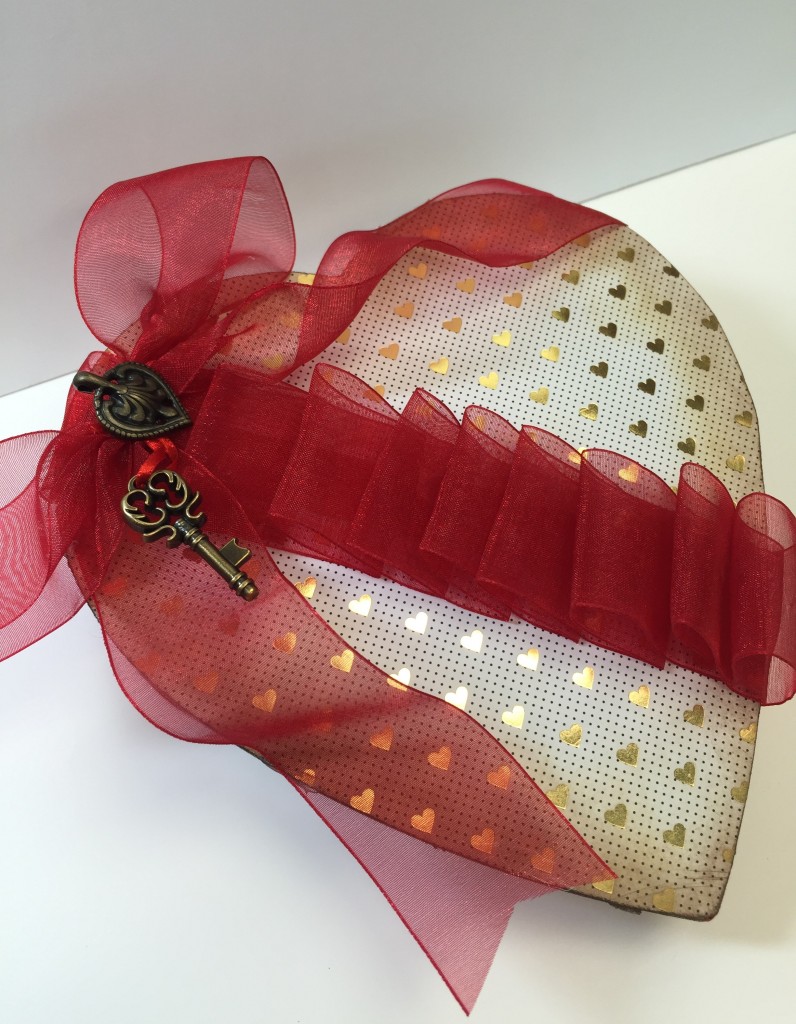
Above is what the ribbon pleat should look like.
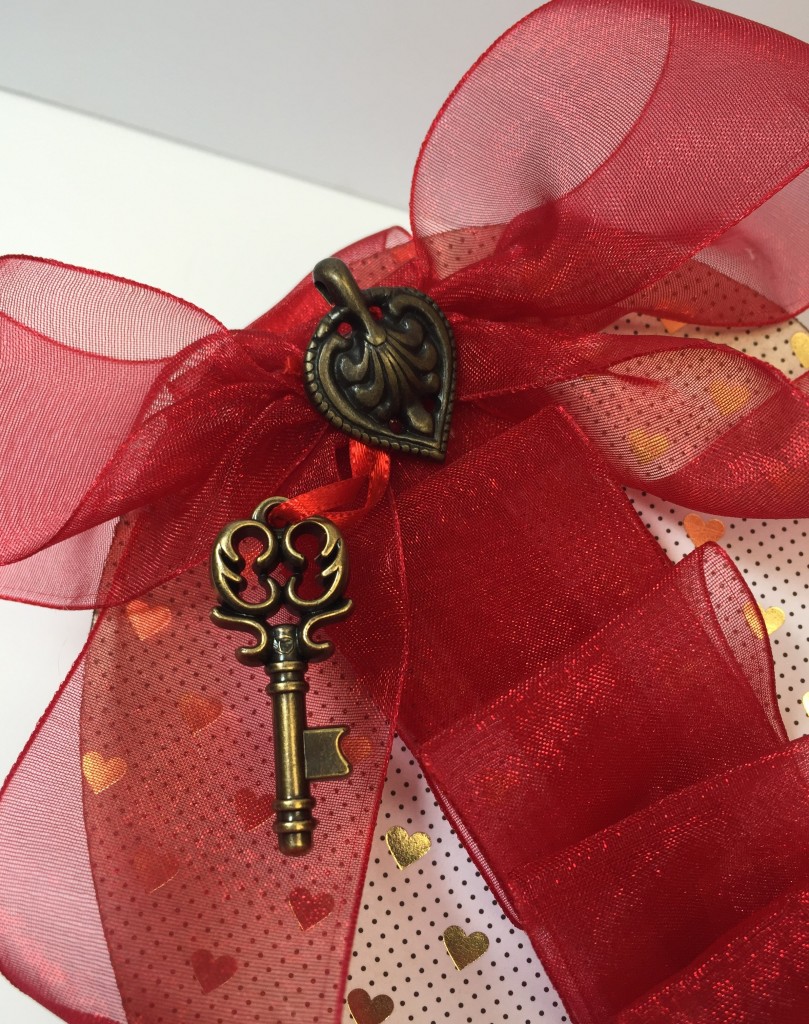
Create a bow. Add to top and embellish with buttons. Since I wanted to keep to the theme of hearts I actually selected a clasp from our JHB line and a charm for our new Steampunk line
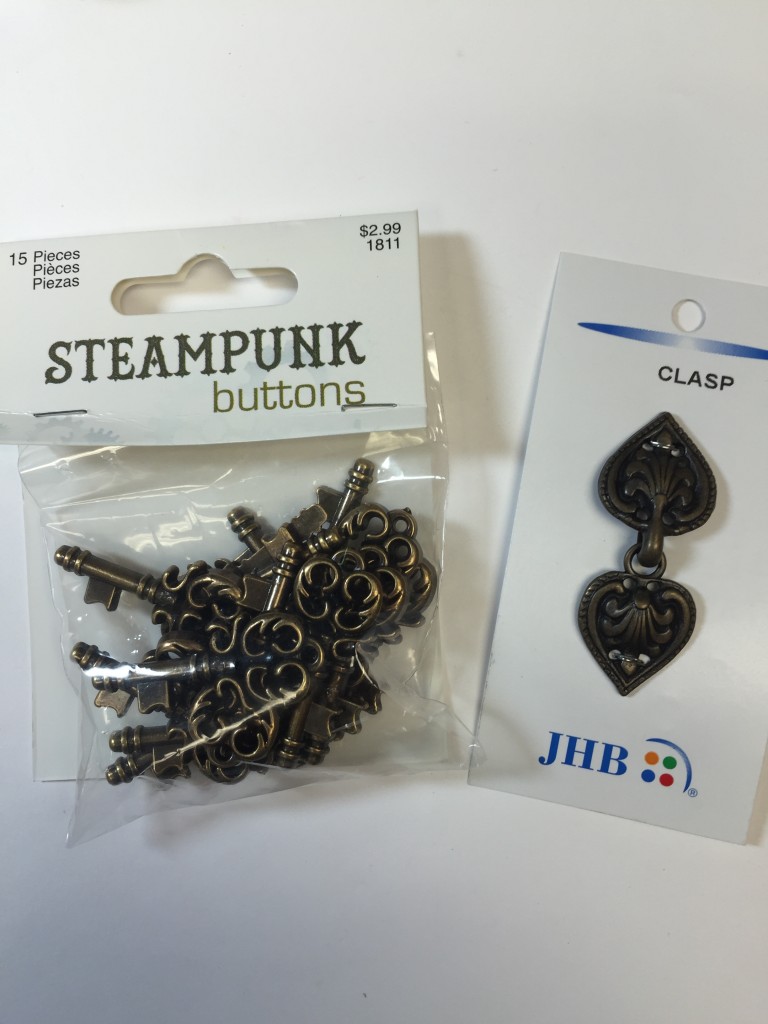
Steampunk #550001811 JHB 00902 2″ clasp
I used a jewelry tool to close the back one side of the closure I was using to create a loop (later they can add a ribbon and wear as a pendant!) Wait now they are getting two presents!
Time for a chocolate break!
Add a ribbon to the key charm and attach to the clasp.
Now place the lid back on top and your ready to give your Heart Filled Button Box to your loved one!
Happy Valentine’s Day!
Happy Crafting!
PS – how many pieces of chocolate do you have left????? hmmmmm