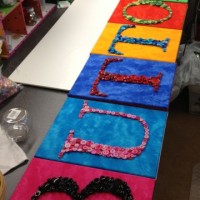
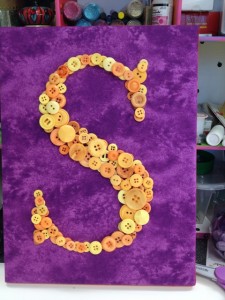
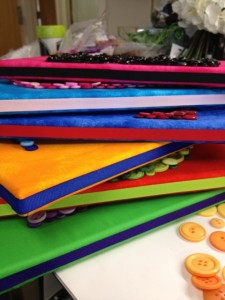
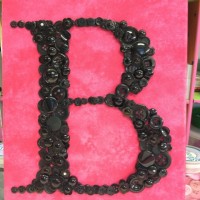
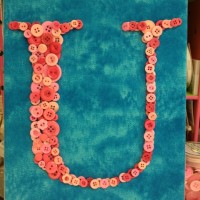
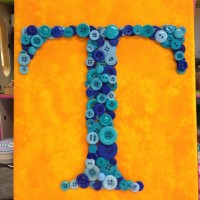
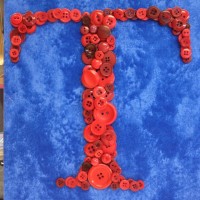
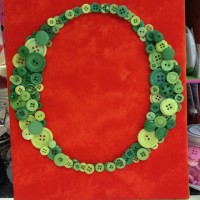
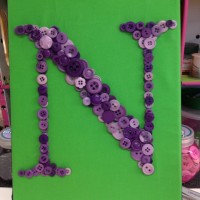
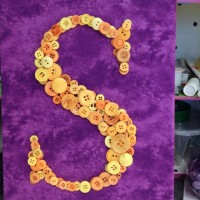
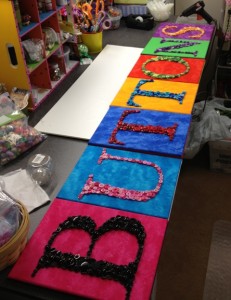
Many of you by now have probably seem my Button Art that I created…We are actually getting ready for another show and this will be showcased as one of the MANY projects we are creating! Clock is ticking – but I thought I’d share the how to – it’s very easy!
Materials:
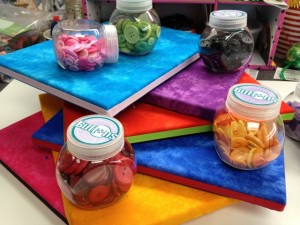
BUTTONS – assorted colors from the BUTTONS 4oz. program (your choice)
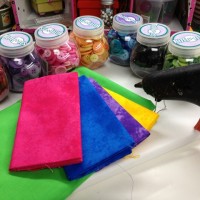
Assorted – Fabric; Ribbon (your choice – depending on your color scheme)
Stretched Canvas; Hot Glue; Font (your choice); computer; pencil; scissors; Staple gun; Iron
Wrap your canvas and stable – make sure to stretch your fabric as you work (you may want to iron your fabric before you start) Be careful when handling the staple gun you may want to wear glasses to protect your eyes.
Decide on the letter – initial – word, you’d like to create. Find the font, print, cut and trace with your pencil onto fabric lightly -you don’t want to see the pencil lines when your’re done.
If you’re adding ribbon to the outside border – I suggest you do this now before you begin gluing the buttons to the board.
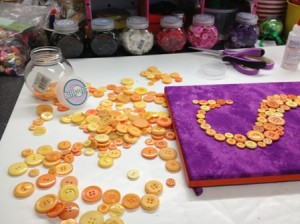
Now the fun part – start gluing – if you don’t feel comfortable – you can also lay out your buttons onto the board and then glue – don’t worry about gaps you’ll be able to layer and cover them up!
Keep gluing until you’re happy with the letter. You can add additional ribbon for hanging or just put it up!
Here are the photos that I took as I went along when I was creating the letters!
my color scheme!
What does it spell?
Have fun with it!
HAPPY CRAFTING!

