Have you seen the new Wuttons Buttons? What are Wuttons? Well it sounds like “buttons” so it must be something you can create fun, whimsical projects with!
They are buttons that come in coordinating sets – 3-D buttons and adorable coordinating buttons that come in two sizes – ranging from large 1 3/8” to a smaller size 7/16”.
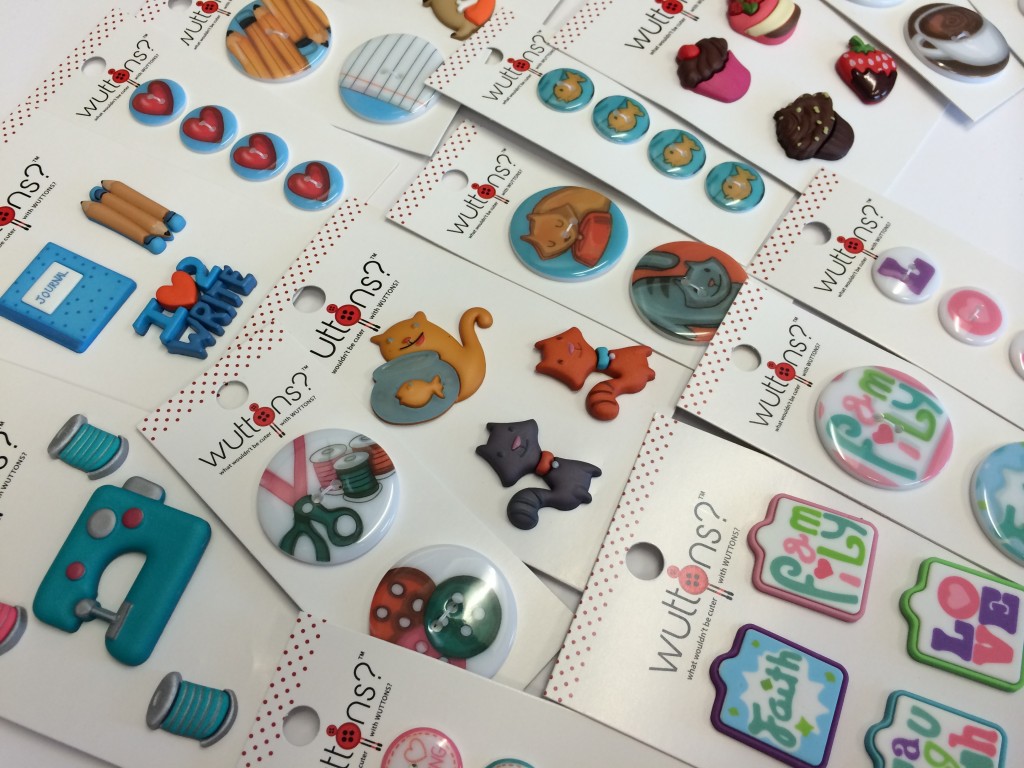
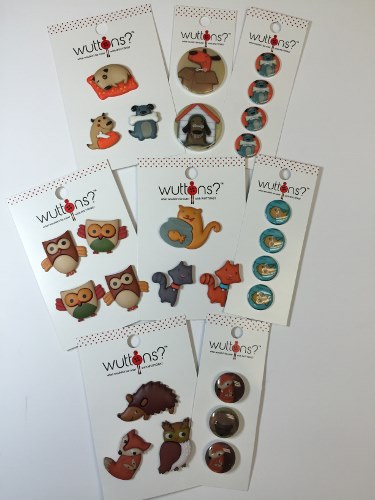
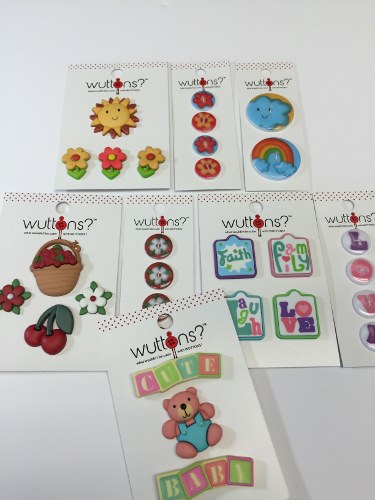
Themes range from school, dogs, cats sewing, birthday, baby, owls, fox, ladybugs – just to name a few. Check out our website for additional styles…
The projects that you can create are endless! From sewing to crafting to scrapbooking and don’t forget jewelry too! So what will you create?
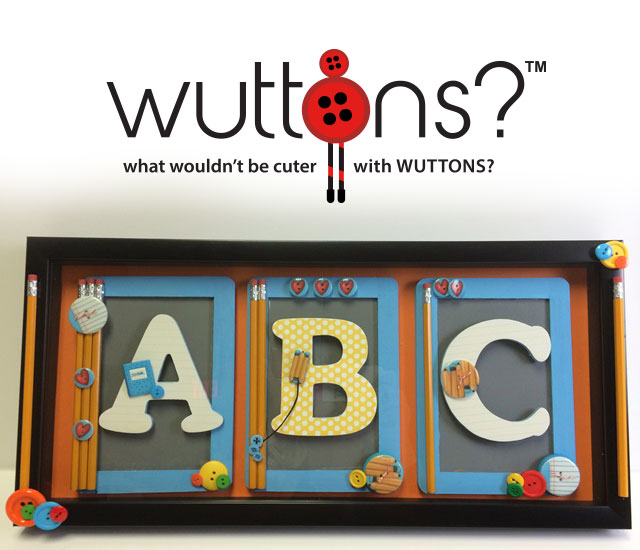
Todays project I’ll be focusing on Back to School! The three words we love to hear around this time of year – stores are filled with supplies, dorm room ideas and so much more and well why not create something fun! This would make a great gift for a teacher!
So lets get ready to craft!
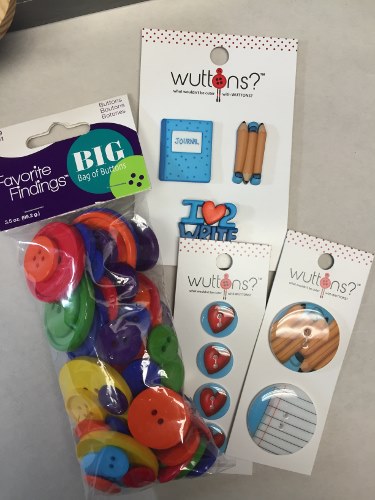
Materials you’ll need:
Wuttons: 640005710; 640005711; 640005712
Favorite Findings Big Bag – Rainbow – 550002001
9 x 20 Shadow Box Frame
Lined Scrapbook paper (notebook like)
3 – chalkboard frames
Wood letters – A B and C
Pencils
Constructions paper – Orange (or your color preference)
Glue; scissors ; paint and paint brush; bakers twine; newspaper
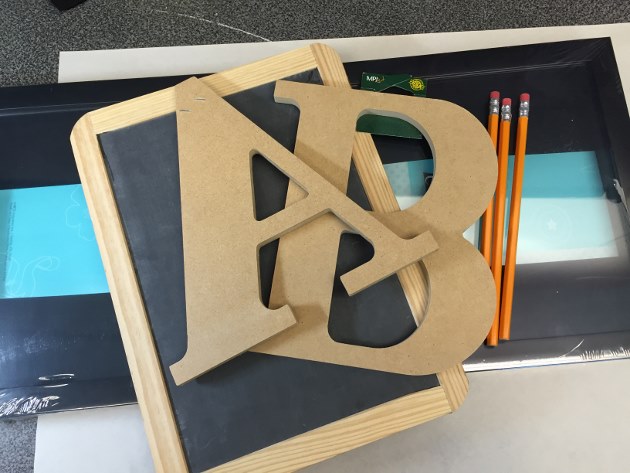
Since you’re working with paint – lay newspaper to avoid any spillage or paint getting onto your work area. Paint your letters edges only as shown. Set aside and let dry.
Paint your chalkboard outer frame – the same color set aside and let dry.
Using your letters as a template trace your letters onto the lined scrapbook paper gently with a pencil and cut out.
Check to see if your letters have dried – if so then proceed to the next step.
Using craft glue – adhere paper to the front of your letter. Smooth out any air bubbles.
Next you will take your letters apply glue to the back and center onto your chalkboard frames. The letters will have dimension as shown.
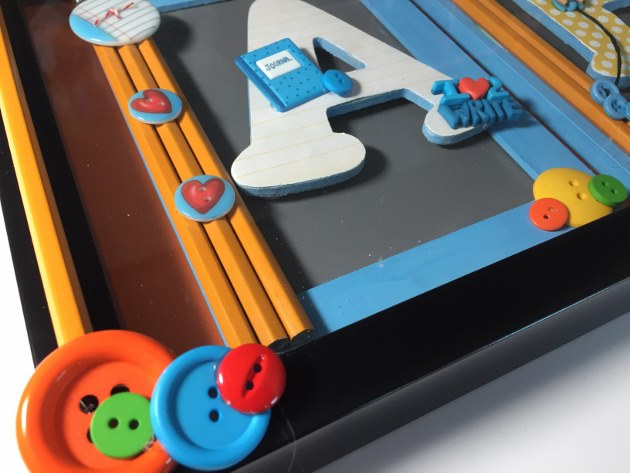
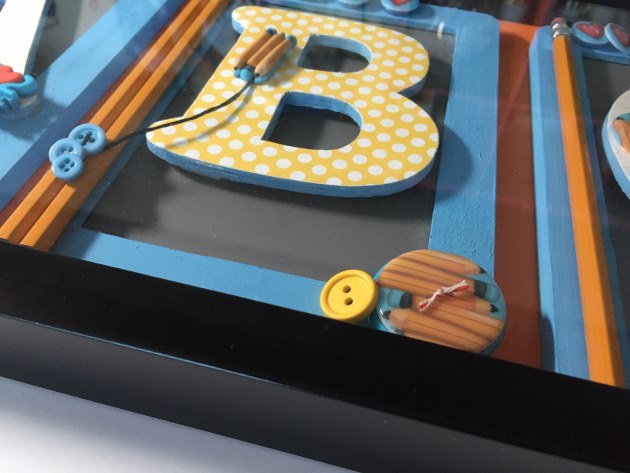
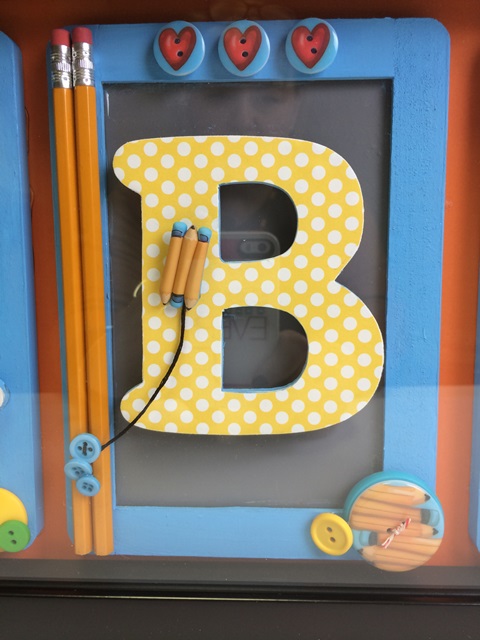
Begin adding Wuttons to your letters. Using the photo for inspiration add additional buttons to the sides of the chalkboard frame.
Tip: when adding additional buttons to give it a complete look – you can add floss or twine as I did in our project.
Prepare your frame – remove backing and add measure and cut your construction paper and adhere to front of the frame (the side that will be visible. Lay your frames down before gluing to make sure they are centered. Once satisfied – add glue and adhere.
Tip: Make sure to clean the glass on the frame to avoid any fingerprints! Place your work back into frame and seal back.
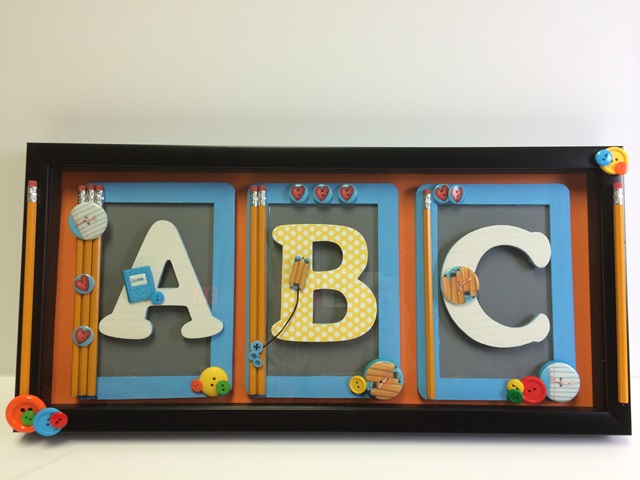
Add additional buttons on the corners of your frame and your done!
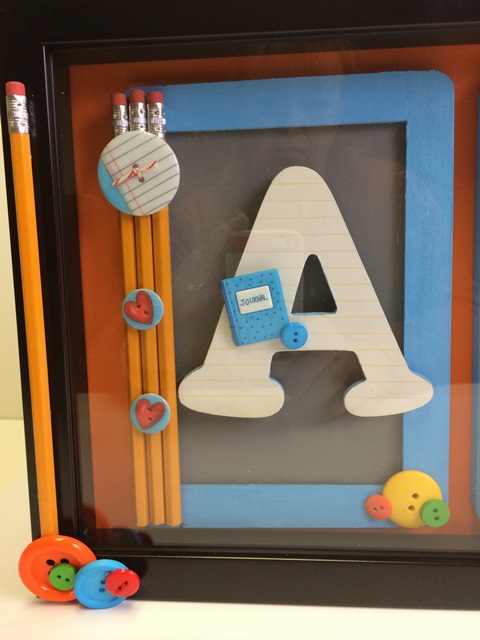
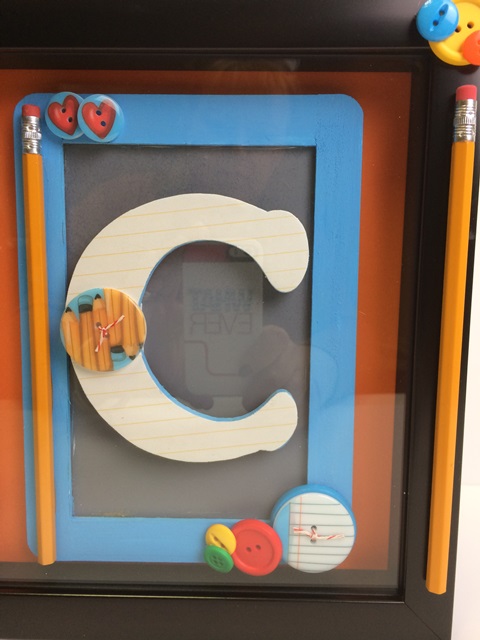
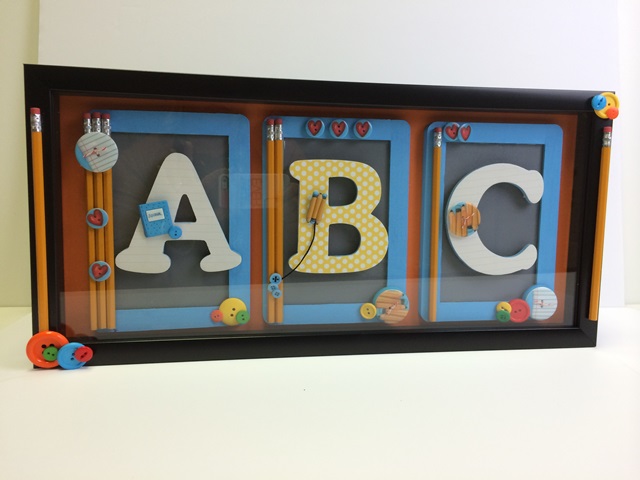
Ready to be displayed!
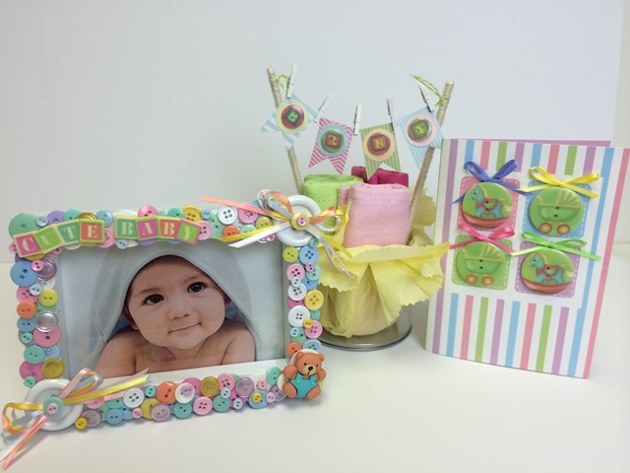
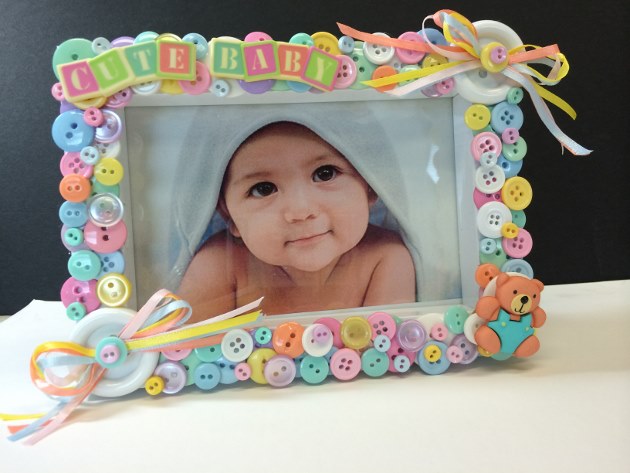
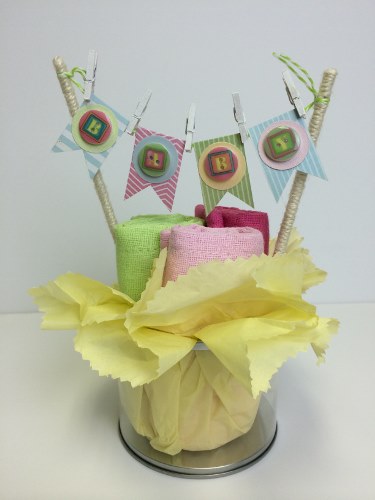
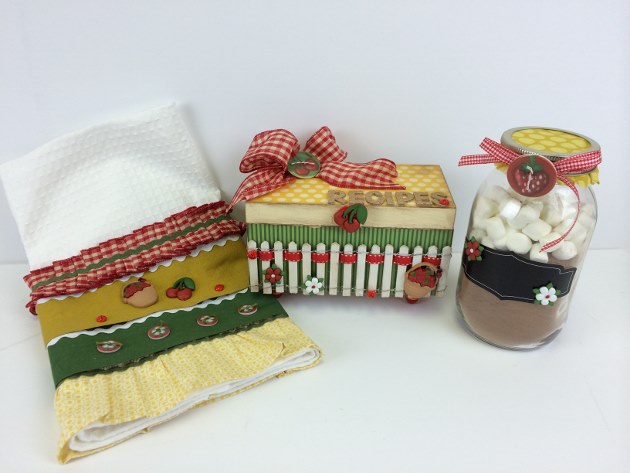
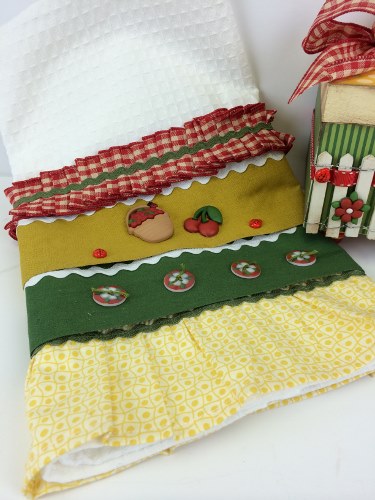
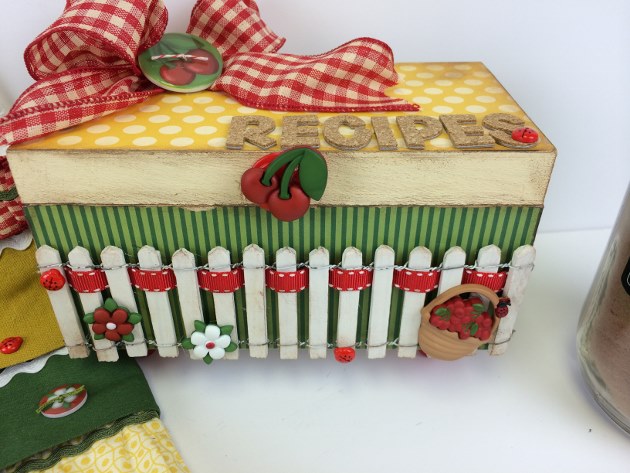
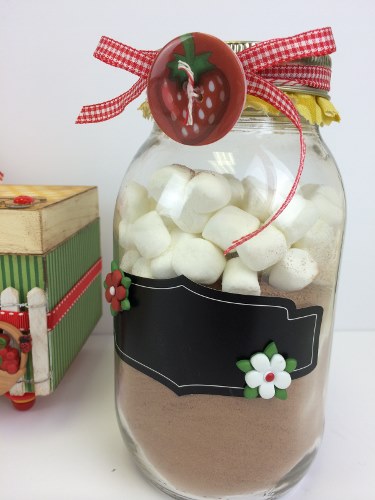
here are some additional projects that I created…

So what will you be creating??
Make sure to share your great projects with us on Facebook and Instagram!
Happy Crafting!