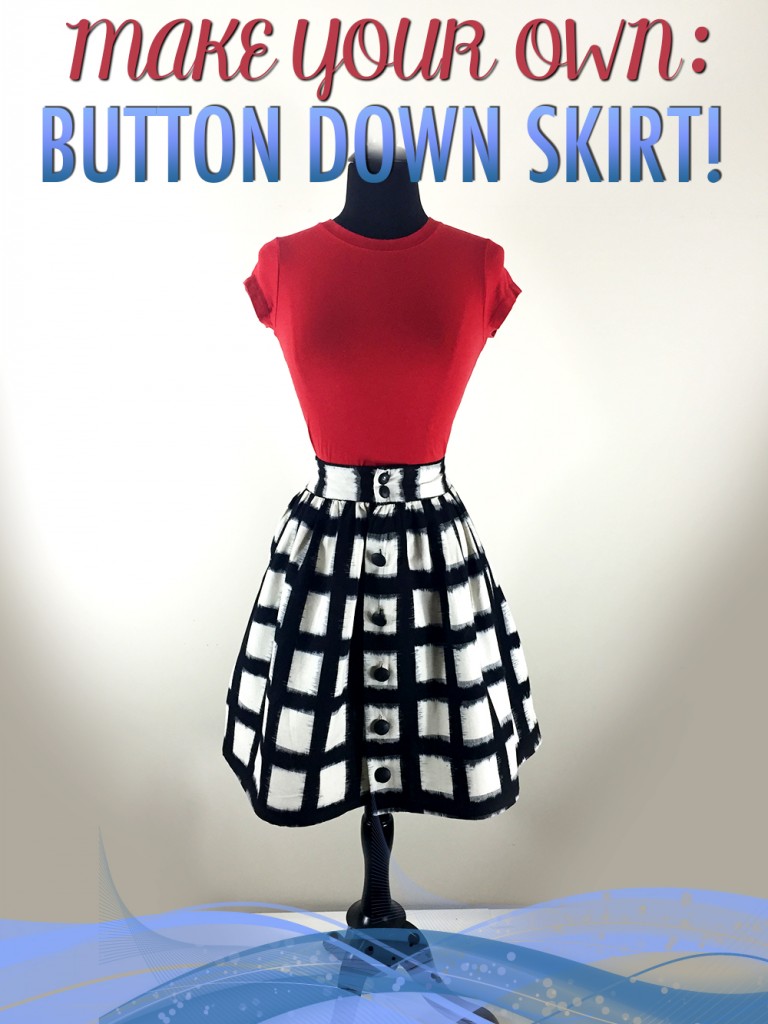
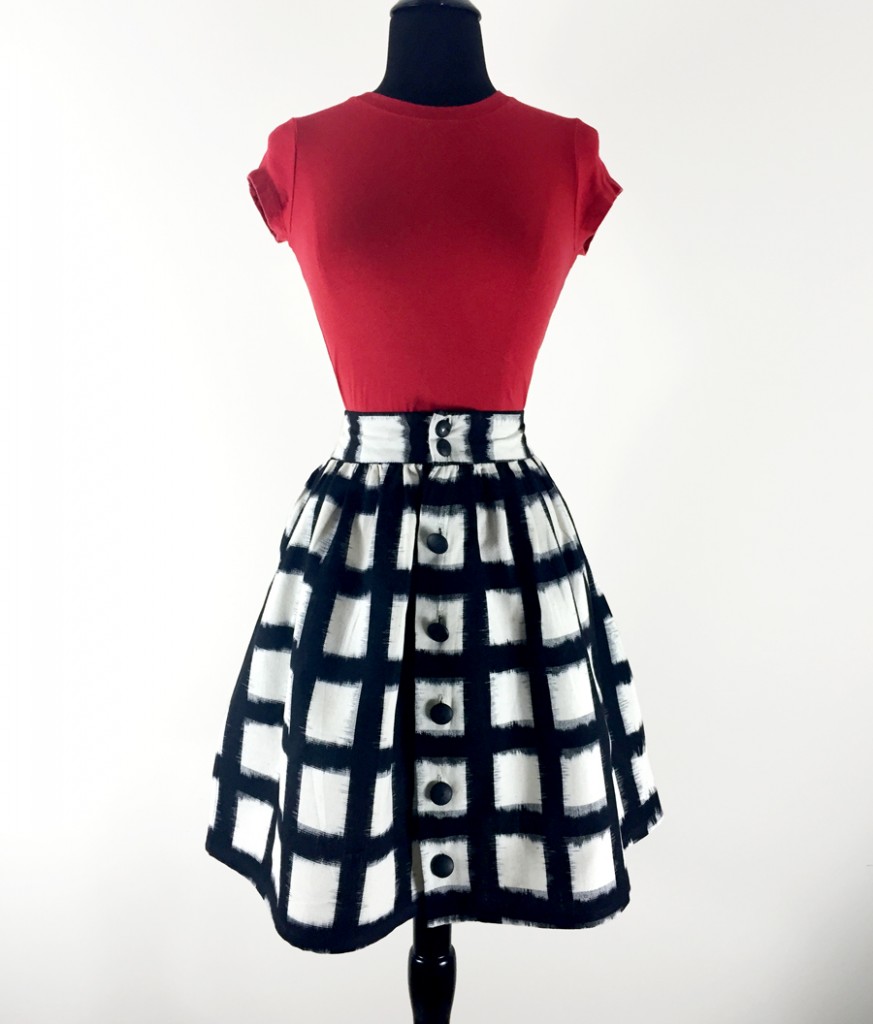
Today I’m going to show you how to make a really cute, simple button down skirt with a few really easy steps. I love this project because it is so quick and easy, and I always get compliments on the skirts I’ve made- despite it’s simplicity!
The simplest way to make this skirt is by gathering a larger rectangular piece of fabric into a waistband, but you could use pleats or a circle skirt- whichever you fancy!
Making a pleated skirt or a circle skirt will require a tad but more math, but I’ll include some helpful links with instructions for each below.
Circle skirt- http://birdeemag.com/diy-make-your-own-circle-skirt/
Pleats- http://www.craftsy.com/2013/10/how-to-sew-pleats/
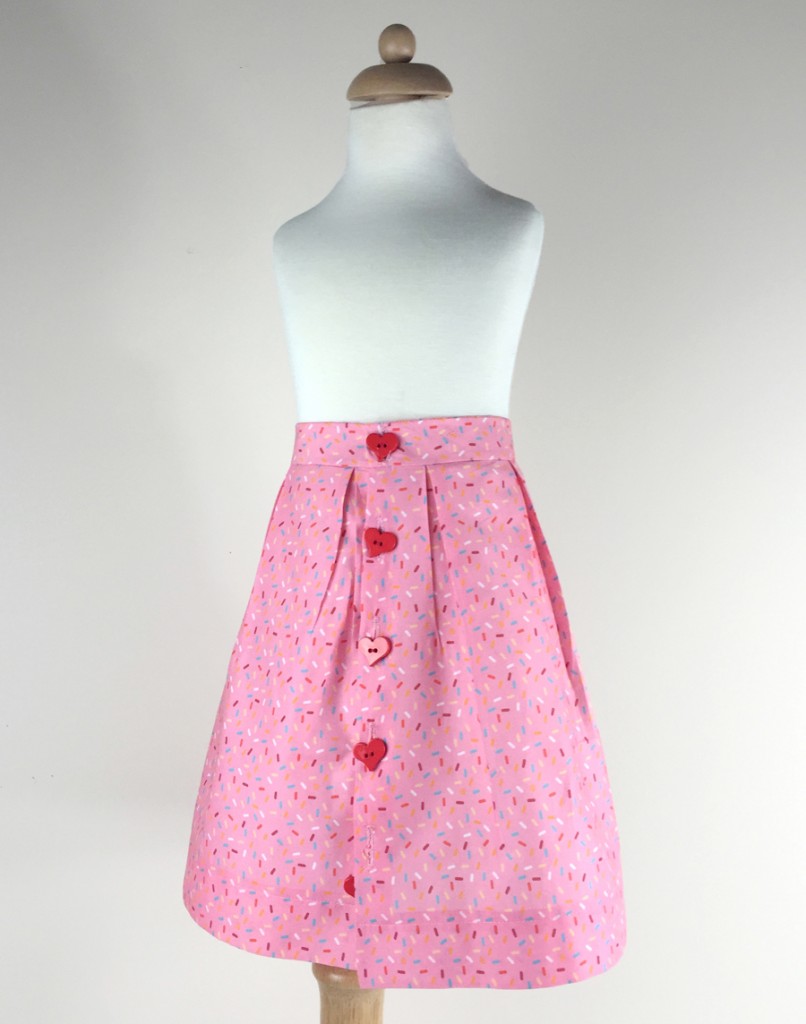
I’m going to start with a toddler’s size skirt since I’ve had this incredibly fun sprinkles print fabric laying around. You can buy this fabric in different colors here: http://www.spoonflower.com/fabric/486564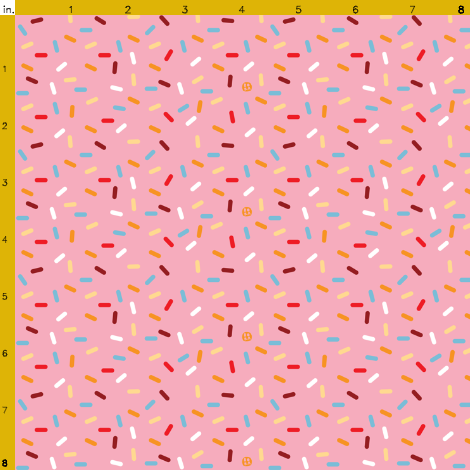
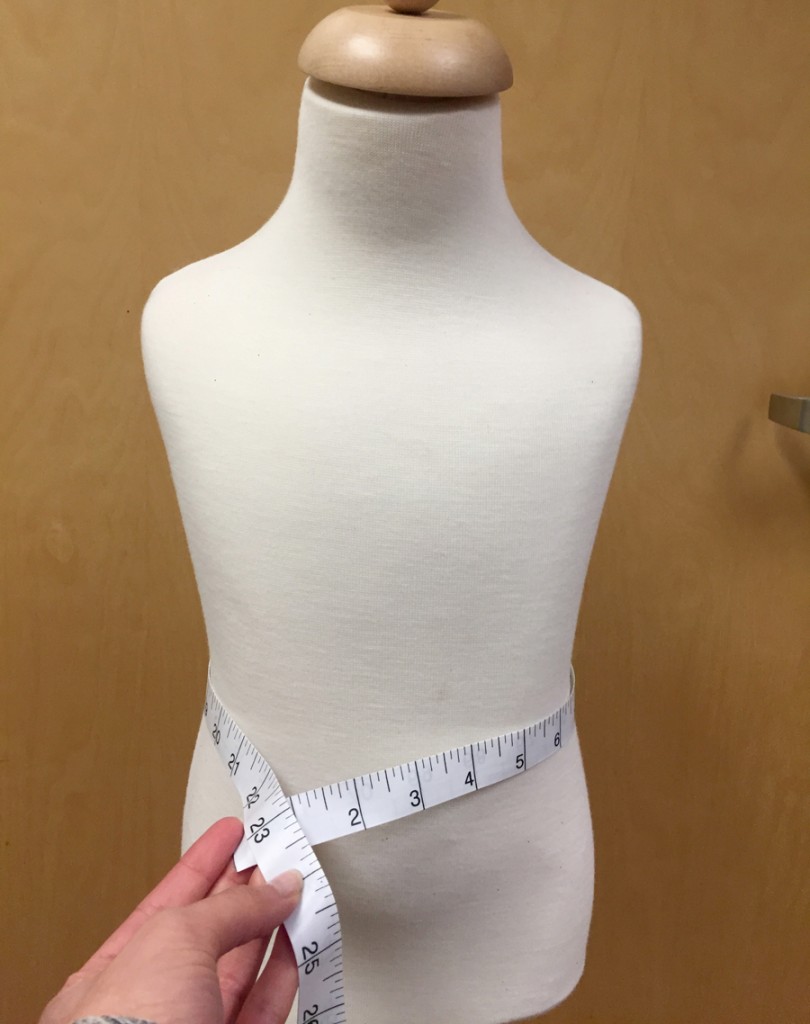
First thing I did to start off was take just a couple measurements of the waist and the desired length. I usually like the way these skirts look when it hits right at the natural waist; it gives it a very feminine, vintage look 😉 But if you prefer a dropped waist, make sure to measure right where you want the waistband to hit.
My niece’s waist measures at 2
4″ and the skirt length will hit just above her knees at 11″.
Make sure to measure the waist at a relaxed state, so the skirt fits comfortably. You’re going to need to add 5″ extra to that waist measurment for the button placket and seam allowance. I’m making the button placket an inch wide, and it will fold over, with a 1/2″ seam allowance for a smooth edge on the inside.
Decide how long you want the skirt to be (Midi skirts and knee length are very popular on pinterest!) and ask someone to measure that length on you from your waist down, while standing straight. Add an inch and a half to that measurement for the hem and seam allowance.
Now that you have your measurements, it’s time to have some FUN!

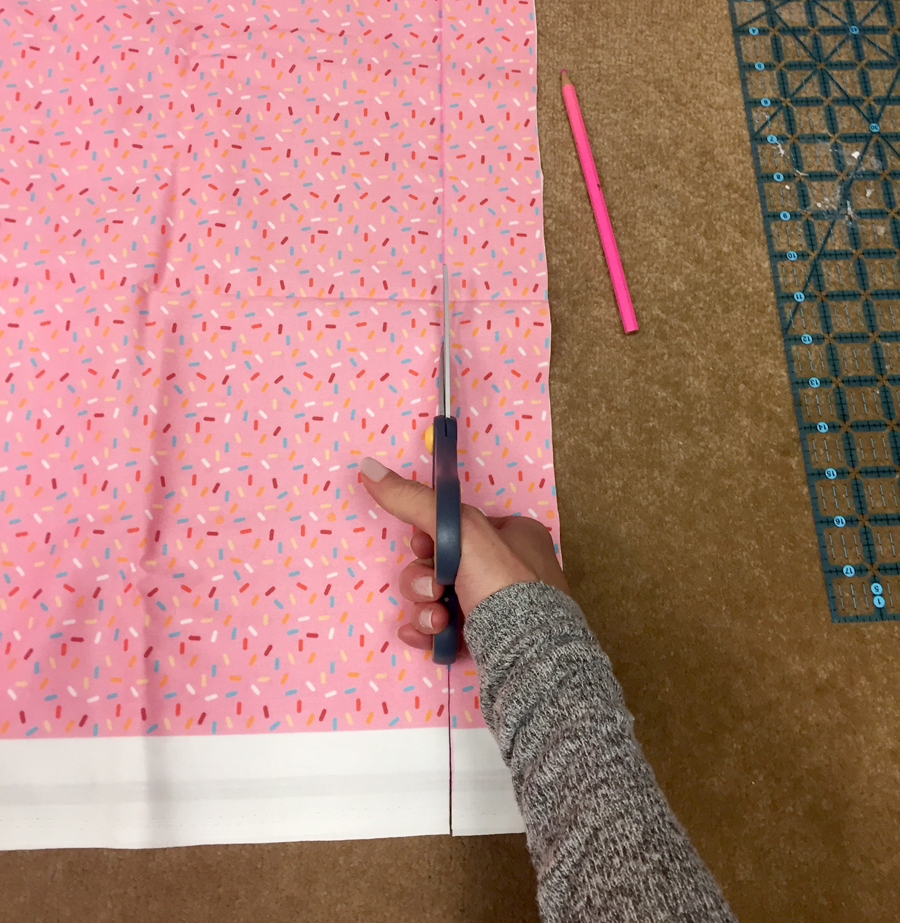
Cut out the length of your waistband from your fabric. I want this waistband to be 1 1/4″ wide, and since I’m folding it over, I’m going to double that measurement and add 1/2″ seam allowance to the long edge that I will attached the skirt to. It’s handy to have a removable fabric marker or chalk!
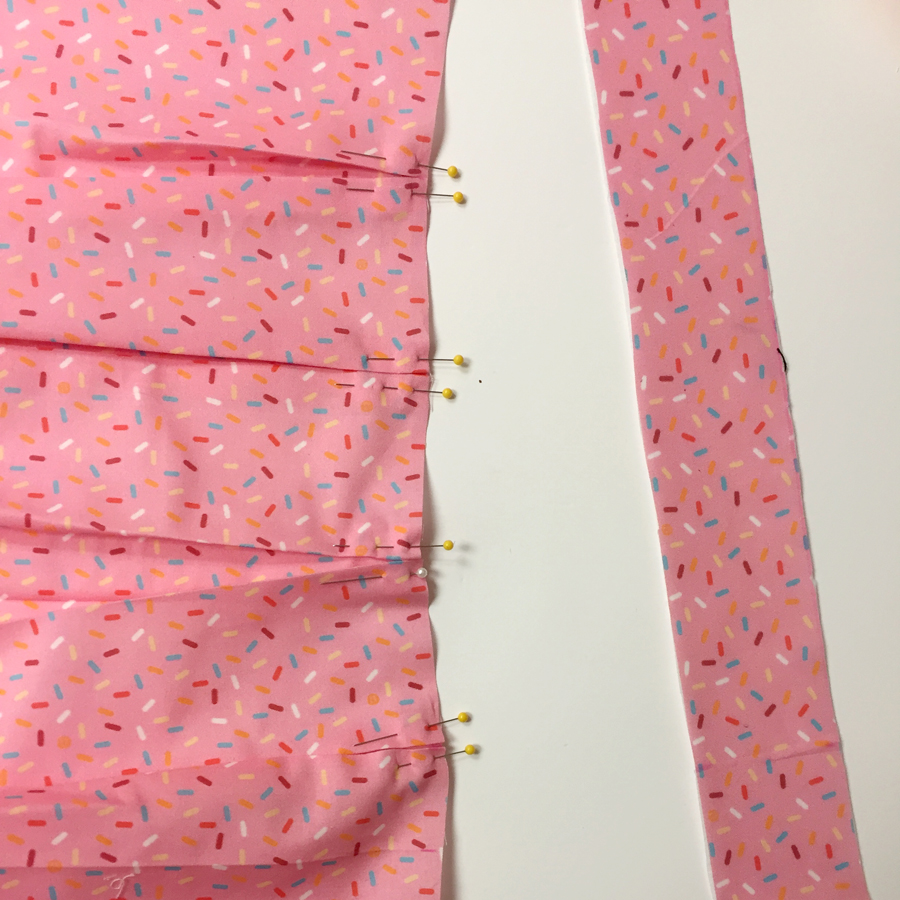
I made a pleated skirt- but for an even easier skirt, you can simply cut out a rectangular piece of fabric that is 2-3 times wider than the measurement of your waist for a flirty, gathered skirt. Cut out a piece of lining fabric the same size as your skirt.
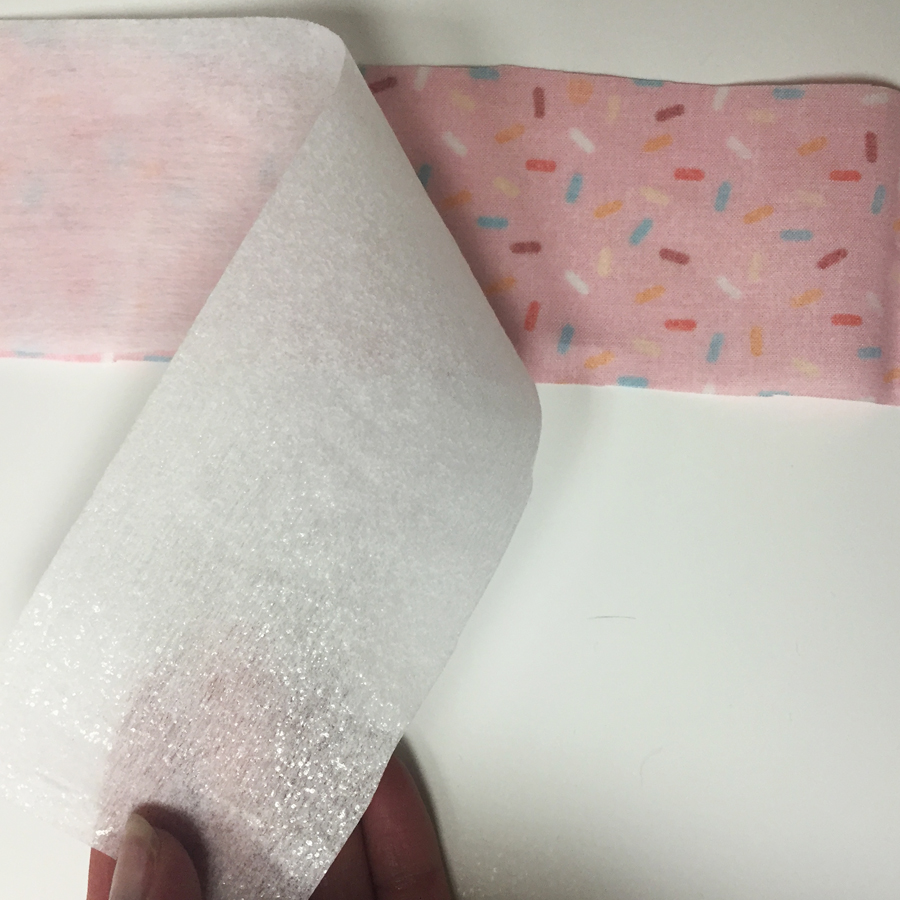
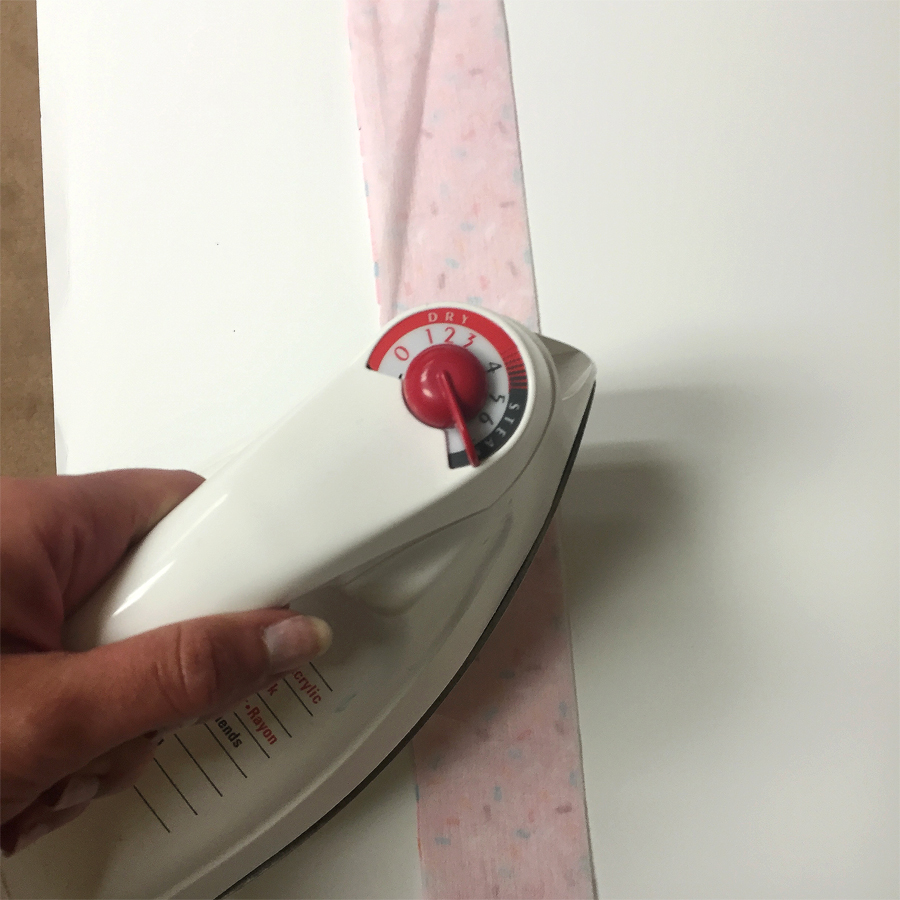
Once your pieces are cut, add interfacing to your waistband for strength and body. You can also do this to the edges of your button placket as well, if you wish. I like to use an adhesive interfacing. You just need to iron the shiny side to the wrong side of your fabric, no need for stitching!
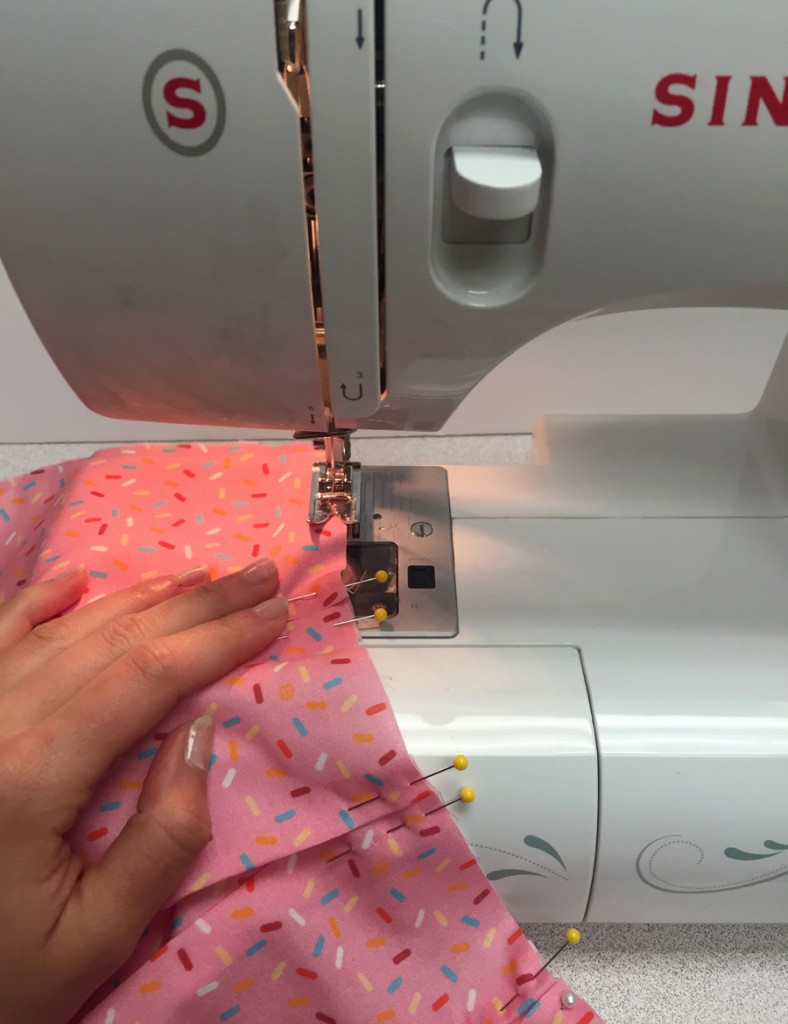
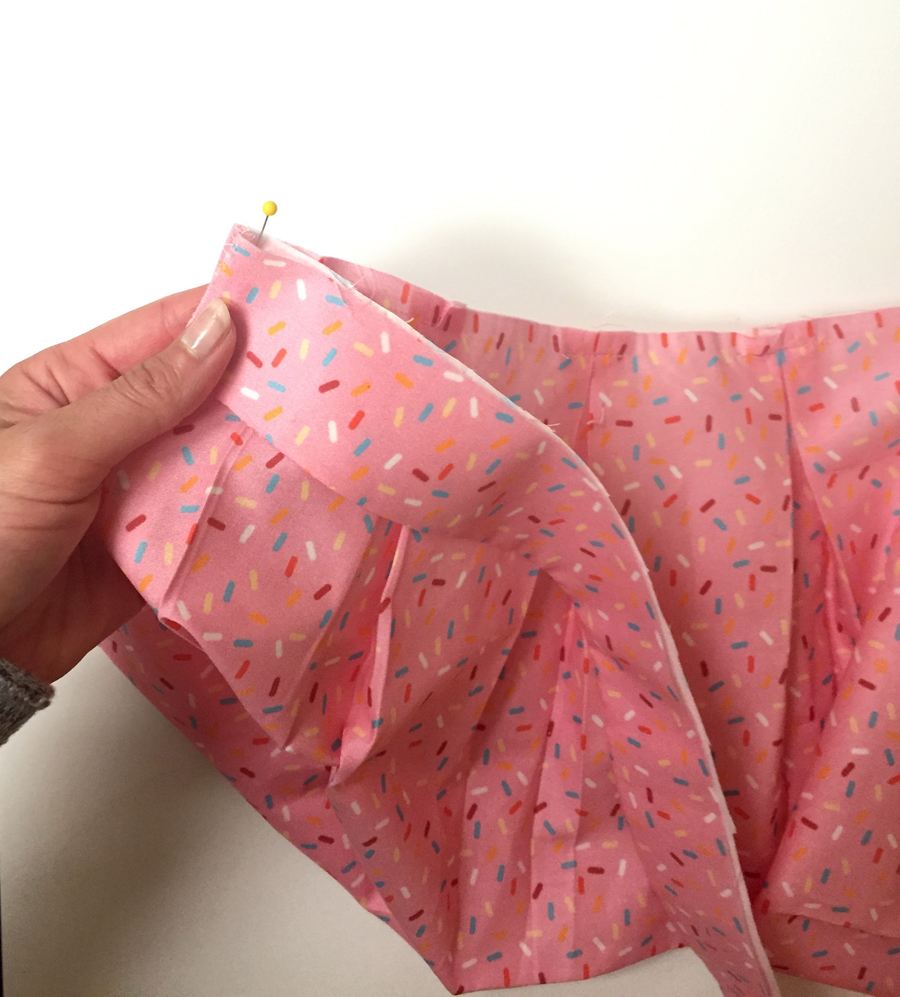
If you’re making a gathered skirt, use a loose basting stitch across the long edge of the skirt that you will attach to your waistband. Evenly gather that edge to your waistband, and pin in place. For pleated or circle skirts, simply pin the skirt to the waistband, making sure there are no puckers. I made my skirt with pleats, and I find it a little easier to stitch the pleats down before adding the skirt to the waistband.
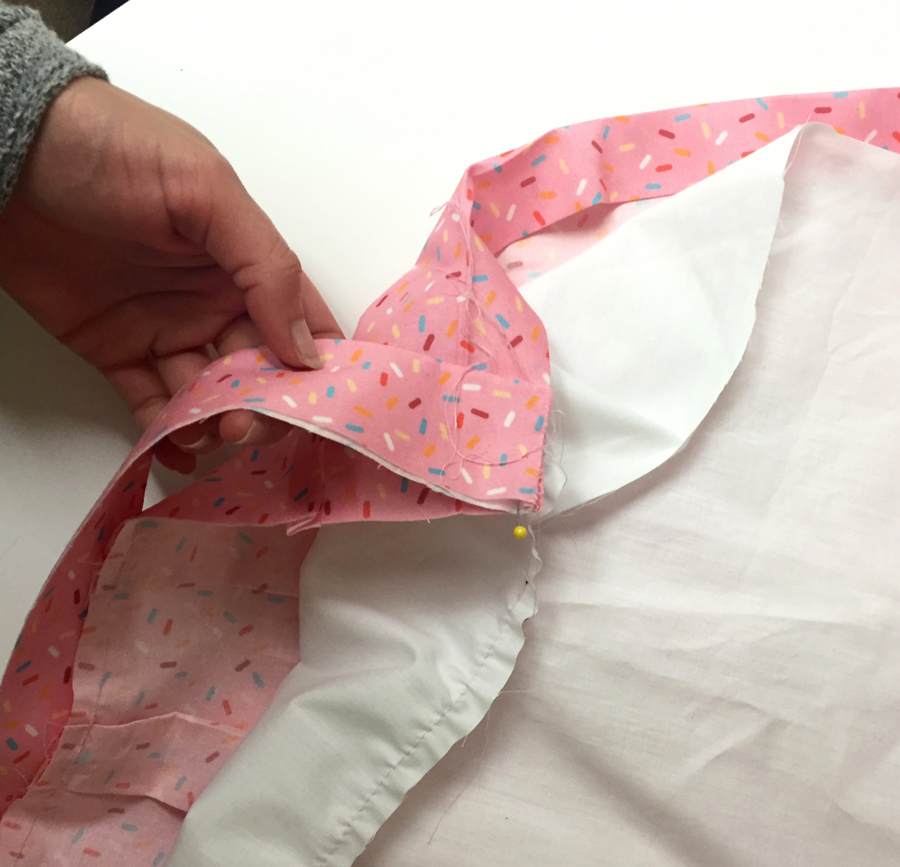
Pin the right side of your skirt at the waistline to the right side of your waistband. Make sure to only pin at one raw edged of the waistband- you will flip the seam allowance of the opposite edge inward and hand stitch closed at the end of your project.
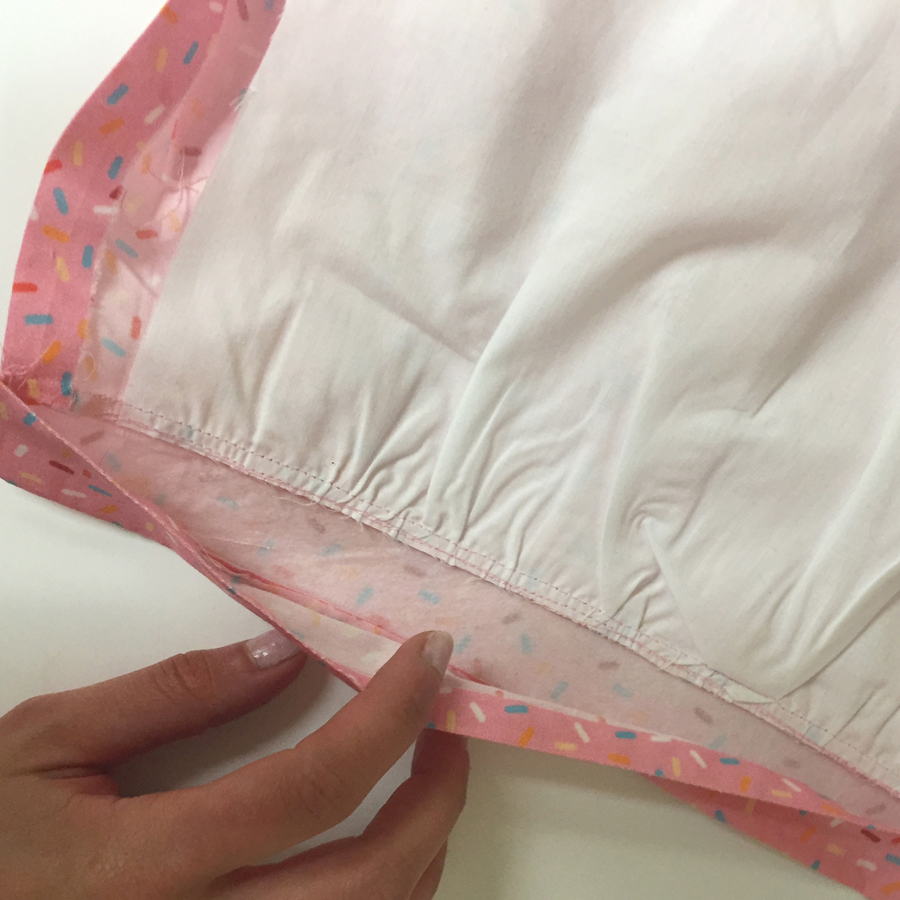
Pin the lining of your skirt to the wrong side of your fabric and stitch the pieces together.
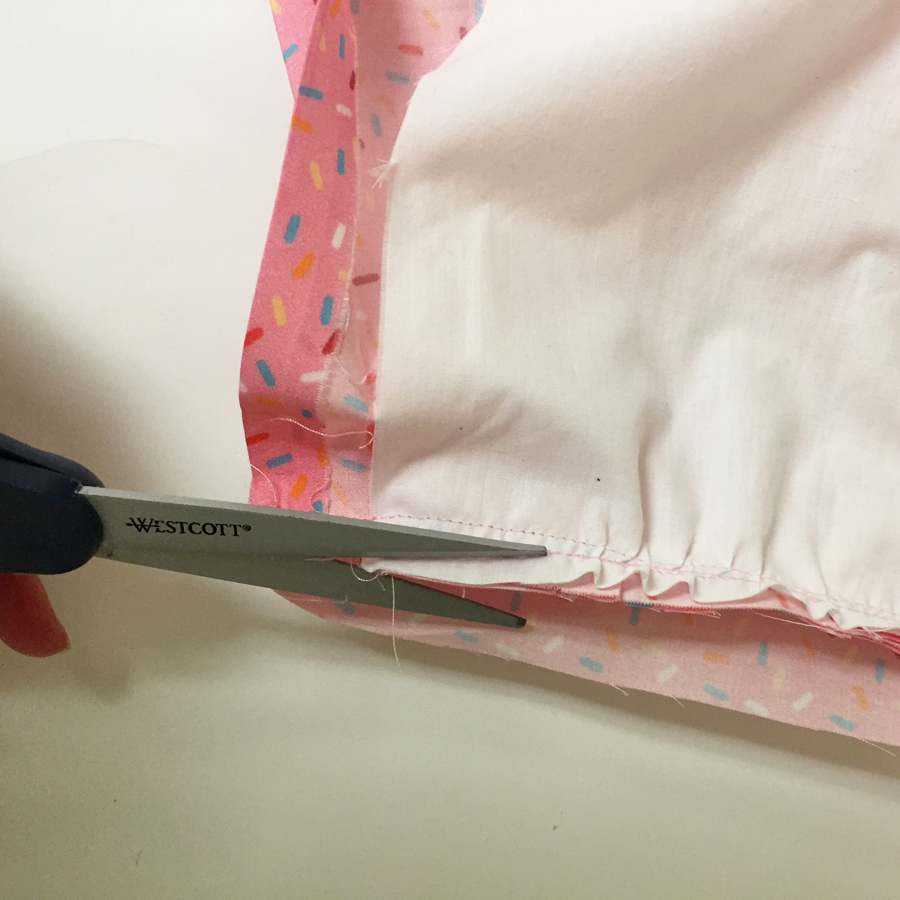
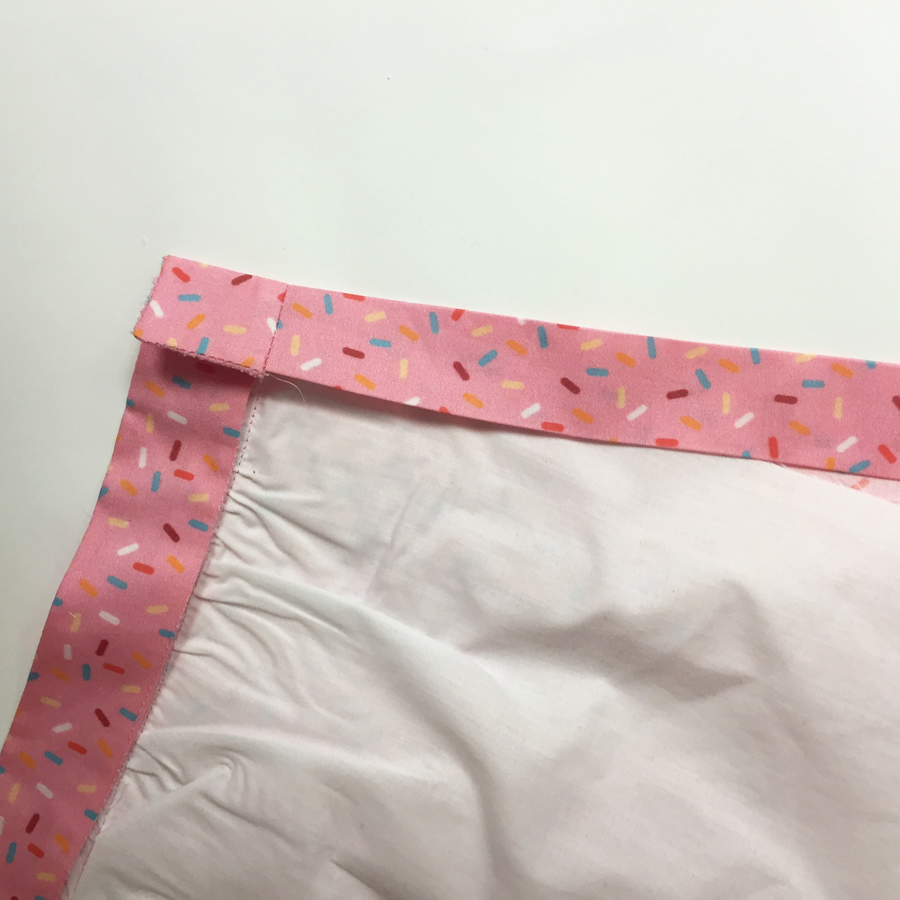
Trim off about 1/4″ of excess seam allowance. Fold in your 1/2″ seam allowance on the inside edge of your waistband and press with an iron.
Fold in your 1/2″ seam allowance at both raw edges for your button placket. Fold in another 1″. Stitch as close to the folded edge as possible, making sure to catch the lining.
Now that your skirt is fully sewn together, All that is is left is adding the buttons and button holes!
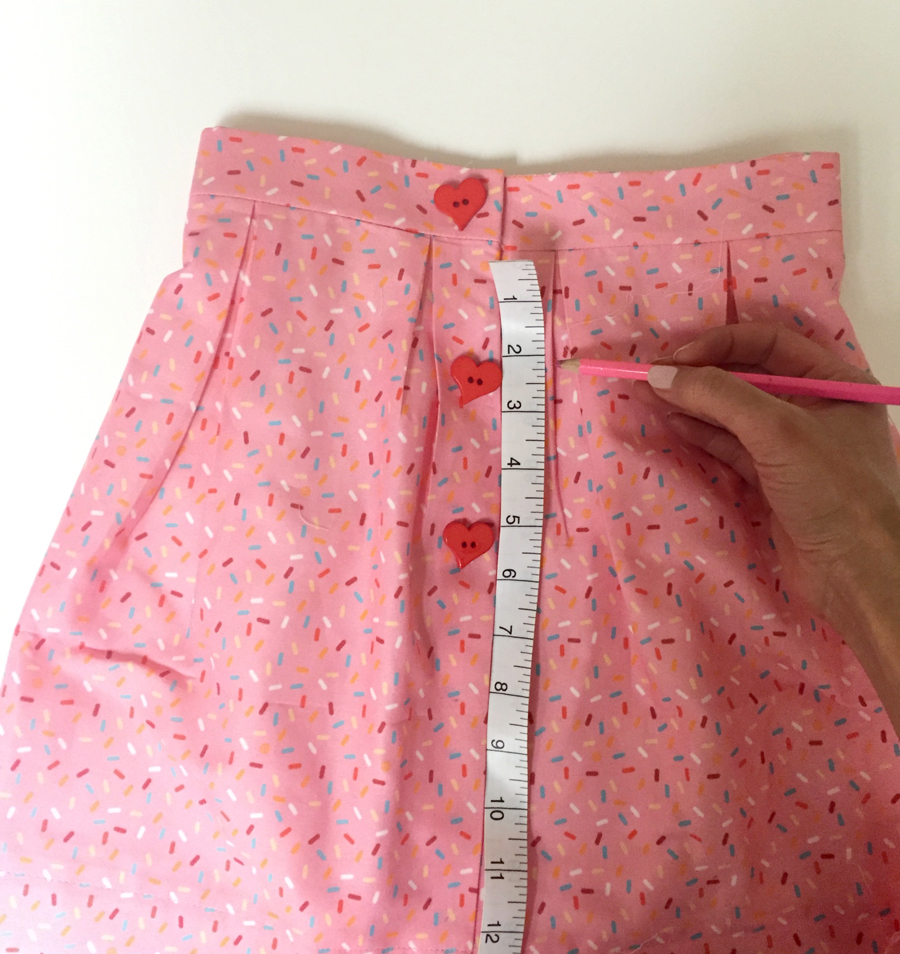
Lay your skirt out flat. Evenly space out your buttons and mark their position on the left button panel with a removable fabric pen or chalk. Mark the same position on the opposite button placket- mark a line centered from that dot that is 1/8″-1/4″ longer than the widest part of your button. Here is a helpful link on making button holes!
Sew your button holes, and your buttons in place!
For this project, I used the insanely adorable Valentine Hearts from Favorite Findings! 
Use a seam ripper to cut an opening on the inside of each button hole. Be careful!
Now get moving and throw that skirt on with your favorite top and show off your work!!
