
I’m so ready for Spring aren’t you? Although it was a mild winter – okay maybe there was just that one day! But this 70 degree weather is such a tease and maybe because the trees are budding and the daffodils have come out of hibernation! Yup I’m ready and it’s time for some “Spring” crafting to be created!
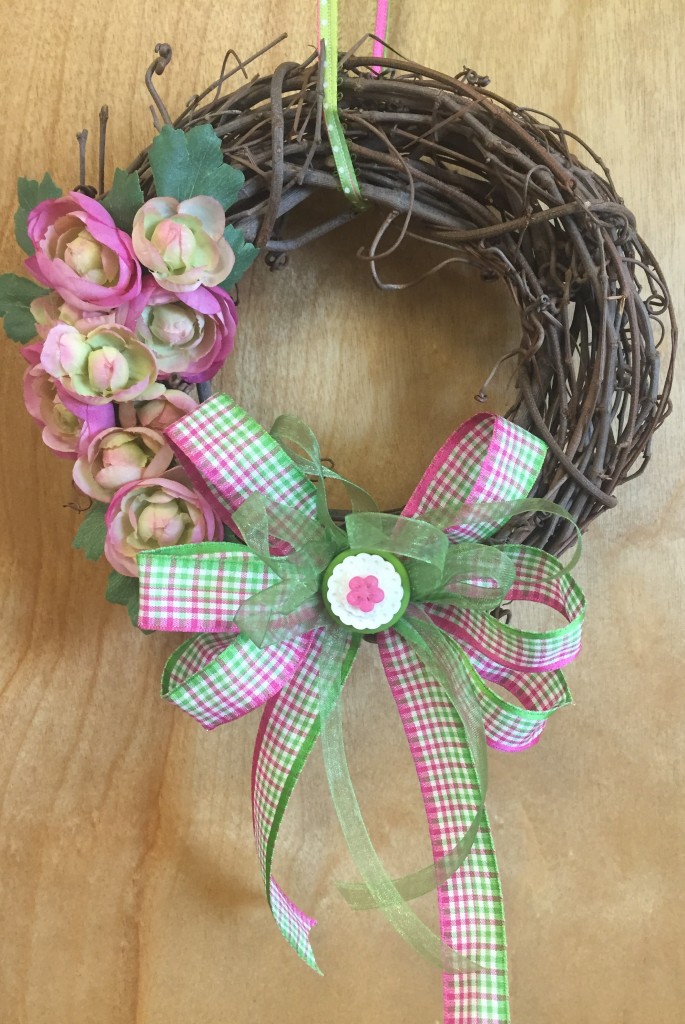
Several days ago – I posted on Instagram a Button & Ribbon Grapevine Wreath – and well I’m finally getting to the tutorial – it’s very simple and you even may have everything at home (well maybe not everything).
So let’s get started…
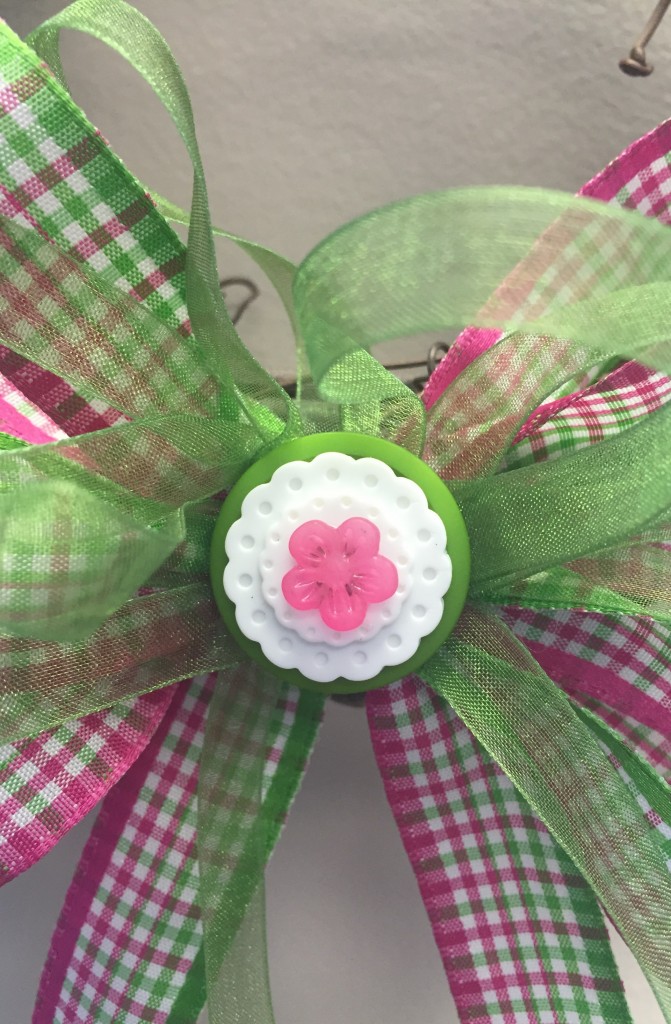
Materials: Assorted la petite buttons: #092500386 pink flower; #172500080 white; #172500487 green; #172502087white flower.
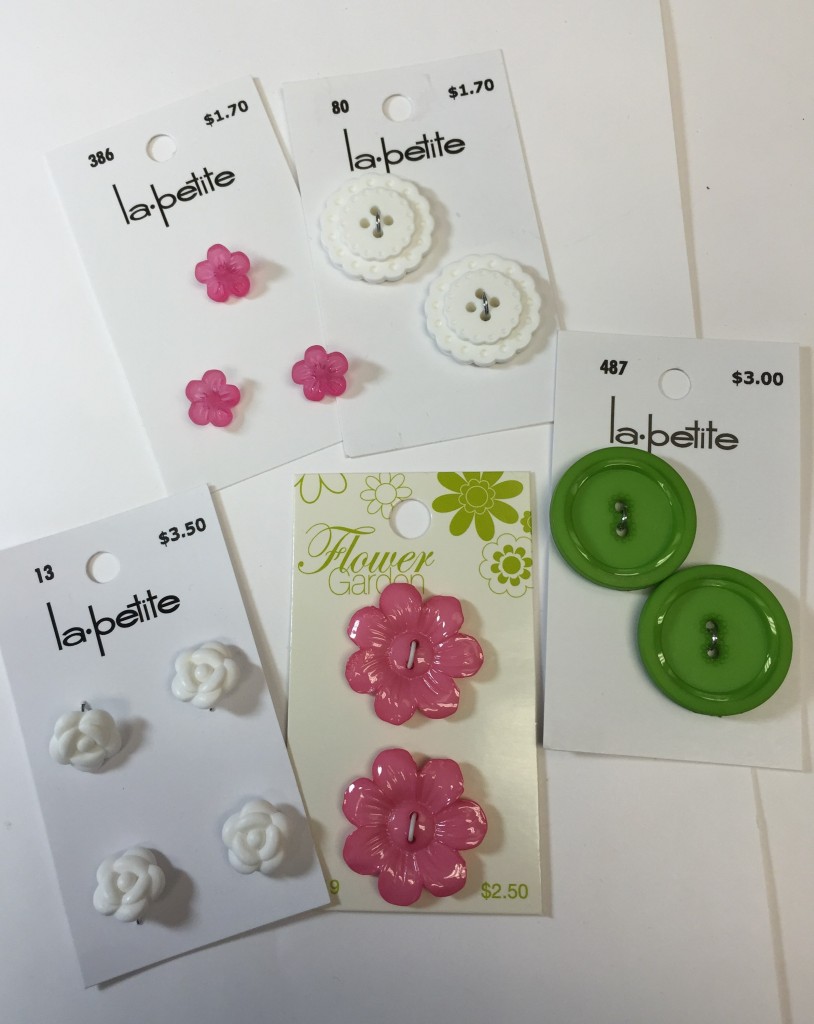
Here are several more options you can do – again the button will depend on your color wave that you will be doing… For this project I used pink, white and green:
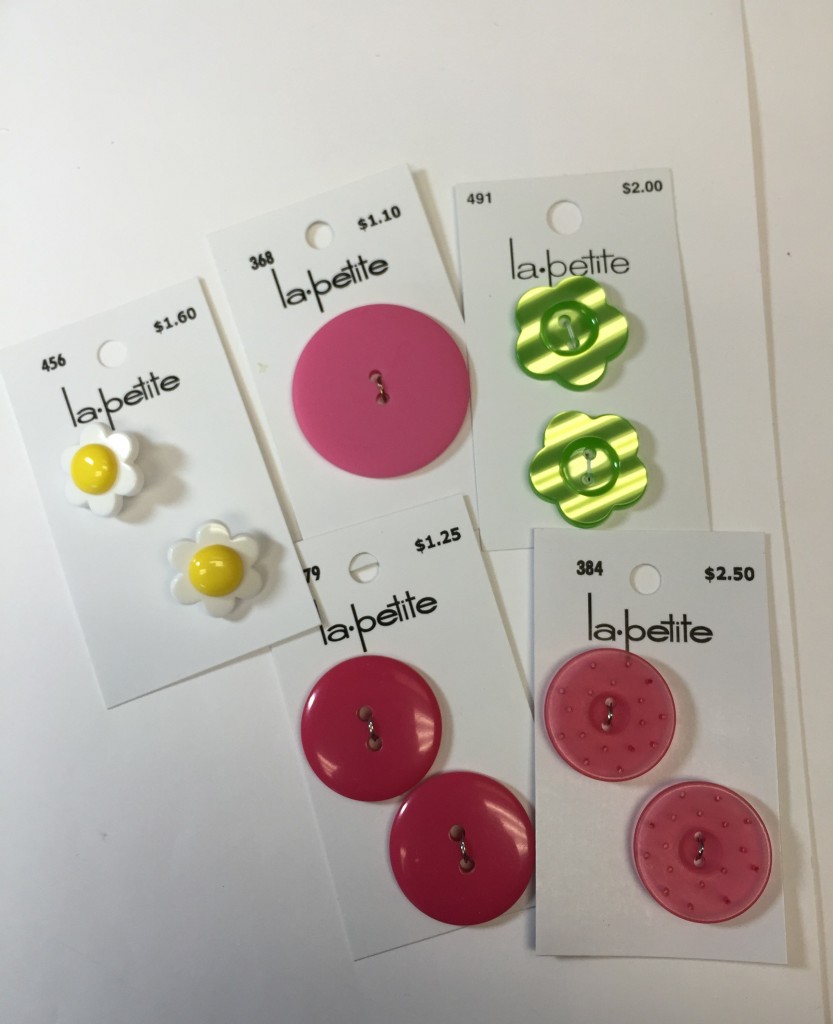
#132500456 white daisy; #182502074 green flower; #162500384 pink frosted; #379 & #2078 pink
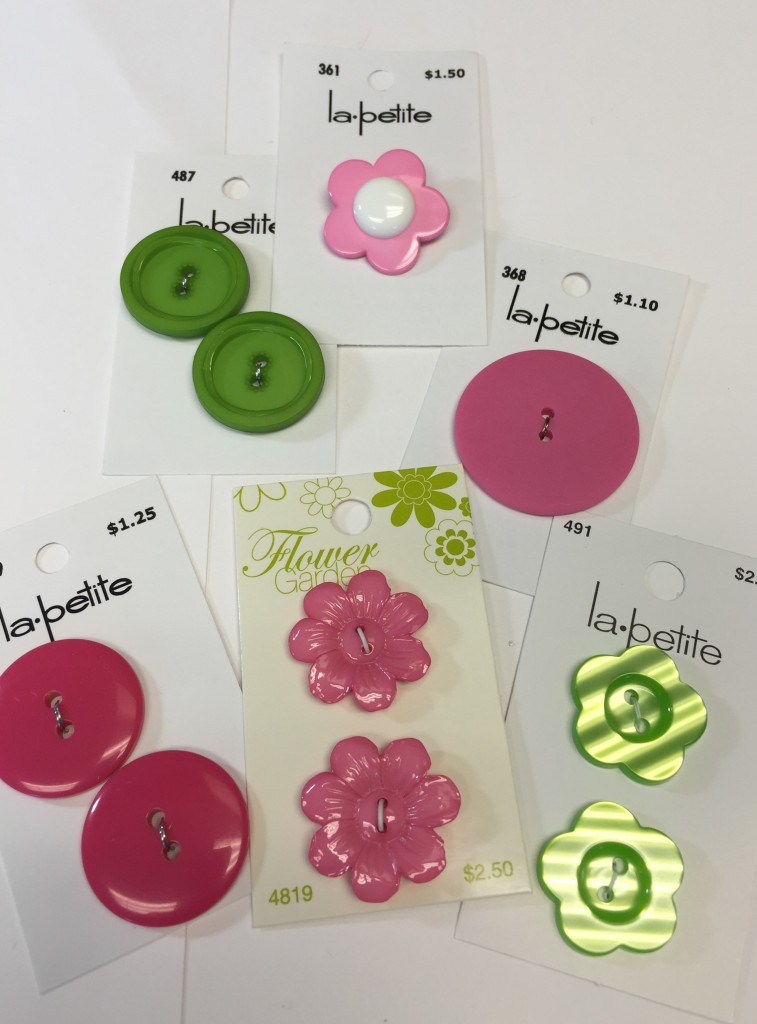
#172500361 pink daisy; #182502074 green flower; #172500487 green; #48004819 Flower Garden pink; #379 & #2078 pink.
Assorted Offray Ribbon – your choice of colors – which will coordinate with your flowers.
Bow Genius™ by Offray – for those who are not sure – click on the link and it will redirect you to Offrays’ website and you will be able to check out this product in addition to some great ribbon selections.

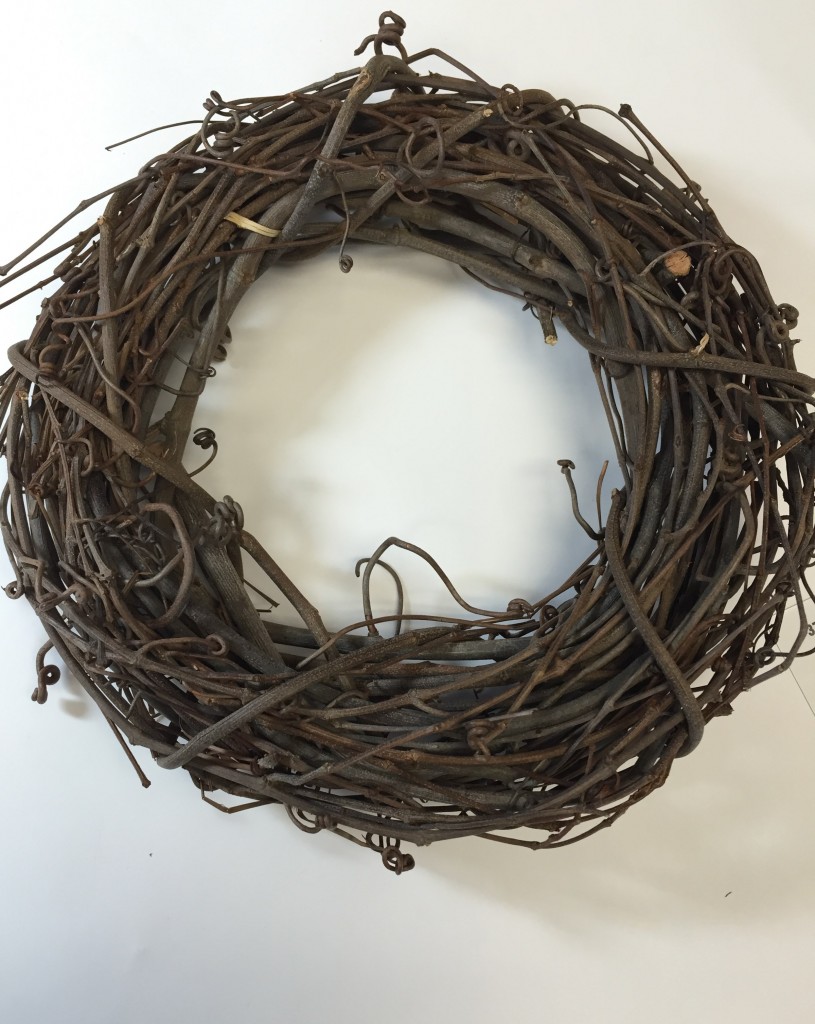
Flowers; Grapevine wreath; Glue – for this project I used hot glue; Wire; Scissors and The Button Shank Remover
Prepare your work station; plug in your glue gun (if your using this adhesive).
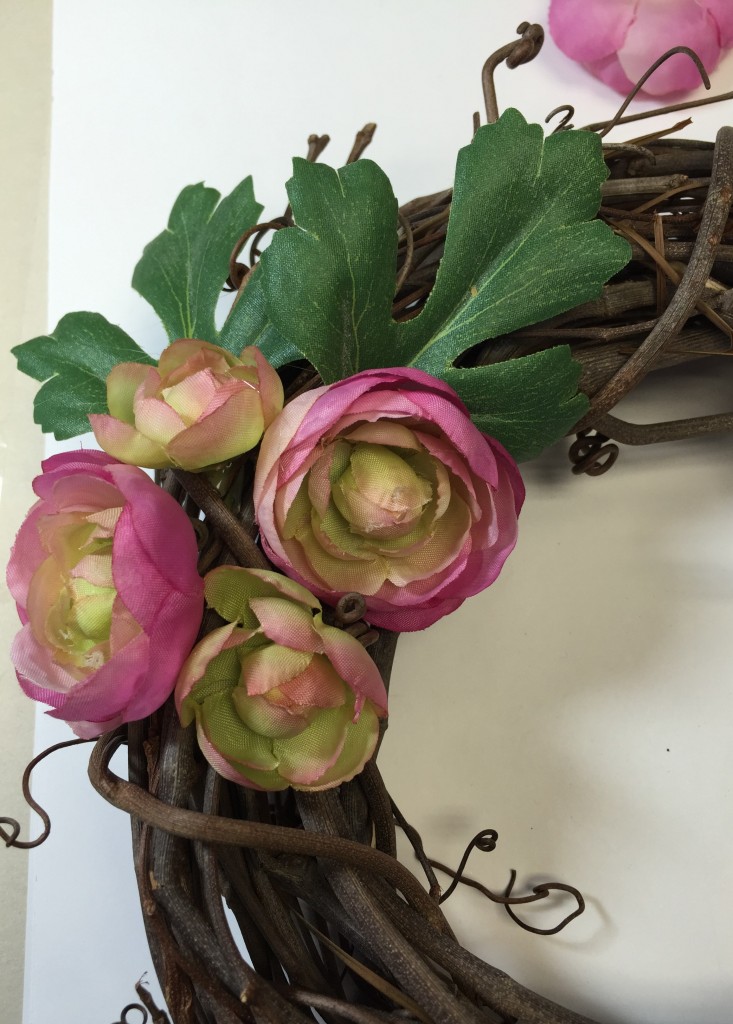
Determine design and placement of your flowers and ribbon.

When cutting the flowers off the stem I suggest that you use the shank remover or wire cutter – you do not want to destroy your good scissors (remember the stems have wire in them).
Remember to incorporate the stems into the wreath also…
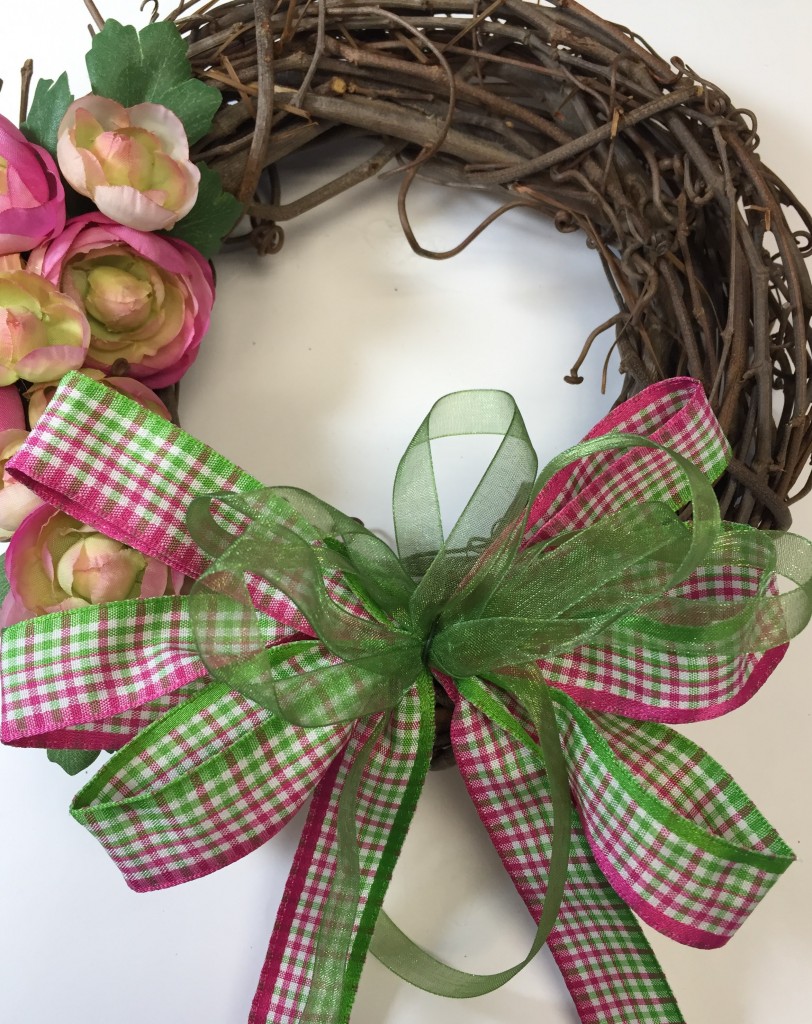
Create your bow with your Bow Genius™ – for my wreath as you can see I went with the pink, white and green theme and so I coordinated my ribbon as well. I used a check ribbon and then I also added a green sheer ribbon ontop.
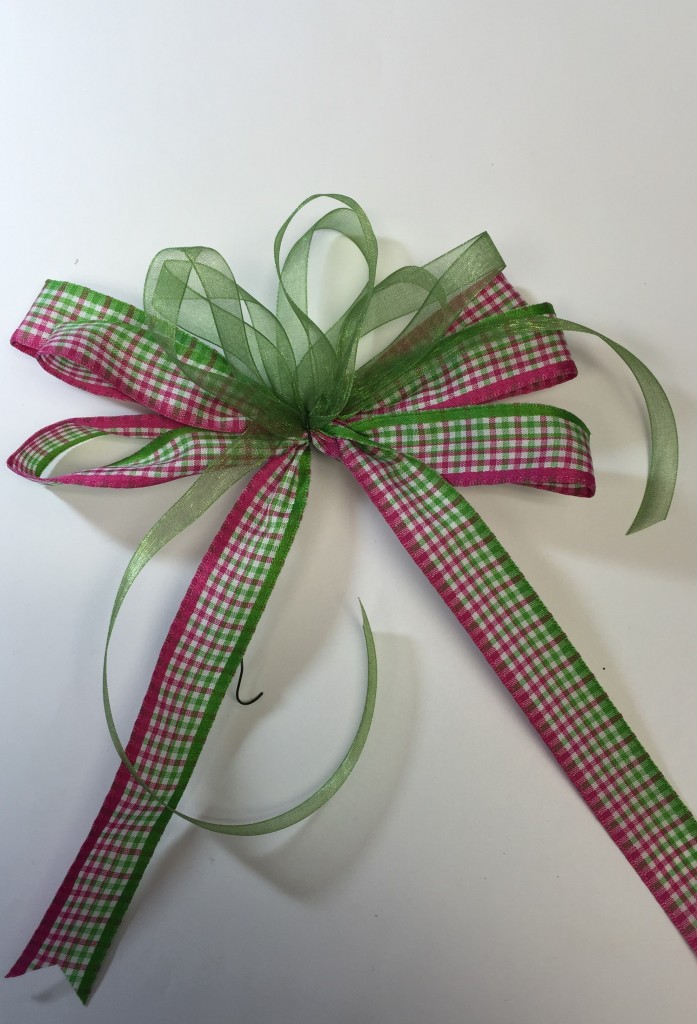
You’ll have to shape your bow after you created it.
Attach bow to your wreath by adding some glue to the back – hold in position for a few seconds.
Once you’ve determined which buttons you’ll be using you may need to remove the shank:
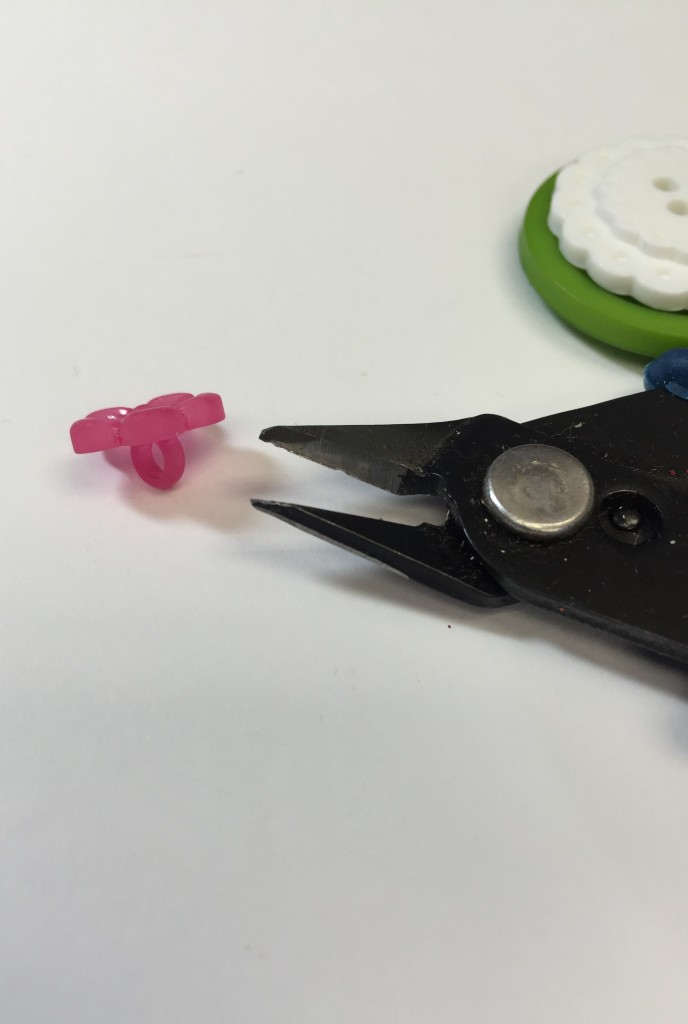
Carefully with your Button Shank Remover snip one side and then the other. You may want to place your hand over the button so the shank doesn’t fly.
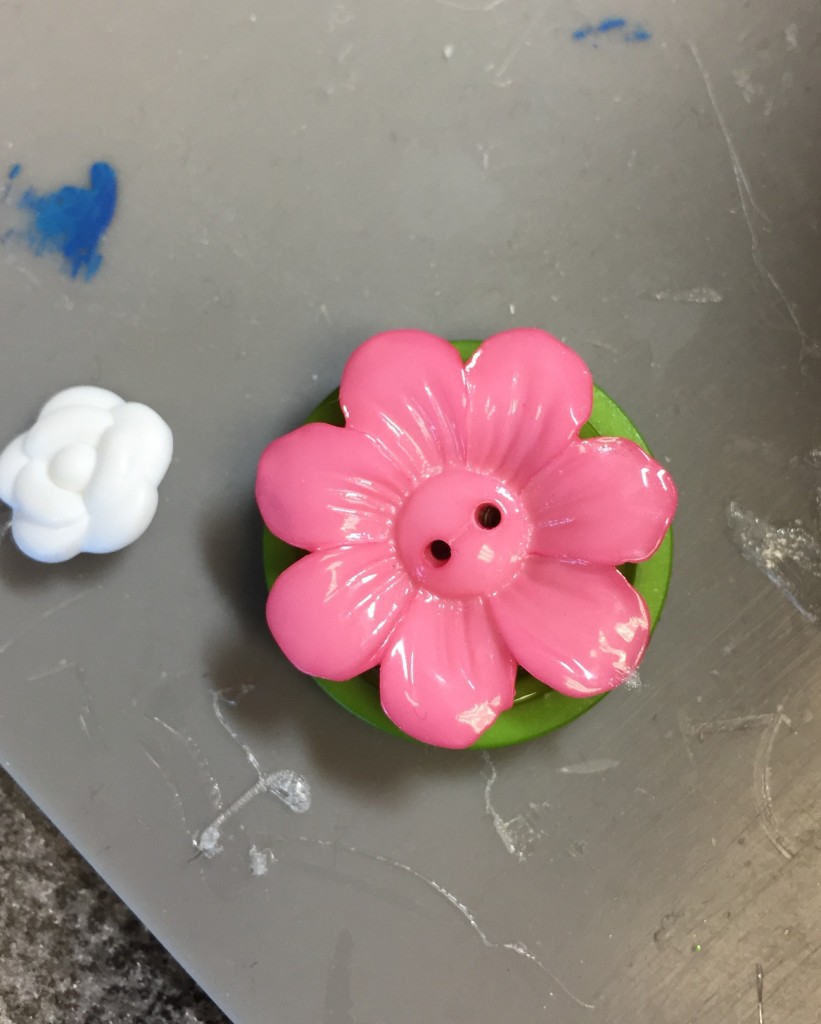
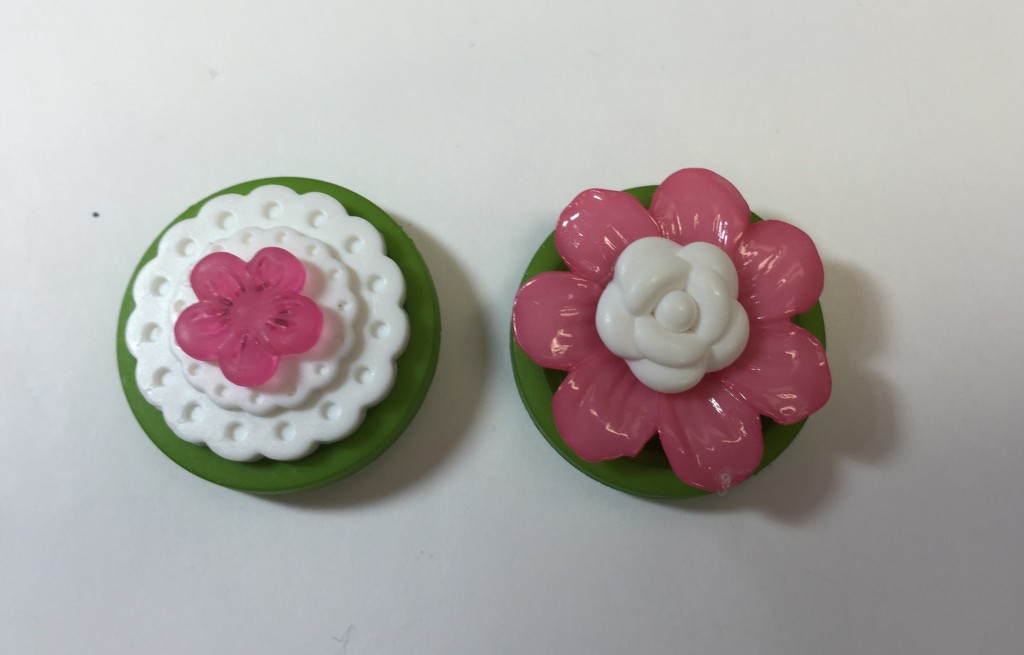
Next glue and stack buttons. Since I still wasn’t sure I created 2 stacks – trust me I’ll be able to use it for another project!
Now, once you’ve made the decision – glue to center of bow.
I’m going be honest with you it wasn’t such an easy decision with so many options out there!
Add ribbon and hang!
HAPPY SPRING!
HAPPY CRAFTING!