
I’m loving this time of year where you still have to coolness and the warmth meeting each other and bringing Spring into play. And what better way to create than with buttons and ribbon! I knew I better get on the band wagon quickly everywhere you turn soft pastel colors are surrounding us and maybe because Easter is knocking at our door!
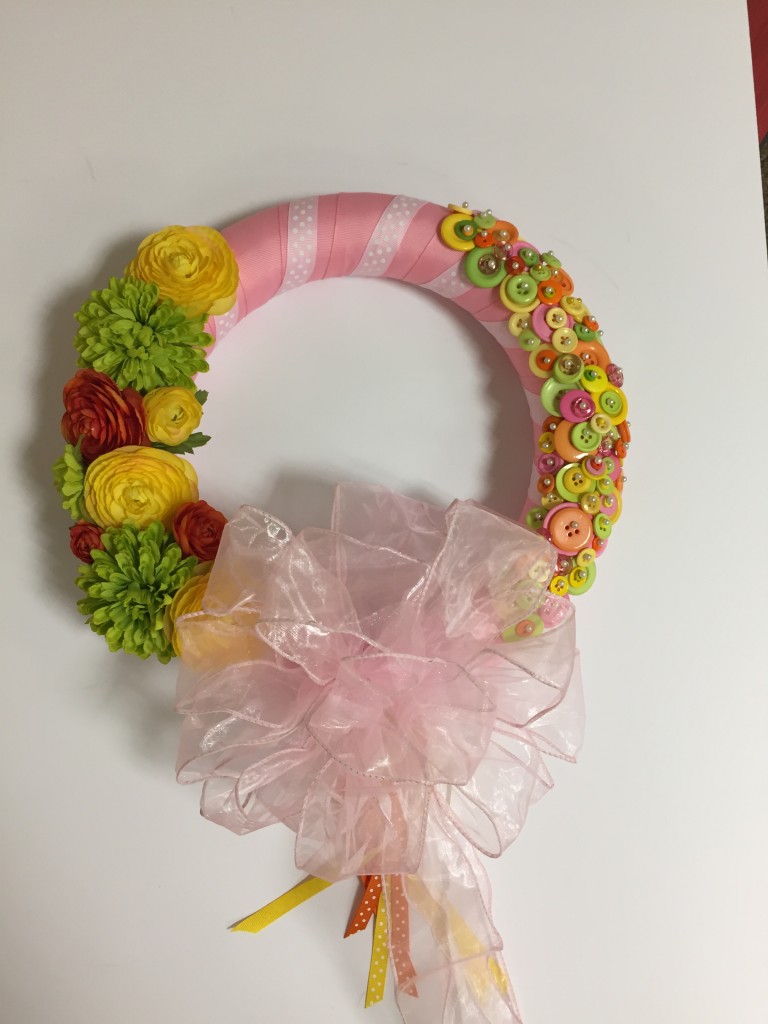
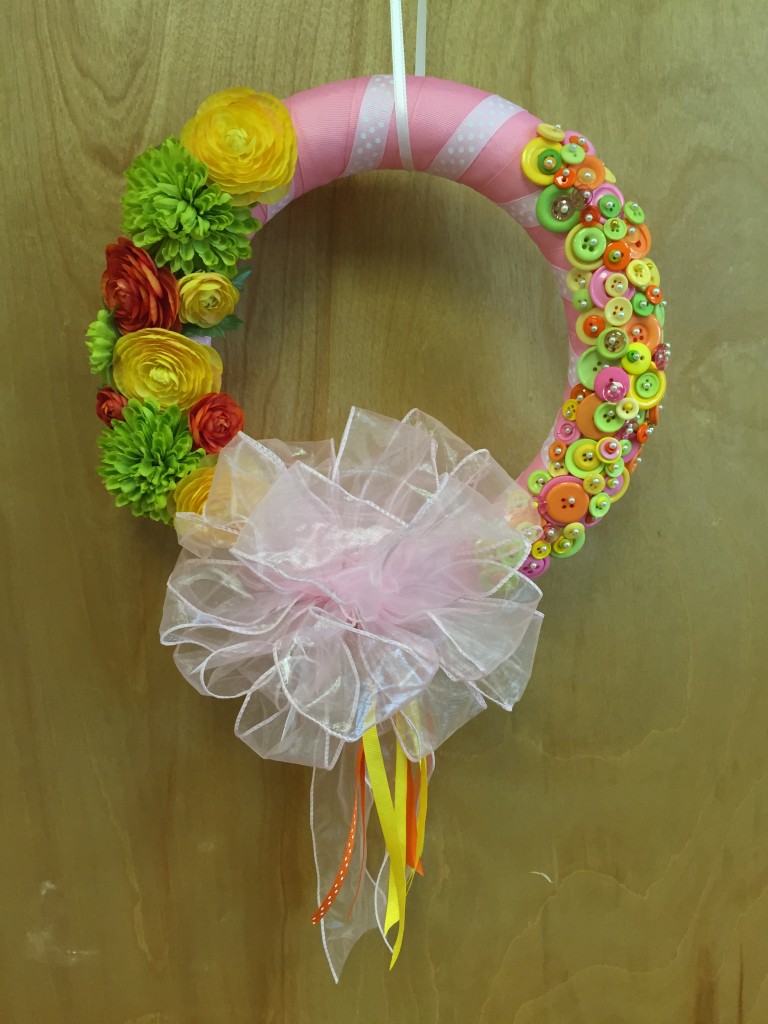
So let’s put those jelly beans down and start crafting – you’re going to need something for the front door to welcome family and friends…and with this buttons and ribbon wreath will surely make them smile…
Materials needed:
4 oz Button Jars: 540001005 pink; 540001010 marigold; 540001009 green
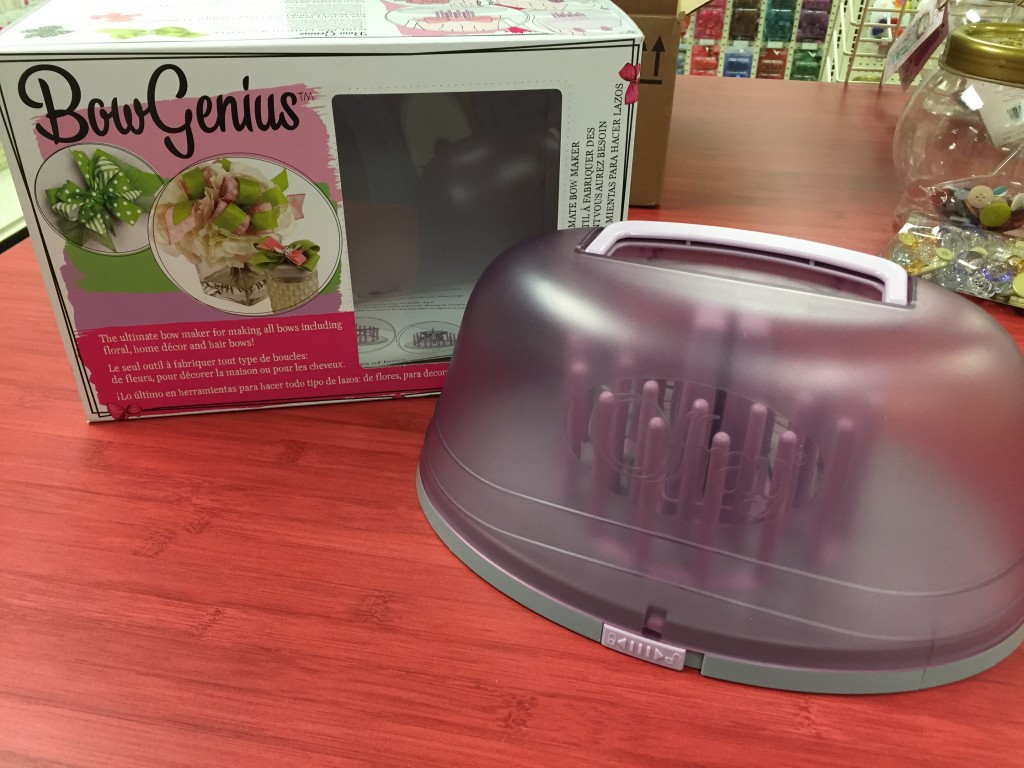
Offray Bow Genius
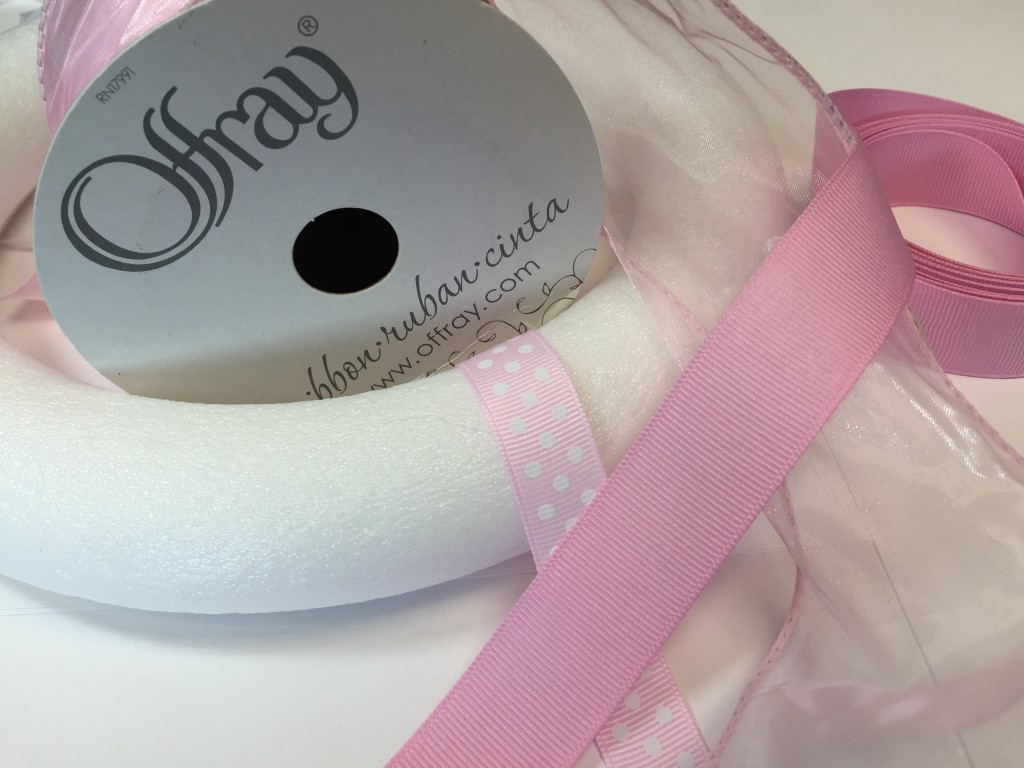
Assorted Offray Ribbon: pink polka dot grosgrain (7/8″); pink grosgrain 1 12″; pink wired edge #256506; yellow; orange polka dot
Styrofoam wreath; head pins – pink, white, yellow (but white will work); scissors; hot glue gun; wire cutters
Assorted silk flowers
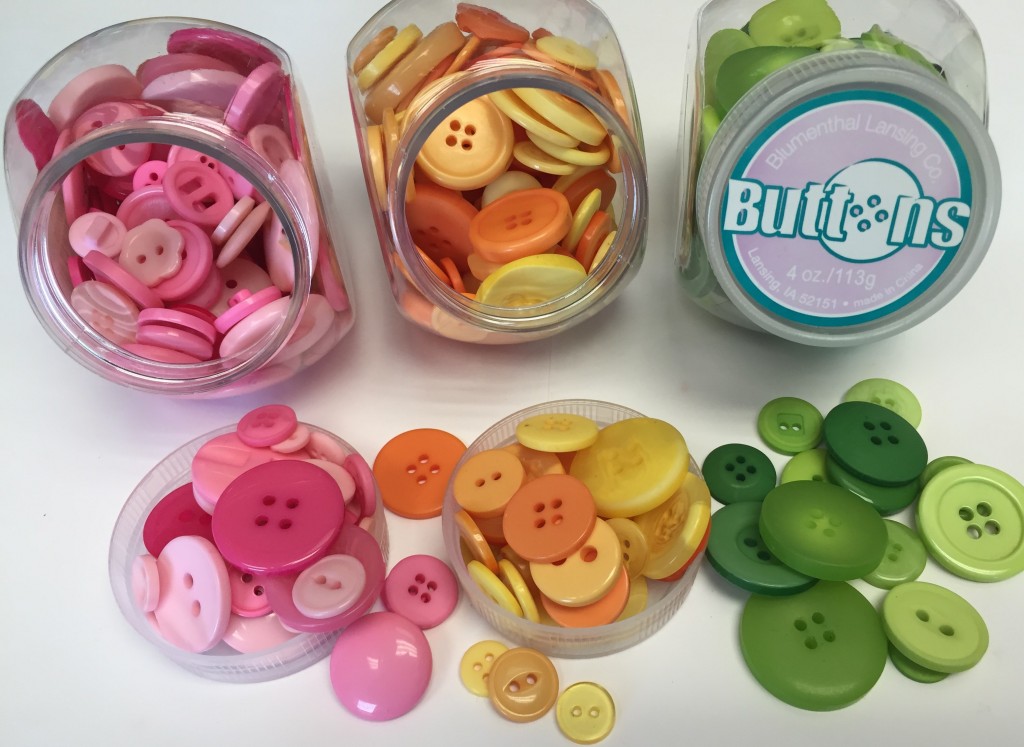
540001005 pink; 540001010 marigold; 540001009 green
head pins
assorted Offray Ribbon
To begin starting at the top secure ribbon to the Styrofoam with head pins and begin wrapping wreath. Secure with pin in back – add/wrap with your polka dot ribbon next. Secure with pins.
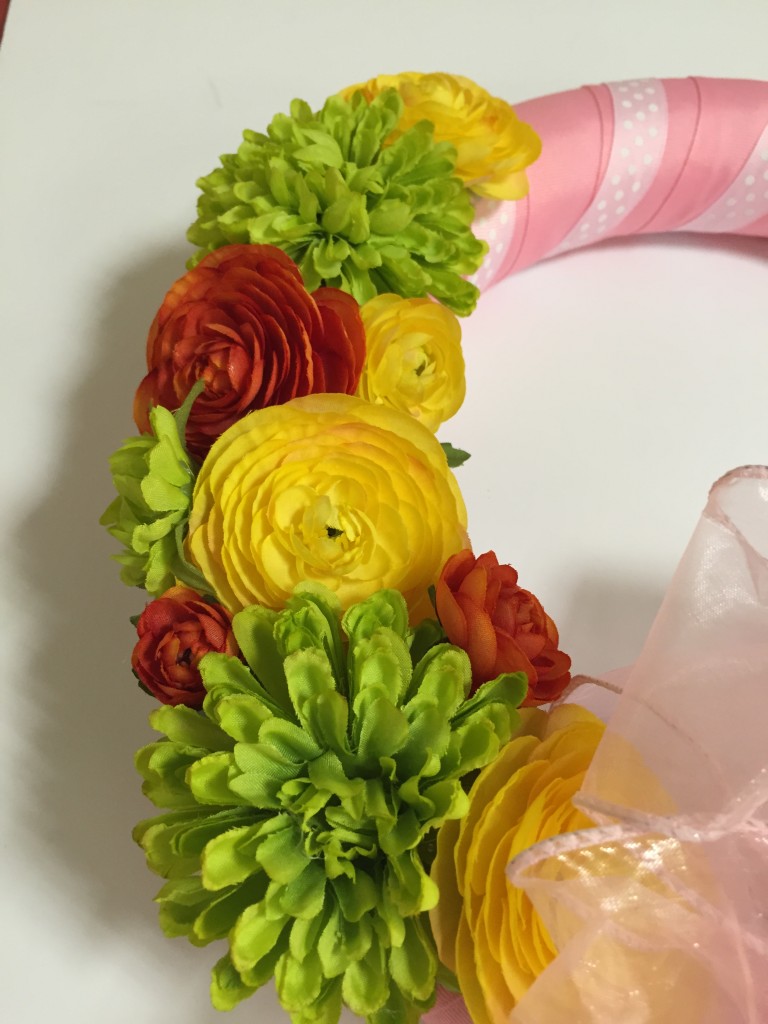
Next begin adhering flowers to wreath (I used hot glue). From the photo above you see that I place the flowers on one side and what I like to do is work center and then up and down and go back and fill in. You will need to use wire cutters to remove the stems off the flowers: TIP: I suggest not using your good scissors you’ll damage the blades.
Another suggestion and this was and after thought! Many of us are on a budget…why not make this an interchangeable wreath? Hmmm! so instead of gluing your flowers secure with head pins – you may need to use two or three but after the season is done you can simply remove, unravel and create another!
Creating the bow…
some of us have the knack of creating these beautiful bows – lets face it I don’t – however with Offrays Bow Genius guess what I can! If you’ve never seen this bow maker I’ve included a link to the site and sit back and watch the tutorial and you’ll be creating non-stop! Here’s a quick look at the Bow Genius…
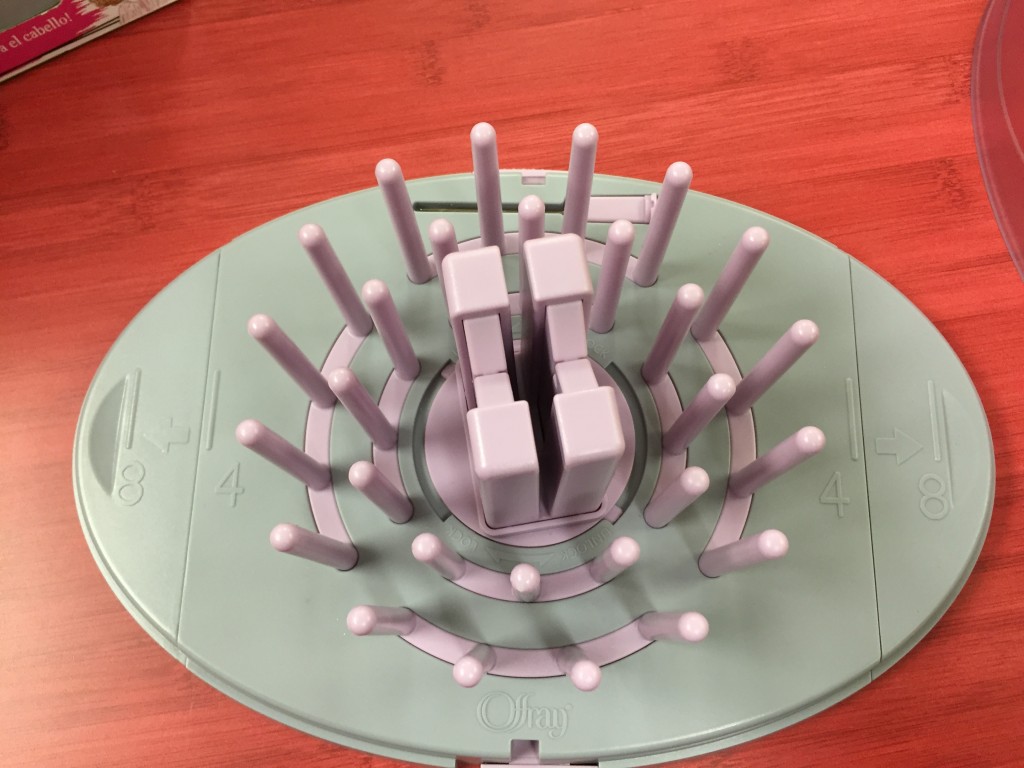
so when you open the lid this is what it looks like…
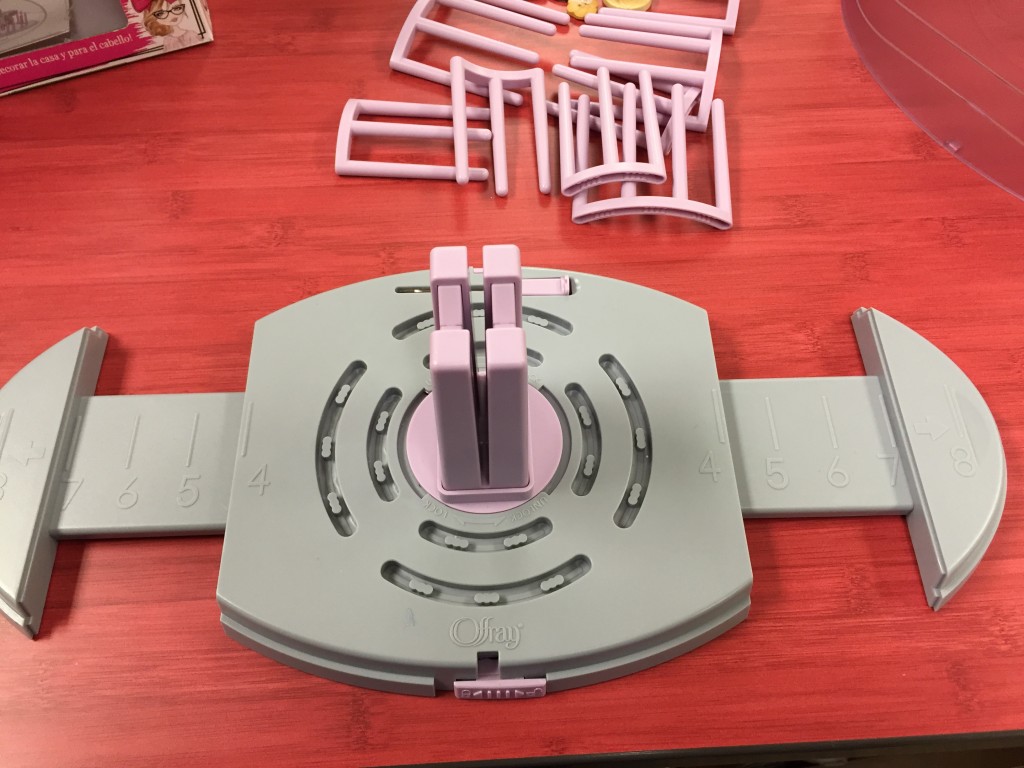
to create our bow this is the configuration that you will be working with – you’ll remove the extra components which come off easily.
Has pull out rulers on either side to create even bow loops on either side!
For my project I created a bow approximately 4 inches and created 8 loops on either side.
Once you’ve created your bow you’ll attach it to the bottom of your wreath .
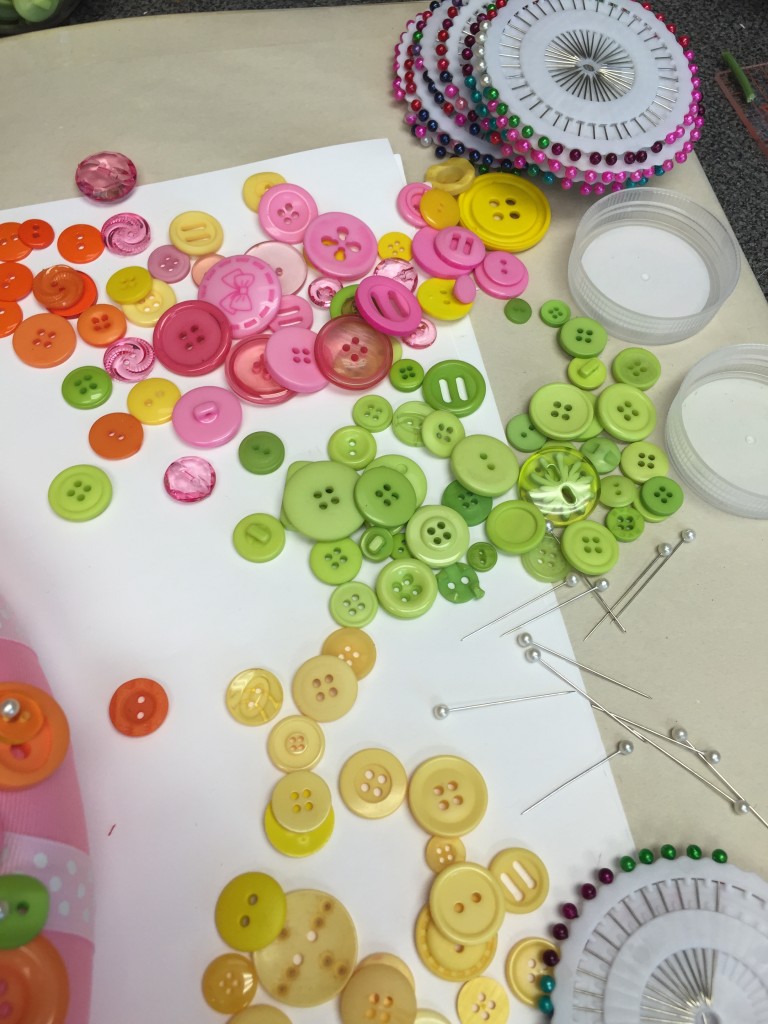
Working on the opposite side of your wreath you will begin placing your buttons. Don’t be afraid to layer as shown below. I did add some additional buttons from my button stash!
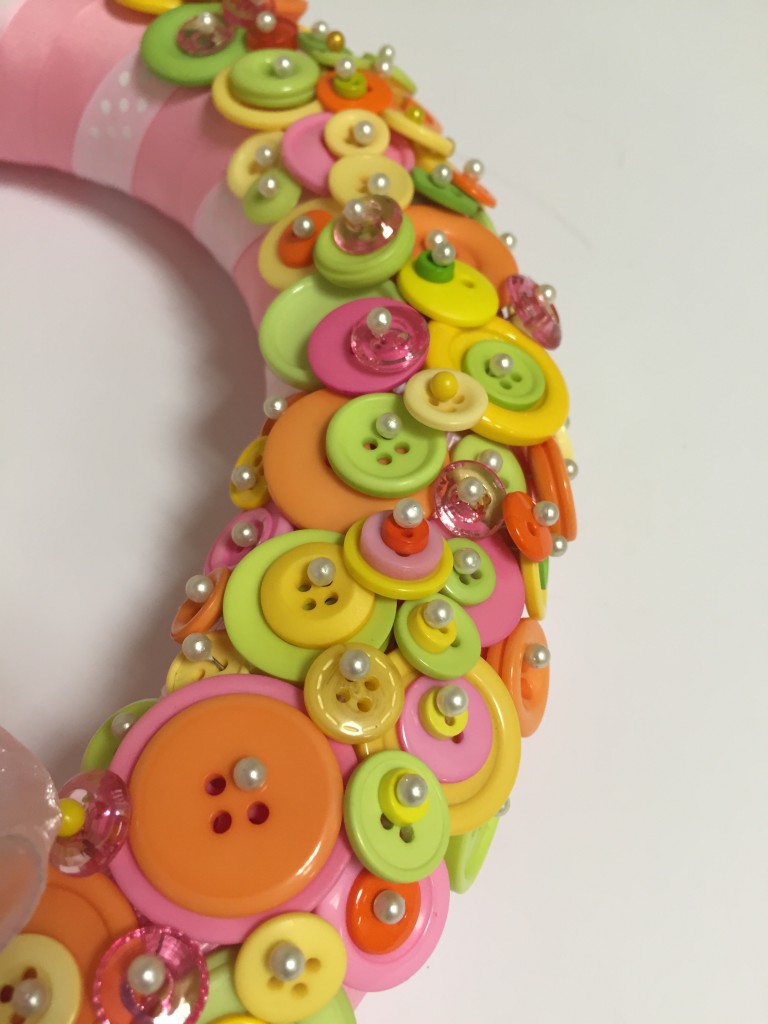
You’re going to leave approximately 4 to 5 inches from the top – this will allow you to add ribbon for hanging.
HAPPY SPRING!
HAPPY EASTER!
HAPPY CRAFTING!
We are a team of craft-obsessed, button loving people! You probably use buttons almost every day without giving it much thought – they keep our shirts closed and our pants up (hopefully!) - but buttons can be so much more! We created this blog to share all the fun, creative ways we’ve found to use buttons. Our product development team is always coming up with great new button shapes and colors, in addition to new products, so we will always have something new to share with you!