
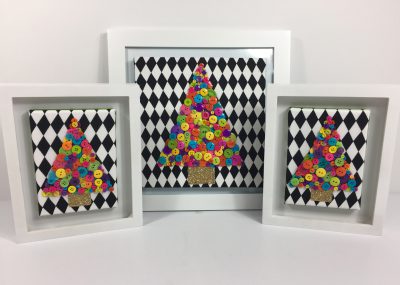
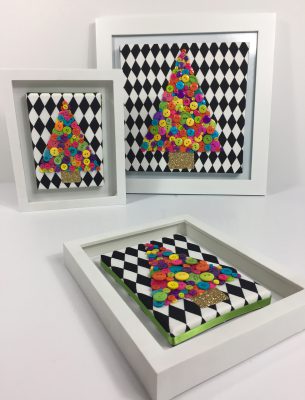
Can you believe it’s time for Christmas already?! Decorating for the holidays is so much fun and I’m always looking for ways to update our existing decorations. For this easy holiday project project, I used a stash of colorful buttons, some fabric in a bold pattern, canvas, and glue to create these Merry & Bright Button Christmas Trees. I also added some satin ribbon trim and a little glitter – no holiday decoration is complete without a little glitter….
Pairing bright colors with a black and white pattern is so fun and festive! Follow these steps to create your own work of art:

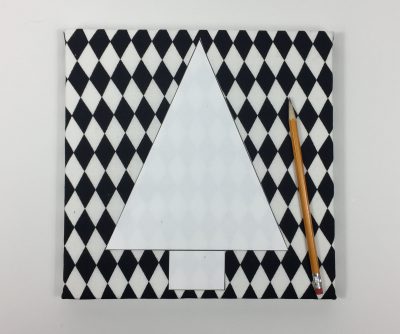
Cover the canvas with fabric and secure with hot glue. Draw your trees onto paper and cut out the shape. Trace the tree pattern onto the fabric with a pencil. To help with the tracing, you may want to hold the tree in place with a little tape.
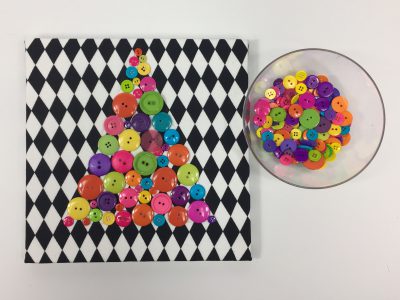
Arrange the buttons on top of the fabric using the pencil marks as a guide. Next, secure the buttons with hot glue and let cool. I added a glitter base to the tree to give it a little sparkle!
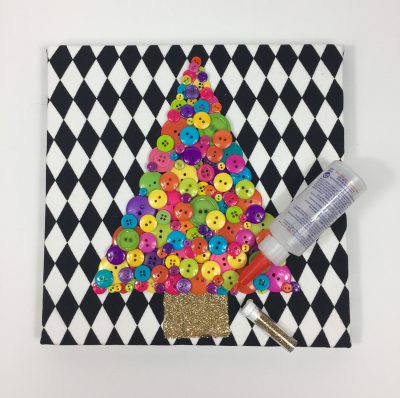
I also trimmed the edges with coordinating Offray satin ribbon. Just wrap the ribbon around the edge of the canvas and secure in place on each size with a little hot glue.
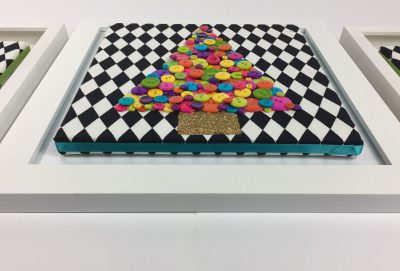
You can frame your Button Christmas Trees as pieces of art, as I did, and place on the mantel or a shelf. Or swap out some of the art on your walls to spread the Christmas cheer throughout your home!
If brights don’t work with your decorating theme, try traditional colors, metallics, or even pastel colors for winter theme that will last past the new year. Need some ideas for other shapes? Try snowflakes, snowmen, stars, or words – the possibilities are endless!
Stop by soon for more holiday decorating ideas!
HAPPY CRAFTING!