
These easy DIY gold studded pumpkins created with our Crafting with Buttons studs, are the perfect last minute décor for the Halloween season and even into Thanksgiving!
Many of us love the traditional Halloween colors of orange and black but there are those who are looking for a “softer” vintage feel but with a twist…. so lets get started…
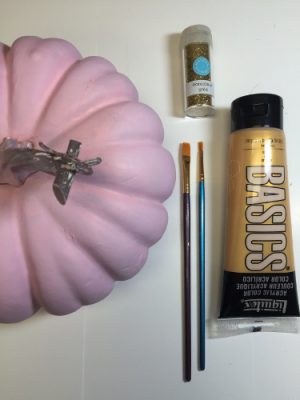
Materials: Crafting with Buttons 470003201 Gold Pyramid Studs
Pumpkins (t assorted sizes)
Spray Paint
Mod Podge/Paintbrush
Gold Glitter
Optional: Gold paint, tulle, ribbon, straight pins
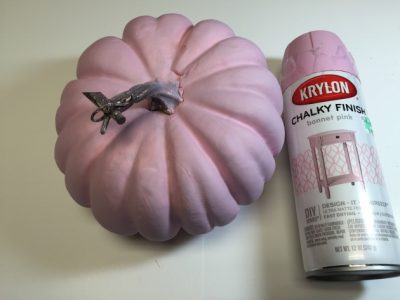
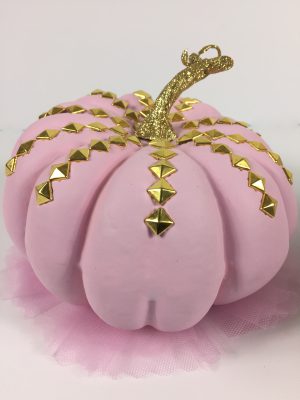
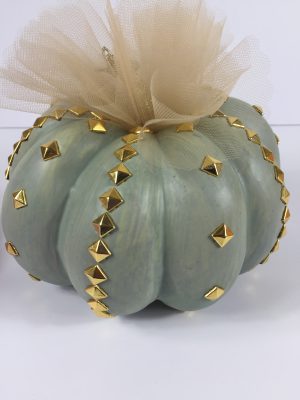
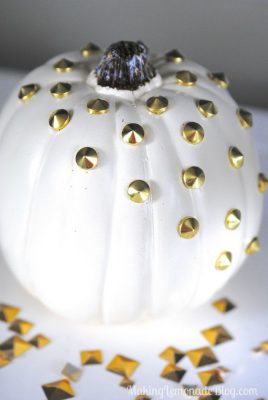
For this project I only spray painted one pumpkin (yes I just happen to have pink on my shelf!) but remember to check out the variety of pumpkins available at your favorite craft store – you may opt not to spray as I did for my second one – there is also a cream color pumpkin available. Of course I don’t think I need to remind you to spray outside! lol. Weather permitting let these dry outside in a nice ventilated area.
Get your work space and supplies ready.
Again the gold paint is optional – using your paintbrush apply Mod Podge to the stump – you may want to work in sections because you don’t want your glue to dry.
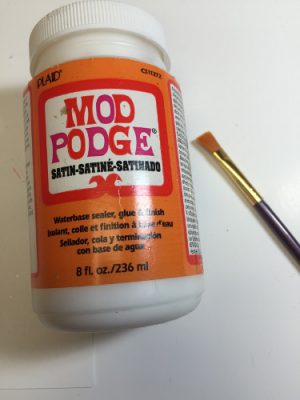
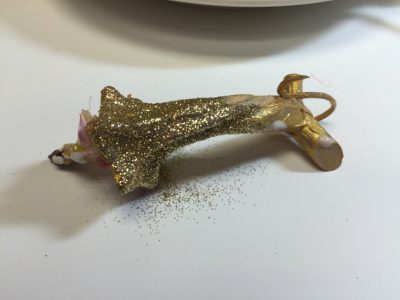
Had a bit of an accident my stump fell off my pumpkin – but no worry glue gun to the rescue! Make sure to lay newspaper/paper down on your workspace – you will be working with glitter (yeah!). I suggest working in sections – you don’t want your glue to dry. Apply Mod Podge with a paintbrush and glitter. Repeat this for all your pumpkins.
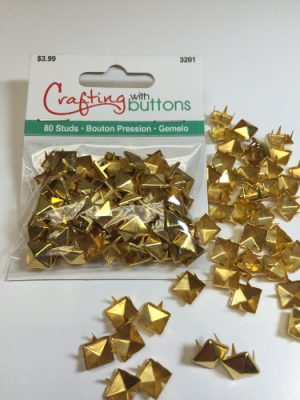
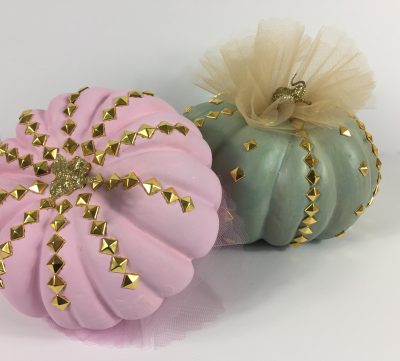
Crafting with buttons – 47000321 Gold Pyramid – for this project I used 2 packs (the quantity you need will depend on your design and the amount of pumpkins your embellishing) each pack comes with 80 studs. As they say “stud away”.
Remember to check out our assortment of studs available on line and also at JoAnns Fabric & Craft Stores.
For this next part I wanted (optional – you don’t have to do this) to add something to the top of my pumpkin…so tulle was the choice of trim!
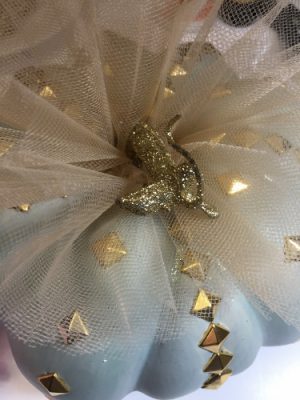
I pleated my tulle and used straight pins to attach (again this is optional).
For my pink pumpkin I added tulle to the bottom.
Once you’ve created your studded pumpkins display on a table or mantel….
Easy and quick project!
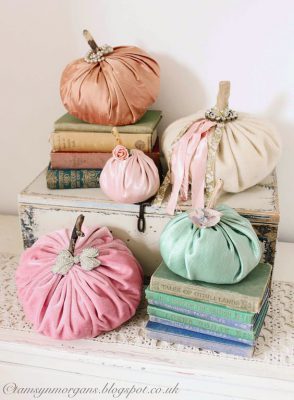
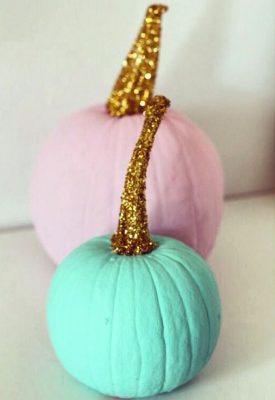
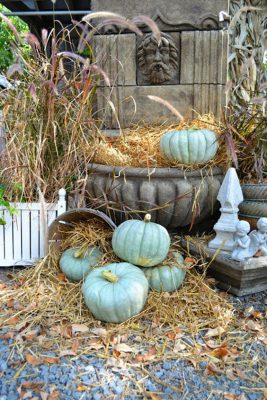
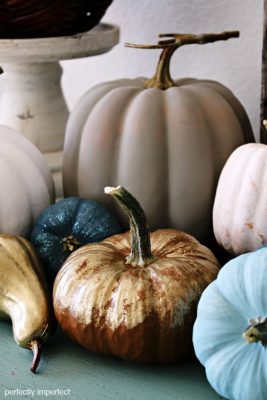
Here are some additional ideas found on Pinterest to get you “inspired”
Stop by next week and I’ll show you our “Edgy Studded Pumpkins”!
HAPPY HALLOWEEN
HAPPY CRAFTING
Once you’re done – place on a mantal, basket, or just place them on your table to enjoy!