
Tis the season – and what are we all waiting for…is there ever enough time in the day to get everything done? Thanksgiving came and went in a blink of an eye or should I say in a gobble! It’s the already December 3 and I need to start hussling and bussling to get all my Christmas button inspirations out to you so you can see how easy it is to create some wonderful projects for the holiday whether for yourself or as gifts.
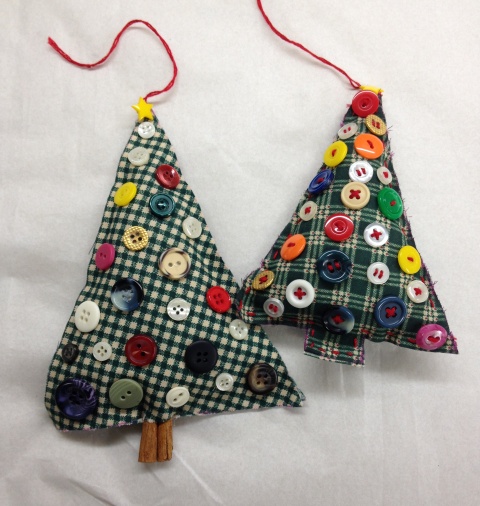
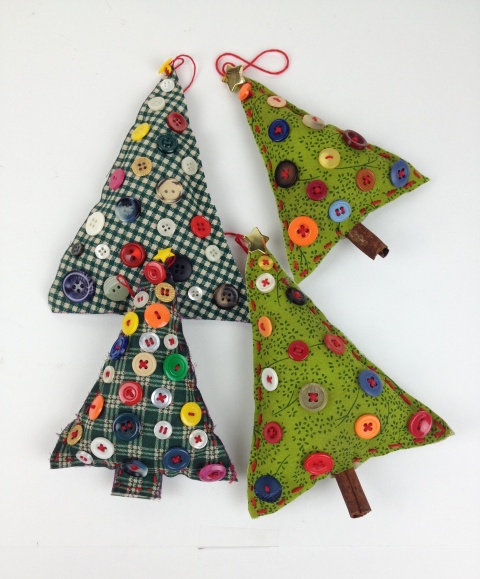
Today it’s all about the Country Button Tree Ornament. This button tree was created for a Craft Fair we participated many years ago and it’s still brought out and hung on our tree and brings back memories of once ago and I’m going to recreate it for you today…
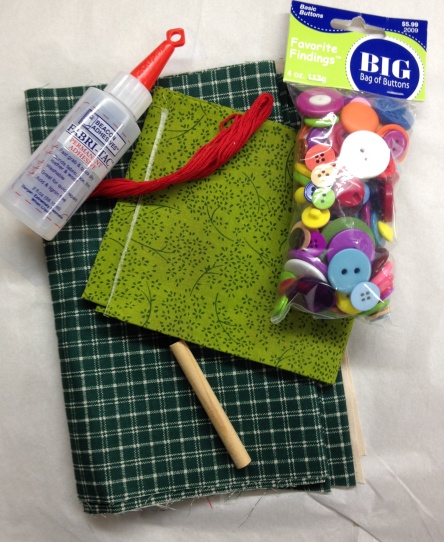
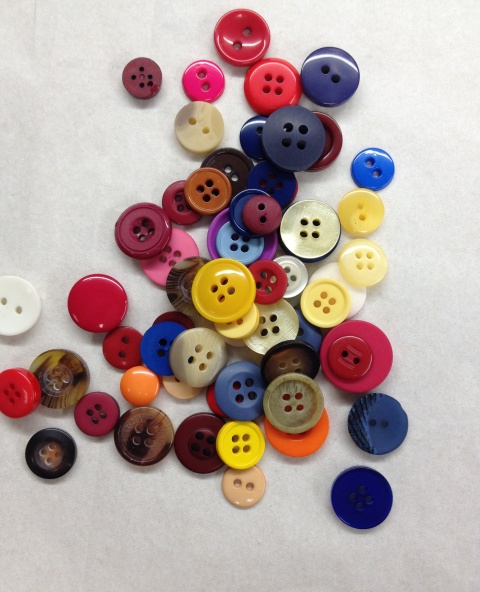
Materials: Favorite Findings Big Bag of Buttons #2009
Assorted green fabric
Tree template (do a search on the internet)
Cinnamon sticks (I used scented)
Scissors; pencil; red floss; needle; glue; poly-fil

Once you find the right template print it and make extra copies for next year! ( I usually like saving one or two sheets for future use) With your scissors cut the template out. Fold fabric in half…
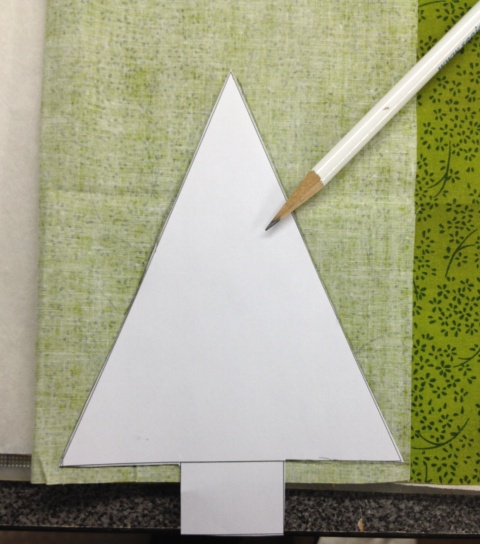
 Trace template onto to the reverse side of the fabric. You will need two pieces of fabric. I used straight pins to hold my fabric together when I’m cutting.
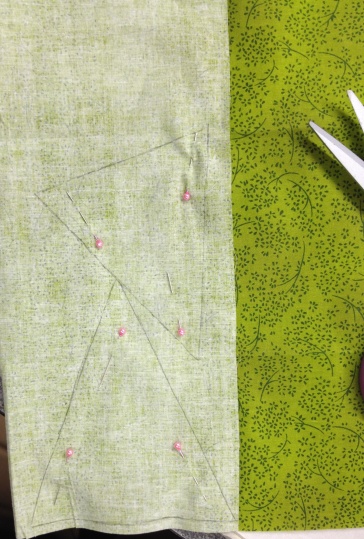

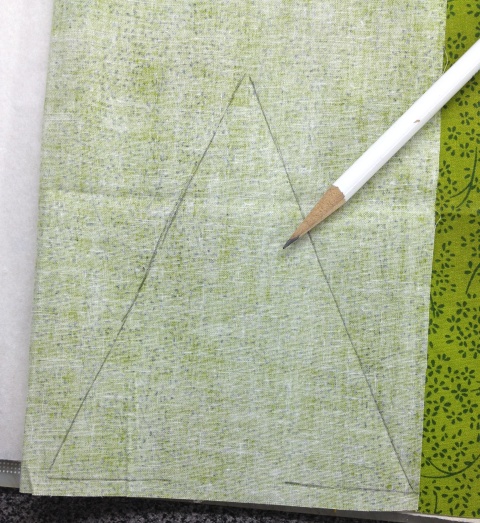
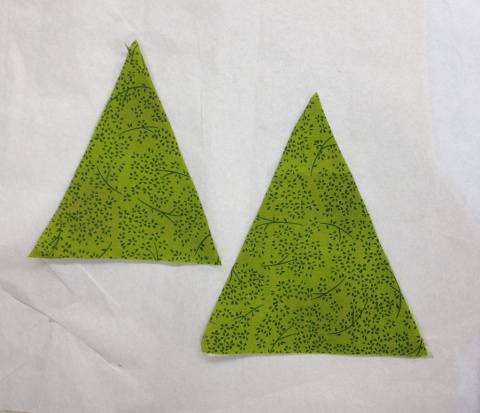 The above shows you two sizes that I’ve pre-cut already (didn’t want you to think my pinning was totally off!)
Next step: I like to lay out my buttons to see how it will look…
The above shows you two sizes that I’ve pre-cut already (didn’t want you to think my pinning was totally off!)
Next step: I like to lay out my buttons to see how it will look…
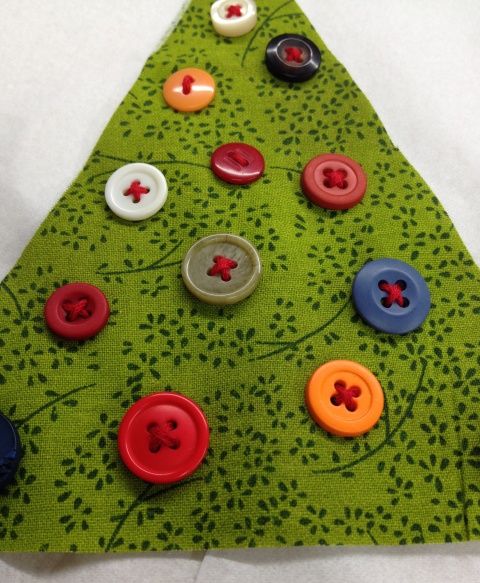
 to help you remember you can shoot a picture with camera and refer to placement. Using needle and thread stitch buttons onto fabric.
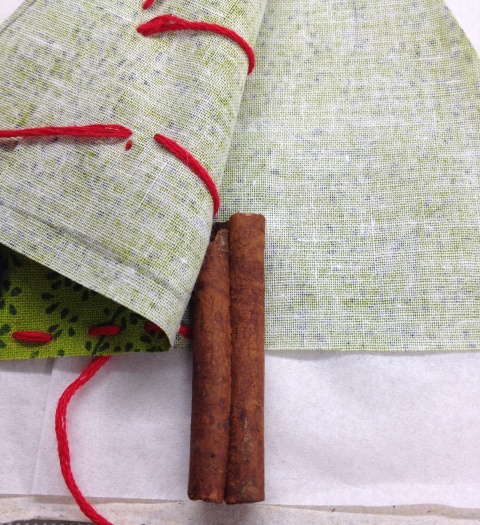
 Next: you will lay your fabric ontop of your other piece and stitch together (you can do a blanket stitch if you’d like – I did a simple running stitch).

 once you get to the bottom of the tree stop half way and now you’re going to insert your cinnamon stick about 1 1/2 in for the tree stump. I used glue on the back of the cinnamon stick to add additional support. Continue stitching until you get 3/4 complete.
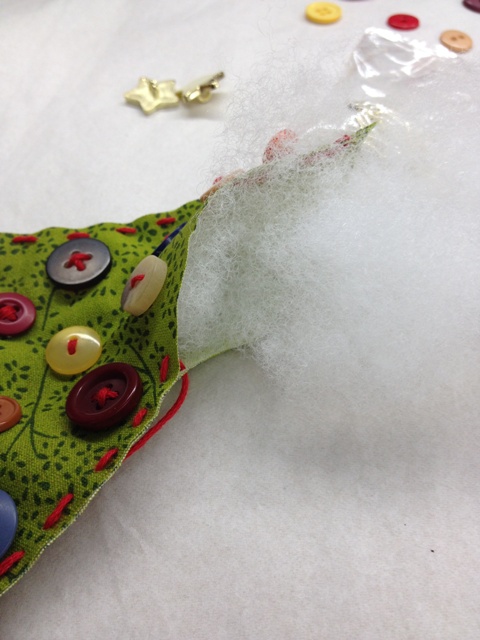
 Rready to stuff your tree! Using your poly-fill (you don’t need a lot enough to give it some cushion/padding/pouffness).
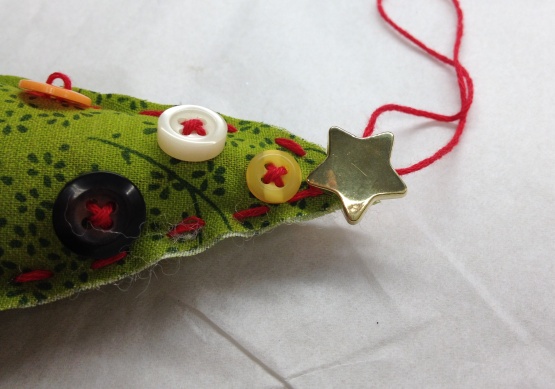
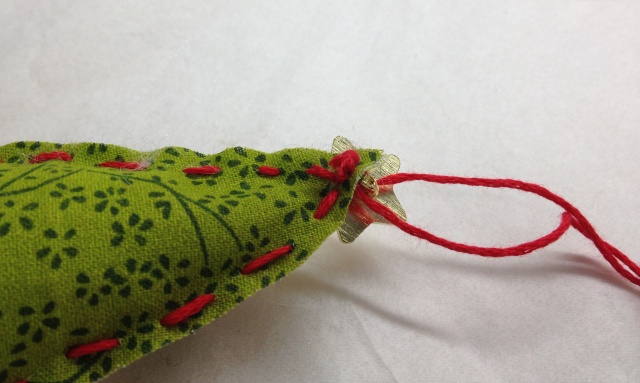
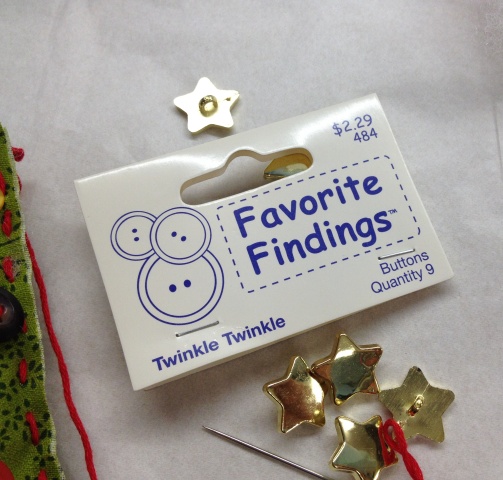 Once filled continue stitching until you reach the tip of the button tree. Every tree needs a Button Star – our Favorite Findings Twinkle Twinkle #484 is just the right button. Add create a loop and snip off excess thread.
 This is the back of the button tree – I left my blank however you can add buttons also (there is no right or wrong!).
There are many ways to do this tree…if you look at my original photo one tree is stitched and the other is glued – if you’re working with younger children the I suggest that you gluing may be an alternative way of creating this button tree (just remember to cover your surface when working with glue and let it dry before gluing the edges).
This is the back of the button tree – I left my blank however you can add buttons also (there is no right or wrong!).
There are many ways to do this tree…if you look at my original photo one tree is stitched and the other is glued – if you’re working with younger children the I suggest that you gluing may be an alternative way of creating this button tree (just remember to cover your surface when working with glue and let it dry before gluing the edges).

 What are you waiting for get stitching! There’s a tree waiting to be decorated with Country Button Trees!
Happy Holidays!
Happy Crafting!
What are you waiting for get stitching! There’s a tree waiting to be decorated with Country Button Trees!
Happy Holidays!
Happy Crafting!