
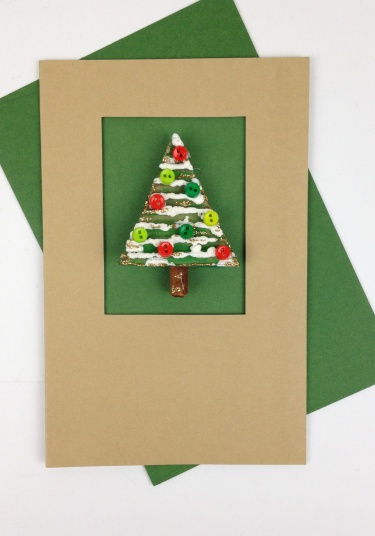
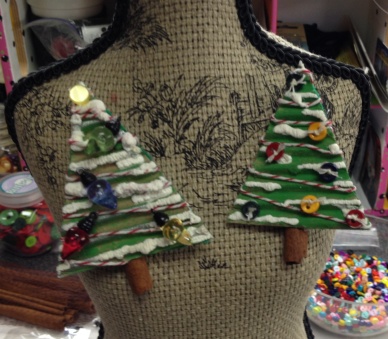
Yes – it’s just that – a recycled cardboard Christmas tree! I still haven’t determined if it will be an Button ornament, Tag for a gift or a wearable Button pin. I was looking around the office to see what or where my next inspiration would come from and all this time it was right in front of me a brown box…ding, ding, ding, ding instead of throwing it out why not utilize it…d
Todays blog is just that my recycled, corrugated Button Tree…(tbd!).

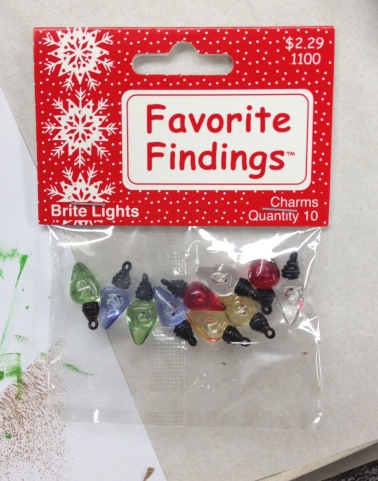
Materials needed: Buttons: Favorite Findings™ #1100 Brite Lights
Favorite Findings™ #443 Mini Country
Favorite Findings™ #440 Christmas
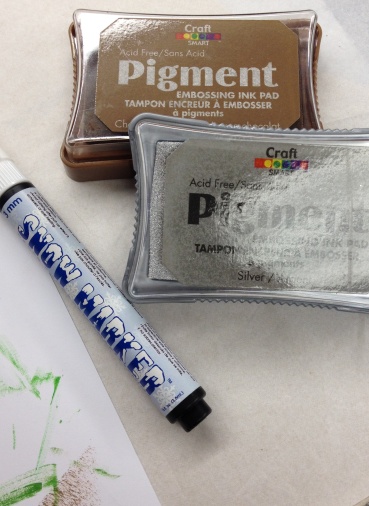
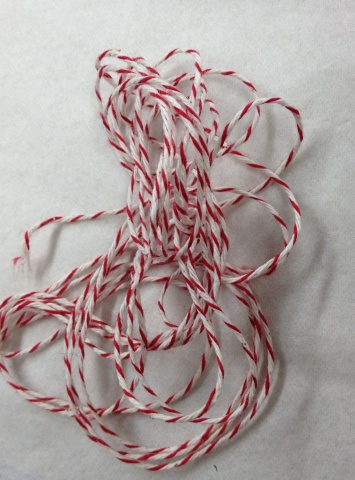
Corrugated box; green paint and paint brush;glue gun; brown ink pad; felt; pencil; tree template; scissors; glue; cinnamon stick; bakers twine; Martha Stewart Florentine Gold Glitter; Marvy Snow Marker™
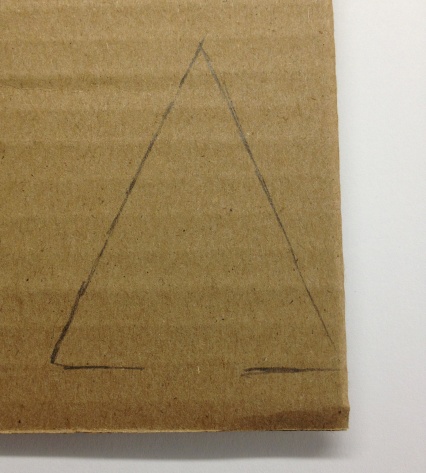
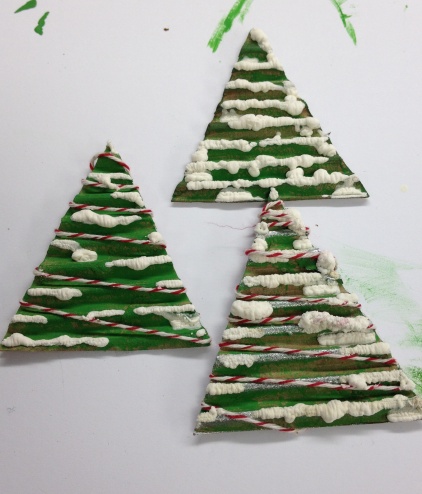
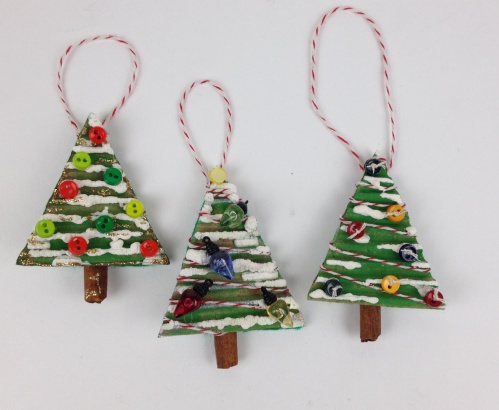
using your template (search the web there are so many Christmas Tree templates available) or with a ruler create a “triangle” – for this project I created 3 of the same sizes you can create larger if you’d like. Trace tree onto the corrugated box. Cut out using your scissors.
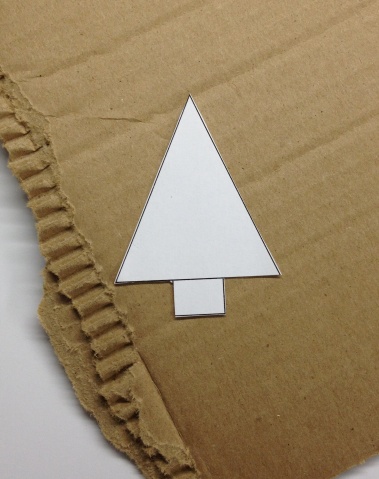
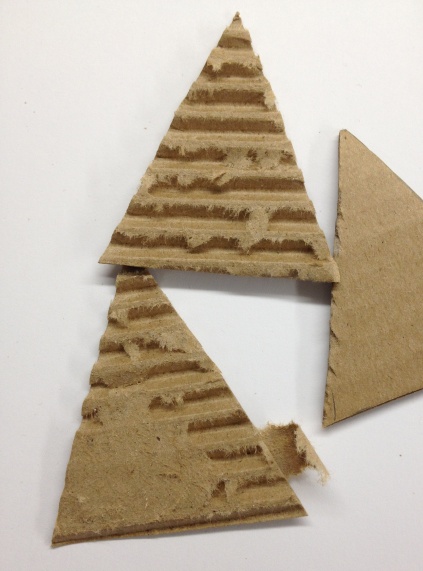
Refer to the photo above. Note that cardboard comes in layers – you’re going to peel off one layer of paper revealing the “corrugated” part of the paper. You can leave some stray edges for effect. Repeat this on all your trees.
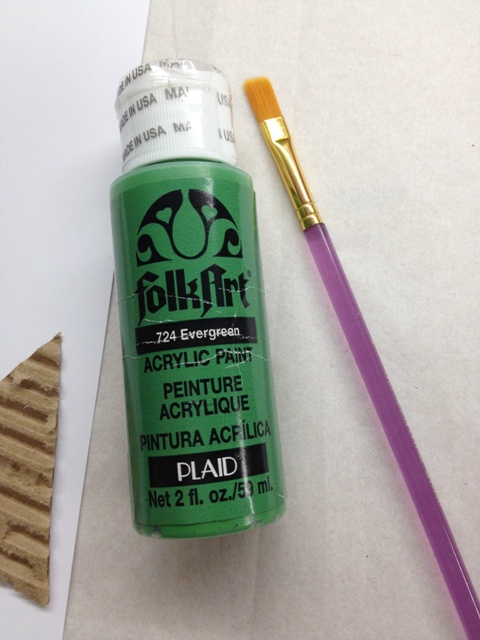

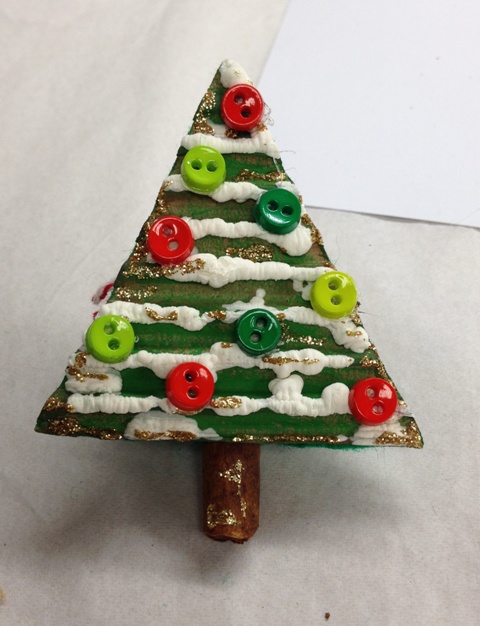
With your green “evergreen” paint lightly over the paper (you want to leave some of the brown paper showing) refer to photo above. Set aside and let dry. Once your paint has dried – I wrapped the “bakers twine” around the tree to give it the garland effect (secure with tap in the back)
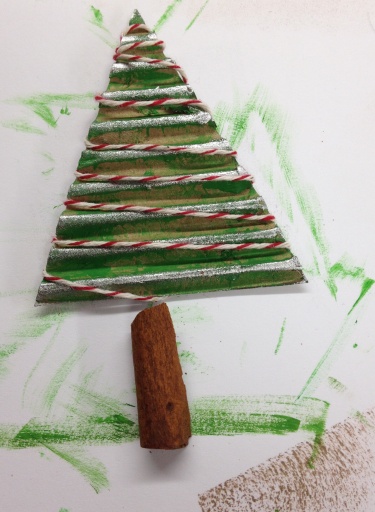
Using your brown ink pad (or whatever color you prefer) I inked the edges of my tree. Next step you’re gonna love – to create the “snow” look on my trees I found the Snow Marker by Marvy Uchida wasn’t sure how to use but it was easy just follow the instructions. Yes this marker does create this “puffy” effect…

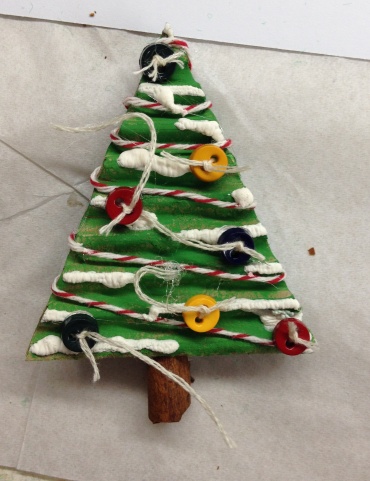
To create your tree stump – cut your cinnamon stick to approximately 1″ longer if you want more of the cinnamon to show. Use your glue gun to adhere to the back of the cardboard. Add glue to the back of the cardboard and place green felt down – don’t press down too hard. Trim excess felt off.

Time to decorate your trees…I used our Favorite Findings Buttons on all my trees. Check your local craft store for additional Favorite Findings Christmas theme buttons. Adhere with glue.
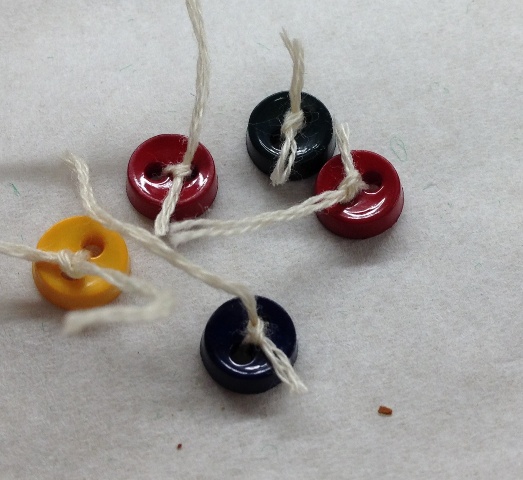
For the above, I added floss to the Favorite Findings mini country buttons and trimmed off excess.
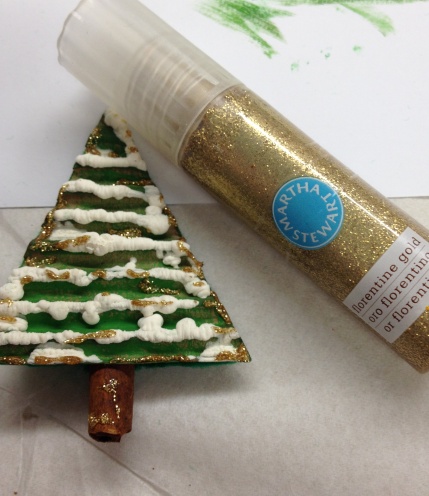
On this tree I used Glitter to add some shine and Favorite Findings Christmas mini buttons.

My last tree I added these fun Favorite Findings Brite Lights! oh yes and a small tiny button onto.
… Button Tree Ornament? Holiday Button Card? or simply a Button Pin? Whichever you decide – it all works!

Happy Crafting! Happy Holidays!
We are a team of craft-obsessed, button loving people! You probably use buttons almost every day without giving it much thought – they keep our shirts closed and our pants up (hopefully!) - but buttons can be so much more! We created this blog to share all the fun, creative ways we’ve found to use buttons. Our product development team is always coming up with great new button shapes and colors, in addition to new products, so we will always have something new to share with you!