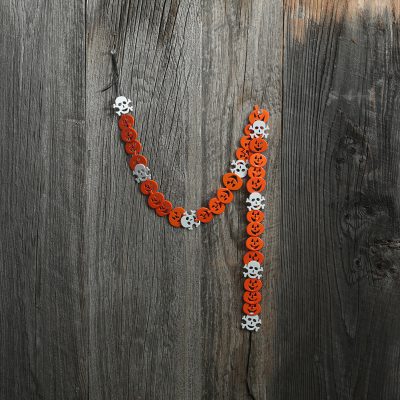
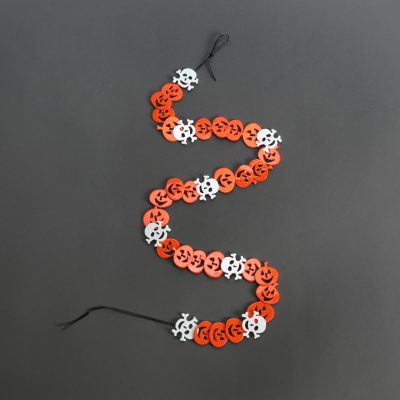
The countdown to Halloween is on! If you haven’t finished your Halloween decorations, create this spooky-fun Halloween Button Garland with pumpkin and skull buttons and narrow satin ribbon. Use this garland to frame a doorway or decorate a mantel.
To make this Halloween Button Garland, you will need the following materials:
Offray Double Face Satin Ribbon, Black, 1/8 Inch Wide
Embroidery Needle
Scissors
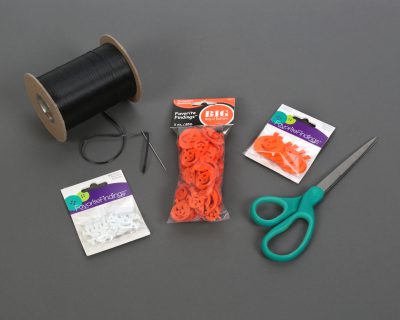
To begin, determine the pattern for your buttons (the order you want to place them on your garland). It helps to lay out the order of one set of buttons so you have it as a reference. Then you can organize the loose buttons by size and shape. For this garland, we only used the larges buttons from the value bag with multiple sizes. Check to see which sizes your needle will fit through before you incorporate the smaller sizes. Use the smaller size buttons as confetti on a table if they don’t work for your garland.
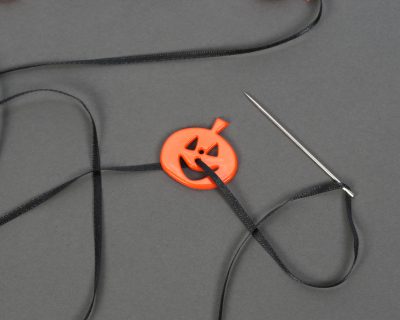
Next, determine the length of your garland. To make it easier to work with, consider creating shorter garlands and tying them together or pacing the shorter pieces exactly where you need them. Cut the ribbon to those lengths. Thread one end of the ribbon through the needle and pull about three inches through the other side. Begin to thread the ribbon through the button holes on the buttons. Pull the buttons to the far end of the ribbon but leave three or four inches of ribbon at the end.
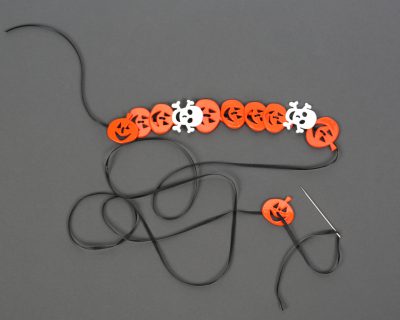
Add the buttons in your predetermined order. You can either face all the buttons in the same direction or switch them up. Add all the buttons to the ribbon, leaving three or four inches of ribbon at the end. You can then tie lops in both ends of the ribbon for hanging. Or use the ends to attach different shorter garlands together. You are ready to decorate using your Halloween Button Garland!

HAPPY HALLOWEEN CRAFTING!!
