Are you planning a Spooktacular party for Halloween this year? Use some of our fun Halloween buttons to make these hand-painted Halloween invitations.
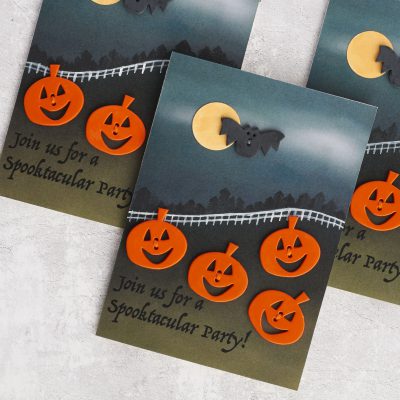
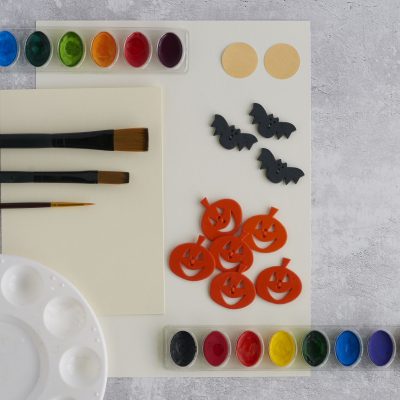
To make these Halloween Invitations you will need the following materials:
Favorite Findings, Smiling Pumpkins Buttons 550001318A
Favorite Findings, Just Batty Buttons 550001359
Paint Palette or Plastic Plate
Watercolor Paper, 6” x 8” per card
Watercolor Paints
Brush – watercolor
Brush – fine tip
Craft Glue
Double Sided Tape
Masking Tape
Matching Thread
Purchased or Premade 5” x 7” Ivory Cards
1-1/8” paper circle punch
Black Pen or Stamp with Black Ink
Scissors
These steps are for a single invitation, repeat them for each invitation you need to create.
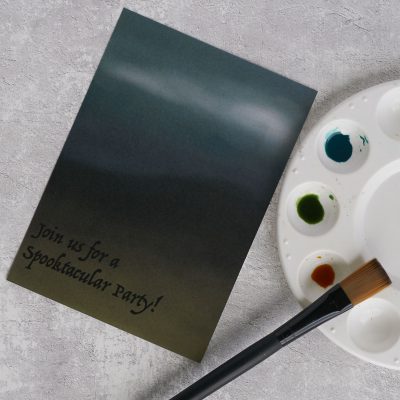
Cut a 6” x 8” piece of watercolor paper. Tape 1/2” from outer edge on all four sides leaving a 5” x 7” open area for paint. Brush the entire card front with water. Blend watercolors on the palette or plate to create desired shades. Follow general watercolor process when painting (work with lighter shades first and build to darker shades). Stamp or print the invite text to the card front.
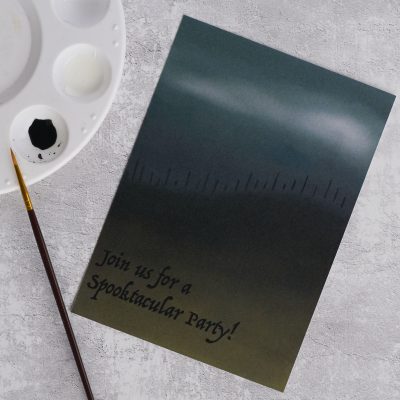
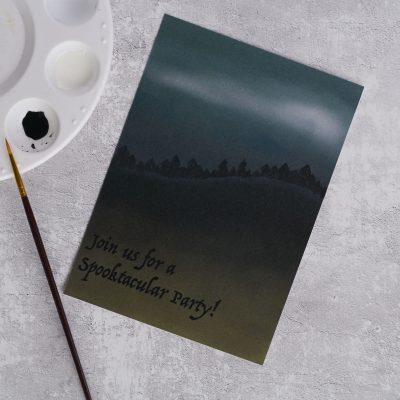
Create the tree trunks using black paint and a fine tip brush. Start at the top of each tree trunk making adding branches and filling in the tree line.
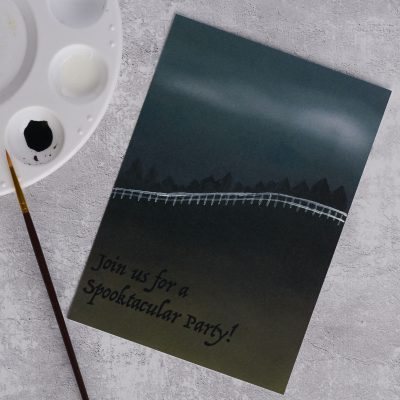
Create the fence posts using white paint and the fine tip brush. Add the railing using long thin brush strokes.
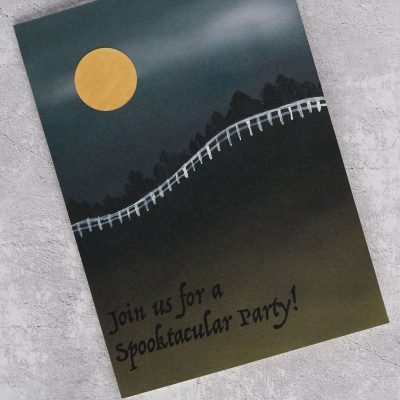
To create the moon, blend yellow and orange paint. Bush over a small piece of watercolor paper. Punch or cut a 1-1/8” circle from the watercolor paper. Glue to the card front as shown. Attach the card front to a purchased card using double sided tape.
Attach matching thread through the button holes to give the illusion the buttons are sewn to the card. Use a small dab of glue to secure thread ends to the button back. Glue buttons to the card front.
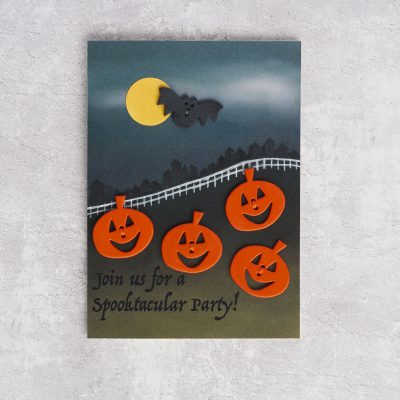
Add a personal message and party details to the inside of the card. Your guests will be so impressed with your handmade Halloween Invitations!

Happy Crafting!
