
With only a week away Mother’s Day is so quickly approaching and time to get crafting! Yes we can go through the same routine as last year – fighting the crowds at the mall – perfume counter and so on. But what about actually sitting down and creating something from the heart and one she’ll treasure as she has with all the other projects you created?
Years ago I found a saying “Mother’s are like buttons they hold everything together” and we can all agree with that statement and how fitting. I knew eventually I had to do something and well now is my time to share and hopefully it will inspire you too.
So let’s begin….
Materials:
Many of the items you may already have and you can change out the colors to your liking.
Assorted white buttons (or your choice of color)
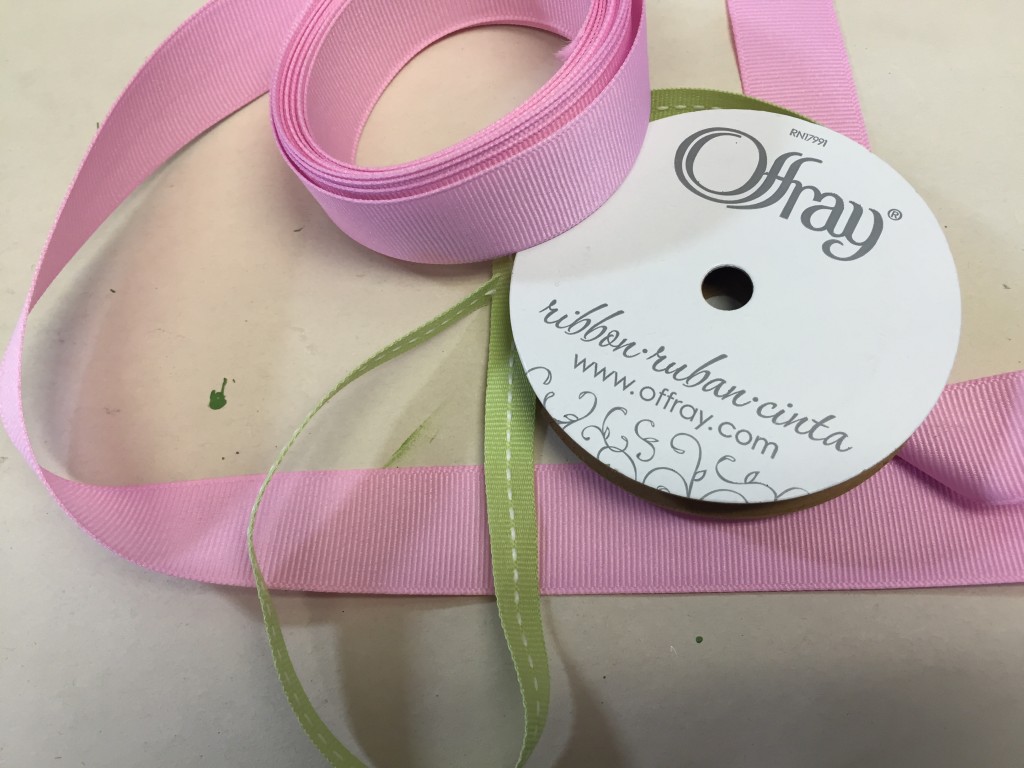
Offray 3/8″ groisgrain ribbon (bow & wrapping frame)
Offray 7/8″ groisgrain ribbon (wrapping)
6 x 6 white shadow box frame
assorted scrapbook paper (3 – print & solid)
glue; scissors; compute & printer
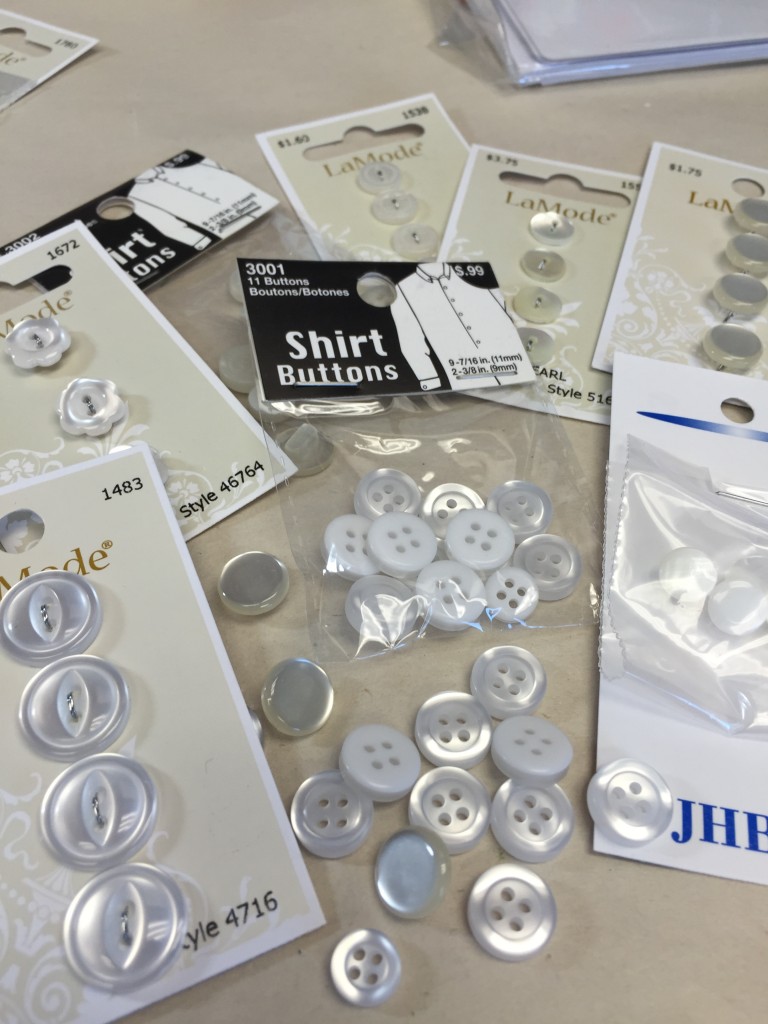
Here’s a sampling of what I used: Shirt Buttons 570003002 (off white) & 570003001 (white)
400046765 LaMode white flower; 100 Buttons 550001760; 400048188 LaMode pearlized – used this in the center of bow)
400046690 LaMode shell
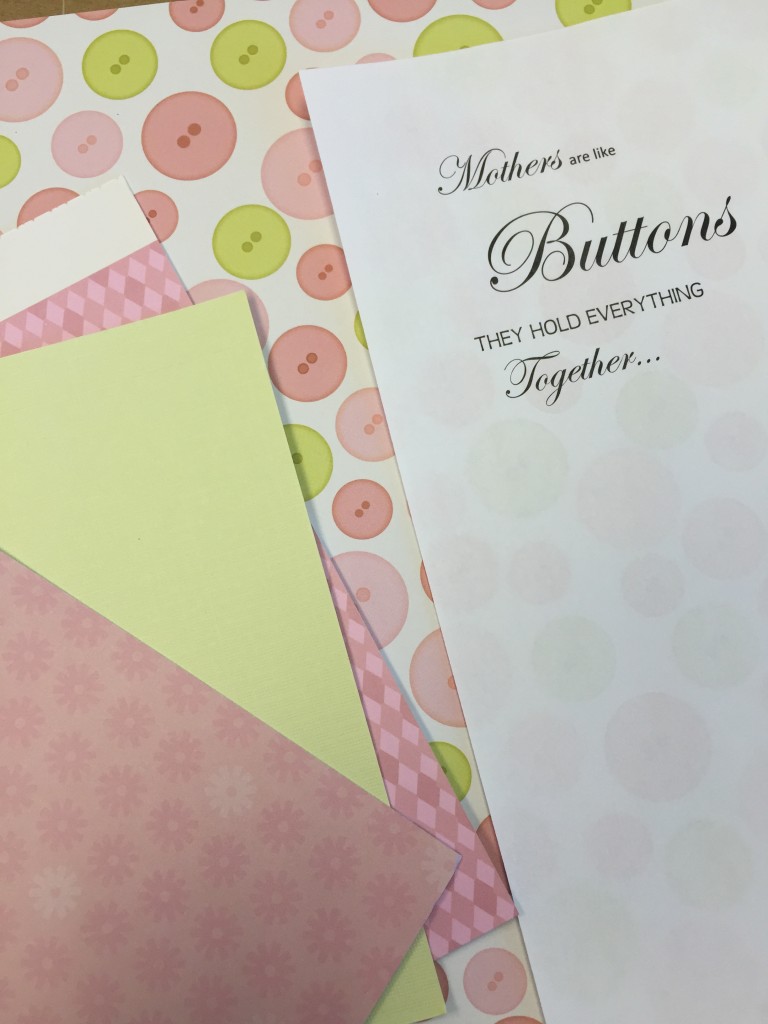
Measure and cut all your paper to desired size: I went with a printed paper as my bottom layer, solid for my second layer and a soft floral print as my top (again use colors that work for you).
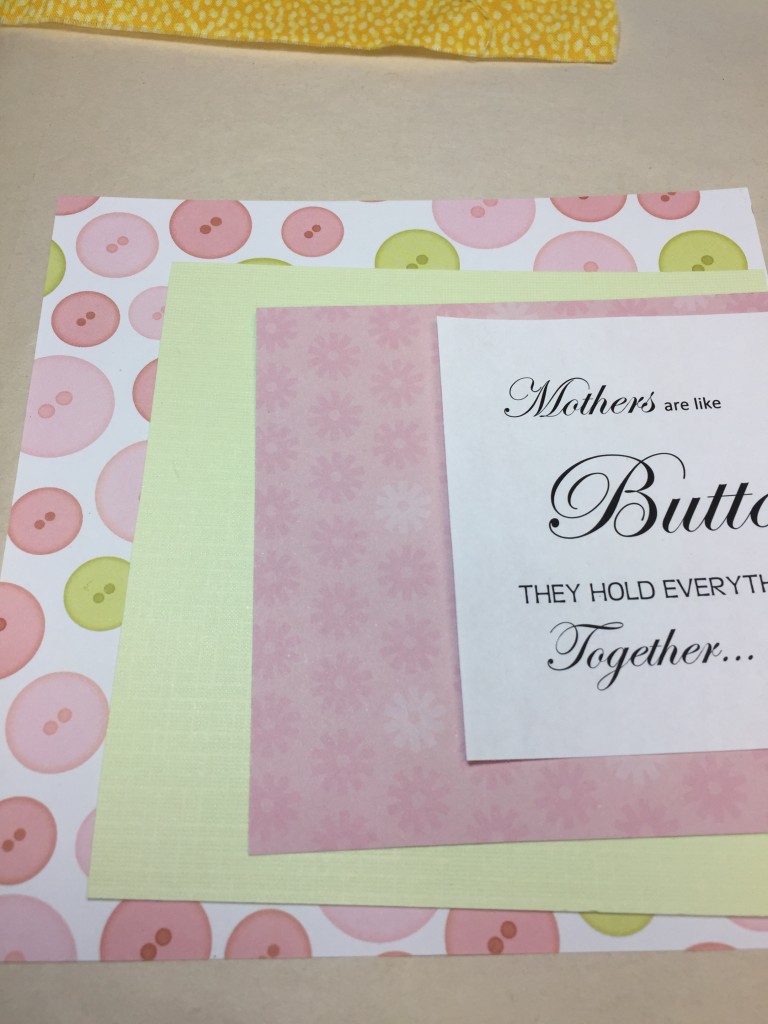
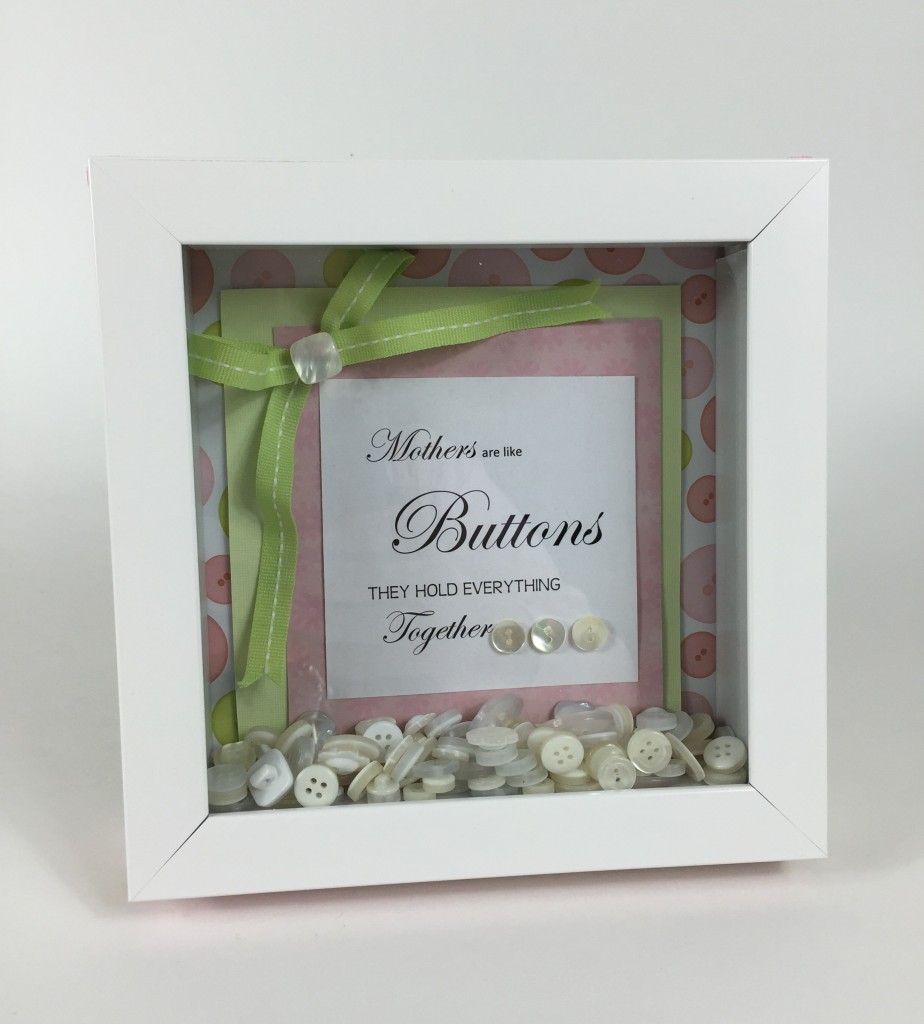
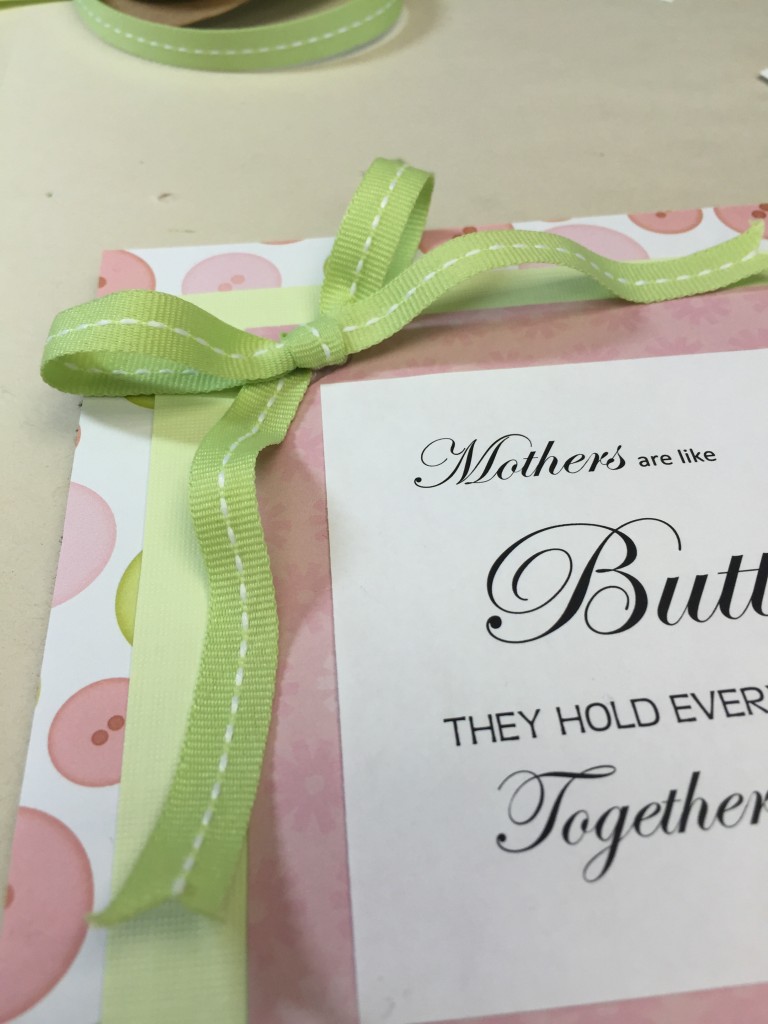
Above shows you my final layout and color choice. Print out your Mothers phrase.
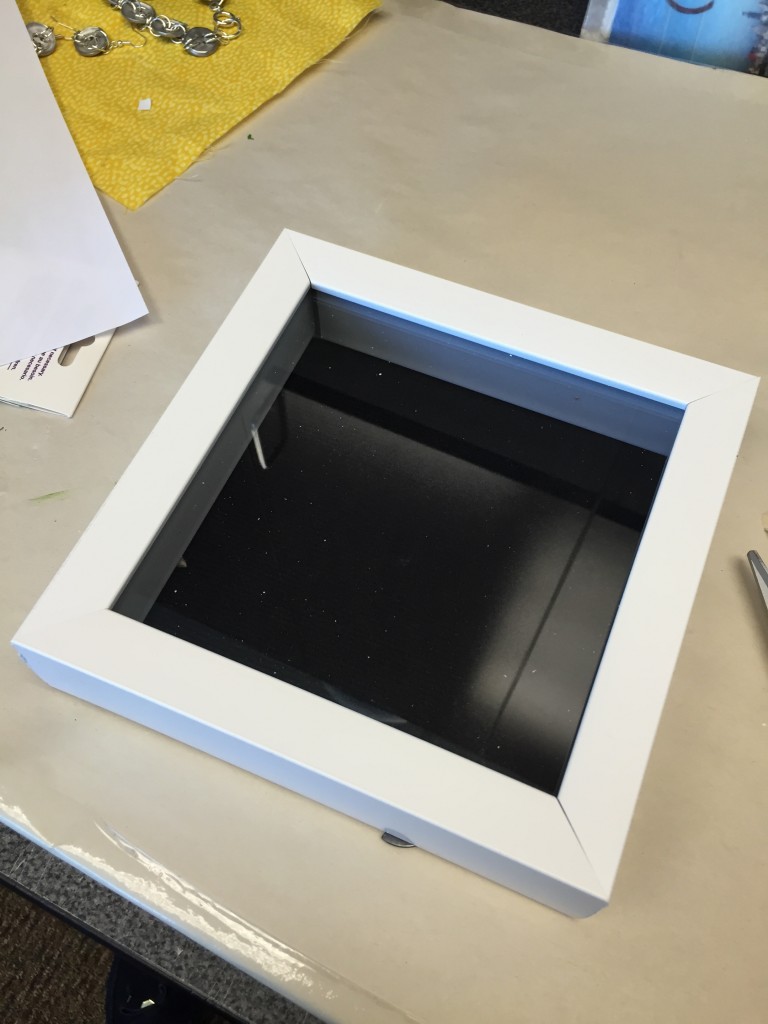
Clean frame inside and out! (there’s a sneak peak of my next project – if you like jewelry!)
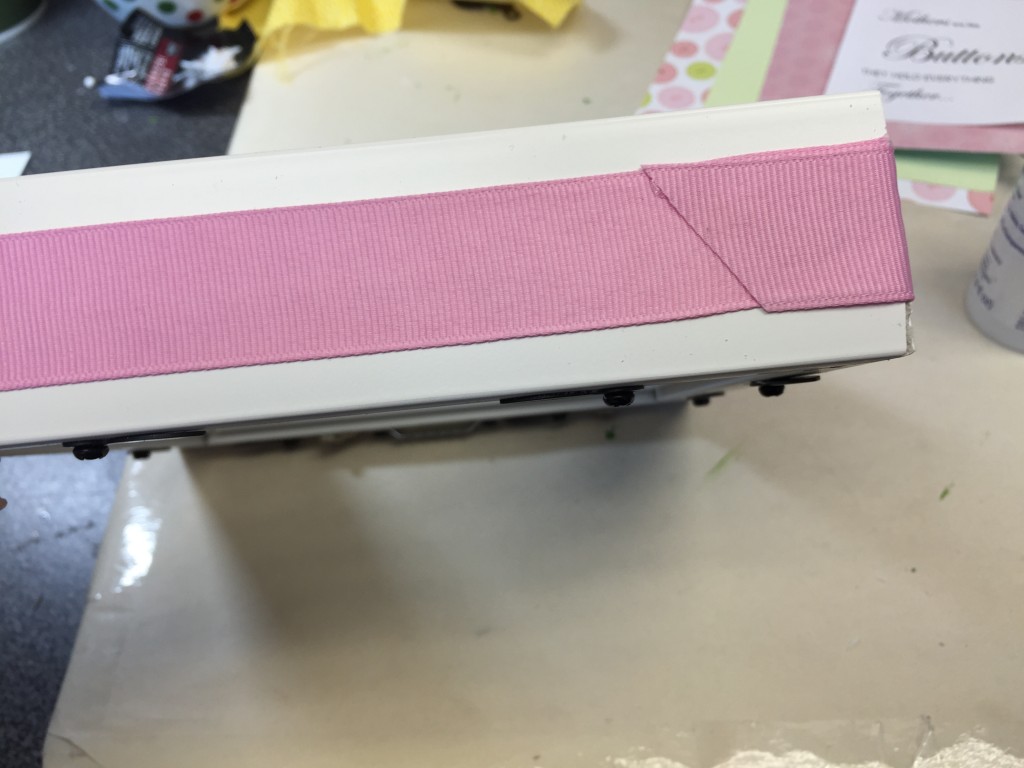
Measure and cut ribbon (this will be used to warp the outside of the frame).
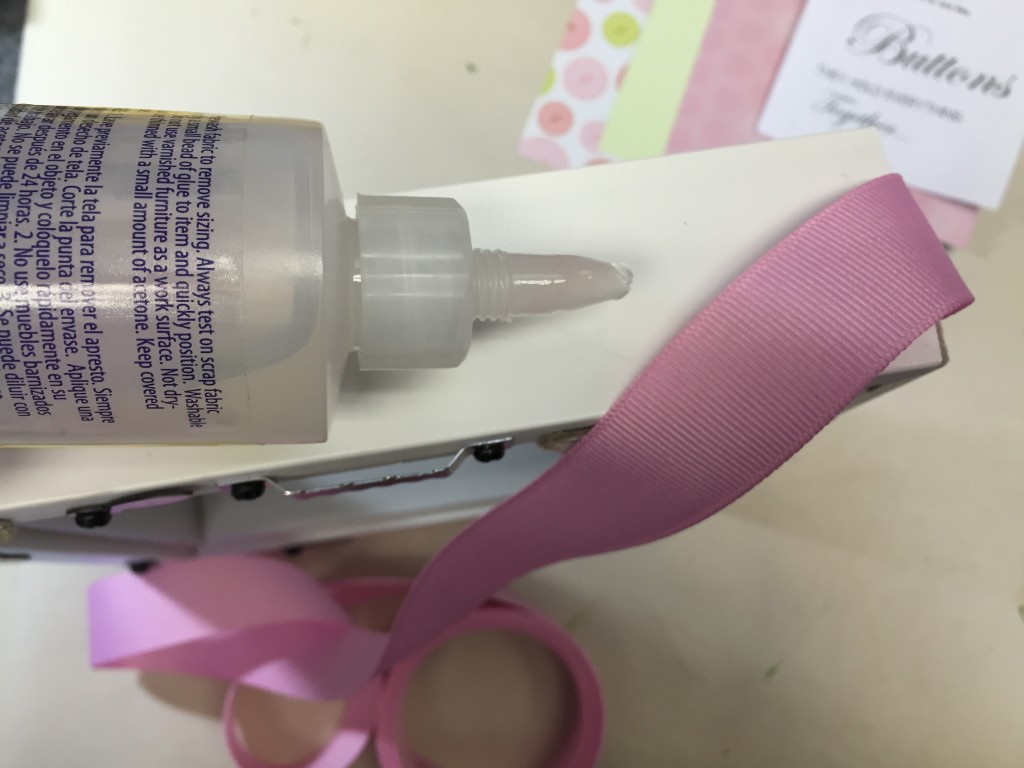
using glue (I like using Fabri-Tac by Beacon) run a bead in the center of the frame and place your ribbon ontop. Cut. Let dry for a few minutes and repeat with the smaller ribbon.
Moving on…next remove the back of frame. The backing will be your base. Glue your printed scrap to the “front” of this backing and keep layering your paper. You’ll see that I’ve off centered my paper since I was adding a ribbon in the corner.
To give your ribbon some height add glue and then adhere as shown above.
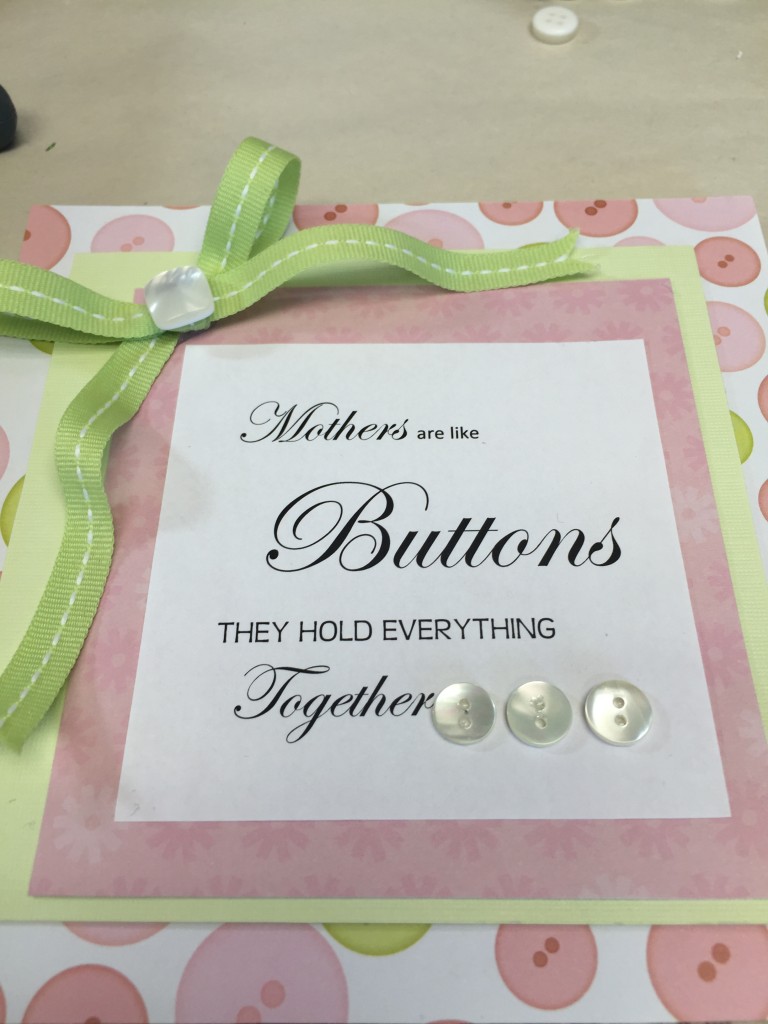
Add three buttons and a button to the center of your bow. (You may need to remove the shank (neck of the button) using our Favorite Findings Button Shank Remover (550000700) carefully cut the shank of button.
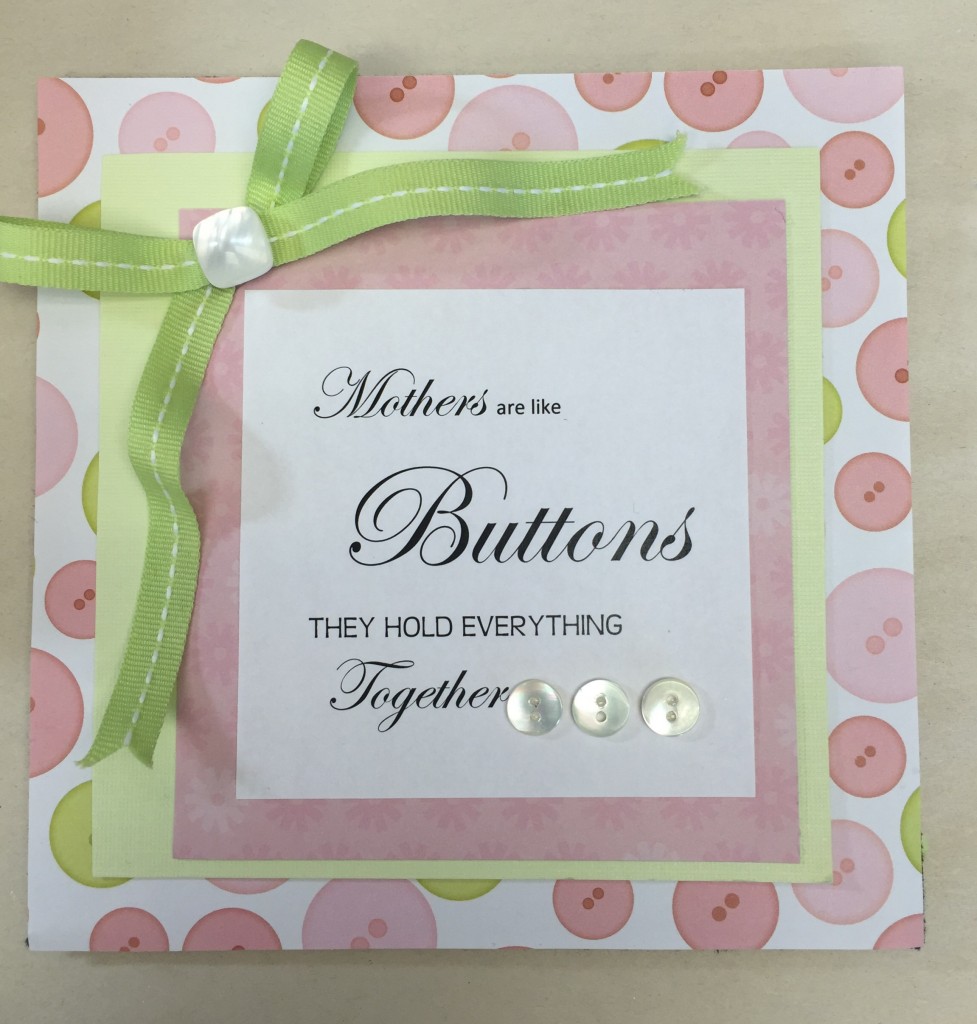
Here’s a better picture of what I mentioned earlier – off centering the paper because of the bow.
Okay at this point I’m going to ask you again to make sure you’ve cleaned the inside of the glass! You’re gonna thank me later!
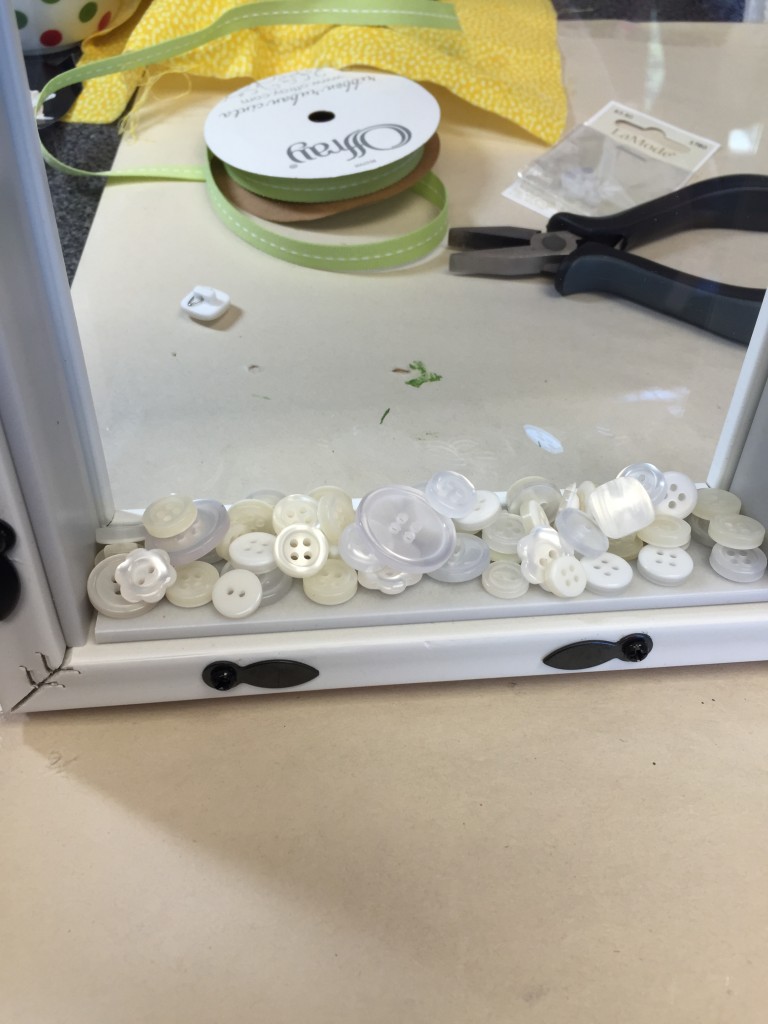
Now it’s time to work with the rest of your white buttons…carefully place them all on the bottom inside base of the frame. Careful not to cover your phrase.
Place the backing – back and seal.
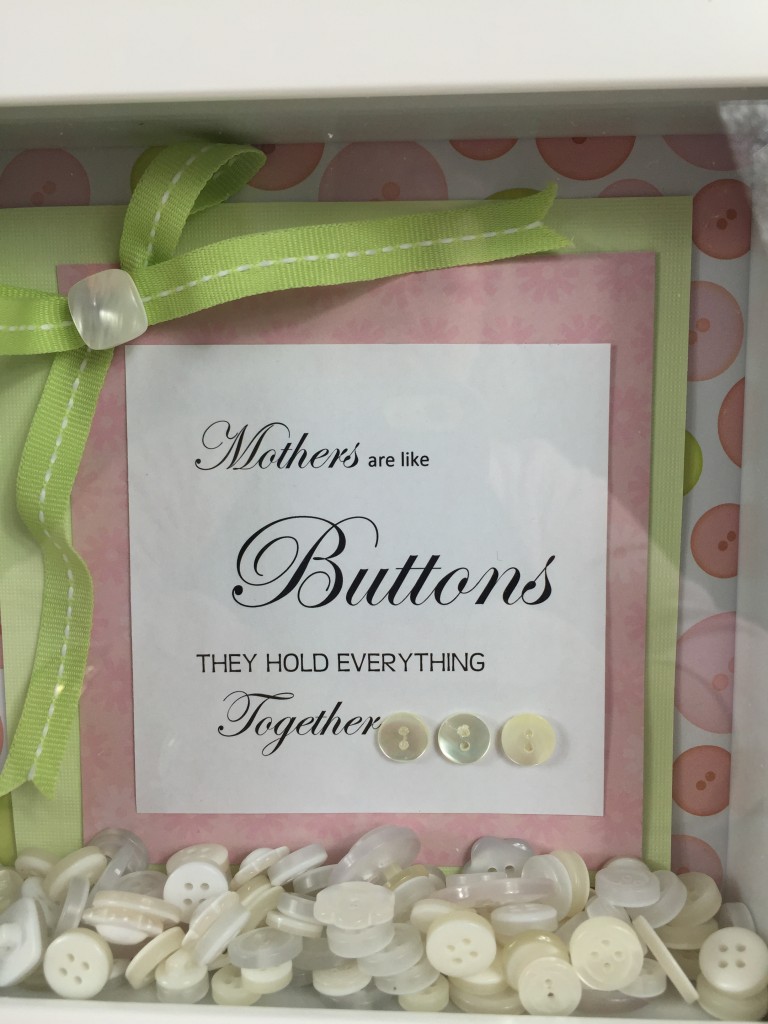
Here’s a close-up of the frame – don’t worry if your buttons are upside down, not facing the same direction!
So now that you’ve completed your project maybe get some potted flowers and find that perfect spot so when she sees it she’ll always have a smile!