Looking to create something different with buttons? Inspiration surrounds us – whether it be the person sitting next to you at the coffee shop, window shopping, magazines what about nature itself? Okay well maybe not for this project! But with Pinterest the ideas – inspiration are endless. Today’s project I did find on Pinterest a couple of years ago and well, filed it in my “one day” file and every so often go back and see if today is going to be that day that I create that “one day project”! today was that day…
Jump ring Button Bracelet & Earrings – name it as it is…looks difficult? not really but fun to create! The earrings were a last minute decision to add to the piece!
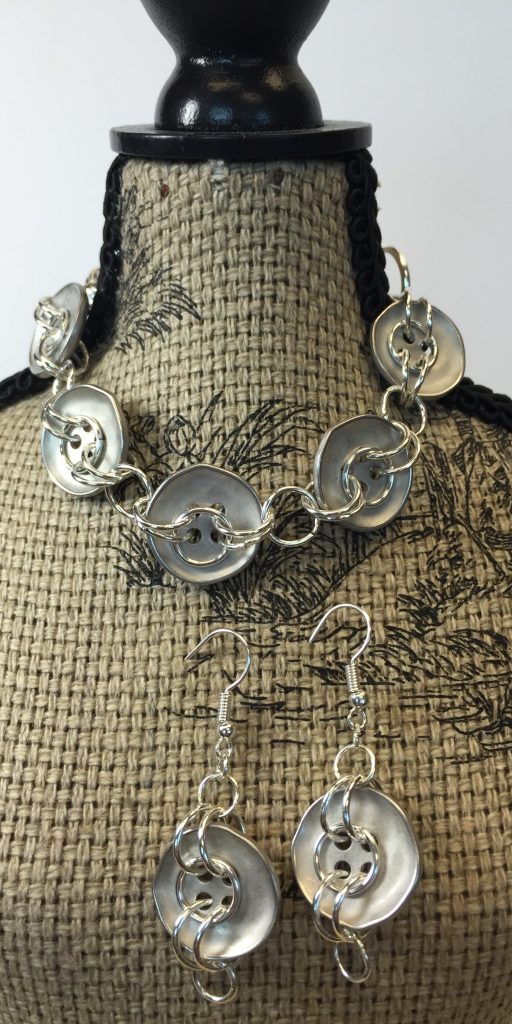
So let’s get creative…
Materials: La Mode #24790 (5 cards) or any 4 hole button that you prefer (mix up the colors)
Jewelry tools: 2 flat nose pliers
Jump Rings – assorted sizes: 9mm; 8mm; 4mm; 3mm; 12mm;
Spring ring clasp (1)
Fish hook earrings
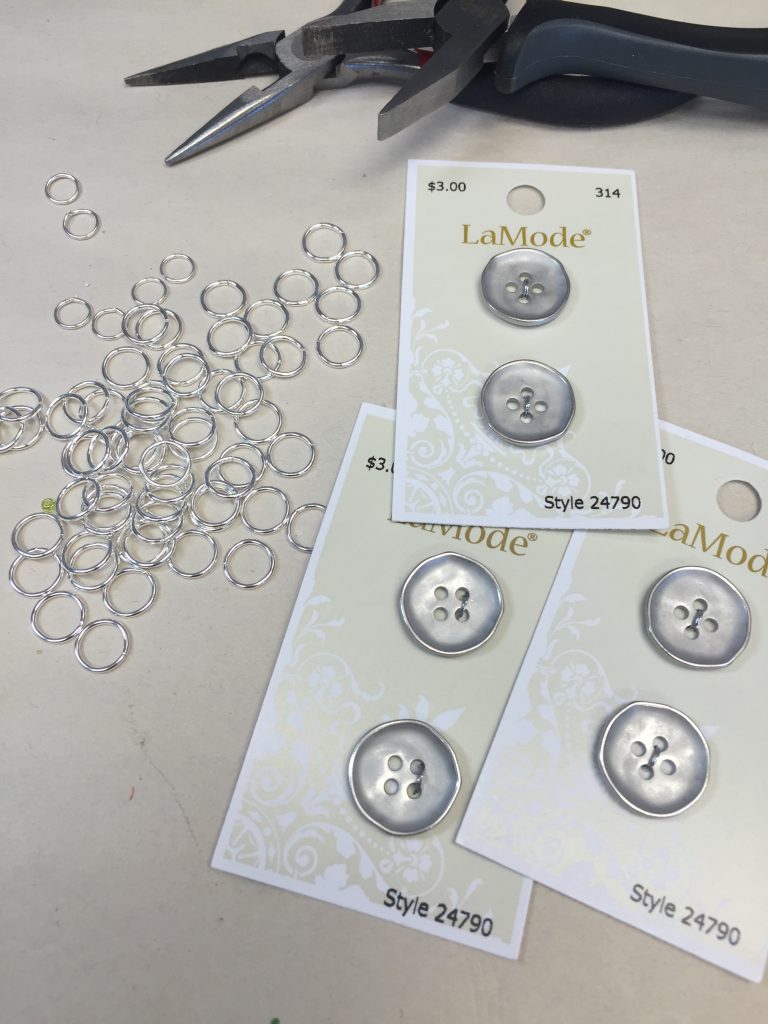
Again select a button that you’d like to work with – this style is simple but had a “hammered” texture to it! For this bracelet since I like them loose I worked with 7 buttons – you may see that you’ll need atleast 6 or even less
Assorted jump rings: for the bracelet 42 – 9mm; 1 – 8mm; 1 – 12mm; 1 – closure
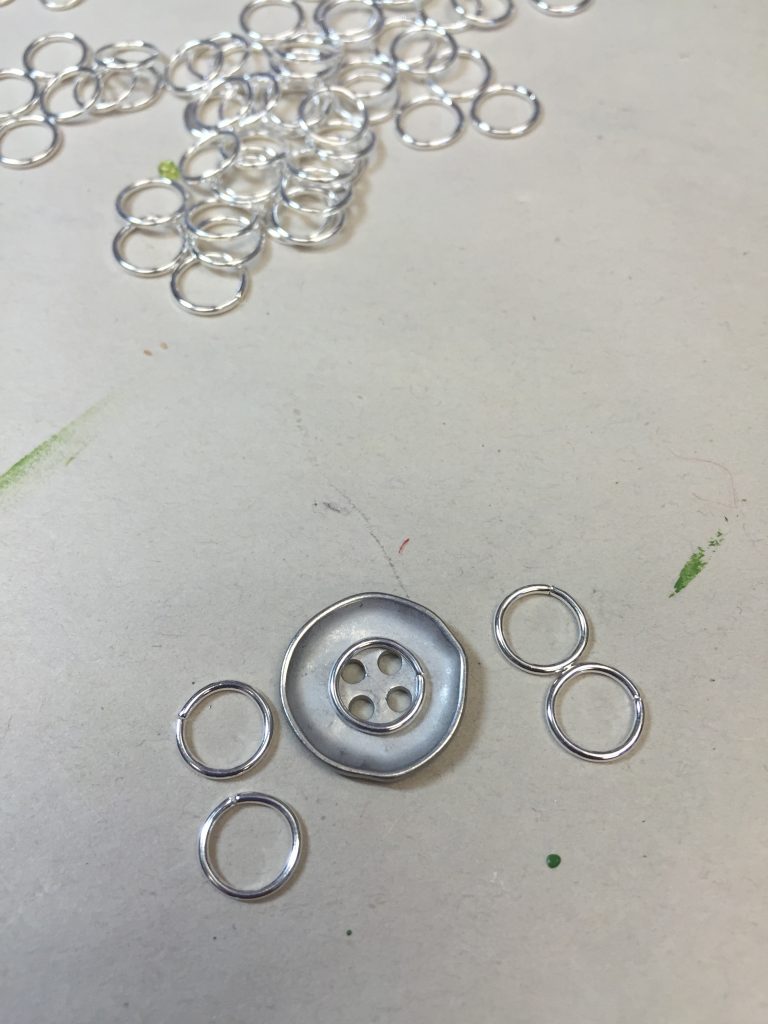
wanted to show you the layout of the bracelet – each button will use 5 jump rings. One will lay in the center of the button holes the the others will be attached to the button hole securing the center jump ring…
With your flat nose plier – open your jump ring (if you’ve never worked with jumprings – there are wonderful tutorials on You Tube).
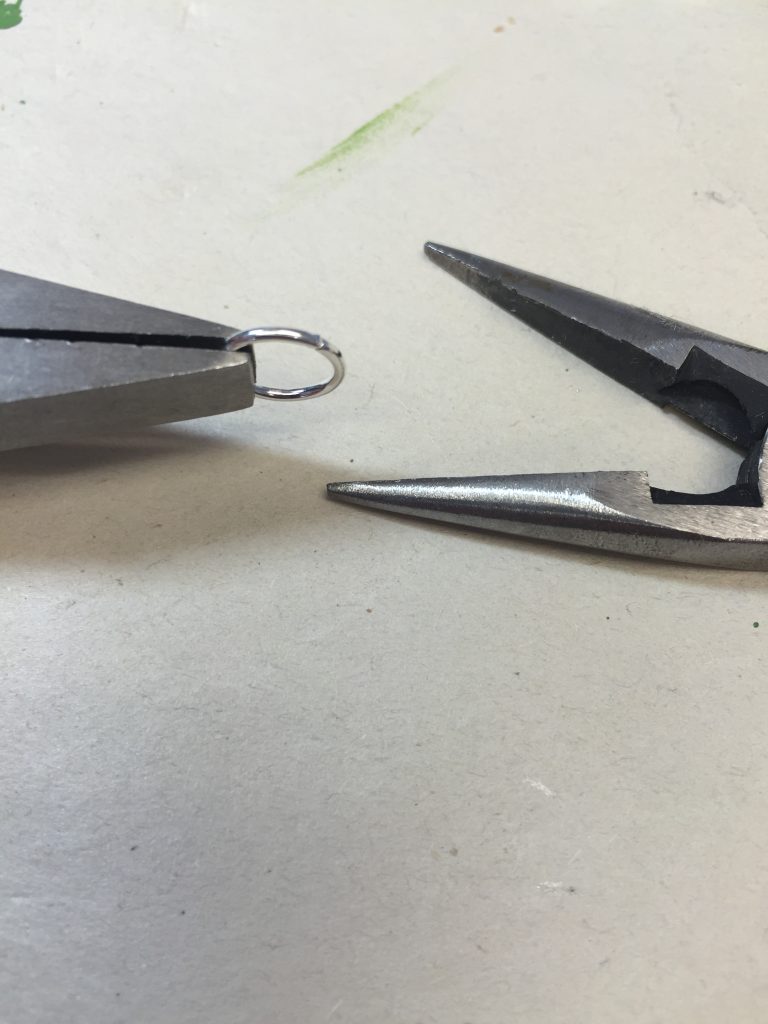
So with your one flat nose hold/secure one side. Using the additional flat or round – grab the other side and pull away from you as if you are twisting (gently).
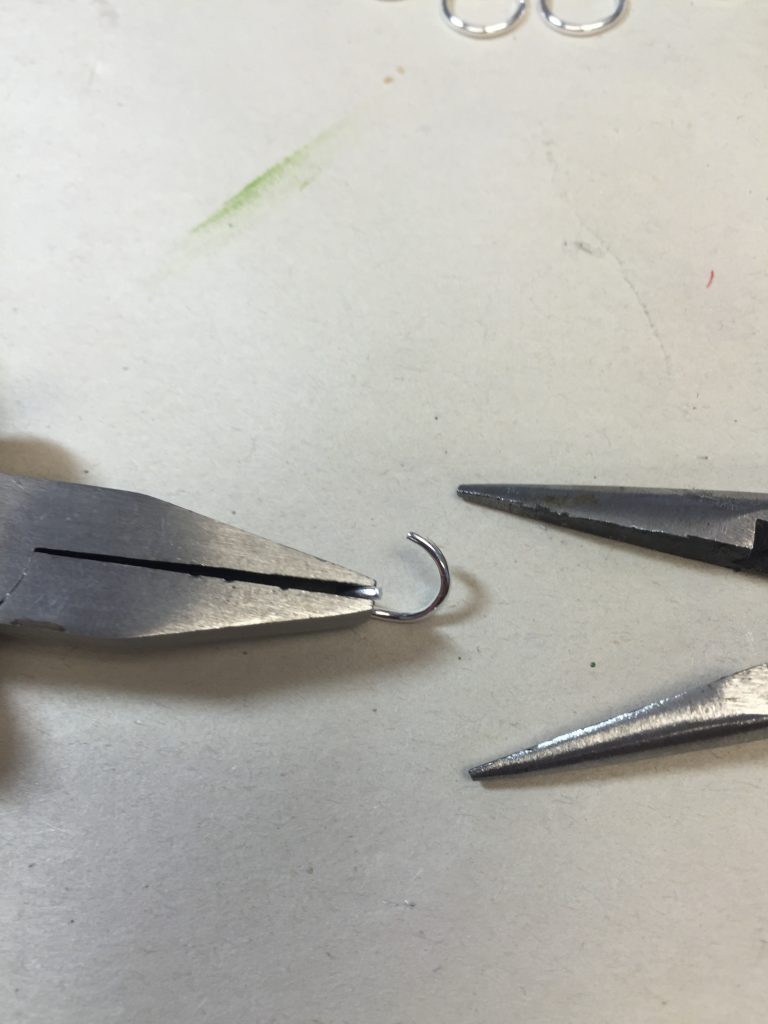
you want to open all 4 links…
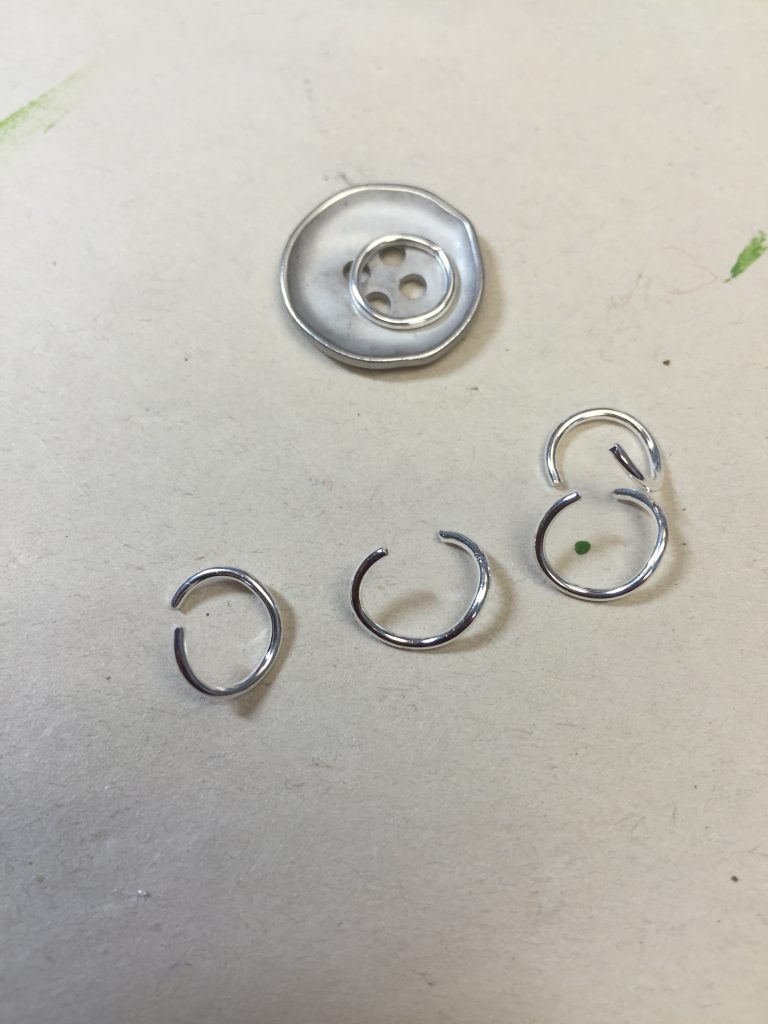
next…
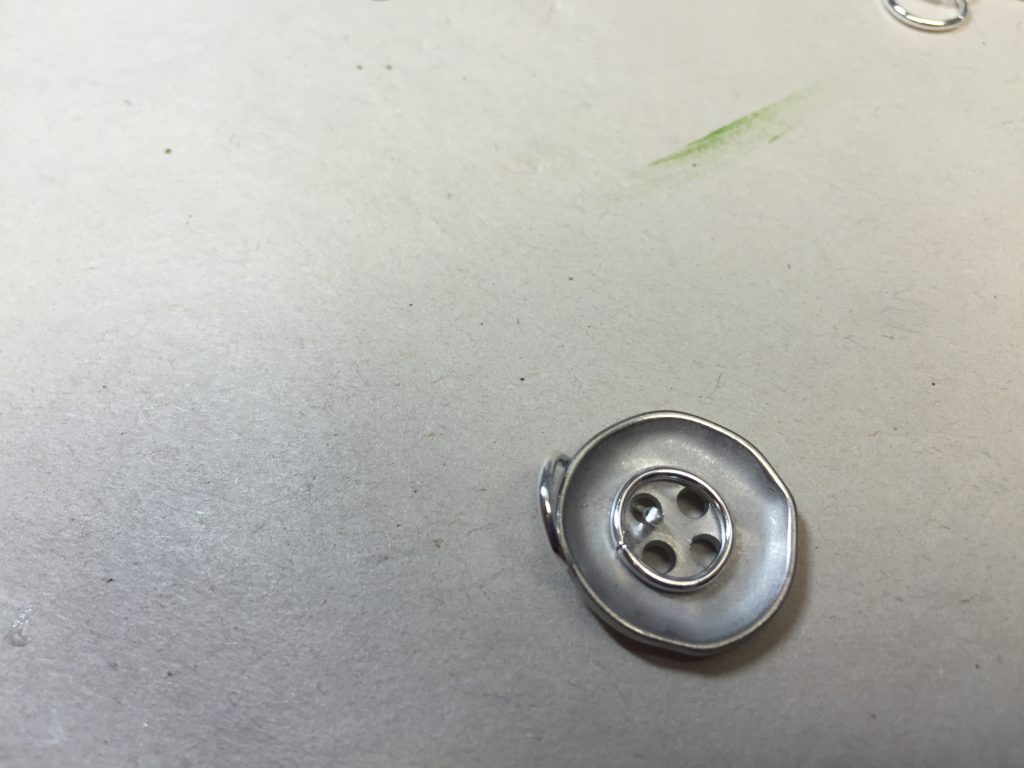
You want to insert the links into the button hole and then to close repeat the same process as when you open – now twist close – you should hear a “click” sound this means that the links have lined up. You’ll see that my links are not perfect but I know that my button will not slip out.
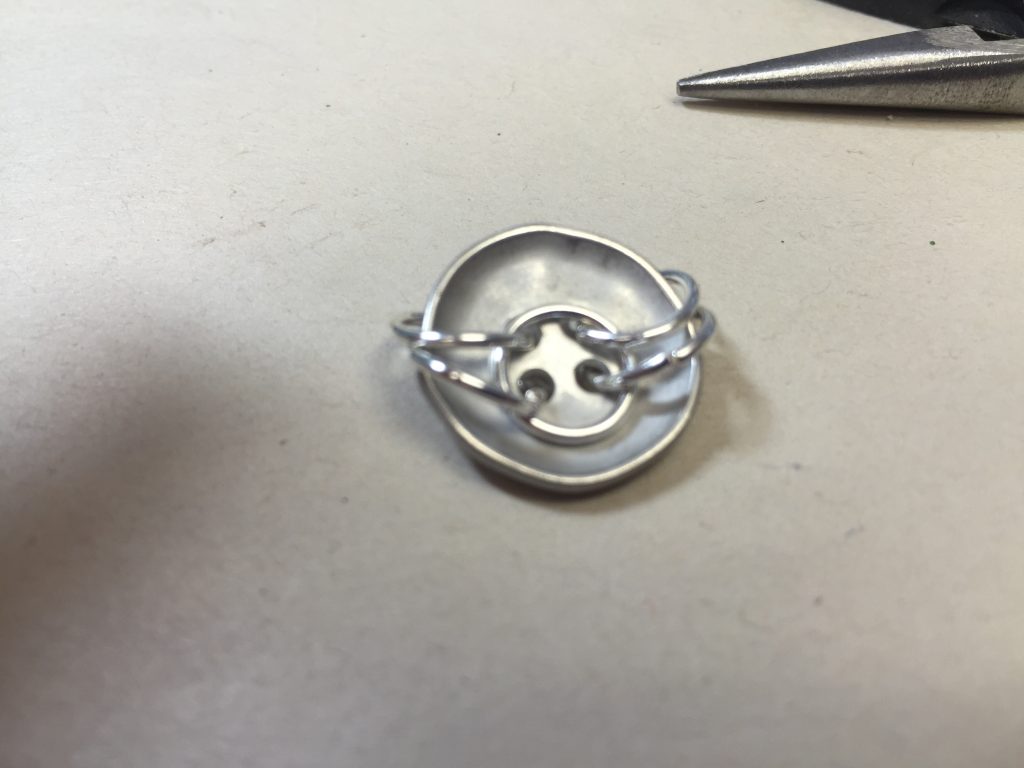
(kinda blurry sorry) so you see that I’ve attached the links and you’ll repeat this on each button.
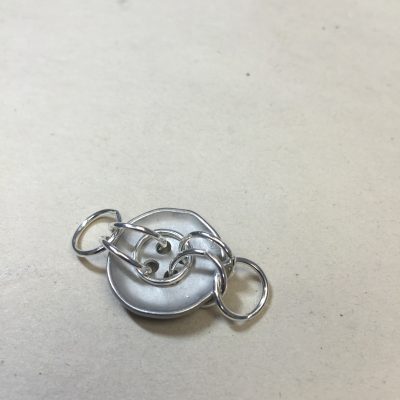
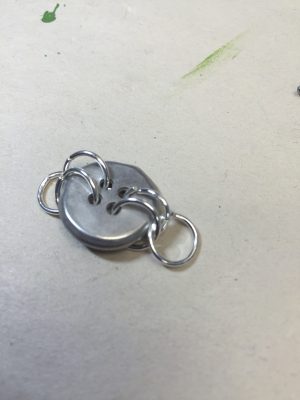
Once you’ve attached all the links, your next step is to link the buttons together forming your bracelet.
Again, using your 2 pliers open your jump ring, attaching them to the first button as shown above but you also want to link the next button to that center jump ring.
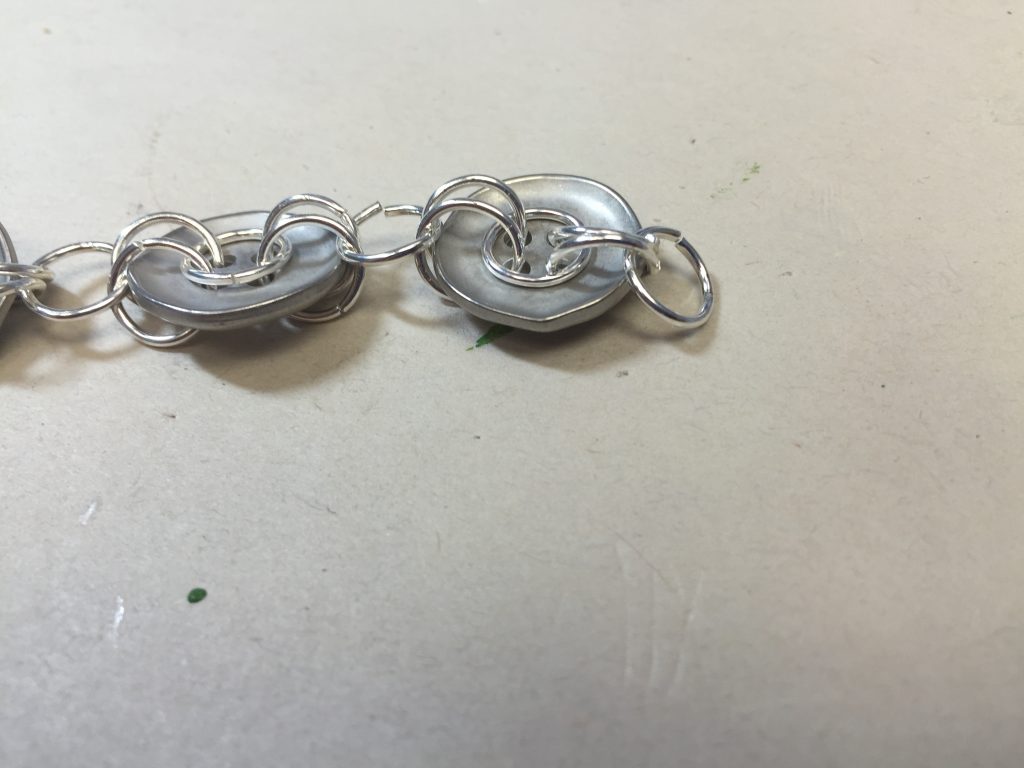
So the above photo is a good example of my jump ring not being completely closed (I went back and corrected that!) oops…
So you want to keep attaching all your buttons together until you’ve reached your desired length. You may opt to only do 4 buttons and do all links to create your bracelet…
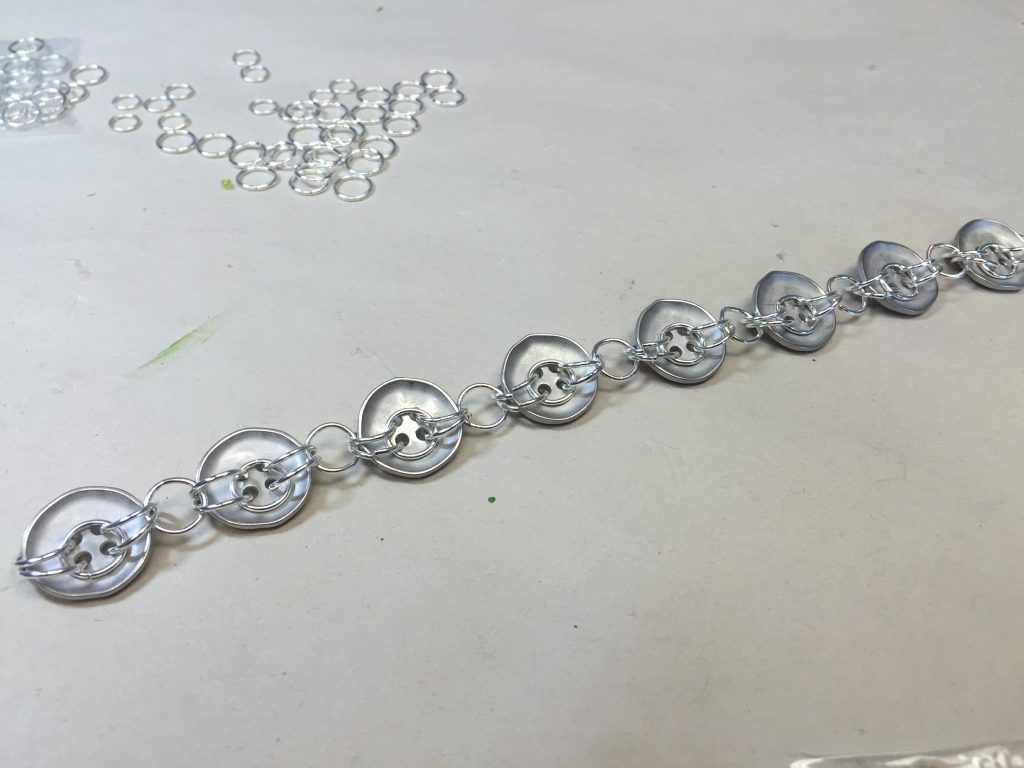
You’ll see in this photo there are 8 buttons – I actually went back and removed one set and then decided to create the earrings….
You’re now ready to attach your closure. I used a simple spring clasp closure (below) you can also do a toggle closure.
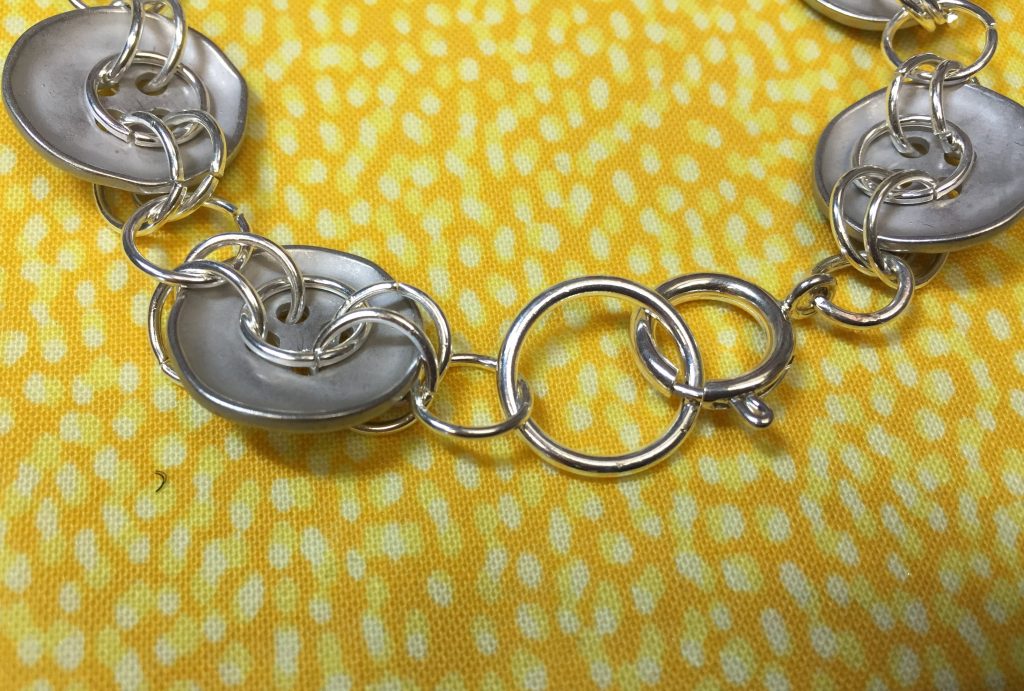
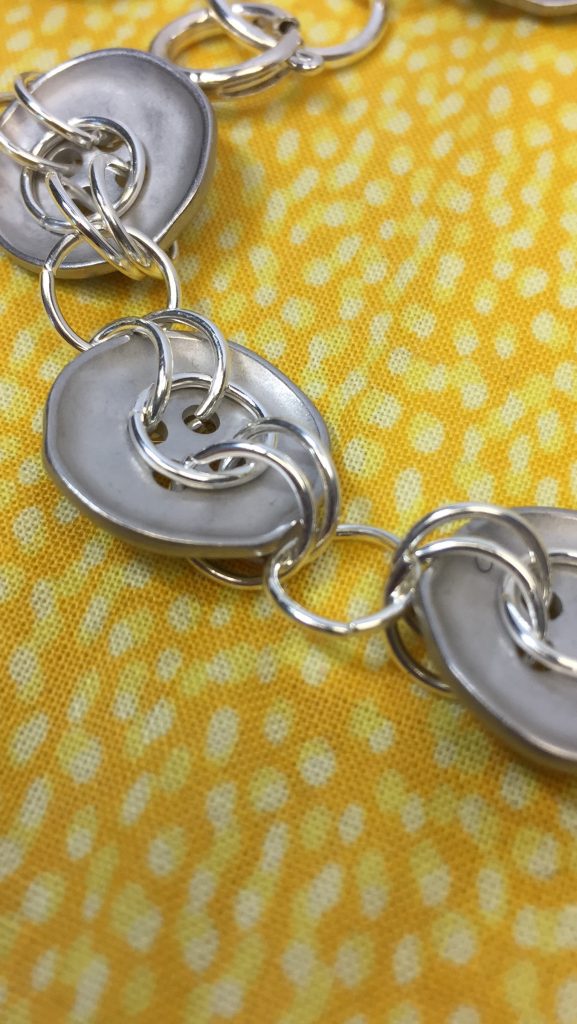
Here’s a closer shot of the links and how they are “linked”.
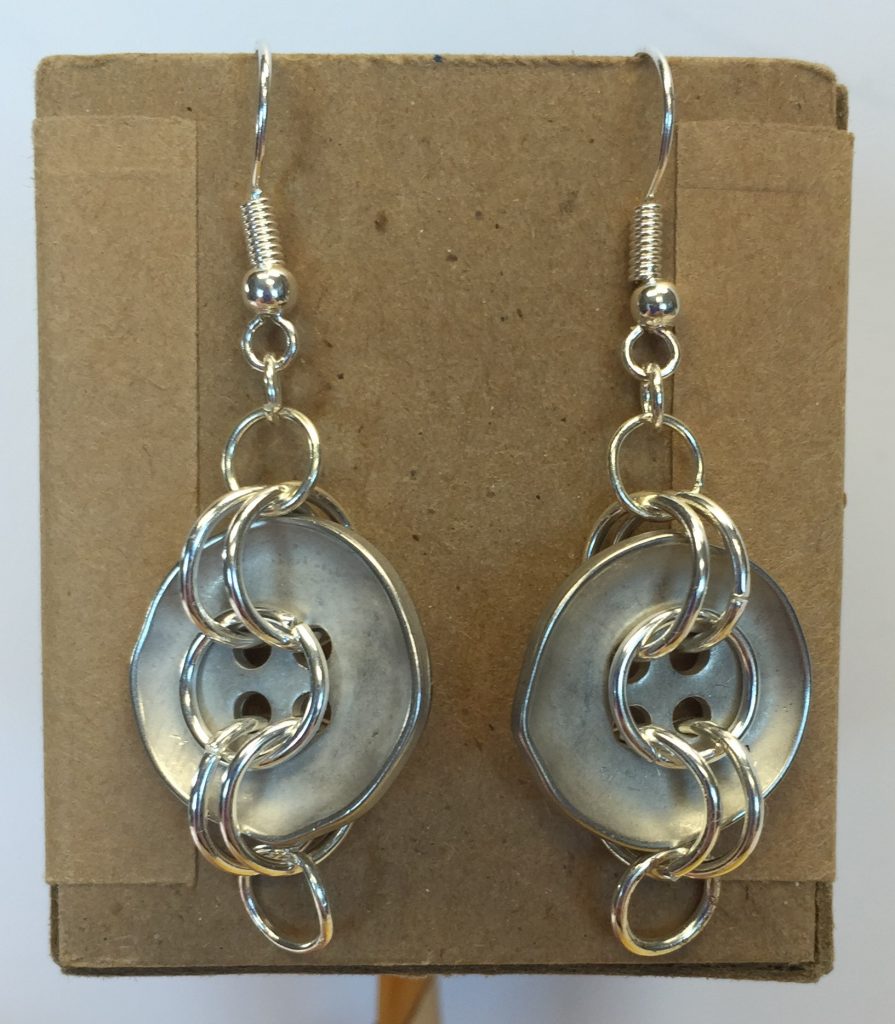
With my earrings I repeated the same 5 jump rings and then attached a smaller jump ring to the bottom and used simple fisherman hook earrings (you may want to use stoppers for the back of your earrings).
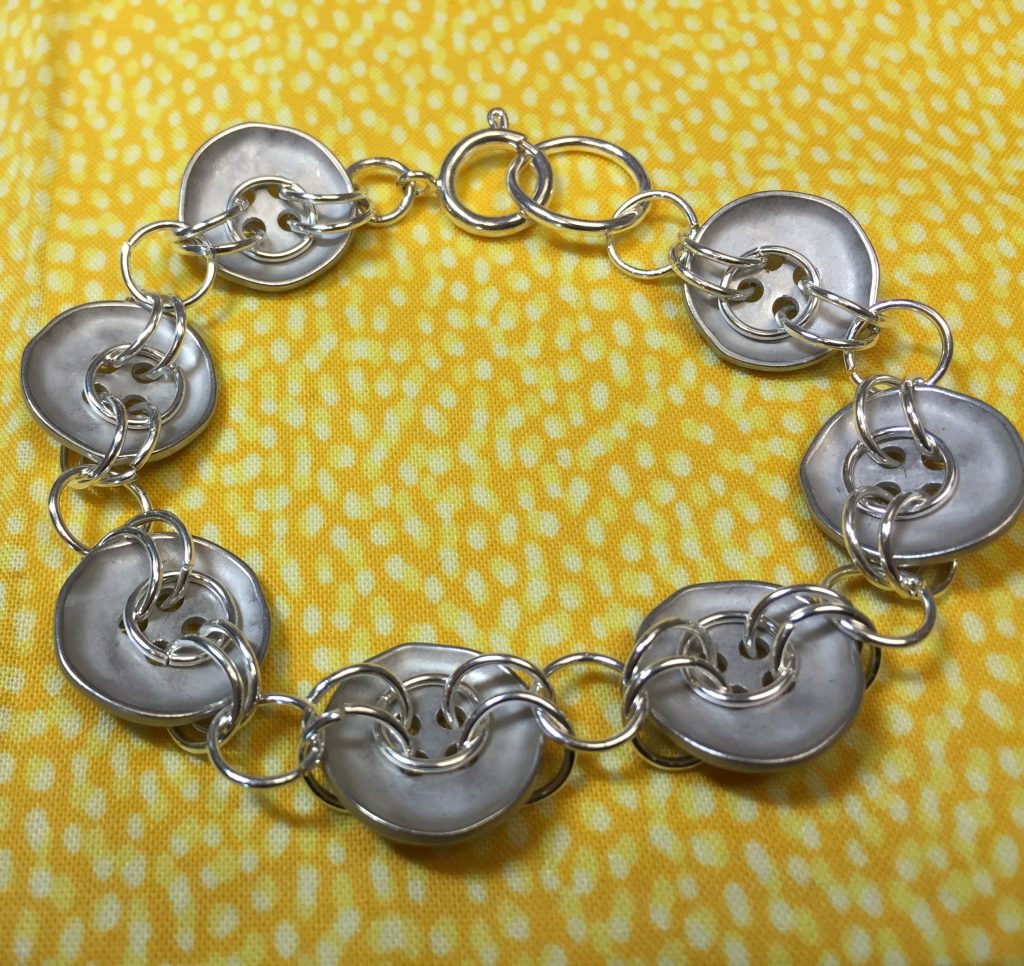
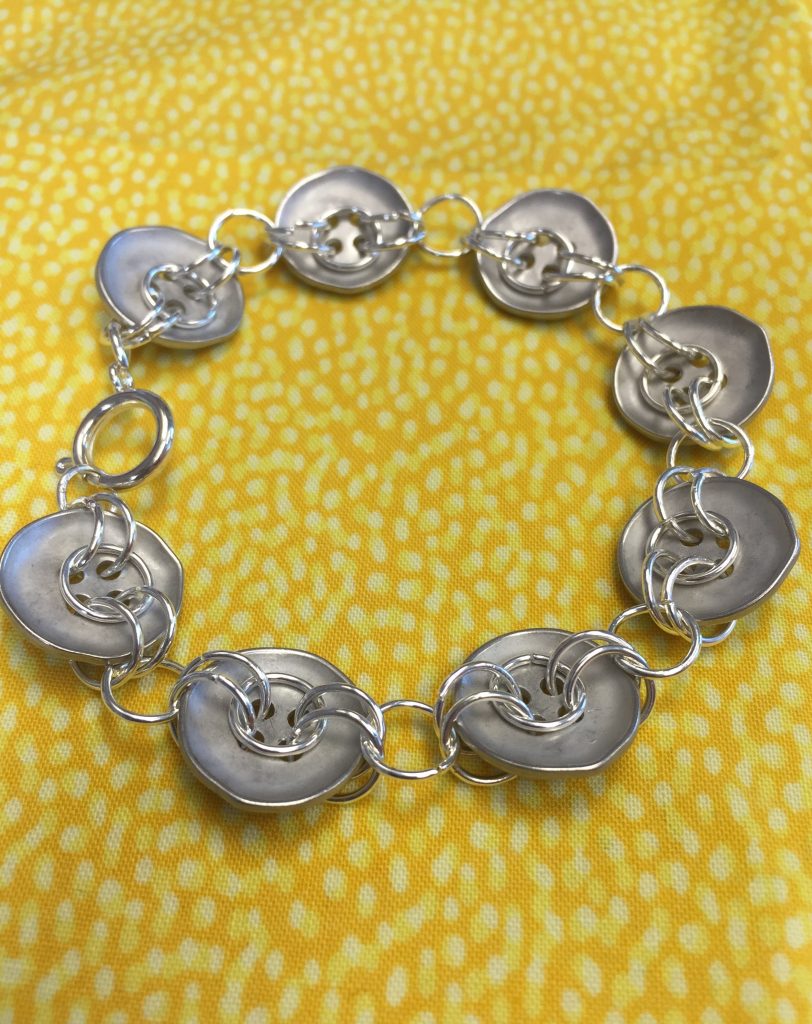
So hopefully you’ll find your Button inspiration! We’d love to see what you’ve created.
Also, I’ve included the original inspirational Button bracelet found on Pinterest along with several other Button bracelets.
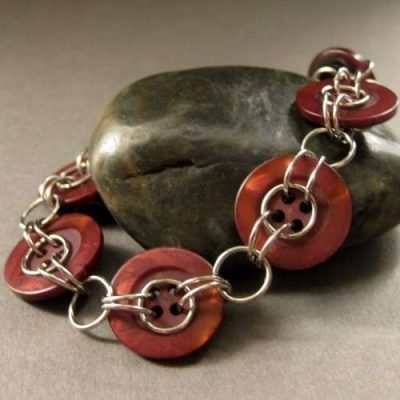
Etsy.com – Haute Button
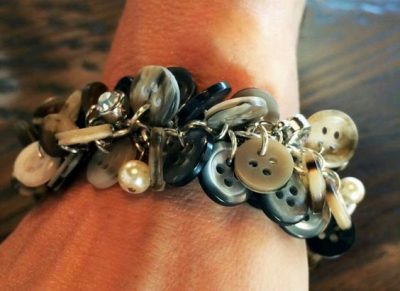
Wilmingtonapple.com
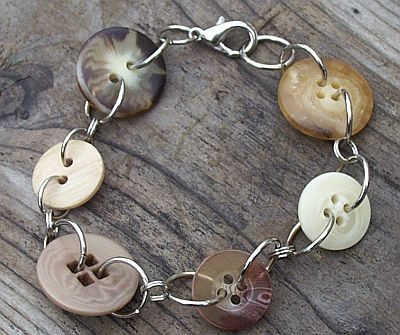
Flicker – Tree Hugger Button Bracelet
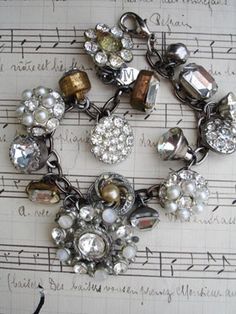
(unfortunately there was no information on this one. Very pretty – very “vintagy”
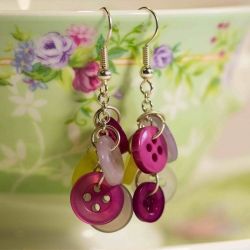
craftgawker.com
So I can be here all day with the hundreds of inspiration photos – just “google” BUTTON BRACELETS and sit back and enjoy!
HAPPY CREATING!
HAPPY CRAFTING!
