
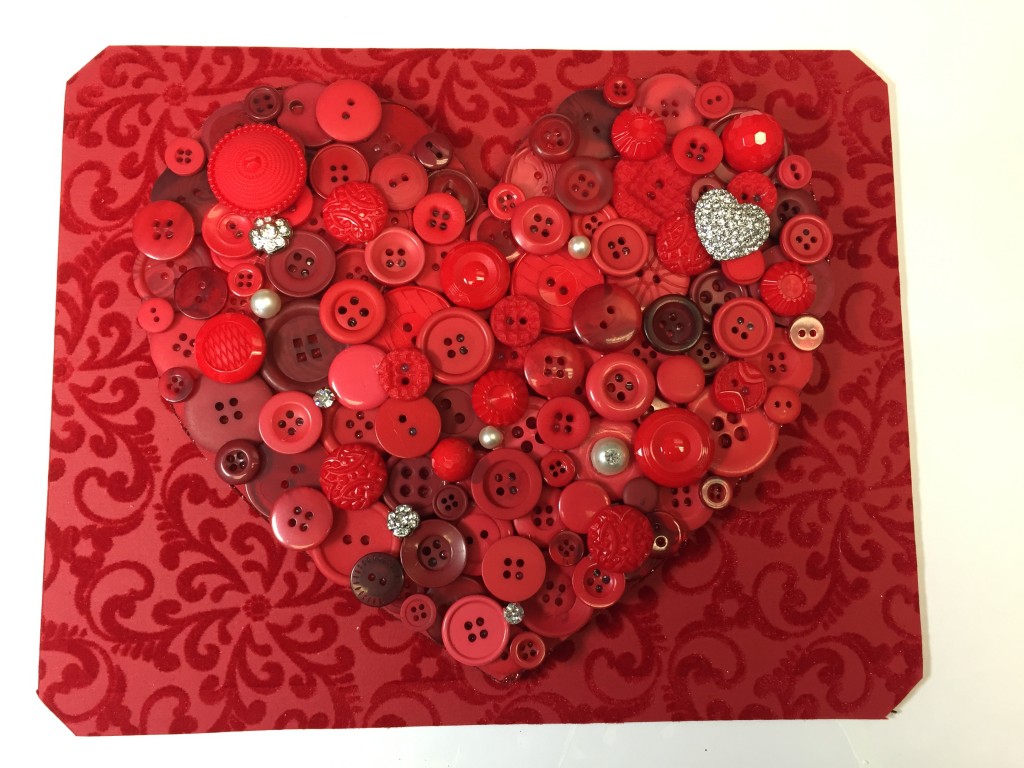
Roses are red, violets are blue – will you be my Button Valentine? Time to get your “Button” crafting groove on! The Holidays are over and a new year has begun and we’re back to square one…Valentine’s Day. So today, I’m sharing a project that I created for Hancock Fabrics – a Framed Button Art Heart! (say that 3 times fast!)
So forget the chocolate, forget the candy – who needs jewelry when you’re about to create your original Button Valentine Heart – PRICELESS!
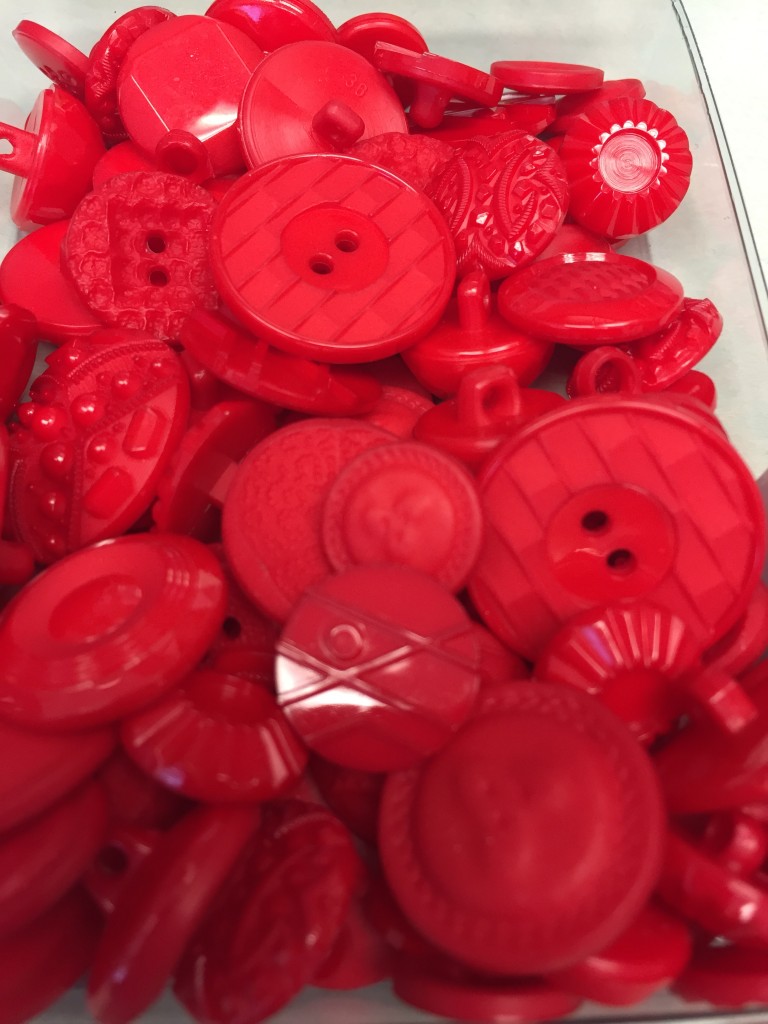
Materials: Crafting with Buttons 3 oz Red 004002046 (Available at Hancock)
Buttons Jar 4 oz. Red 54001006
Bliss 340000004
Bliss 340000016
JHB 31586
JHB 33120
JHB 11259
Red scrapbook paper
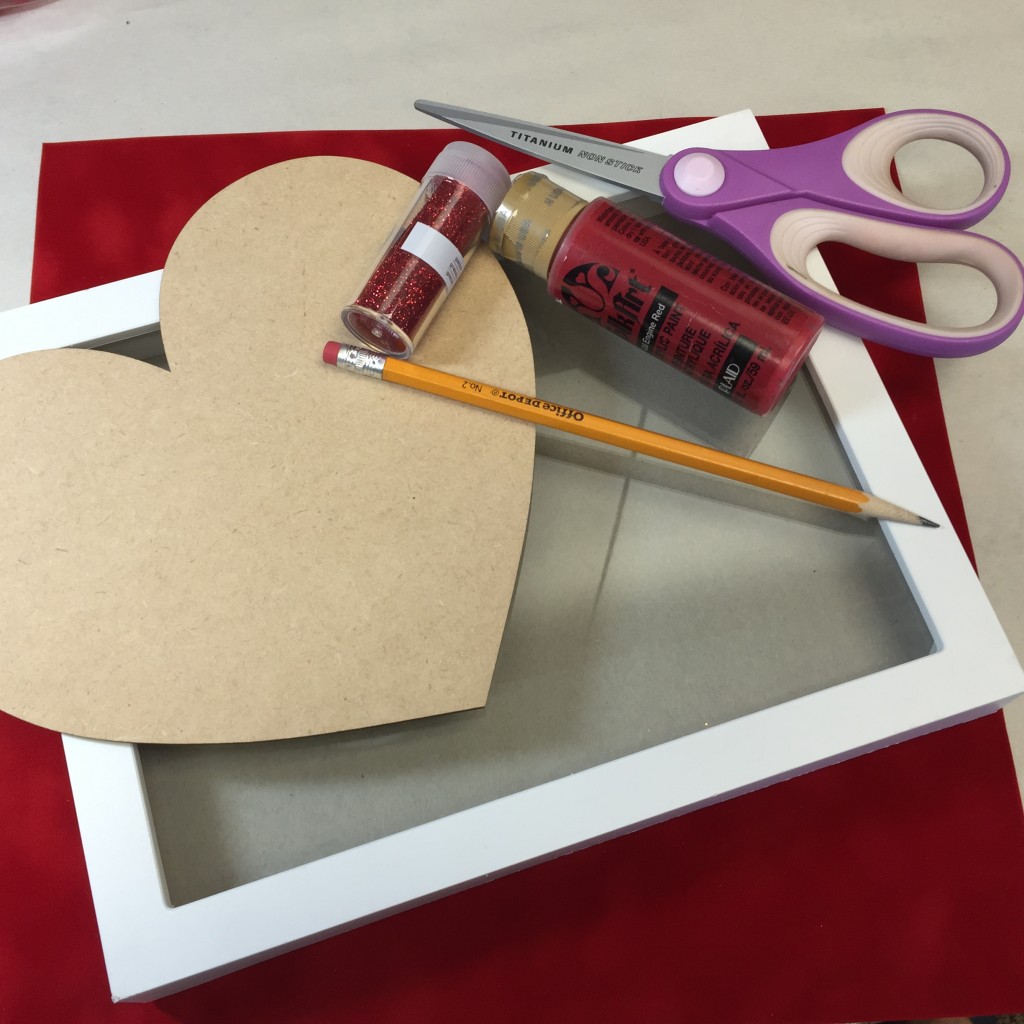
Wood/MDF heart shape
Red glitter; Paint/paintbrush (2); pencil; adhesive; scissors; frame
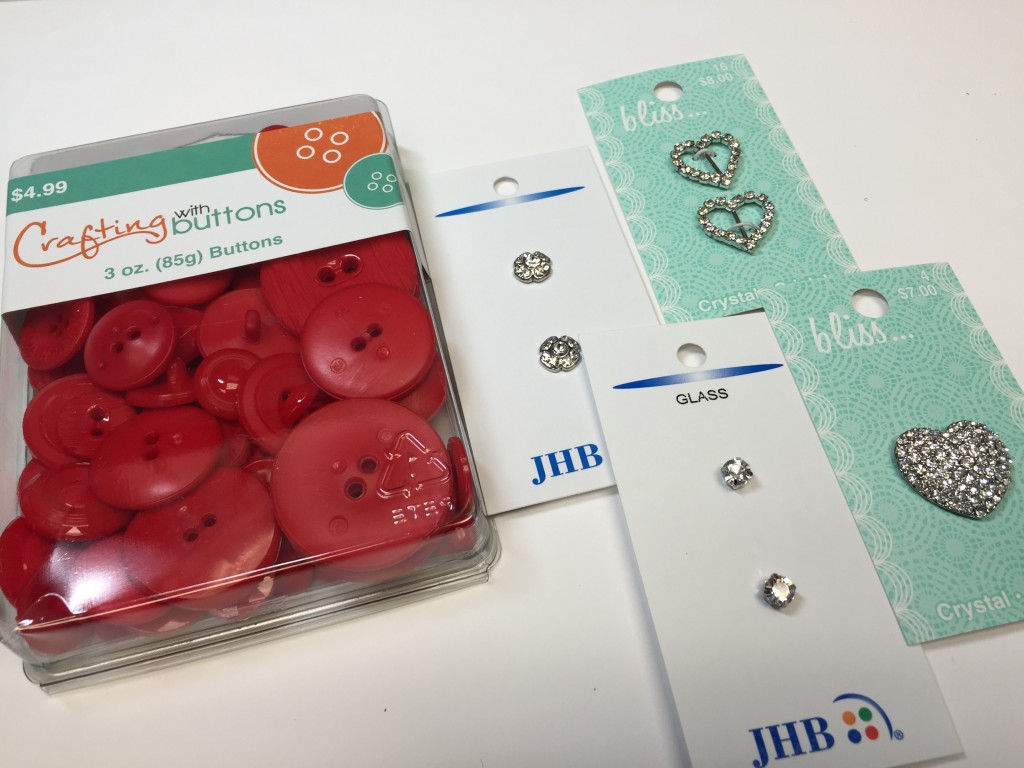
Crafting with buttons 004002046 JHB 33120 & 31586 Bliss 340000004 and Bliss Heart Slide (which wasn’t used however great idea to use on the bow!) 340000016
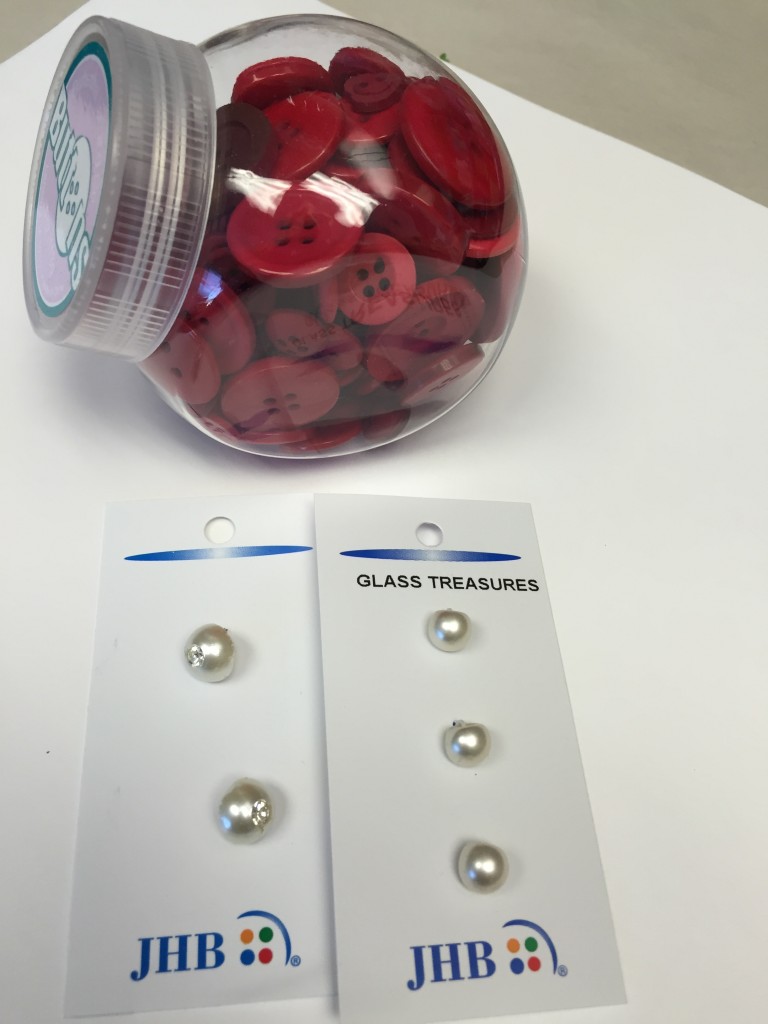
Above buttons: JHB 36376 (pearl with rhinestone) & JHB 11259
to begin – clear a work area and cover with newspaper (this prevents any spillage or anything else!).
For this project I used a “shadow box” frame since I wanted my project to sit inside and it will provide the dimensional height needed inside. You can use a regular frame that’s open – just remove the glass. Carefully remove the back part of your frame. TIP: At this point gently wipe down the glass for any smudges or fingerprints.
Trace matt onto your scrapbook paper – cut excess.
Adhere glue to the front of the backboard and lay scrapbook paper on top – this is the side that will be visible. Once complete set aside.

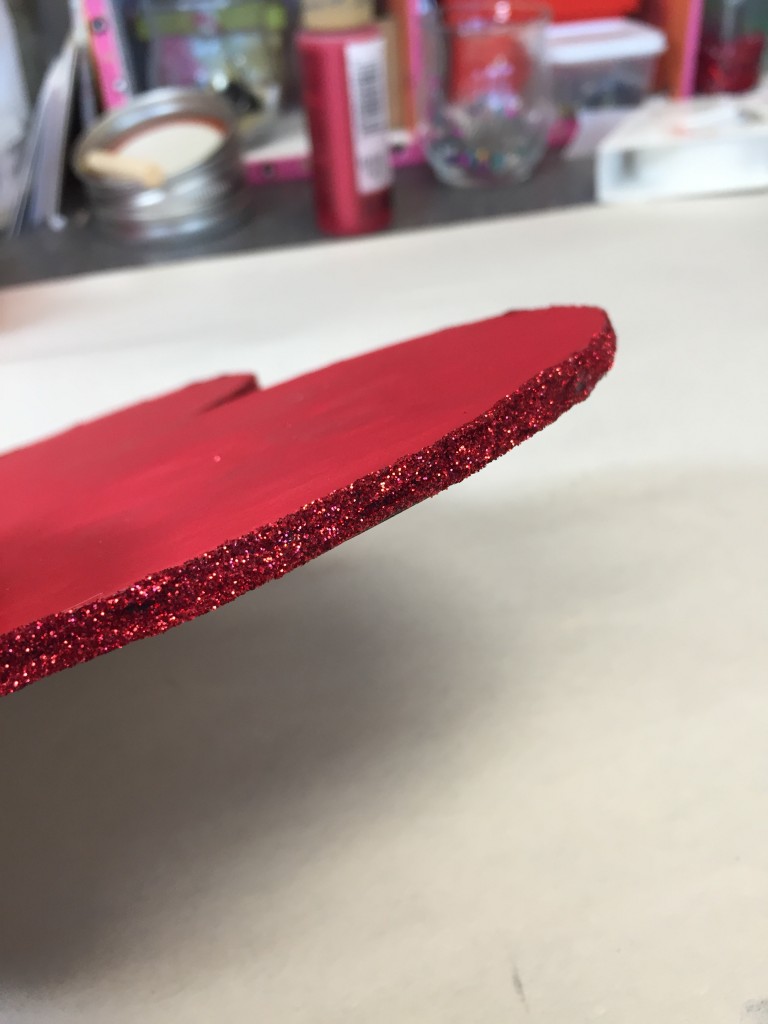
Locate your heart and paint the top and sides. Next step is optional – you can leave it plain or add glitter around edges or even red ribbon.
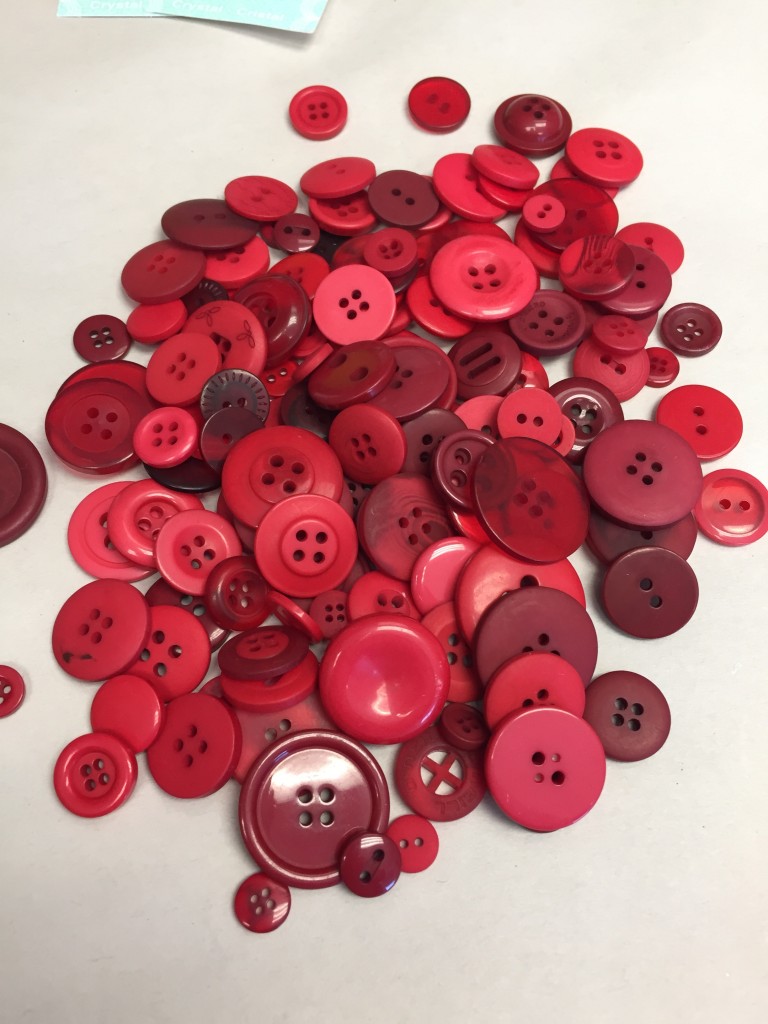
Remove buttons from packages and place in a bowl – or lay them on the table. Lay buttons down onto your shape before gluing – this allows you to adjust your buttons.Once your happy glue. Don’t worry about the gaps you’ll cover them on the next layer. TIP: use your sew thru buttons for your first layer – they will lay flat.
Now go back and fill in the gaps with decorative buttons. Add your “rhinestone” buttons last.
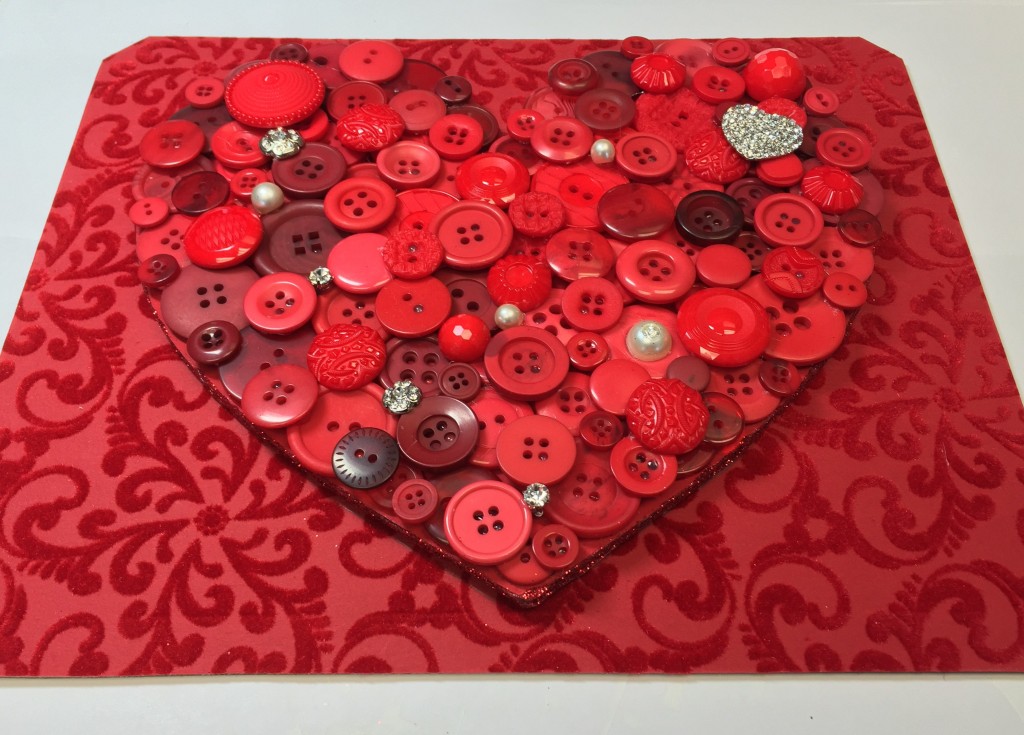
Once you’ve completed your heart, carefully place back into frame and secure.
Now you’re ready to give your Button Heart to your someone special! Even if it’s you!
Happy Valentine’s Day!
Happy Crafting!