
With the Halloween upon us (23 days to be exact) it was time to get myself into the “pumpkin” I mean the “Button Pumpkin” mood! So, looking around the office I knew I didn’t have any pumpkins around – until today…
So today, that’s right we are creating/embellishing a pumpkin (and with those coupons in your purse I’m sure you can get yourself to one of your favorite craft stores and pick up one – pumpkin that is).

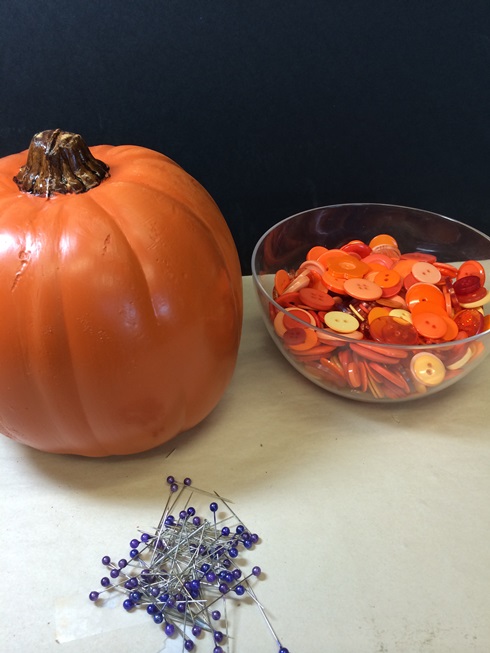
Okay here are your ingredients that you will need: BUTTONS – Assorted orange colors: we have – Button Jars in Marigold; Crafting with buttons – large orange: 570000032; Ombre shades of buttons – orange: 470001103; Clamshell Buttons – Juicy Papaya: 470003503;
Foam Pumpkin; purple head pins (or the color of your choice); raffia, ribbon (gingham, sheer black); scissors; crafting wire.
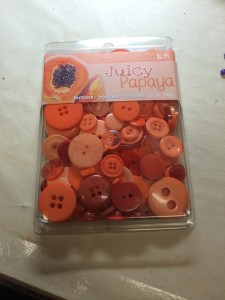
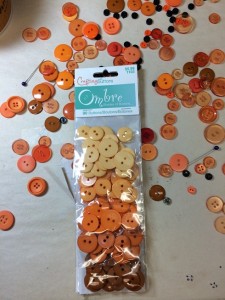
Our new buttons: Clamshell Juicy Papaya and Ombre shades of buttons
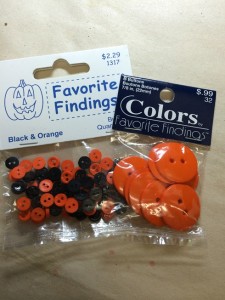
I also added some additional mini orange buttons from the Favorite Findings Mini – Black & Orange #1317
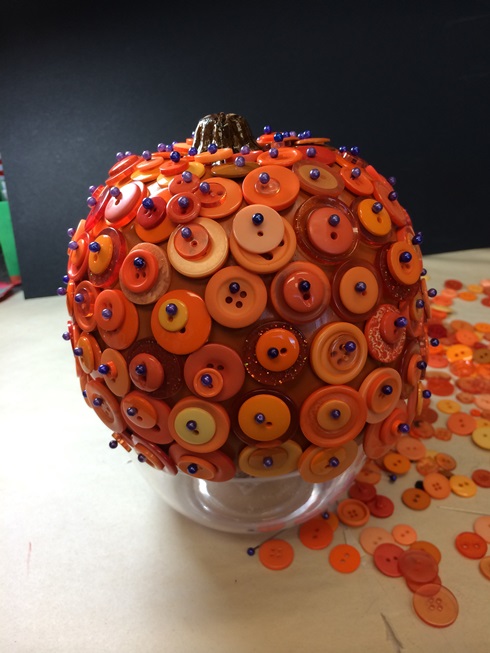
So now that you have everything – you’re ready to move onto the next step.Start with your largest buttons and work from the bottom up and around (I find this easier for me – work whichever is easiest for you).

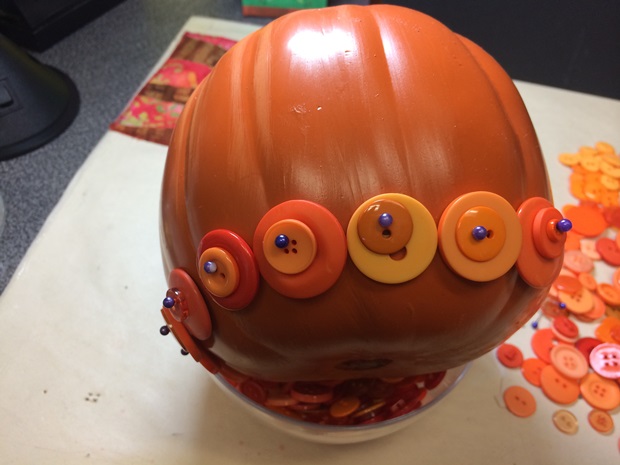
You can stack or do single buttons – I just love seeing the shades of orange!
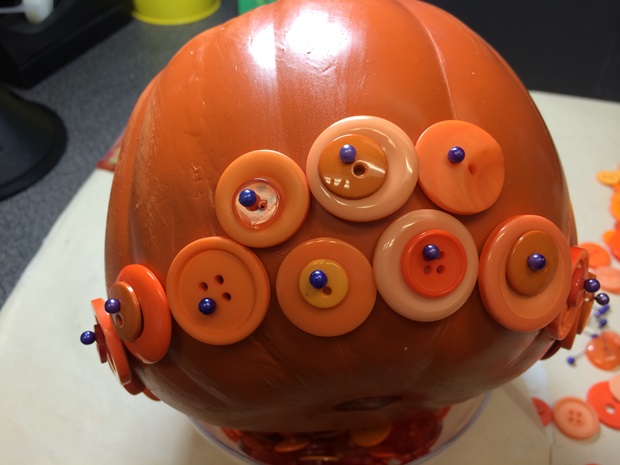
once you’ve gone around once you’re ready for the next row – as you can see from the above photo, how I started. Don’t worry about those gaps – that gets covered last. You want to cover the pumpkin – this is why I recommend working with the largest since this is your first layer.
 And you’ll keep going and going until you’ve reached the top of your pumpkin.
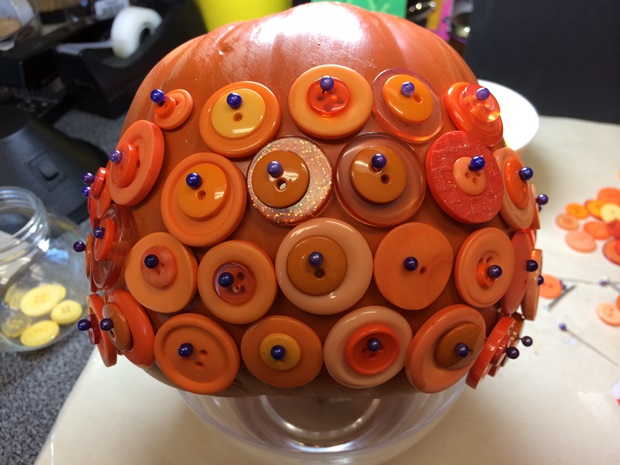
Once I’ve reached the top of my pumpkin I’m going to work my way back down and filling in the gaps with the medium size and smaller size buttons.
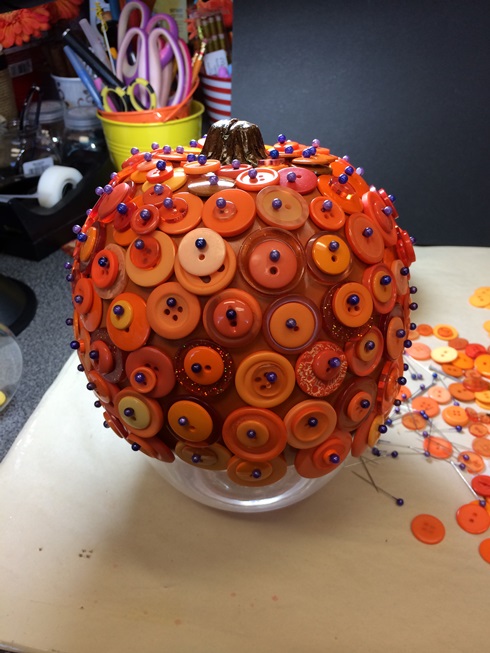
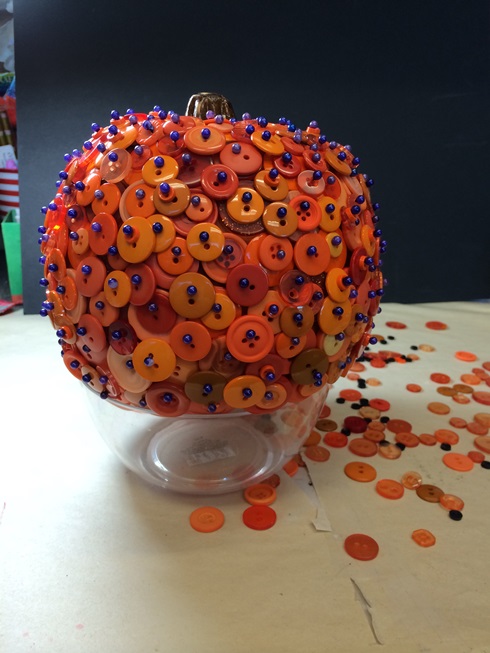 So, as you can see it’s all covered – and if you left a gap here and there – it’s okay!
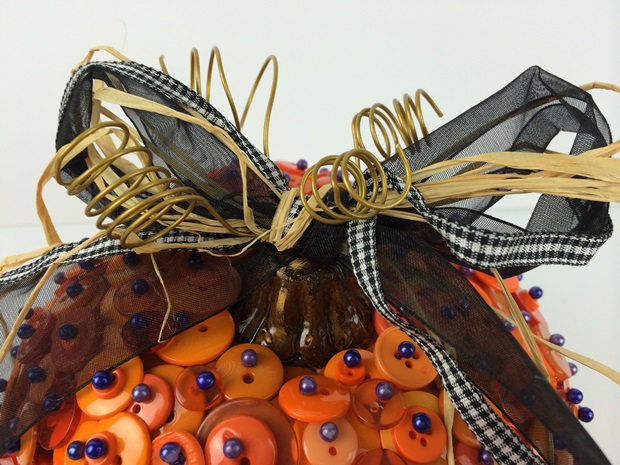
Your bow is next – with your ribbon and raffia – create a bow and use a head pin to adhere to the top of the pumpkin.
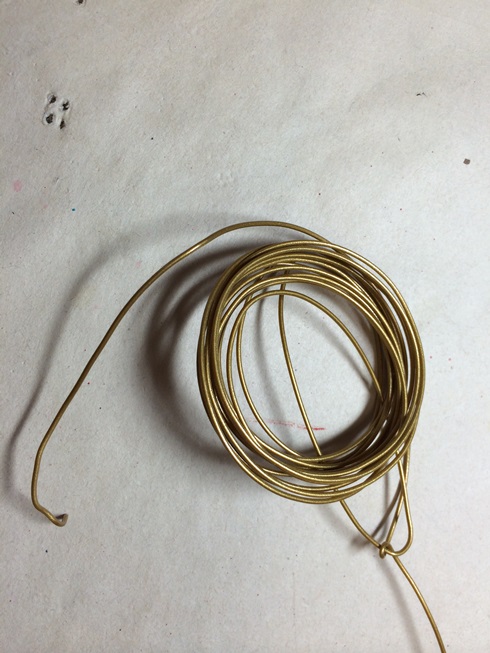

To create the “curly” stems – use “fun” wire. Cut approximately 4 – 6-8″ wire and wrap around pencil to create curls – slide inside the bow.
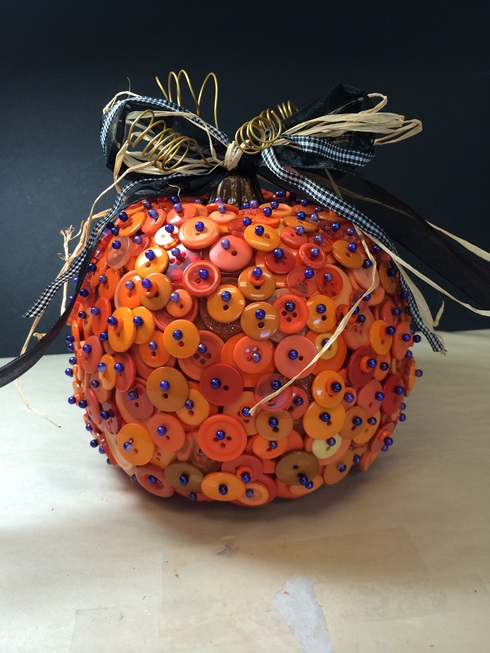 And you’ve created your Button Pumpkin!
And don’t forget this can also be used for Thanksgiving for your table setting – pick up some additional assorted sizes and create a bunch of button pumpkins!

HAPPY HALLOWEEN!
HAPPY CRAFTING!
We are a team of craft-obsessed, button loving people! You probably use buttons almost every day without giving it much thought – they keep our shirts closed and our pants up (hopefully!) - but buttons can be so much more! We created this blog to share all the fun, creative ways we’ve found to use buttons. Our product development team is always coming up with great new button shapes and colors, in addition to new products, so we will always have something new to share with you!