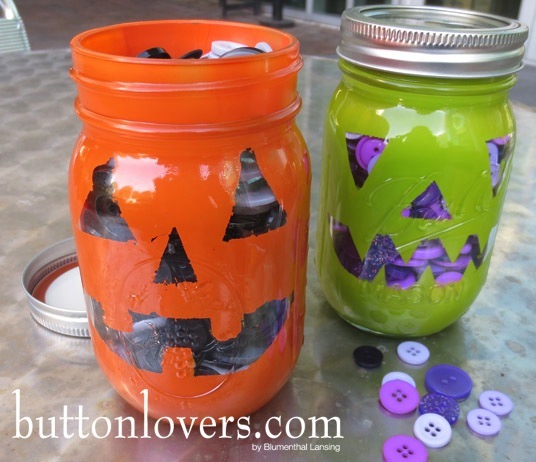
For a quick last minute Halloween decoration for your home or desk at the office you can turn your plain mason jar into a pumpkin! And of course you can fill it with buttons… who wouldn’t want to? I’ll show you how to make these cute Pumpkin Button Jars!
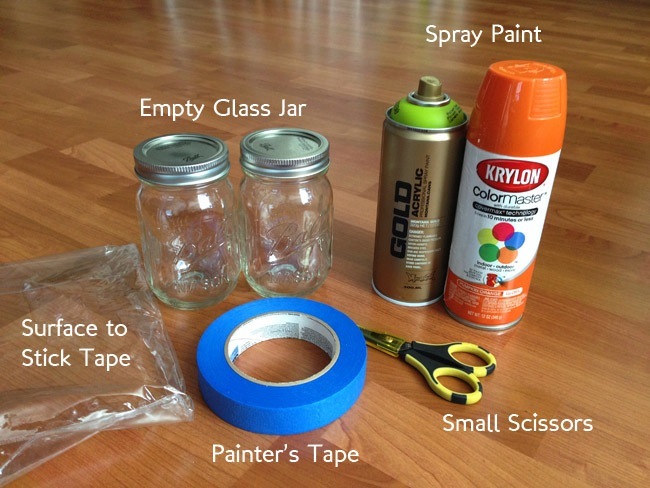
First these are the supplies you need:
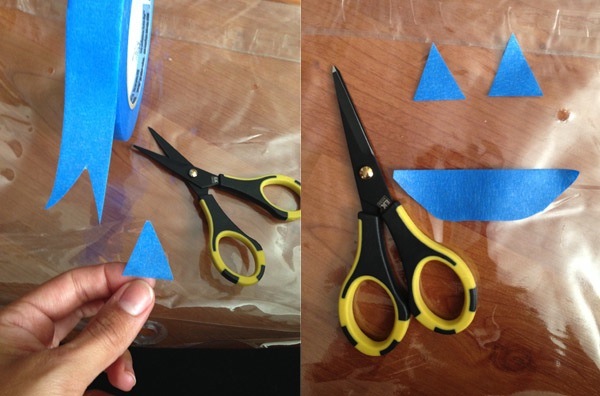
Using the painter’s tape cut out a Jack O’Lantern face of your choice. I used a plastic surface to stick the paint to before I completed the face this way I could see it together before applying it to the jar.
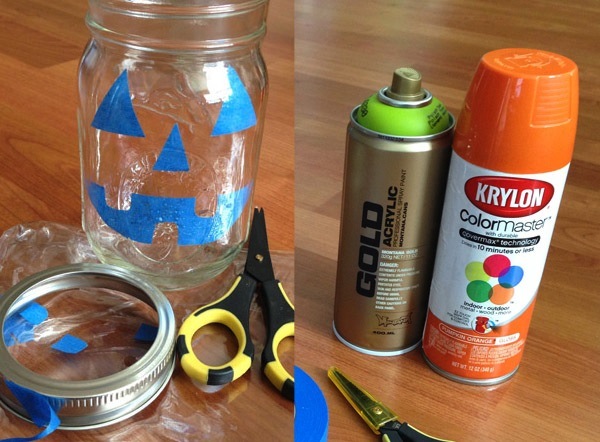
Carefully apply the face to the inside of the jar. These jars in particular are small, so it may be hard to use your hand – you may need tweezers to reach inside or some kind of grabbing tool. Once you have the tape where you want it make sure you smooth it out so there are no bubbles. Gather all the jars with tape faces you can take them outside to spray paint the inside! I would even let them dry outside if you can, because the smell is a little overwhelming at first. It WILL stink up your house! 🙂 They need at least 24 hours to dry anyway. The green paint dried quicker than the orange because the orange sprayed out too thick.
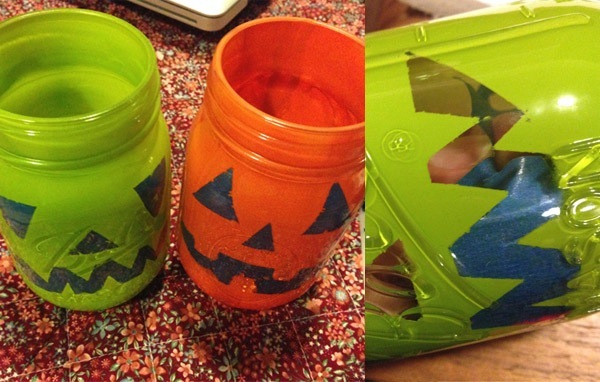
After a day or 2 of allowing the paint to dry you can carefully remove the tape. Since the orange paint went on a little thicker, it was sticking to the tape and coming off with it. Luckily I was able to stick it back in place.
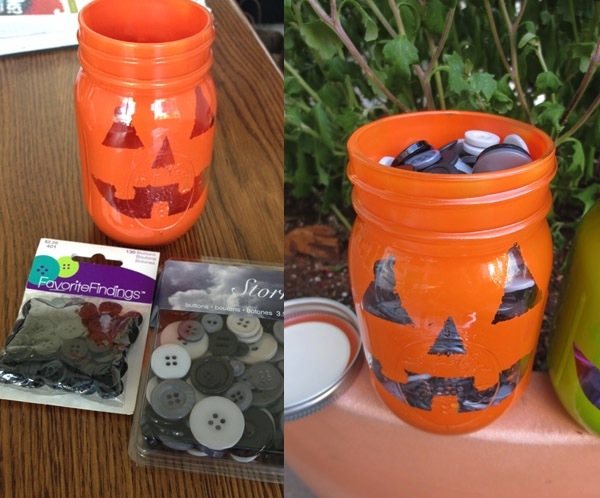
Now you can take your pumpkin-face jar and fill it with some buttons! For the orange jar I used Favorite Findings Cloudy, Stormy, and FF black buttons. For the lime green jar I used Favorite Findings Purple and My Buttons Purple Bag of Buttons.