
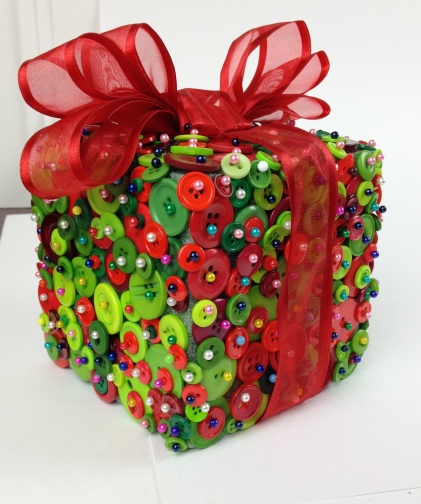
Last minute preparations for the Holidays are always nerve wracking! However, lets jump ahead of the game and think about getting your centerpiece for the table out of the way and I’m thinking this idea may just be what you may need! Does your family know you as the “person who’s always creating something out of something?” Well why not just suprise them…today I’m going to show you this cute Holiday Button Gift Box.
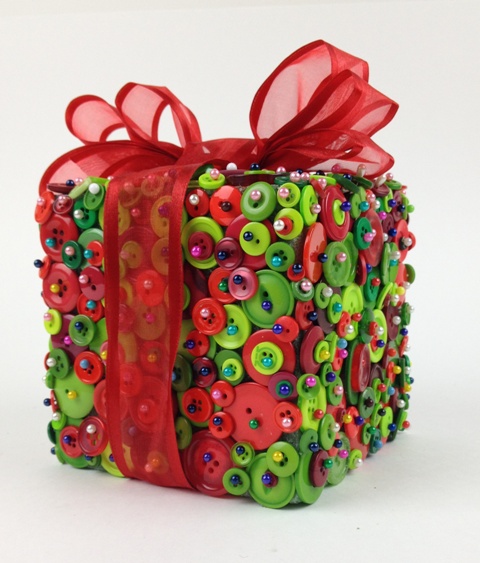
Simple – yes. Did I say “buttoney” (if that’s a word) – yes. Did I say cute – now I did!
Materials needed to make a Button Gift Box:
Button Jars: (3 each) Red – 540001006; Green – 540001009;
Favorite Findings Red & Green #1371 (3)
Favorite Findings Christmas #440 (2)
FloraCraft Foam Cube- 4 7/8 in x 4 7/8 x 4 7/8 in
Ribbon; Quilters Pins (assorted colors); scissors
AND – A Quiet Evening to Create!

Now don’t get overwhelmed I just opened all my buttons and laid them on the table – it makes it easier this way I see everything and it’s all mixed together! (there would be enough to create a smaller cube or even those Button Christmas Trees from my previous blog).
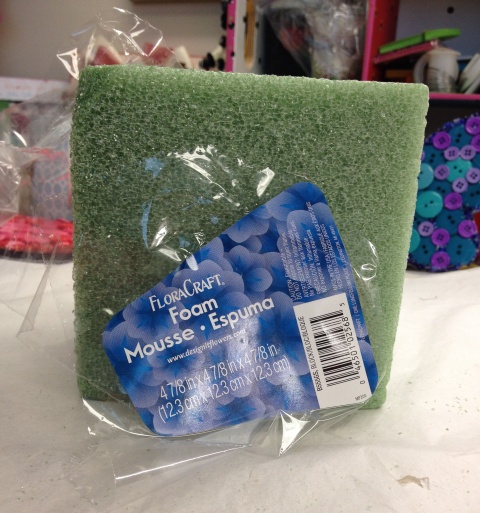
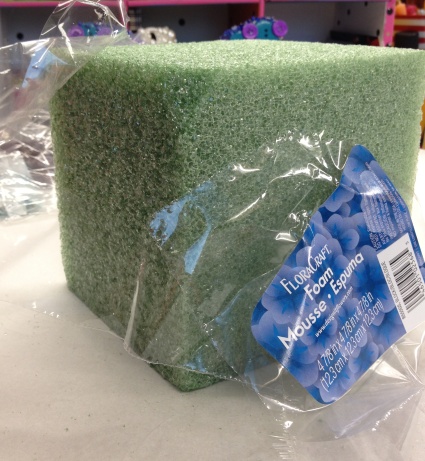
The above was the 4 7/8 x 4 7/8 x 4 7/8. There is a smaller cube 3 x 3 x 3.
This actually goes pretty quick once you get the motion going. Remember there is no wrong way of creating your button box. I’m creating this the way that’s comfortable for me…you may find that working on one side at a time is easier…
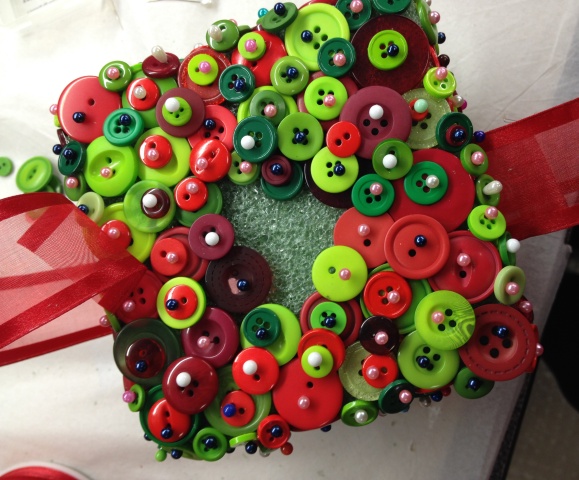
With your quilters head pin grab a button (or two) and starting from the bottom of your foam cube insert pin into cube. I like working with all my larger buttons first and working around and up…

I’m using this photo as a reference for you to see what I’m referring to…
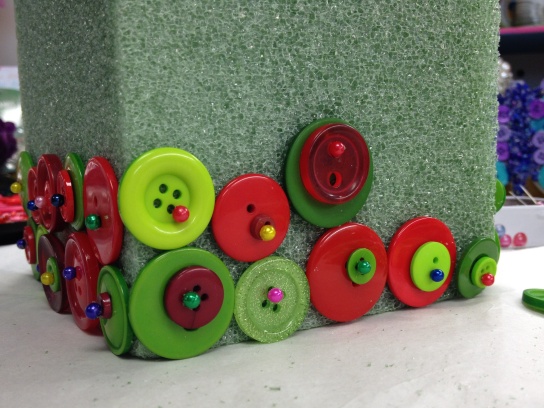
Now looking at the photo above – you see gaps don’t worry about this you’ll go back and fill these with buttons. Double stack the buttons, but also leave some single. So you’ll do this all the way around until you’ve filled up the cube (leave the top for last).

Empty gaps – filled with smaller buttons.
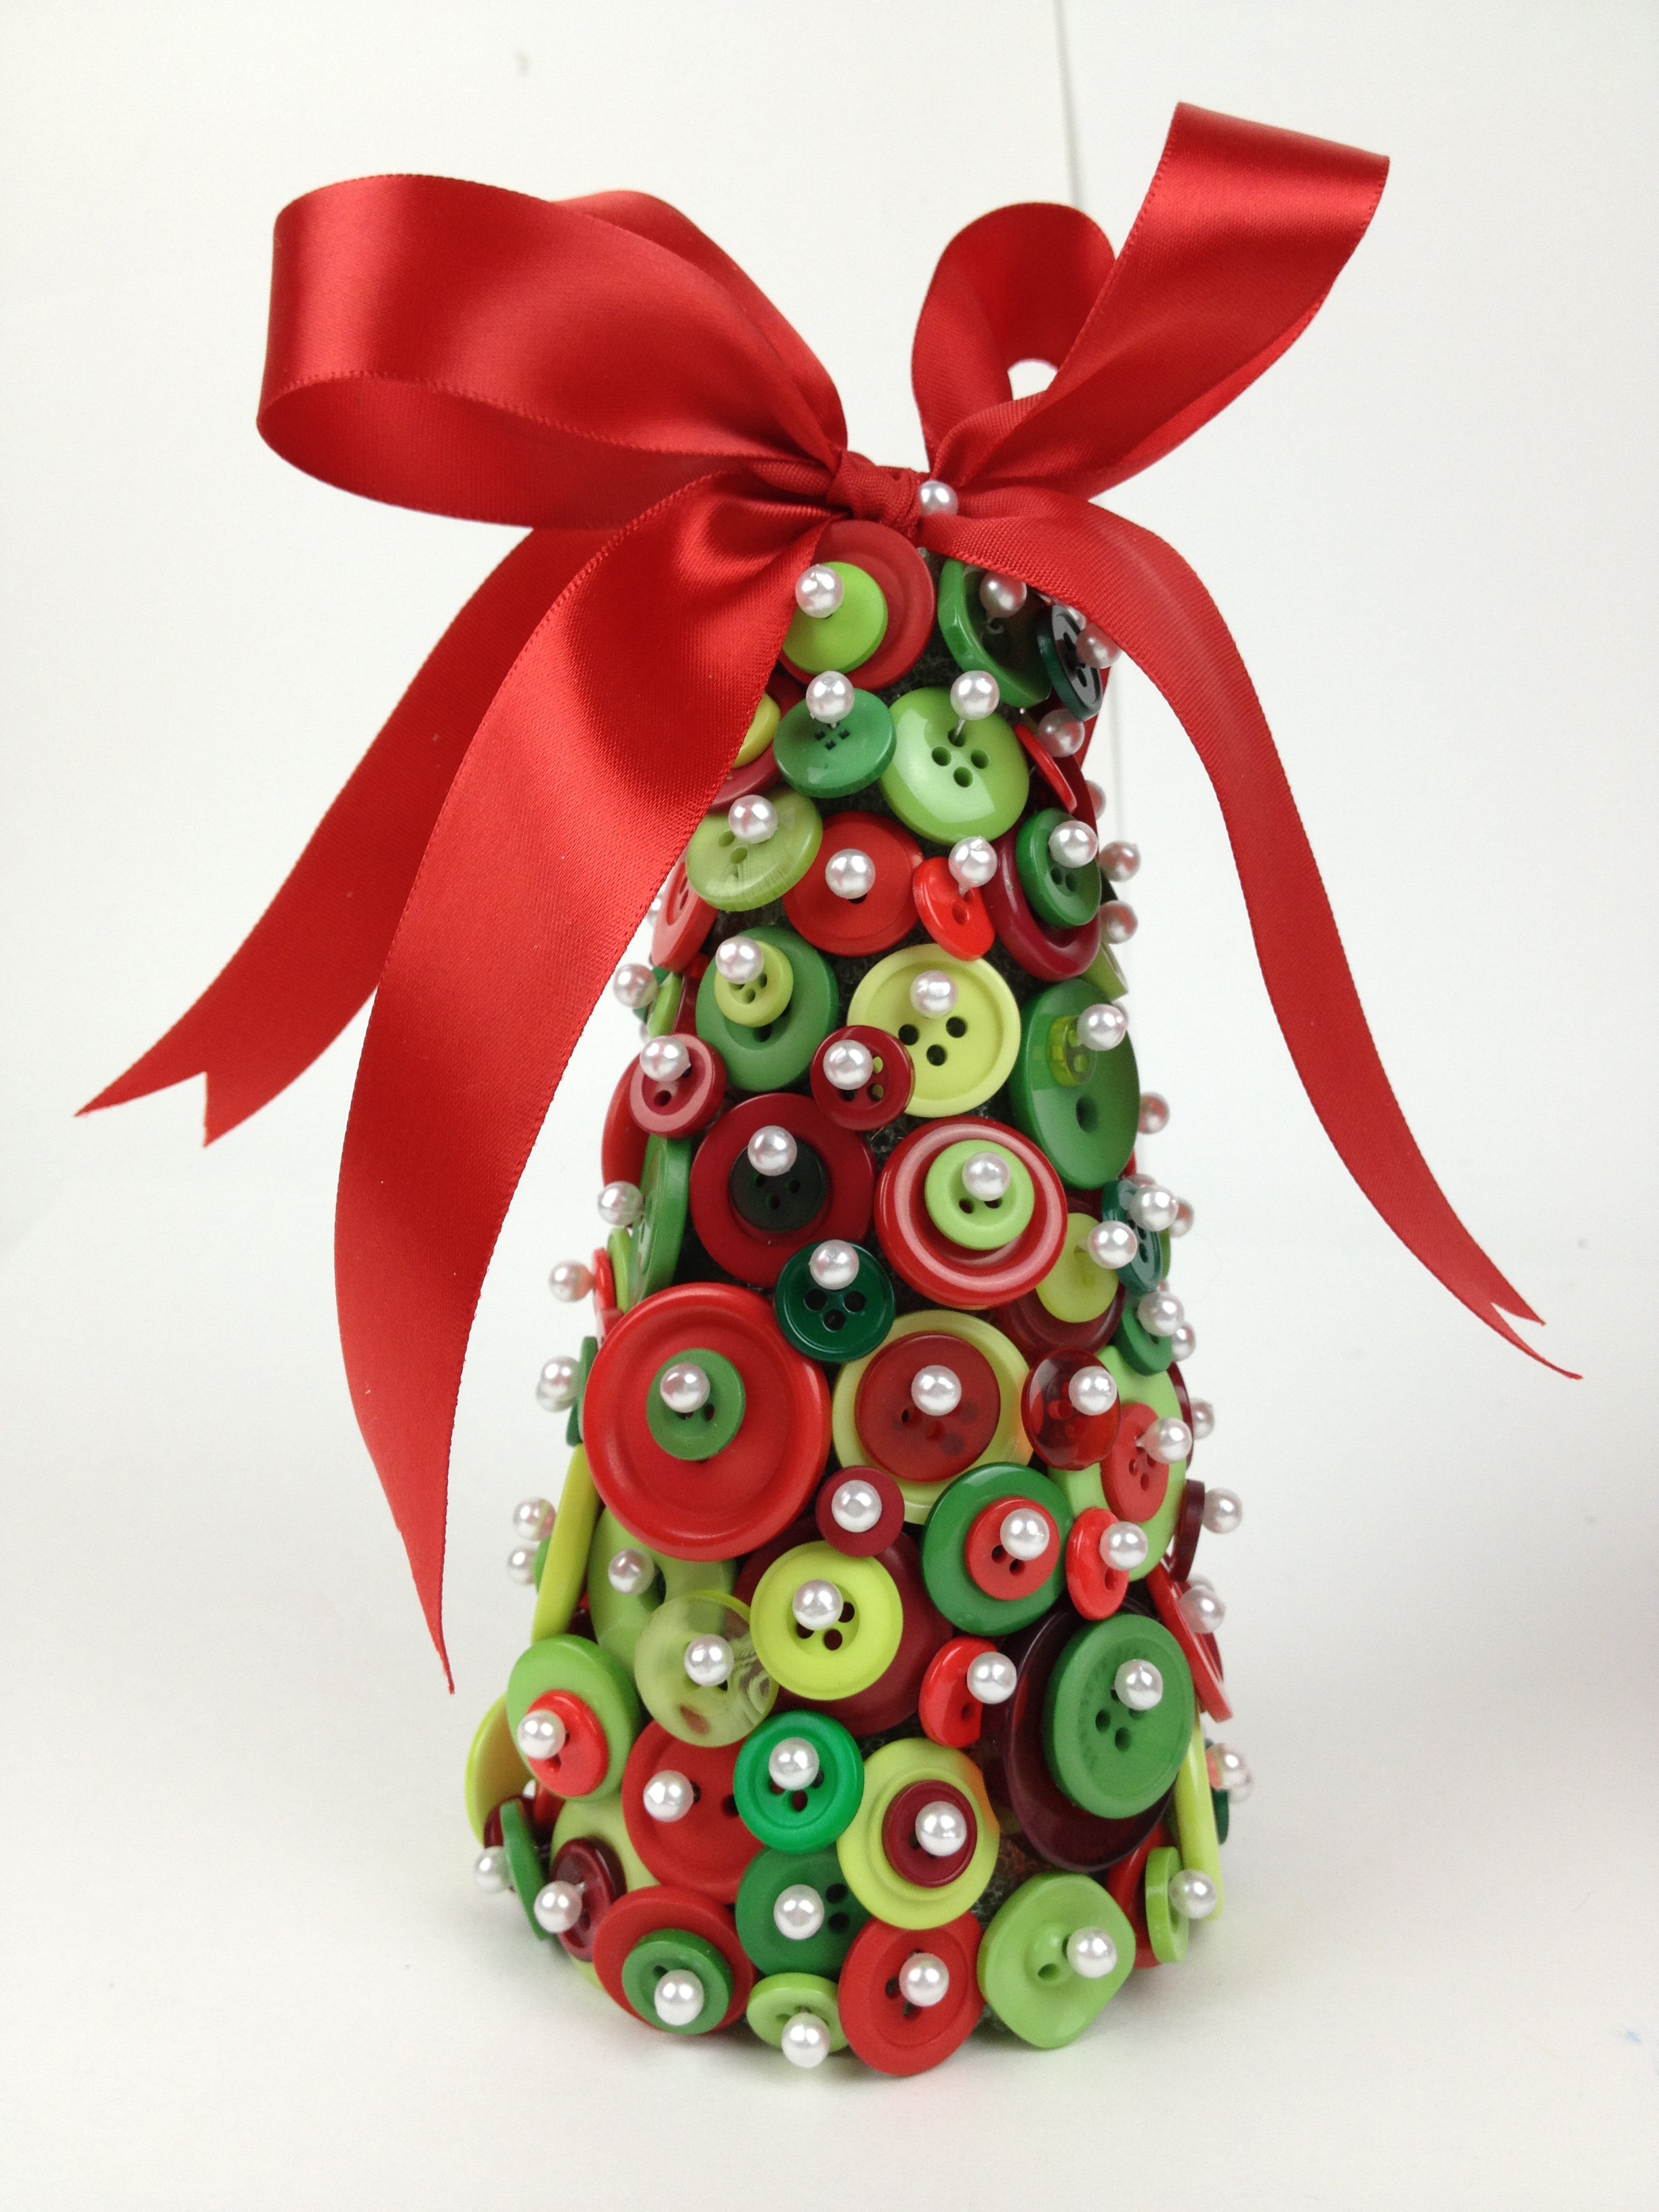
Now onto the top of the cube. Work outside in – as you’ll see in the photo below, I left approximately 1 1/2 in open so that I will be able to secure my ribbon and bow.
For the ribbon – I used 1 1/2 in wide – wired edge ribbon. This is a 2-part step. 1. Measure your ribbon to go completely around your button cube (add about 1/2″ extra so that you can fold and secure both ends to the cube). 2. Make a bow and secure to the top of your button cube.

Repeat the same process onto your 3 x 3 x 3 cube, or on the Christmas trees.
Now wasn’t that relaxing!?
Don’t forget to add some Button Christmas Trees next to it to complete your decor…
Happy Holidays!
Happy Crafting!
We are a team of craft-obsessed, button loving people! You probably use buttons almost every day without giving it much thought – they keep our shirts closed and our pants up (hopefully!) - but buttons can be so much more! We created this blog to share all the fun, creative ways we’ve found to use buttons. Our product development team is always coming up with great new button shapes and colors, in addition to new products, so we will always have something new to share with you!