
Count down to Christmas probably began right after Thanksgiving for most… however there’s only 7 days left and some of you have already put up your trees and decorated them. But, wondering what to do with the kids after playing in the snow all day (with the weather we’ve been having here on the east coast – okay Jersey!). Why not take some time, have fun and create some simple button ornaments with the kids?
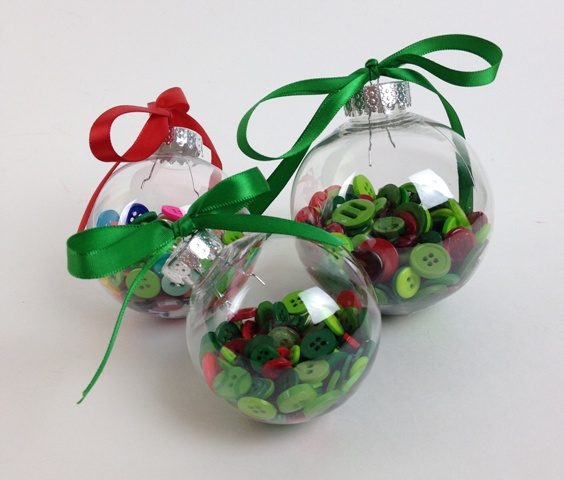
Today, not one, not two but three very simple button ornaments!

Materials: Button Jars – 540001006 Red; 540001009 Green
Favorite Findings #484 Twinkle Twinkle
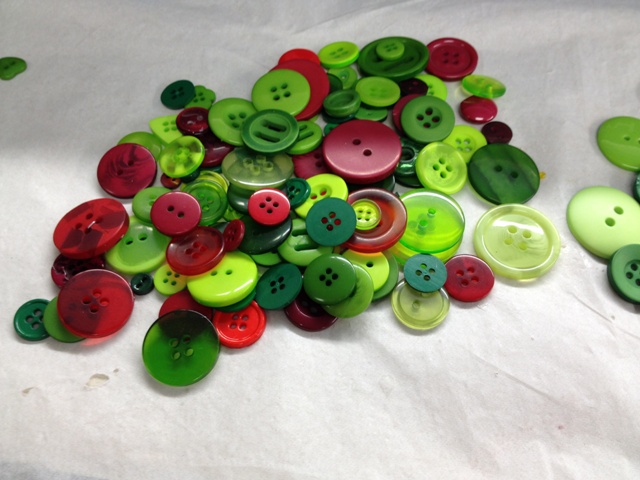
Favorite Findings Big Bag of Buttons #2009 Multi
ribbon; floral/craft wire; Chenille Pipe Cleaners; clear
plastic ornaments; scissors; wire cutters
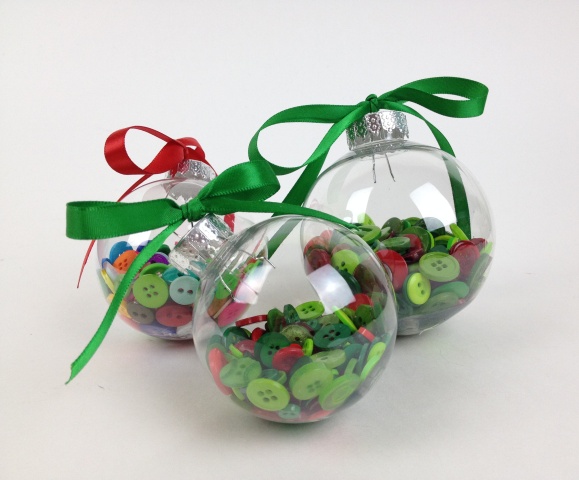
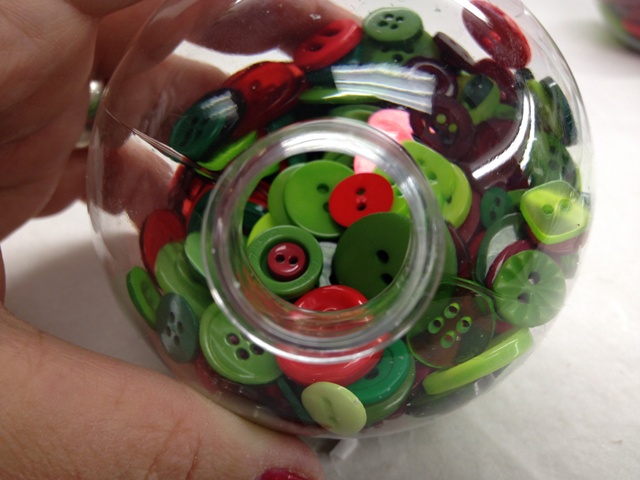
Project #1: Button Filled Ornament

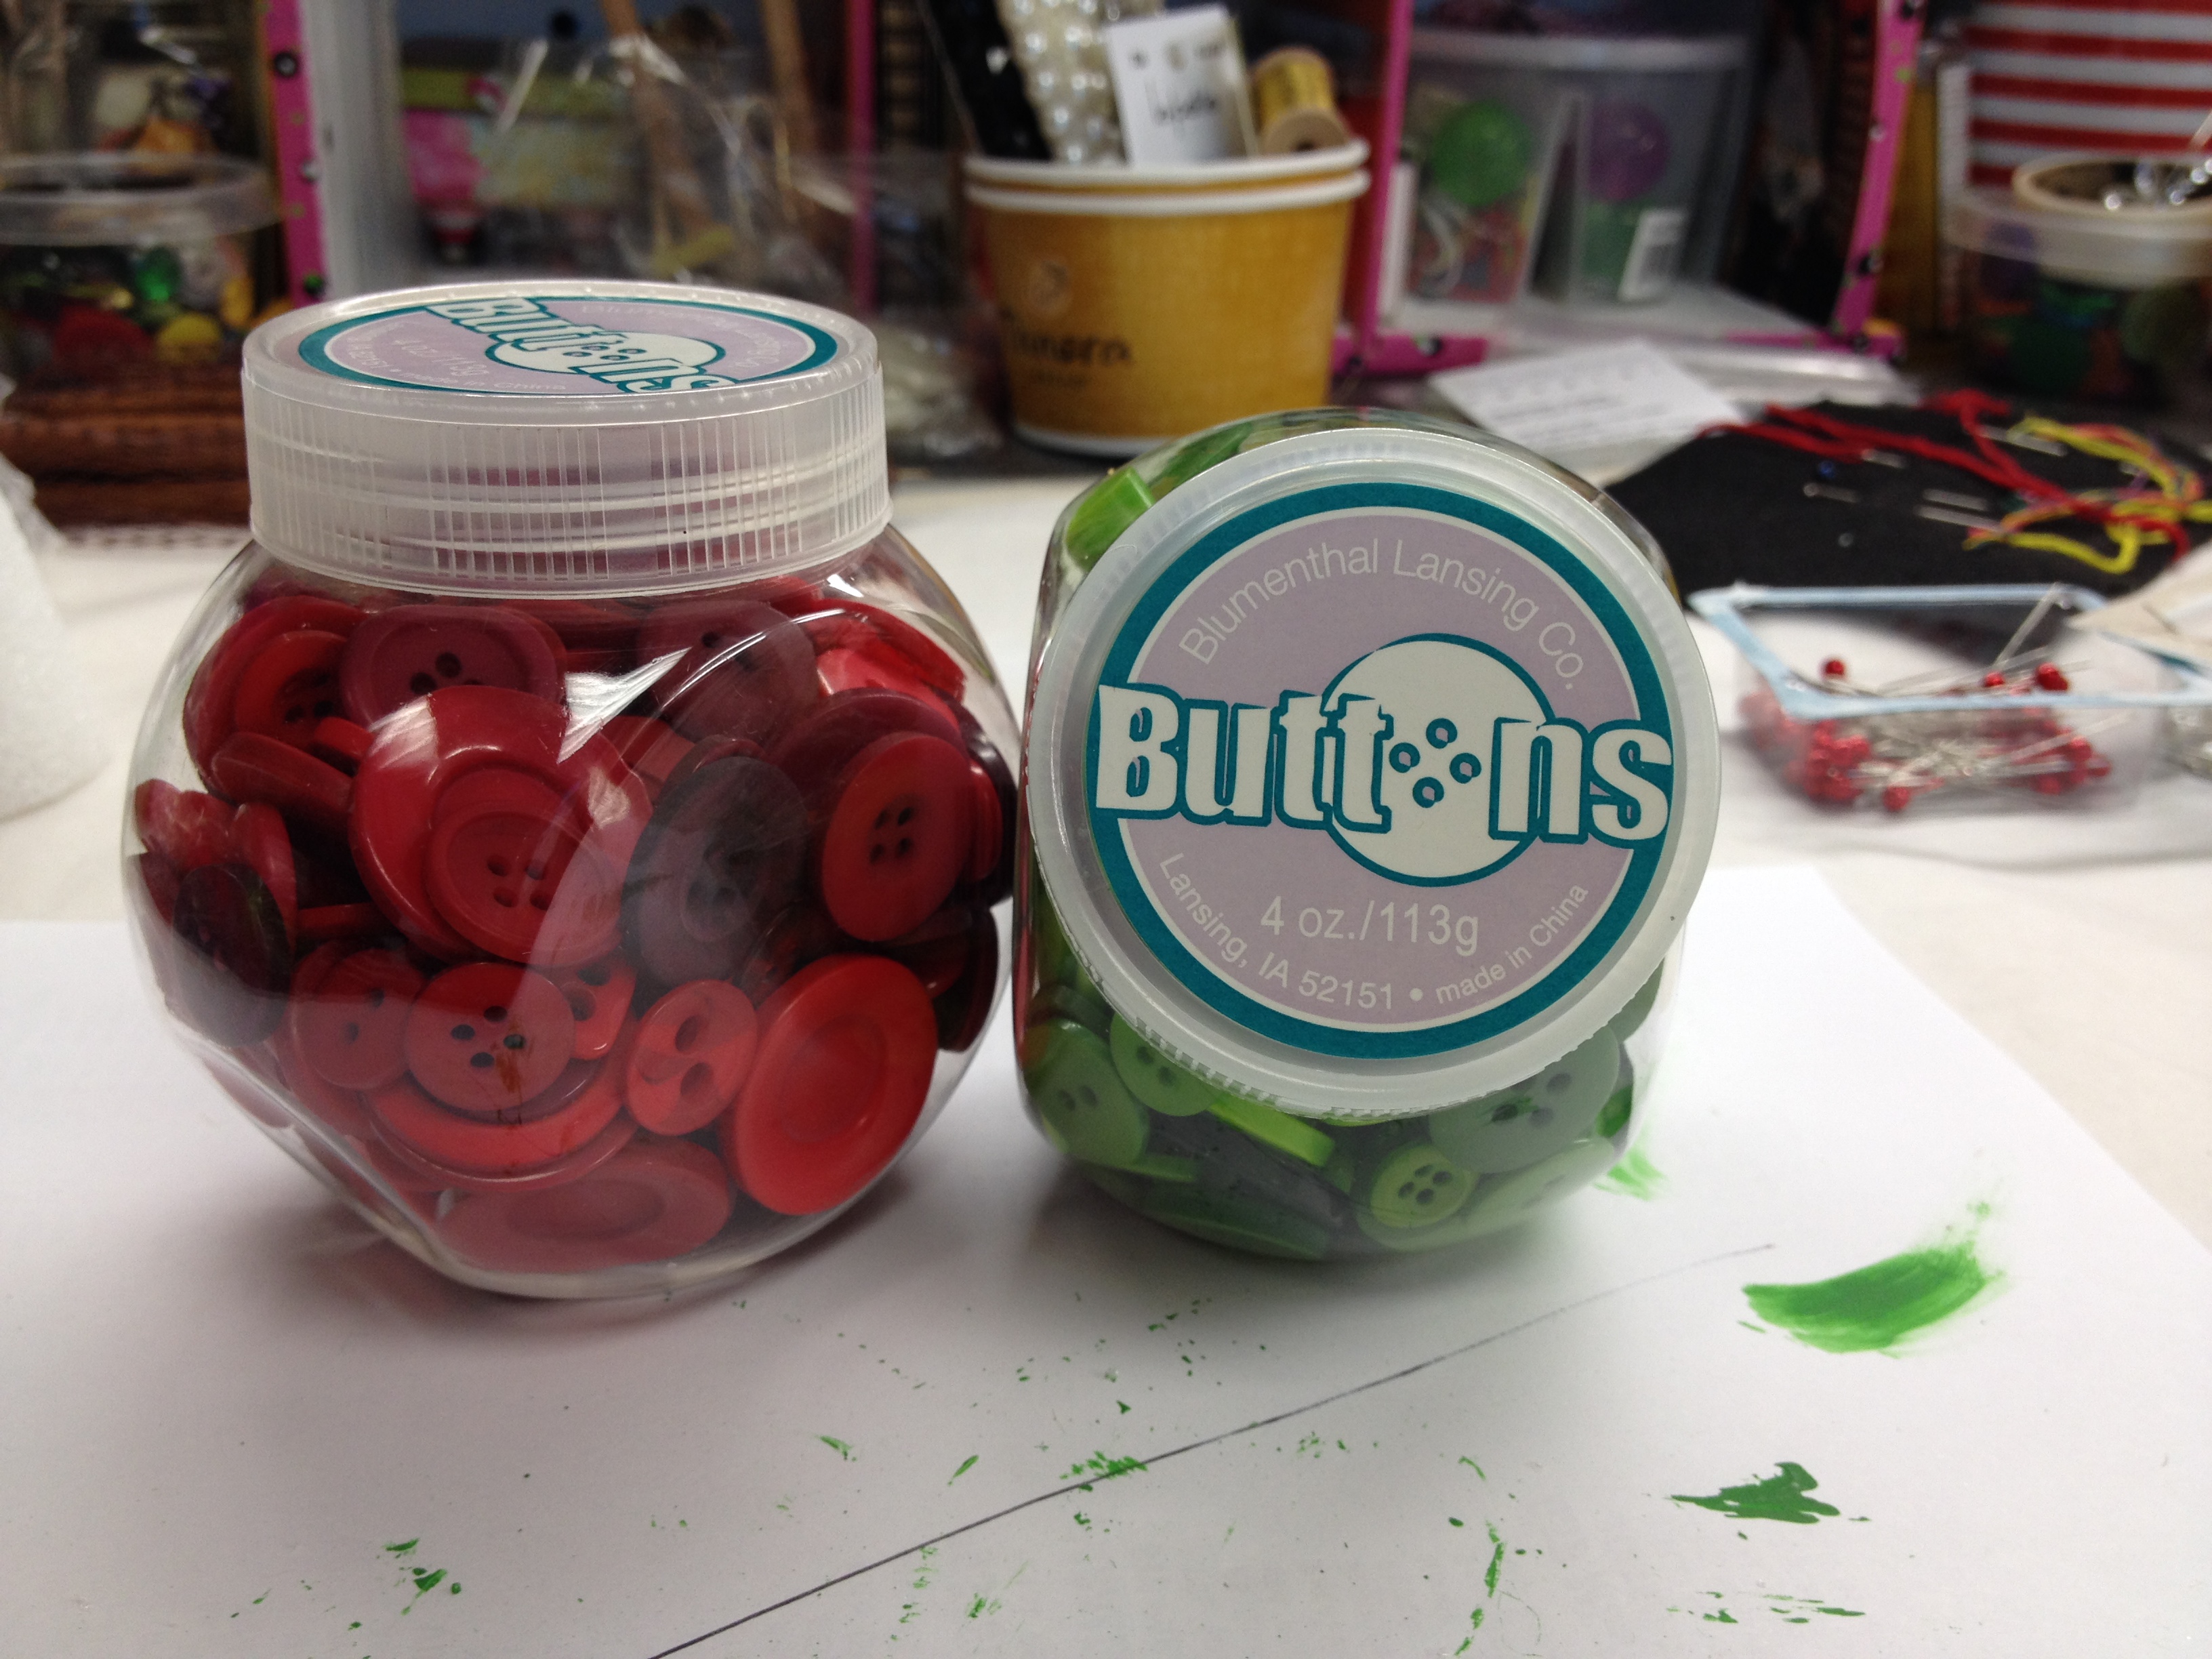
For this project – Button Jars – red & green; clear ornaments (I used two sizes which are/were available at that time). These are also plastic! Ribbon – red & green.
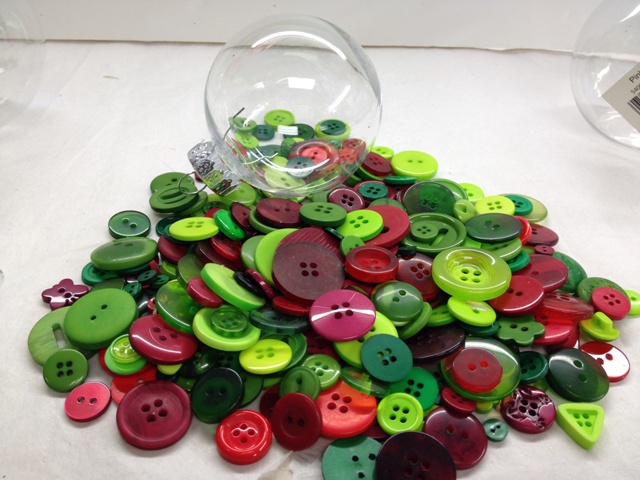
So remove the crowns carefully (or the silver tops) and set aside. Spread your red and green buttons and then begin filling your ornament – you’ll find that the larger buttons will not fit and please don’t try to force them in they just won’t fit…Fill the ornament half way and then replace topper. Add ribbon and repeat same steps for the smaller ornaments. Just an FYI the openings on the smaller ornaments will be smaller so only small buttons can be placed inside. I also used assorted colorful buttons that I had lying around the office.

This is a great gift for a crafter who LOVES working with buttons! They get to re-use the buttons for future crafts!
Project #2: Trio Button Trees

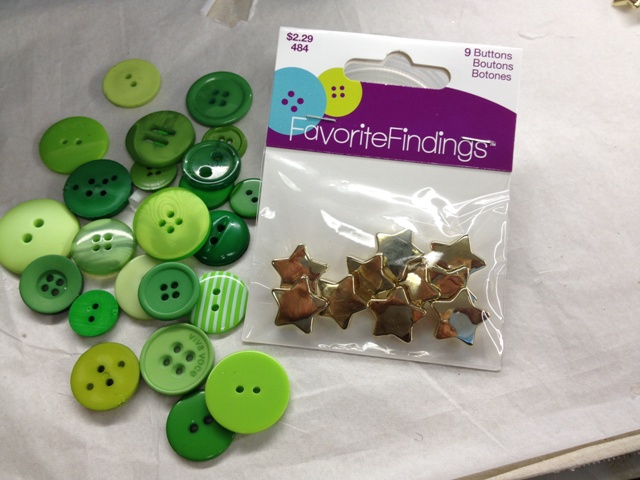
From the above you can see what is needed: Red & Green Button Jars; Favorite Findings Twinkle Twinkle gold stars; wire or chenille (if you’re working with kids); ribbon.
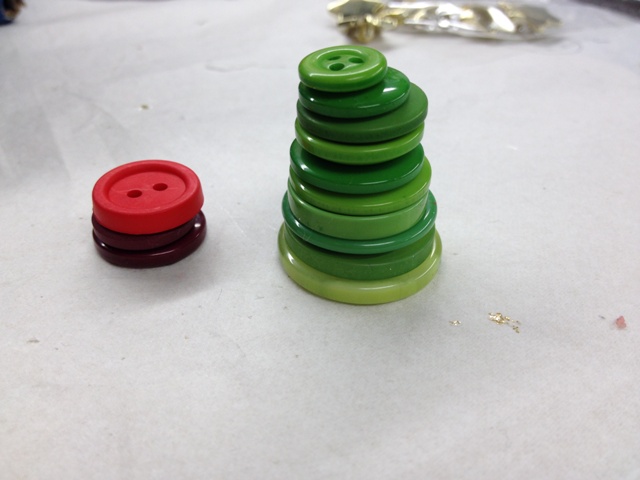
Starting with the tree stump – 3 buttons either red or brown – your choice. Before I began I created my stacks – start with a large green button and then build up – ending smaller as shown in the photo below.
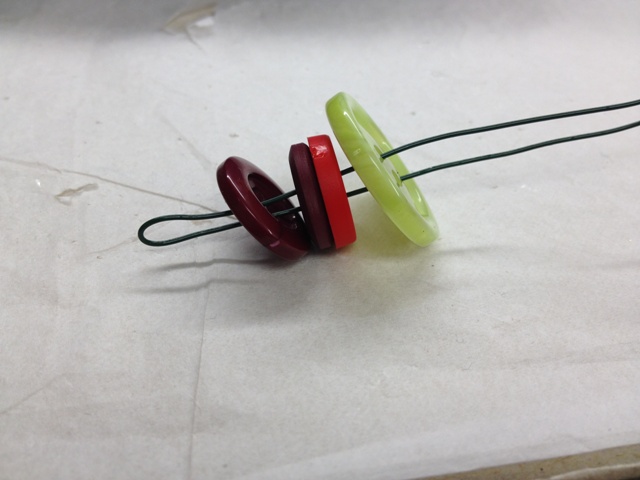
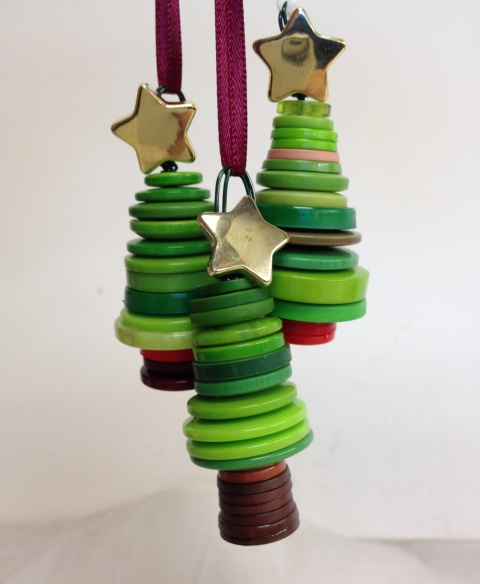
Cut approximately 12 inch wire (remember you will fold in half) as shown in photo above. Slide your tree stump color buttons first (you’re working backward). Then, slide balance of green buttons and then give a twist once complete. Slide your gold star and create a loop – twist wire around the neck of the loop. Cut excess with your wire cutters. Add ribbon and you’ll have a stunning DIY tree ornament!
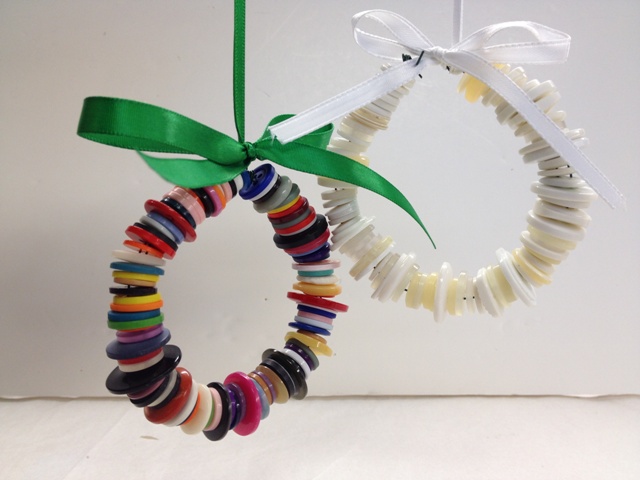
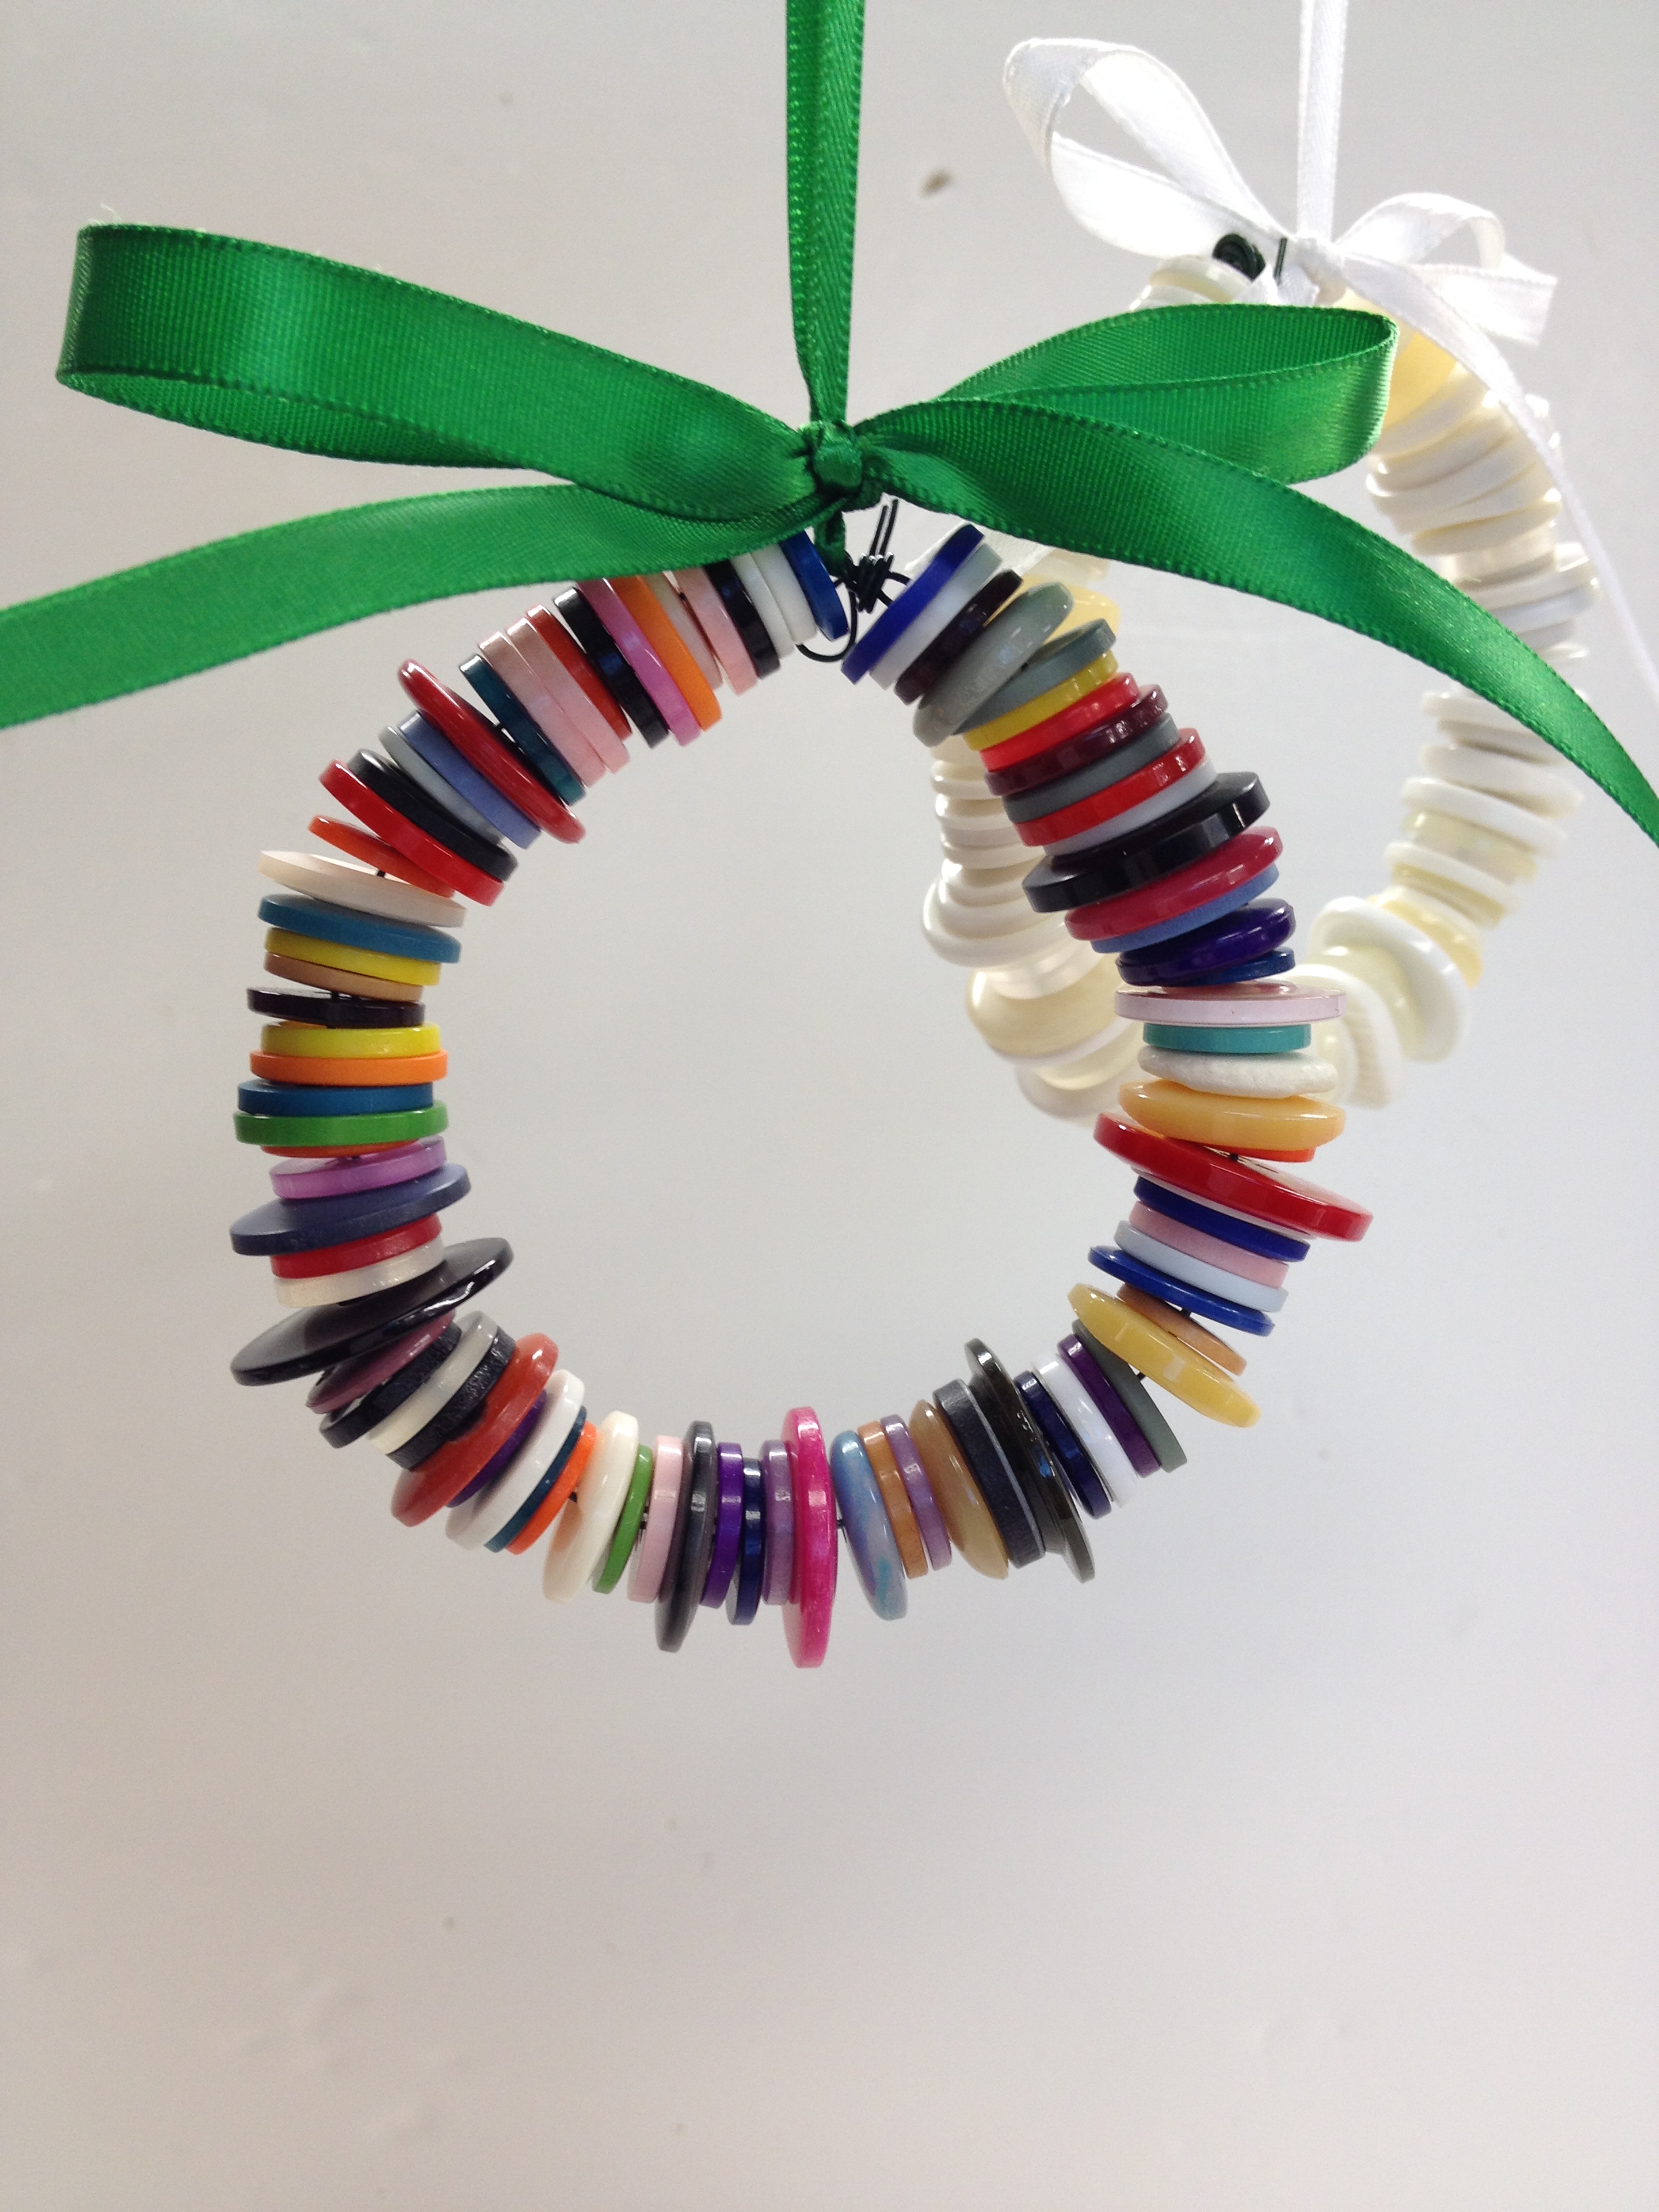
Project #3: Button Wreaths
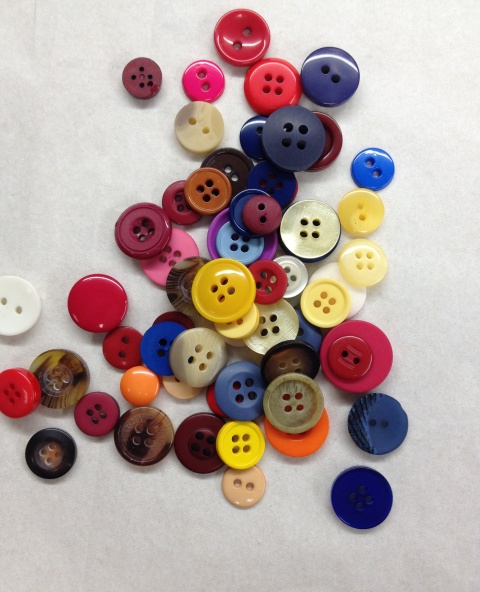
for this project – I used up all my Red & Green Button Jar Buttons; Favorite Findings Big Bag of Buttons; Wire – approximately 28 inches long (you will double this up).
Fold in half (create a u-shape) with your wire. Begin sliding your buttons – there is not wrong way of doing this. Mix your sizes (it’s okay!). Hint: When you slide your first button onto the wire – before you slide it all the way down about 1/4″ – create a small loop by twisting the end. Once all buttons are on, slide the other end through the loop and twist around the neck. Add ribbon around the neck to cover the wire excess. Add ribbon for hanging or an ornamental hook.
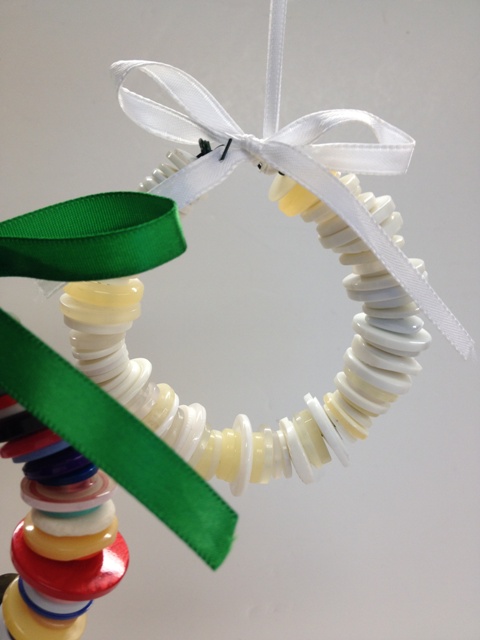
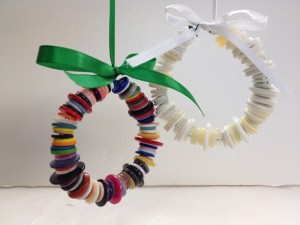
And you’re ready to hang them on your tree or add to any gift topper!
As the year comes to an end, my hope was to inspire you to create some wonderful BUTTON projects!
My wish for you in 2014 is to CREATE, INSPIRE & SHARE your love of BUTTON CRAFTING!
Wishing you and your family a Wonderful Holiday – Merry Christmas!
Happy Crafting!
We are a team of craft-obsessed, button loving people! You probably use buttons almost every day without giving it much thought – they keep our shirts closed and our pants up (hopefully!) - but buttons can be so much more! We created this blog to share all the fun, creative ways we’ve found to use buttons. Our product development team is always coming up with great new button shapes and colors, in addition to new products, so we will always have something new to share with you!