
Summer is finally here and with kids home for the next couple of weeks a well needed trip to the pool or beach may be just what you need! But how about having some fun with the kids before you hit the pool or beach – who doesn’t want to spruce up their blah tote? That’s right add an extra pop of “buttons & ribbon” to your tote…That’s exactly what I’ll be creating today…

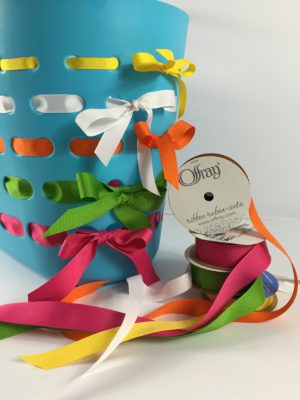
Believe it or not with all the “summer” sales happening I was able to snatch this tote for cheap but it needed some extra “sprucing” up! It’s easy and won’t take much of your time…
Materials needed:
Crafting with buttons – Brights #004000174
Favorite Findings Big Bag of Buttons 550002006 Flowers
Assorted Offray ribbon in bright colors: pink; orange; yellow; green; white (for this project I used grosgrain) 3/8″, 5/8″ and 7/8″
Plastic tote
scissors; embroidery floss; glue; needle
Decide how your colors will lay out (that just may be the hardest decision you’ll have to make!)
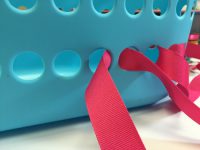
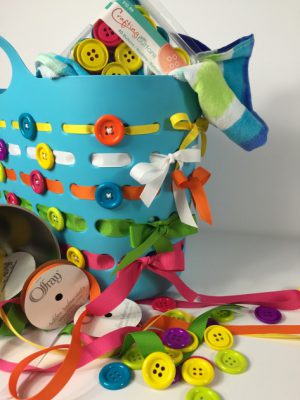
For this project I decided that I wanted to have bows on one side of my tote – however you can glue the ends inside if you opt not to do this part. Begin weaving in-out until you’ve gone completely around…
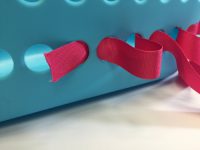
Remember to “un” twist your ribbon you want the ribbon to lay flat…
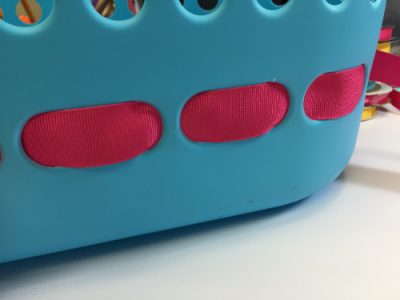
once you’ve reached the other end – leave enough ribbon to create a bow. Cut excess. Repeat for each row…
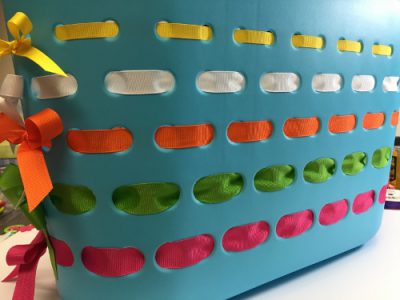
Once you’ve completed the last row – begin creating your bow. I staggered my bows off the side a bit so each box is visible (see below)…Cut your edges in an angle for clean look.
Next, I wasn’t sure if I wanted to use just the Crafting with buttons or the bright Favorite Findings Flower buttons but either one would work.
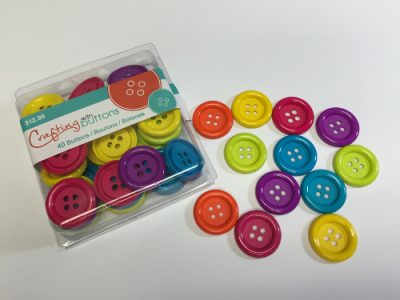
Crafting with Buttons- Brights 004000174
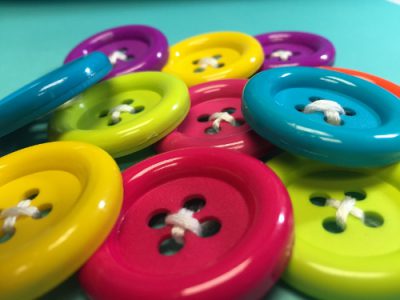
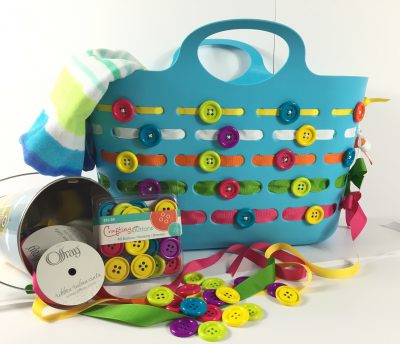
using white embroidery floss and needle I faux stitched my buttons – but you may want to stitch your buttons onto your ribbon. You may also use a stronger adhesive (but this may need to dry overnight). Remember you want to secure your buttons so that they don’t fall off!
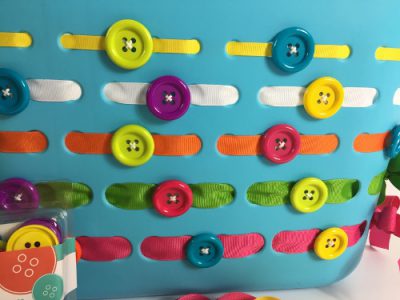
I randomly began adhering my buttons to the tote. I opted to do one side (but there are enough buttons in your pack to do both sides and maybe even another project – hmmm flip flops?
So what are you waiting for – have some fun pick up several and create your own BUTTON & RIBBON tote!
HAPPY SUMMER!
HAPPY CRAFTING!